
LadyLargely
Member
Oh, and not just correcting for the sake of correcting, but I'm a lady grower
Perfectly reasonable correction to make dear! So much so that I just make it preemptively, a measure that isn't for everyone.
So hi there! Welcome, by the way.
 I hope you find success in gardening. Anything that can provide for your needs while alleviating the need to trade federal currency for a controlled substance is a worthwhile pursuit.
 Anyway, let's see if we can get you a yield!
Also, before plowing on, I want to commend you on your Diary-building etiquette. Your photographs are detailed and consistent. This concise documentation makes it very easy for others to track your progress and lend assistance. Good job, keep it up!

Day 15
Okay so these guys seem frustratingly sensitive to watering!
You now have enough entries to have really developed some trends. Healthy parts of the plants are reasonably dark green. The plants are bushy with short inter-nodal gaps. No problem with the lighting. Your room temps are completely reasonable. Your humidity is on the low side, the plants should be getting less susceptible to that problem as they get bigger.
This only really leaves us with one last major system and its the big one: root zone. Given the symptoms and conditions we shouldn't be surprised.
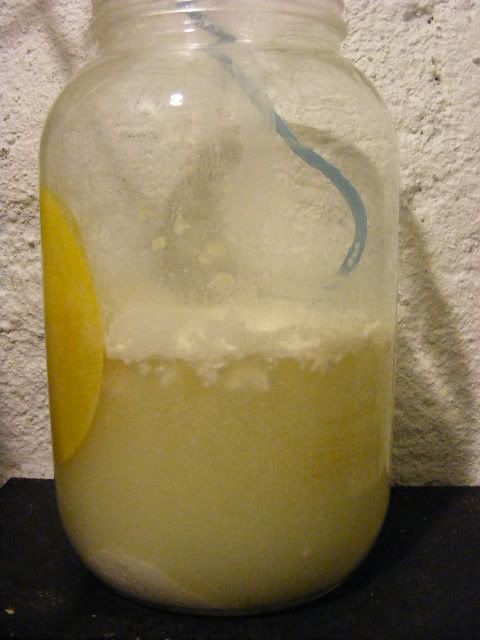
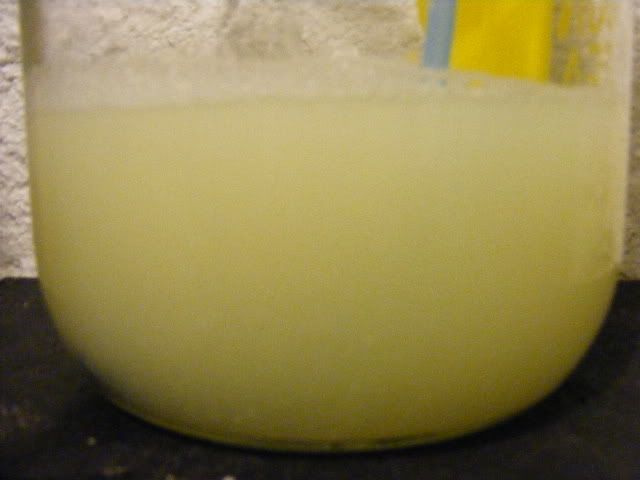
You say the plants seem "sensitive to watering". Does this mean both extremes? Does the soil dry out quickly? As in just 24 hours or so? Does it turn 'muddy' very fast when you start to water it? Does water start to drain from the pot as soon as you start to water even when the pot is dry? Is the runoff quite muddy? Does the soil seem to be shrinking substantially over time?
Your plants seem to have unhappy roots in general. I would point a finger at the soil in use. If you just have some bagged potting soil with sand mixed in then your soil is going to be lacking in structure. This can cause a problem which is what I think you have: a root zone with low water-holding capability. The soil doesn't hold much moisture on it's own, so you have to water the plants frequently which pisses them off. So you take our advice and dry them out excessively which also pisses them off.
The problem you have is the narrow margin that your root zone has for an ideal moisture content. Cannabis wants to have plenty of water available to it's root's without being wet. This is a bit of an oxymoron and it creates a challenge for getting a good soil-based medium that will keep big cannabis roots happy.
Meeting this challenge is best done by adding things to the root zone that hold both water and air. Things like coco moss, vermiculite, Soil Moist, pearlite and such can all add structure and water-holding capability to a soil mix:
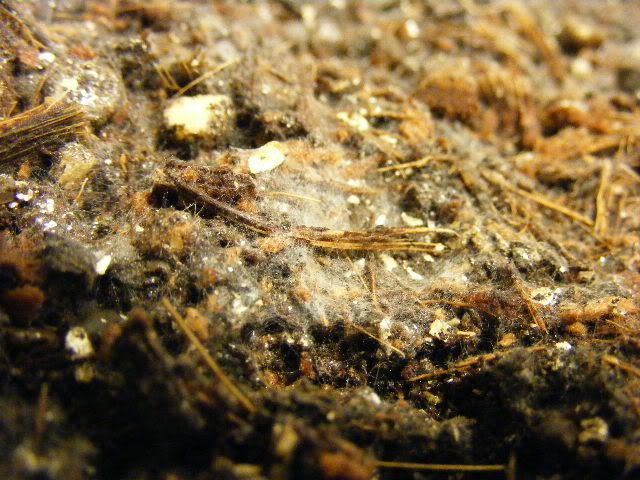
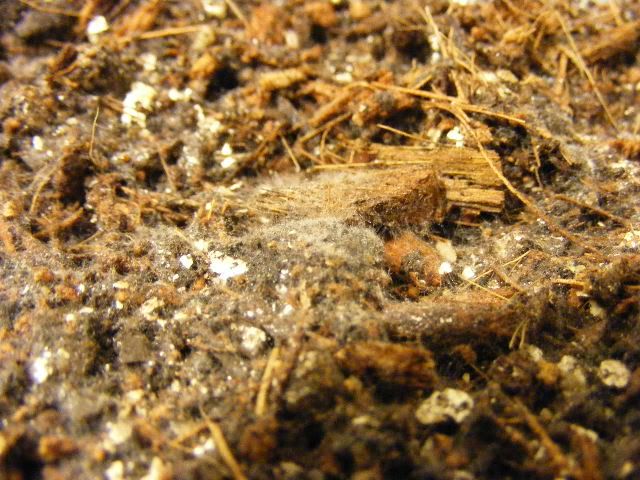
Additionally, if you can get strong colonies of Myccorizhae living in your soil the capacity for water-holding can be dramatically increased. Myccorizhae will soak up excess moisture into their mycelium network, keeping it on storage for the plant to use but also keeping it from making the roots 'wet':
If that sounds difficult, you can always cheat by adding a super-simple air pump to the equation so that roots won't get upset even when an excess of water is held in the root zone. This guarantees that the plants won't suffer from over-watering symptoms and it can mean holding a huge amount of water in your pots. This can make for some very low-maintenance soil-based pots.
Transplanting is a good opportunity to change the composition of a soil mix. Simply puting the plant in a larger pot with the same mix as before is still an improvement. However as the plants grow I think you will find those old frustrations returning.
Good luck with it either way. I think that your ladies should chill out a bit as they stretch out into that bigger, more appropriate root zone. Even though they're out of sight, you've got to keep those all-important roots in mind.
Lady growers represent!


 :friends:


 ). It would make running your plants much easier than what you're gonna have to deal with this grow. Living soil would mean that you never have to check the pH, or much of anything to be honest. Pour water and food in and watch 'em grow. No fretting over soil chemistry like you already have done here quite a bit!


