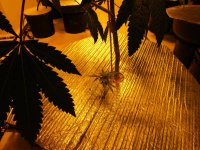
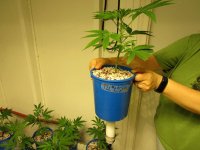
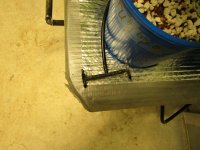
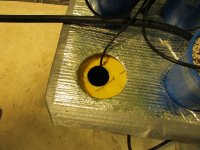
So I'm having issues with drainage, two days running the ppk and two little floods. Set up is two rooms, 8 plants(7 gallon feed pan), one control bucket(55 gallon tough tote), one volume tank, 8 feeding buckets(each with 185 gph eco pump). Whole system is plumbed together with Goodyear hose, one side goes to the feeding buckets and the other side is the plant sites just like delta's on page 1. The first day it flooded I was in the room mopping when the pumps kicked on and saw that water was coming out of the bottom bucket of the plant site. So I went and looked at the control bucket which has a single 1/4" float valve hooked up and the water level was at 7". Obviously the control bucket was at its max and the water had nowhere else to go. So I installed a cereal container with a 5/32 hole drilled on the side close to the bottom to slow down the water flow from the volume tank so the system has a chance to level out. I thought it was gravy after that until my roommate texted me that there was a small flood again last night. Looking at the cereal box container right now, there's only like an inch and a half difference from the hole and the 7" mark. Should I install a taller cereal box container so the hole is more towards the bottom of the control bucket? Would that even make a difference? I went around with a tape measure and the water levels are pretty much even with the control bucket and the system is leveled out. Any ideas on what's going on?
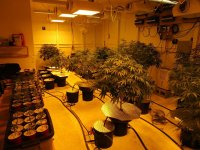
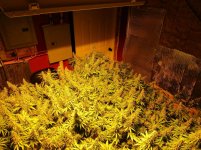
I forgot to add that I'm pulse feeding 30 seconds every 90 minutes. The side that I'm having the issues with has two rows of plants and that plumbed to a single Goodyear hose via elbows and tees. Should I make a return line for each row instead of combining them into a single?
I forgot to add that I'm pulse feeding 30 seconds every 90 minutes. The side that I'm having the issues with has two rows of plants and that plumbed to a single Goodyear hose via elbows and tees. Should I make a return line for each row instead of combining them into a single?
Last edited: