
You are using an out of date browser. It may not display this or other websites correctly.
You should upgrade or use an alternative browser.
You should upgrade or use an alternative browser.
GrnMtnGrwr gets back into growing! 400w HPS Stealth Cabinet Construction Log
- Thread starter GrnMtnGrwr
- Start date
The spray adhesive work for me only because the cabinet was not put together yet and I was able to work with each piece by them self.
I would not try it with the cabinet already assembled.
Yeah that was the original plan but I got too antsy and put the cabinet together. Oh well, I think the difference will be negligible.
I think the floor is pretty well supported. In the front there are two brackets connecting the floor to the front kickboard, and two brackets connecting the center brace to the floor/front kickboard. The sides each have 3 brackets, and the back of the floor is screwed directly to the back panel. I just moved my cabinet from my living room where I was putting it together to my bedroom, and it's not going to be moving for a while. That's definitely a good idea though, the next time it's empty and I've got space to work with I might add some more support. Nice job on the sig! 
Covering up wires...

Cabinet finally in place...
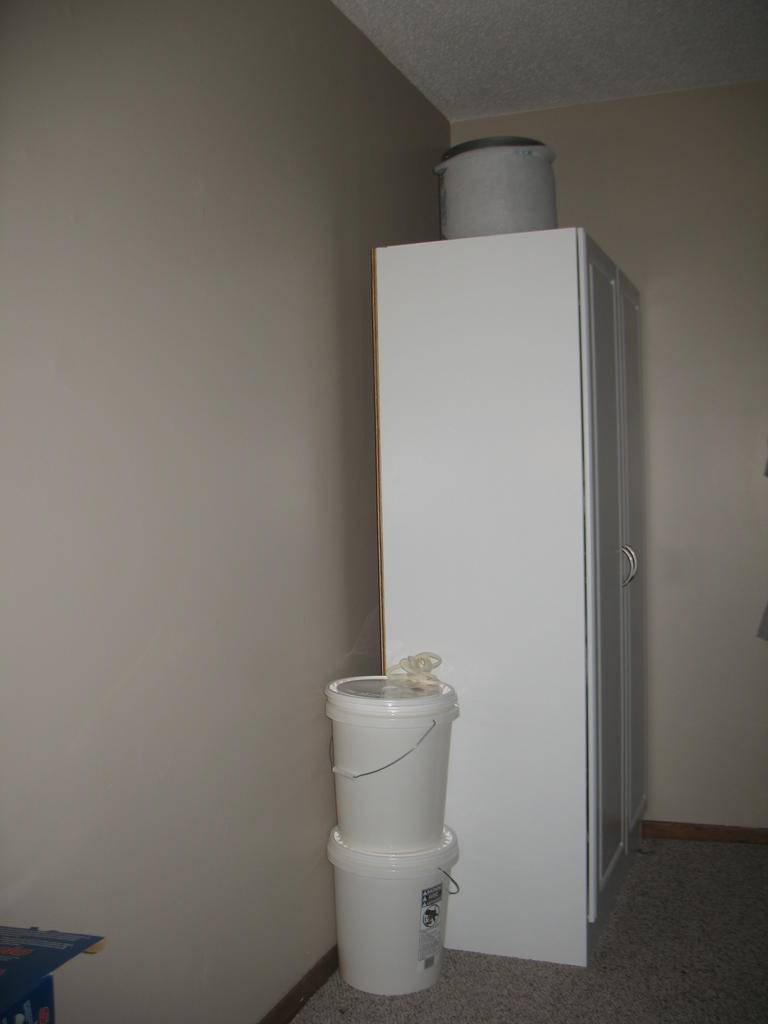
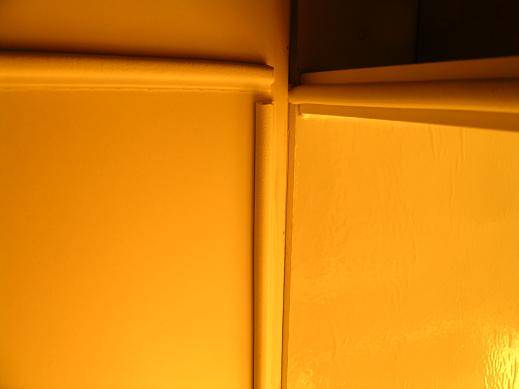
Lightproofed (hopefully) hinges, covered electrical, weatherstripping on center brace, temperature gauge hung...

Cabinet finally in place...
Lightproofed (hopefully) hinges, covered electrical, weatherstripping on center brace, temperature gauge hung...
Looks good man, You should put that wire connection inside a junction box, Enjoy the new cabby!
blazeoneup - Thanks for the suggestion, I'll put that on my list of things to get next time I go to the hardware store!
gdbud - Yes, I'll be getting an appropriately sized cardboard box from work that will completely hide the filter.
gdbud - Yes, I'll be getting an appropriately sized cardboard box from work that will completely hide the filter.
gdbud
Member
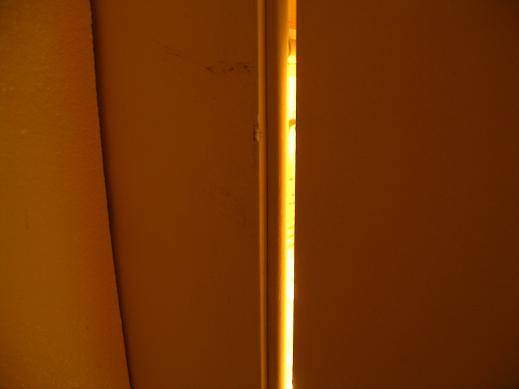
I finally got my cabinet light proof after the third try.
I used the rubber D shape gasket. First remove the doors then I ran the gasket on the top an bottom. I found that if you gasket down the middle edge of the sides then light would shine from where the hinge connect to the door, So you need to place the gasket slightly off center towards the outside of the edge.
But then I had to the door so tight that it pushed the gasket out then guess what light leak, So removed the door reinstalled the gasket and door then added another gasket on the inside of the door about 1/4" from the edge. So its dubbed gasketed
I hope that this will help you if its not light proof.
We'll see tomorrow when I get the ballast and reflector all hooked up. I'm pretty confident that it will be good, or only in need of minor adjustments. This is my 4th cabinet, and lightproofing was always my number one goal.
Still a few minor adjustments, but it's pretty much done!


That's the top of my reflector.
Doing the hinges this way didn't really work with just the duct tape and poly. I've had to use quite a few staples to keep the poly completely flush with the door. Adhesive might work in this situation... I might try that on the other door. I've got one door done completely with staples.
I will be getting two lengths of either 1x6 or 1x8 to put at the bottom. This needs to be done to make it lightproof and air-tight.
Other than that, the only thing left to do is get a ballast housing together. I like the looks of this, I might give it a shot.
I will be getting two lengths of either 1x6 or 1x8 to put at the bottom. This needs to be done to make it lightproof and air-tight.
Other than that, the only thing left to do is get a ballast housing together. I like the looks of this, I might give it a shot.
Thank you, sir! lol...Poor folks got poor ways!
There really isn't much to it. I was looking for my stock pot to make some soup and saw the loaf pans at the back of the cabinet and had a light bulb moment (lol...ironic, huh?).
I set the ballast as high on the mounting brackets as it would go for easier air flow under the ballast itself. Positioned it as far to one side and the end of the pan as I could to leave as much room as possible for the power cords, ignitor and capacitor. Dry fitted the ballast, igniter and capacitor brackets and made my marks for the bolts. Free handed the air holes and cord access and used a half-moon file to file to my hearts content . Your file is your friend! Just as an fyi...Because of the slope of the pans I had to mount the capacitor sideways and it made it a lot easier to cut off the last inch or so of the ballast mounting brackets.


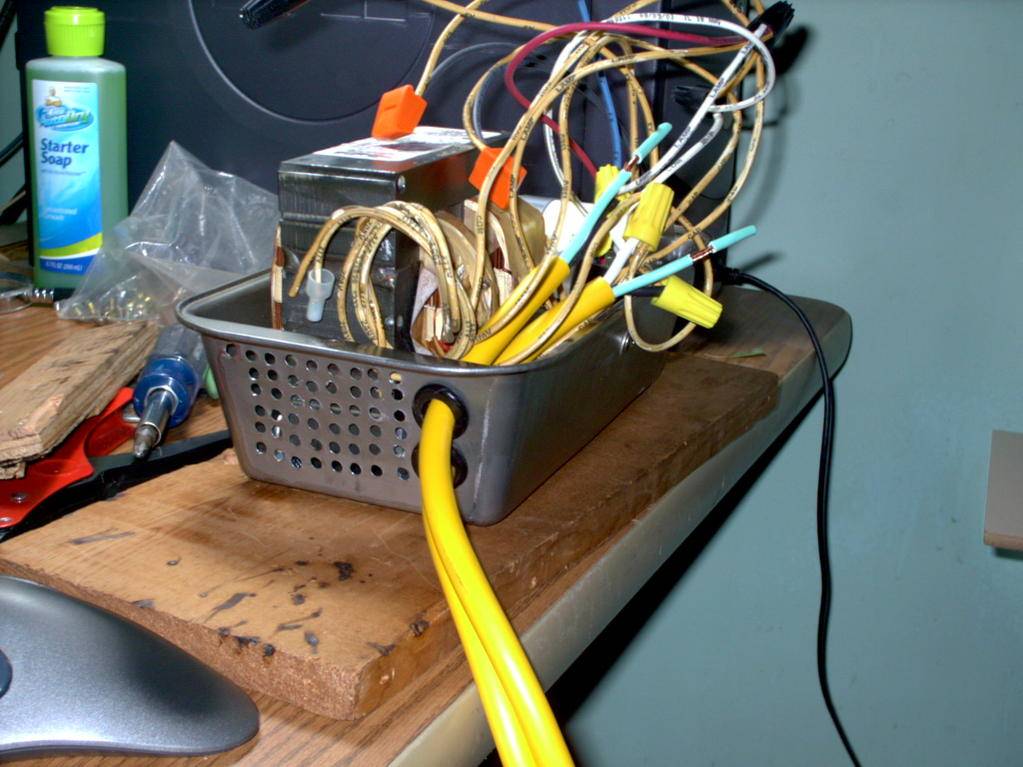
The top was dry fitted with the pc fan and marked. A 1/2" hole, aviator snips, the file, some silicone caulking and bolt holes in the handles was all the top pan needed. Added some quick connects to the fan wires and adapter and...voila!

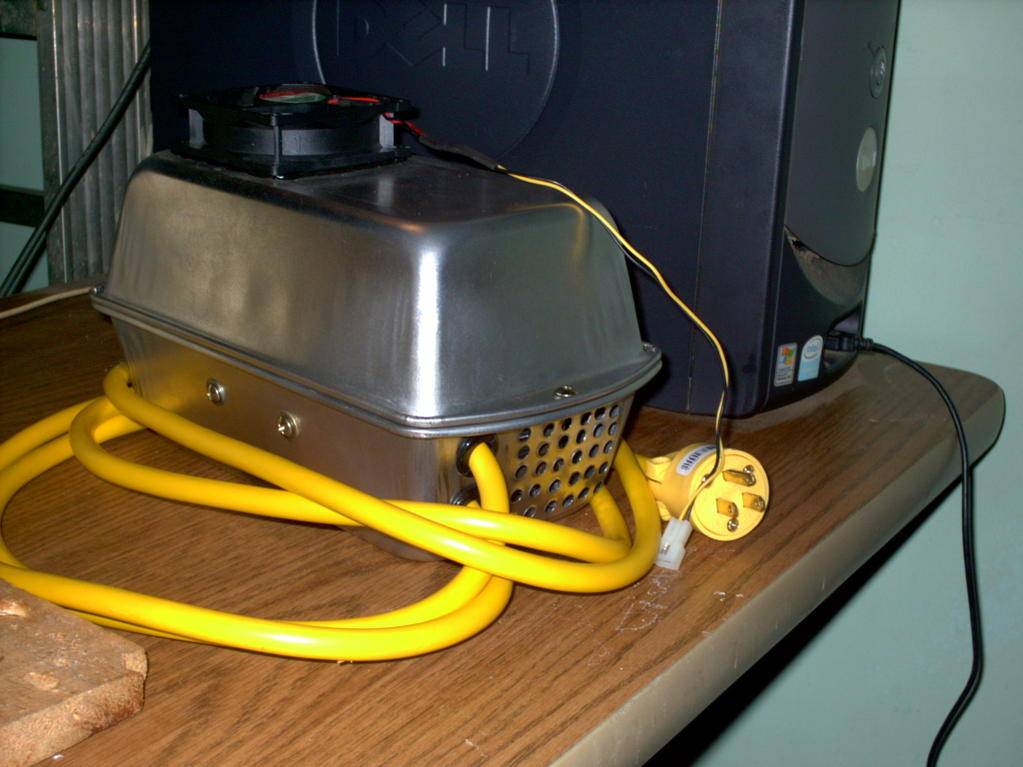
(The pic's are a mish-mash of the two I put together.)
Like I said, "weren't much to it."
Namaste, mess
This may be of some help in getting the doors lightproofed...
http://www.icmag.com/ic/showthread.php?t=95220
http://www.icmag.com/ic/showthread.php?t=95220
This may be of some help in getting the doors lightproofed...
http://www.icmag.com/ic/showthread.php?t=95220
I think it will be helpful... Thanks for the link!
gdbud
Member
GMG here is how I got my cabinet light proof.
First I place the foam gasket on the door frame off center towards the outside slightly.
Then a strip on the door about 1/4" from the edge this will make this gasket sit side by side to the gasket in the frame when the door is closed.
You can see at the top the two gasket do not meet up but one is on top of the other dubble gasketed. I did the same on the bottom.
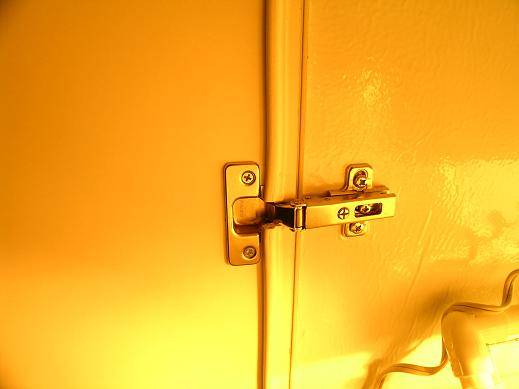
Here is the hinge. The off set gasket on the frame will seal the light from the henge and the gasket in the door will stop the light from escaping from the space between the henges.
My cabinet is now light proof after reworking it three times.
First I place the foam gasket on the door frame off center towards the outside slightly.
Then a strip on the door about 1/4" from the edge this will make this gasket sit side by side to the gasket in the frame when the door is closed.
You can see at the top the two gasket do not meet up but one is on top of the other dubble gasketed. I did the same on the bottom.
Here is the hinge. The off set gasket on the frame will seal the light from the henge and the gasket in the door will stop the light from escaping from the space between the henges.
My cabinet is now light proof after reworking it three times.
I did a little of everything today, made lots of progress on getting the doors light-proof, added braces in the front about 6" up to secure the fourth side of the poly basin, and to help with light proofing the bottom.

I made a little progress on the ballast housing, I'm still working out how to make all the vents and holes in the loaf pans without damage to myself. That needs to get done asap so these plants can get some real light. Hopefully the CMH comes soon, I'm not going to wait too long on it though. I'd really like to have it for veg...
I made a little progress on the ballast housing, I'm still working out how to make all the vents and holes in the loaf pans without damage to myself. That needs to get done asap so these plants can get some real light. Hopefully the CMH comes soon, I'm not going to wait too long on it though. I'd really like to have it for veg...

