
Douglas.Curtis
Autistic Diplomat in Training
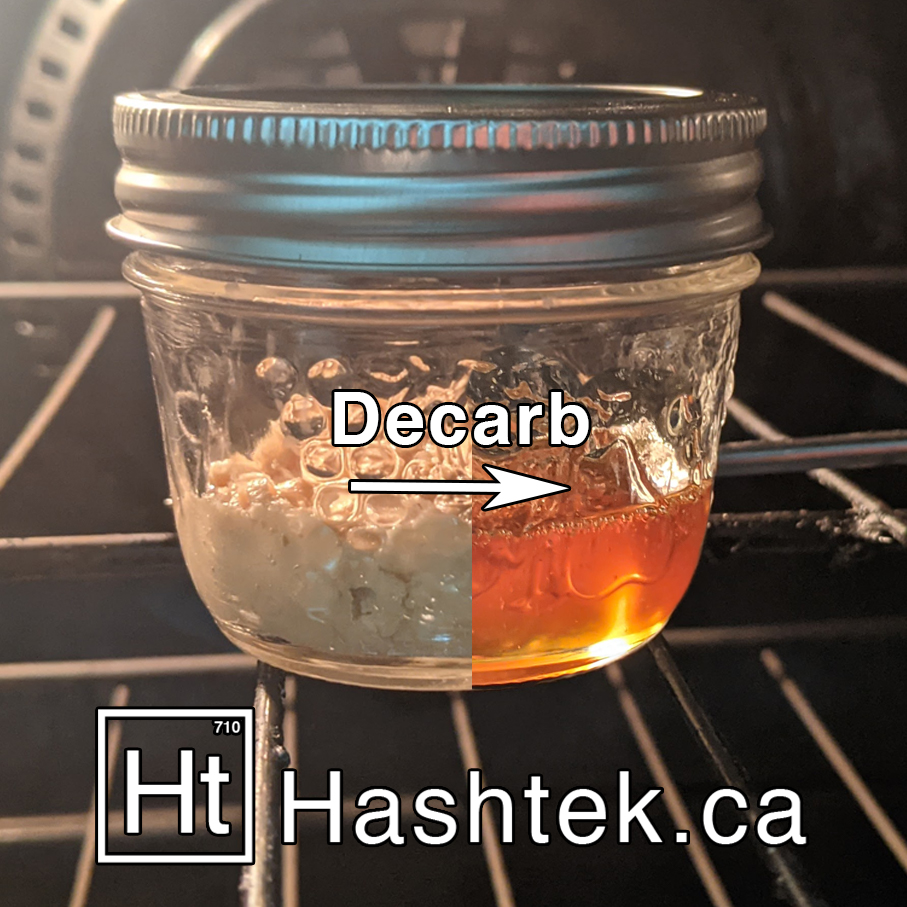
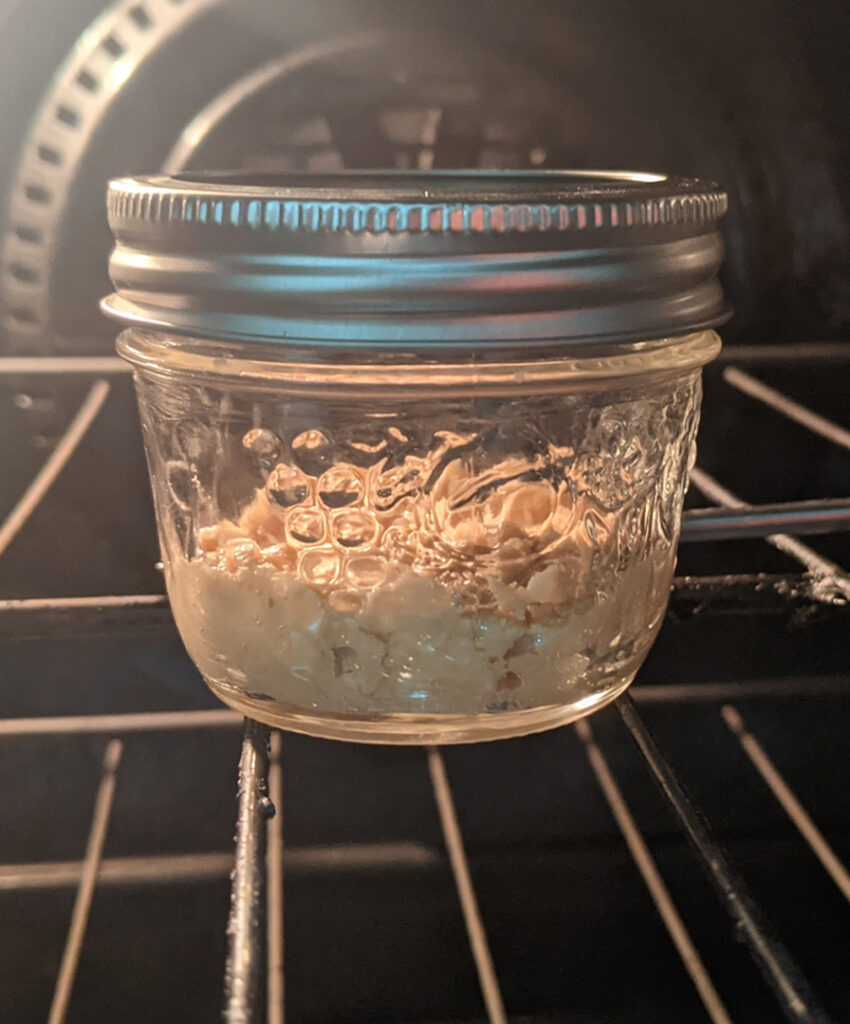
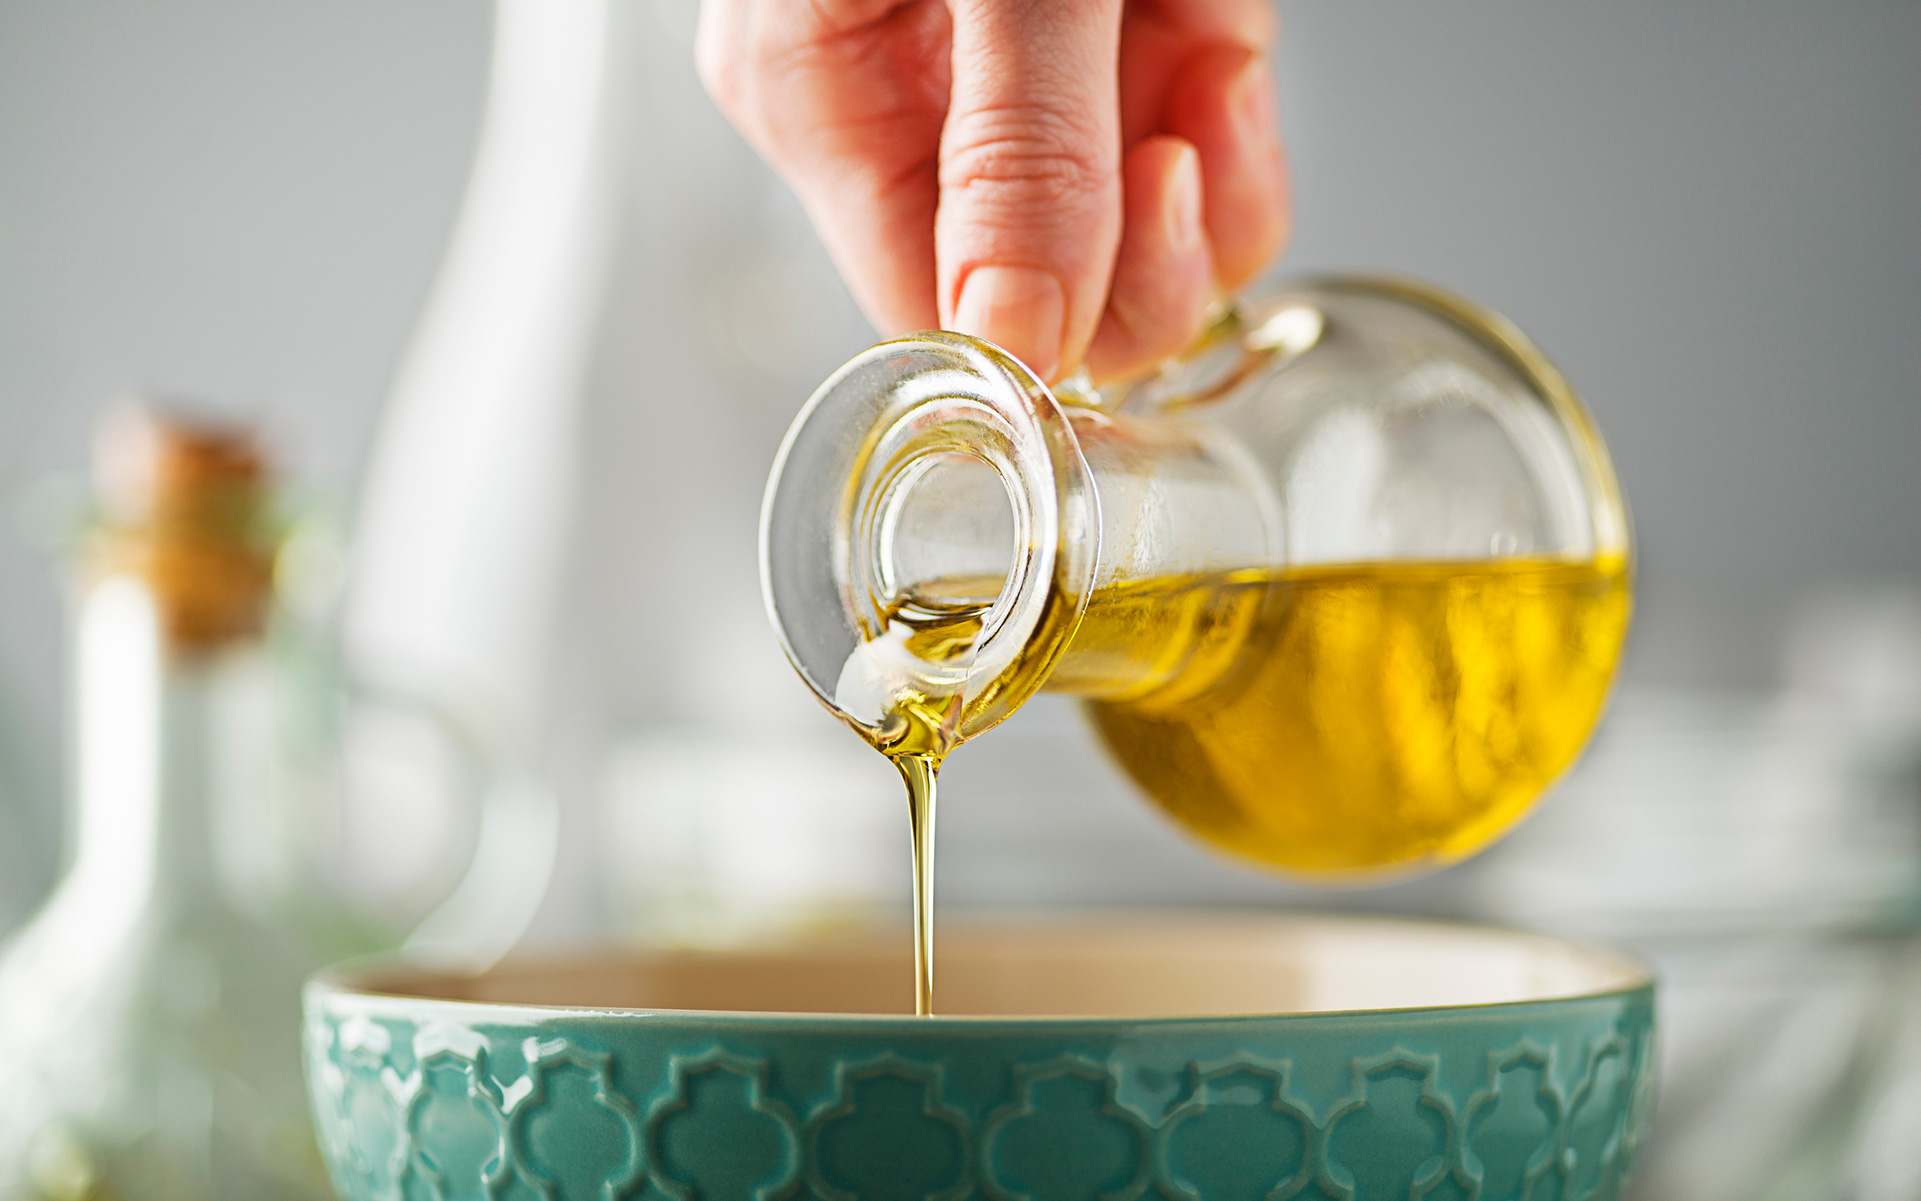
Coconut is great for the O blood type. Everyone else digests ghee and (real) extra virgin olive oil much better. They also happen to hold more cannabinoids per gram than coconut. At least according to what I've read in the past. ")


")
")


")


 worth a try soon...
")


