tequila_sunrise
Active member
how are you going to attach the screw to the wooden post? I tried doing something similar on my reflector... did not work as well as I had hoped.
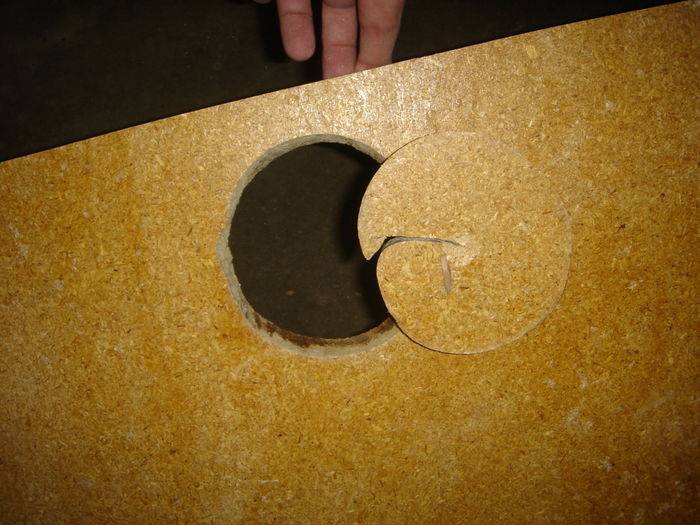
I suggest going straight metal for your reflector and just drill 4 holes (2 on each end) and put S hooks through them. You can then string them up to your box easier.
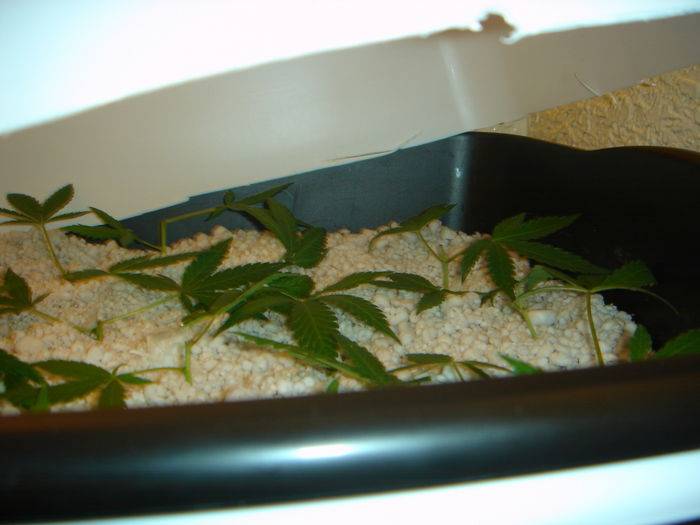
Also, having wood that close to a HPS might be a fire hazzard... just something to keep in mind, otherwise nice grow!
I suggest going straight metal for your reflector and just drill 4 holes (2 on each end) and put S hooks through them. You can then string them up to your box easier.
Also, having wood that close to a HPS might be a fire hazzard... just something to keep in mind, otherwise nice grow!