
noobwannaB
Member
Thanks for the welcome! ")
Sent from my iPad using Tapatalk HD
Sent from my iPad using Tapatalk HD
So what is really the drawback of having 2" of perlite in the bottom of hard pots and have them standing in water?
I think my setup is landing on a no-till solid chunk of soil in the entire room. The paper bags are bio degradable so when filled up I might just leave them there until they become one. In this case it would be a good idea to have some weed blocker in between, my guess the hydroton and soil will start to mix and that's no good.
 Pun intended.
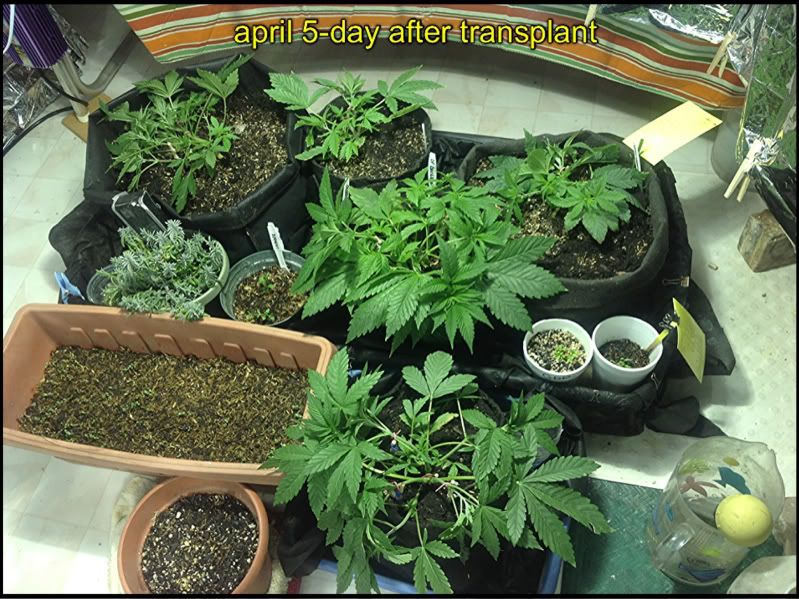
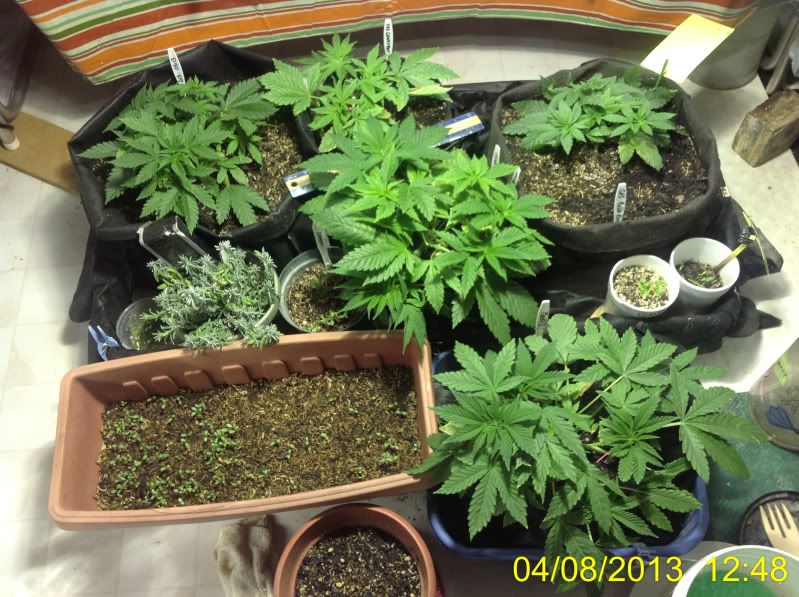
I Love You!!!These plants are still babes, all in organic water only soil. Recently did a transplant and wanted to document the growth rate under this system. NOTHING was added to accelerate growth, repotted into the same soil mix their old pots contained, same light, etc....
Normally after a tp you'll get a lag where the plant recuperates and it takes awhile to see any growth at all....these photos were taken 3 days apart. The first immediately after the transplant, the second 3 days later
View Image
View Image
Goes to show you what a steady supply of water and a good organic soil can do.
Sent from my iPad using Tapatalk HD

Wow. Talk about a bomb
So much for "Would love to see you spit the Perlite Tray knowledge to more willing people."
I tried buddy
Don't worry mate I'm sure many people here will find your build and instructions usefull!
I liked it very much, though i would never use perlite again, hate the stuff. (I basically used your system for years for my outdoor starts, tray with 1-2 inches perlite, seedlings in cocopots, Jiffies or regular soilpots on top.
Fucking awesome, easy, nearly 100% successfull. And you can actually leave the extra roots on the plants when they go outside. The perlite is so light and fluffy most roots will stay on the plant when you dig it out.)
The only thing i hold against perlite are the health concerns.
I neither want to do me unneccesary damage nor do i want this fucking mess rinsing perlite every time i have to handle it.
Oh, and the "styropor-effect", this stuff has a live of it's own and if you are not 100% cleanly all the time the shit will be in every crevice and nook in your house in no time.
 Thanks for stoppin by!
I Love You!!!
Thanks for the suggestion, but I'm not searching right now, I have read your thread just out of curiosity.So....do you have anything against lava rock? Coz you can use that instead
I know a LOT of folks have issues with perlite. I pick my battles (there are so many) and that's not on the list
Thanks for the suggestion, but I'm not searching right now, I have read your thread just out of curiosity.

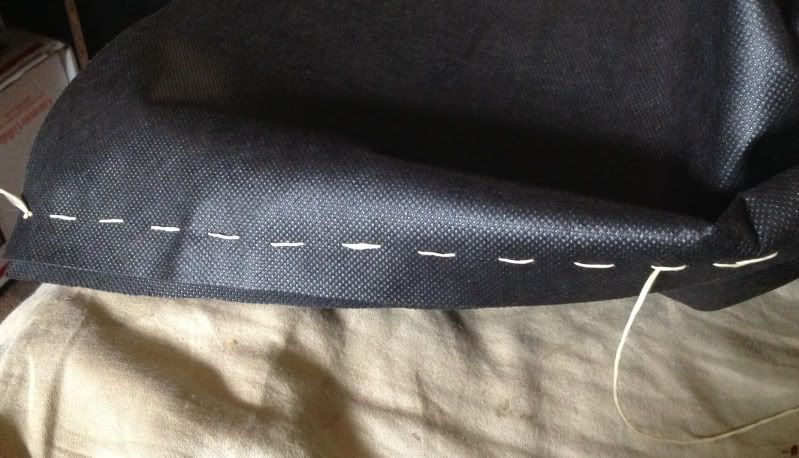
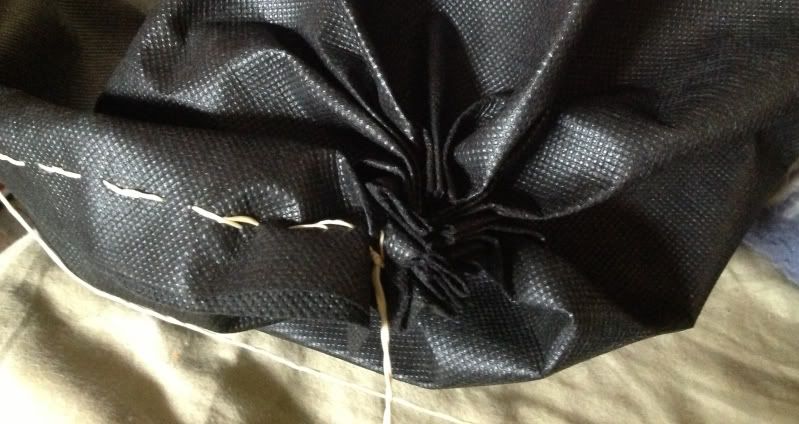
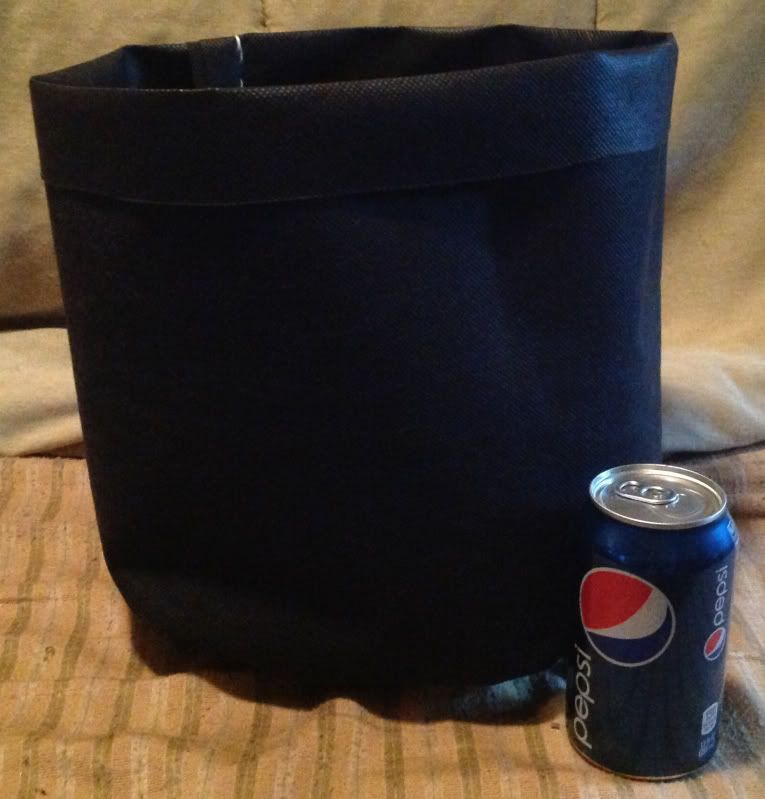
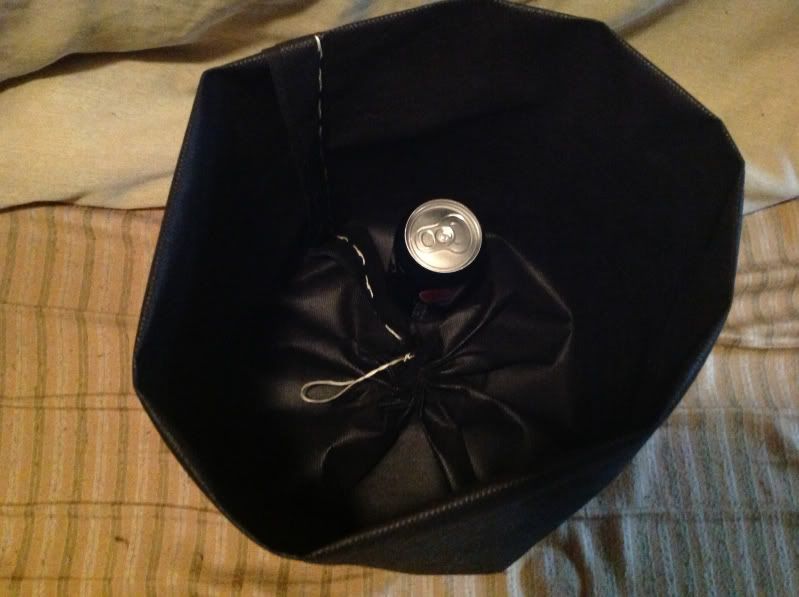
Dug out some of my old canvas scrap.
Spent the afternoon yesterday and this A.M. playing 'cloth butcher'. Made canvas bags 10"x14"x 18" tall. So something over the size of a Homer bucket.
Still have to run into a reasonable source for Perlite or volcanic rock. Only rock I've see was way coarse, and the Perlite I've found (Homey D), was $19.00 for a medium sized bag. Seemed high?
I've got 4 Jilly Beans, spending time in 1 gallon nursery pots. No sex showing yet, as they are only a couple weeks old. If the ratios are right I'll probably make some seeds too.
It seems that spring is indeed here. Getting some snow now! lol
I MAY have lied,,, about the snow stopping.... Have more snow again today. Oh well, Nebraska needs the water.....
Just a note. Using a locally produced 'potting' soil, using wicking (w/o the perlite bed, as of yet), My 1 gallons stay too wet on top, and the 5 gallon bucket setups stay dry almost 2 knuckles worth down.
Noob; What's your experience with perlite bedding? Will a couple of inches of perlite bed under the pots slow the wicking action? thx
PS; My 1 gals. are nursery pots. Haven't gone to the bags yet.
S'ok about the snow....seems even the weather man/person gets it wrong from time to time Thx for the quick response.
That's kinda what I figured, but this potting mix I got is new to me. It's done less than 50 miles from me. That and the slightly lower price made the decision easy. I have not set up yet to mix, compost, etc., and don't need a large volume. Consequently I was looking for a product that I can perhaps re amend, and add 'goodies', to make/keep it organic. We'll see how this EKO works out.
I don't mind the top 2"s being dry. But if MJ is like most trees and shrubs the surface needs to get air to/for the root system. I've left mine open to the air so far. Thinking maybe I'll plant a micro clover 'cover' crop, though.
I've seen several on the utube vids that closed the tops and it made me uncomfortable to watch. However I could be dead wrong.... lol
Yes, that 'dead' reservoir bothers me as well. I'm sure it becomes anaerobic very quickly. I may decide to add an air stone to each one.
Makes me wish I had some acreage to play on, instead of 'city' environment.


