
Hi all
I've been doing a bit more work in the garden, making the holes into two continuous trenches.
The idea is to transplant the plant at an angle, and then bury parts of the stem, that will generate their own root systems, a bit like this
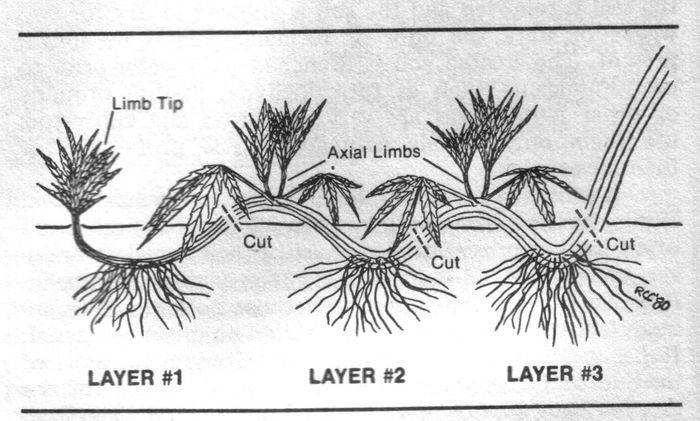
With multiple root systems the plants should produce some nice big buds I hope
Silverback has a great thread here with more info http://www.icmag.com/ic/showthread.php?t=81797
I snapped a couple of pics of my plot while I was working on it today.
This is the already finished 6 x 2 x 3.5 trench.
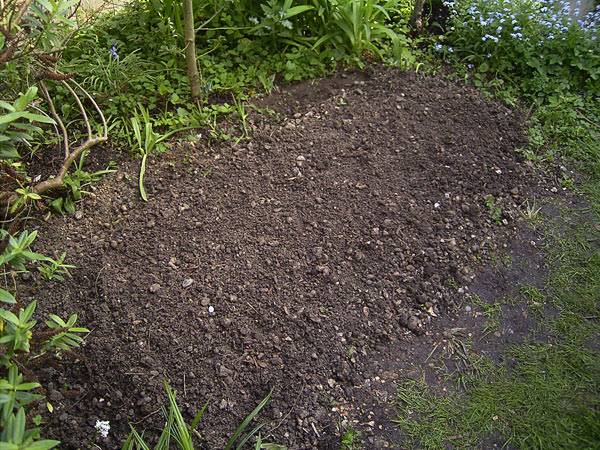
All it need is a headstone now lol
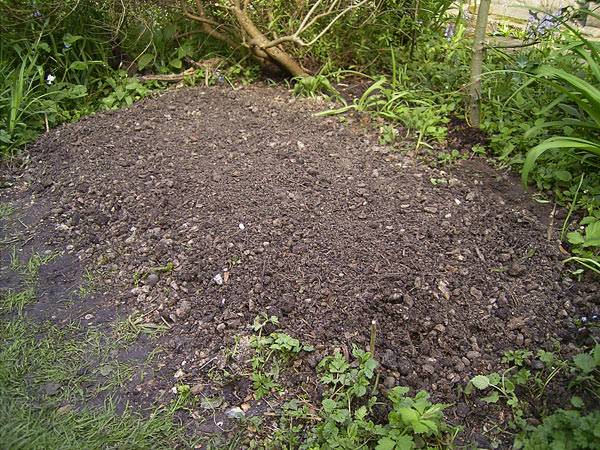
I'm still digging the un-dug areas between the 3 remaining holes, which will become an 8.5 x 2-3 x 2.5-3.5 trench eventually. It's not straight or very even, but that won't matter.
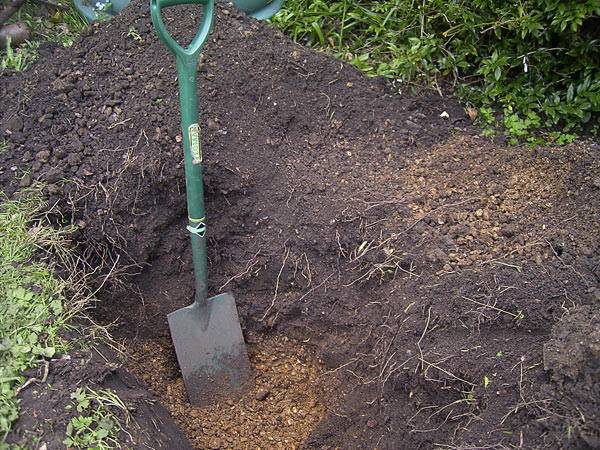
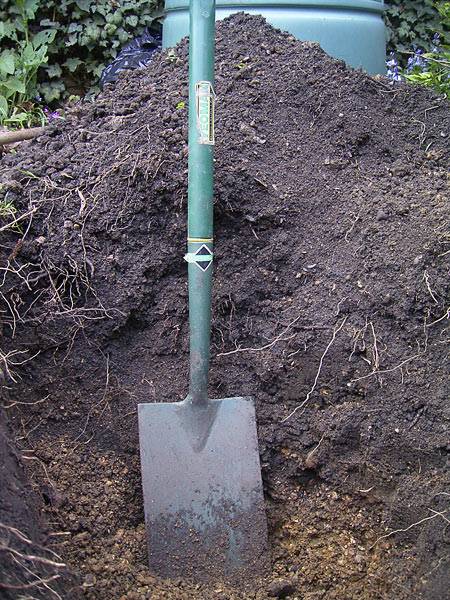
In the above pics you can see the bottom (almost) of the trench, where the clay is. Just above the diamond shaped sticker on the spade handle is where the surface of the ground is, although you cant see it because of the dirt piled up there.
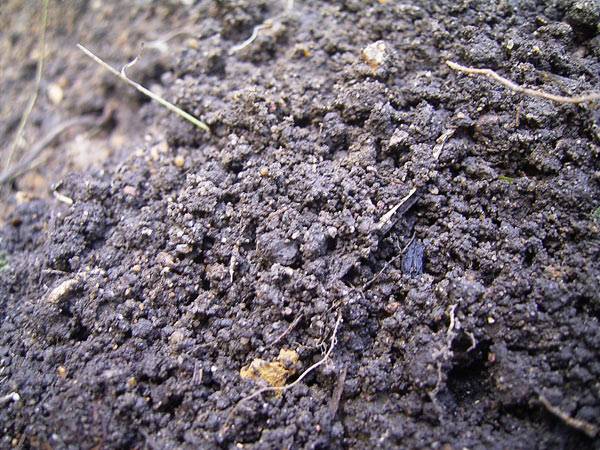
Closeup of the topsoil that came out of the hole
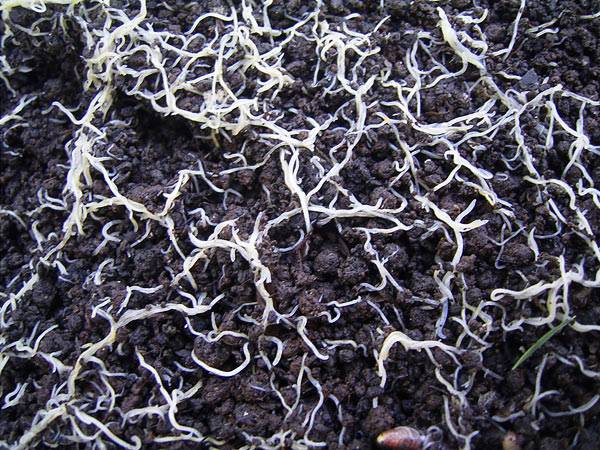
I just got some wormcasts...

and I noticed there are quite a few live worms there...
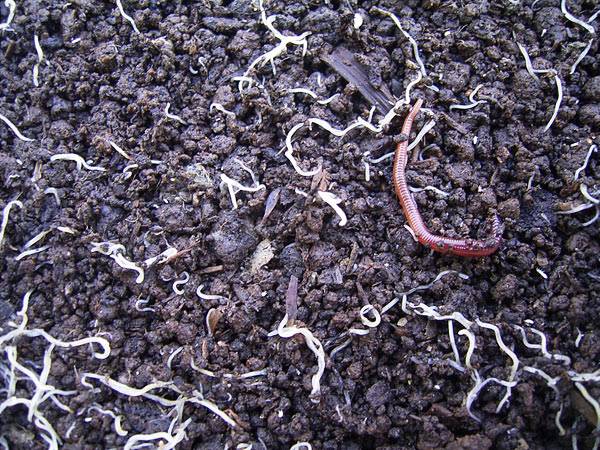

Not wanting to waste them, I've transfered as many as I could to a small foil tray with some kitchen scraps in it. I'm going to try and start my own colony... I don't suppose anyone could give me some tips? :wink:
Hope to get some pics of the plants tomorrow!!!

I've been doing a bit more work in the garden, making the holes into two continuous trenches.
The idea is to transplant the plant at an angle, and then bury parts of the stem, that will generate their own root systems, a bit like this
With multiple root systems the plants should produce some nice big buds I hope
Silverback has a great thread here with more info http://www.icmag.com/ic/showthread.php?t=81797
I snapped a couple of pics of my plot while I was working on it today.
This is the already finished 6 x 2 x 3.5 trench.
All it need is a headstone now lol
I'm still digging the un-dug areas between the 3 remaining holes, which will become an 8.5 x 2-3 x 2.5-3.5 trench eventually. It's not straight or very even, but that won't matter.
In the above pics you can see the bottom (almost) of the trench, where the clay is. Just above the diamond shaped sticker on the spade handle is where the surface of the ground is, although you cant see it because of the dirt piled up there.
Closeup of the topsoil that came out of the hole
I just got some wormcasts...
and I noticed there are quite a few live worms there...
Not wanting to waste them, I've transfered as many as I could to a small foil tray with some kitchen scraps in it. I'm going to try and start my own colony... I don't suppose anyone could give me some tips? :wink:
Hope to get some pics of the plants tomorrow!!!


