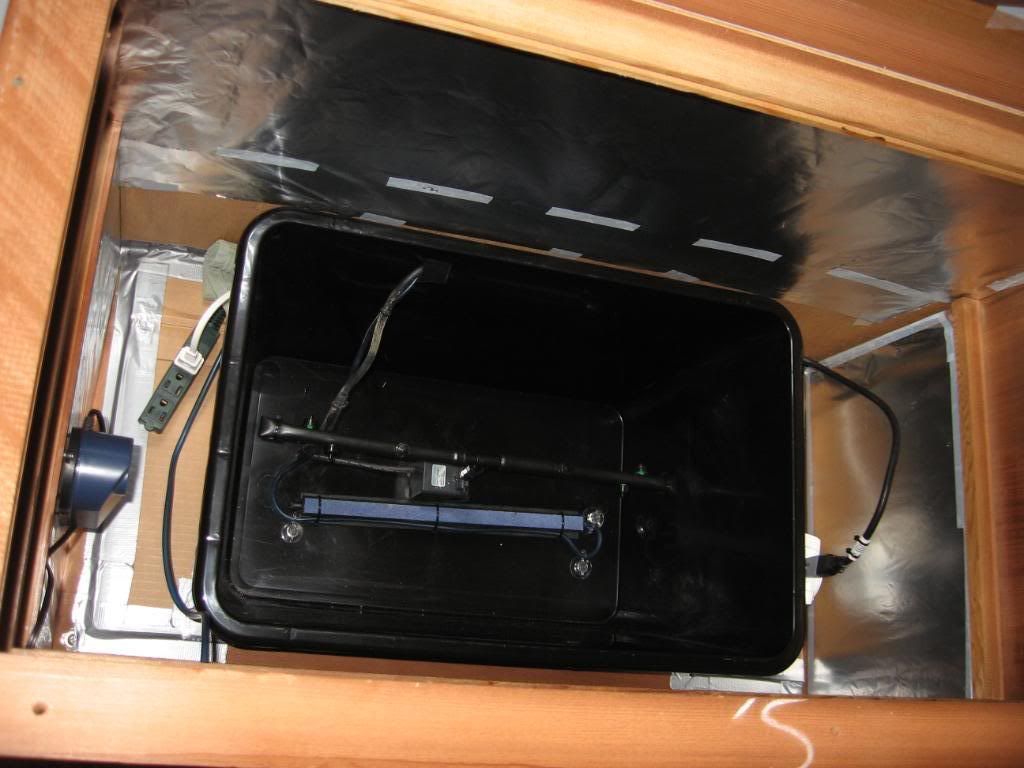
Here's my vote for how you power PC fans:
Go buy a PSU (PC power supply) for about $15 or less. (You can get them at newegg.com)]
It already has the molex connectors so that you can add 6-10 fans if you really wanted to. (I use 3). The beauty, is that you have to buy NOTHING but the fans and the PSU. And you have to do NO wiring.
The only modification you have to do is to stick a paperclip in the plug where the green wire is and then ground it to one of the black wires... done.
And before anybody says "But it's totally overkill to use a 300w power supply for some fans" .... it only draws the power it's actually using. It doesn't draw 300w unless you have 300w worth of stuff plugged into it.

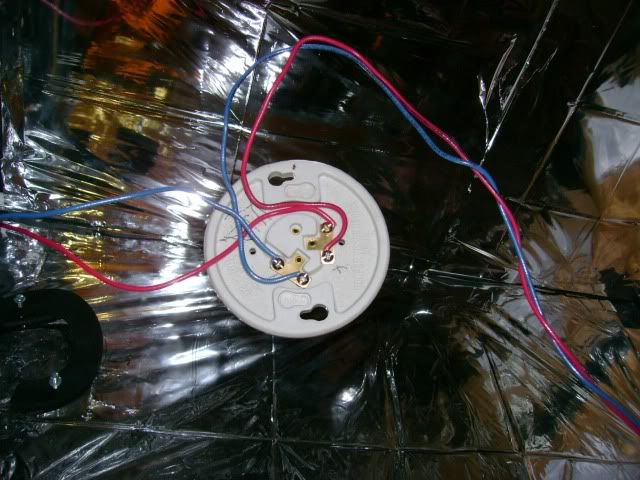
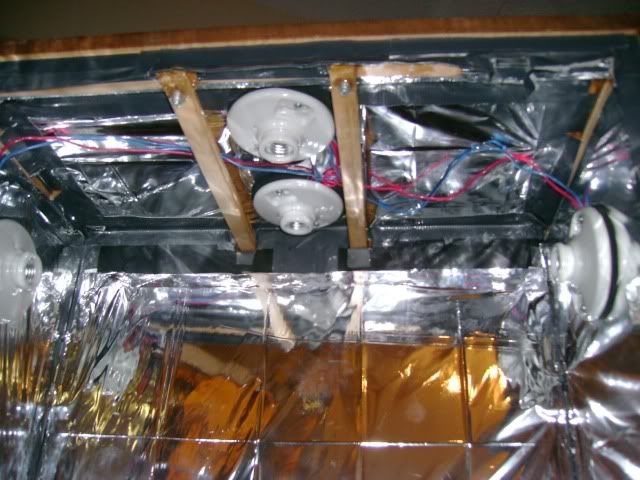
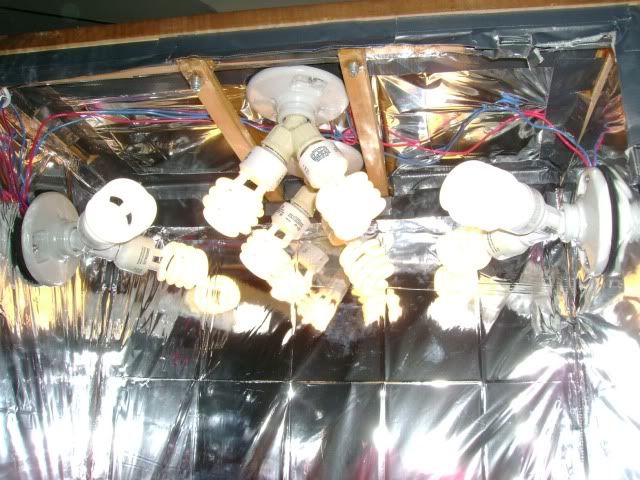
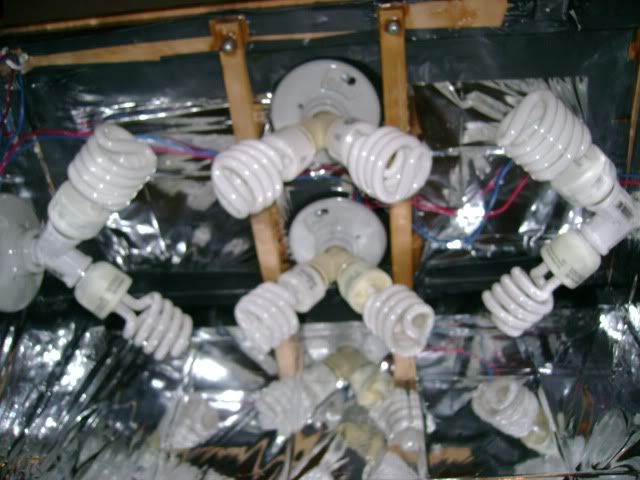
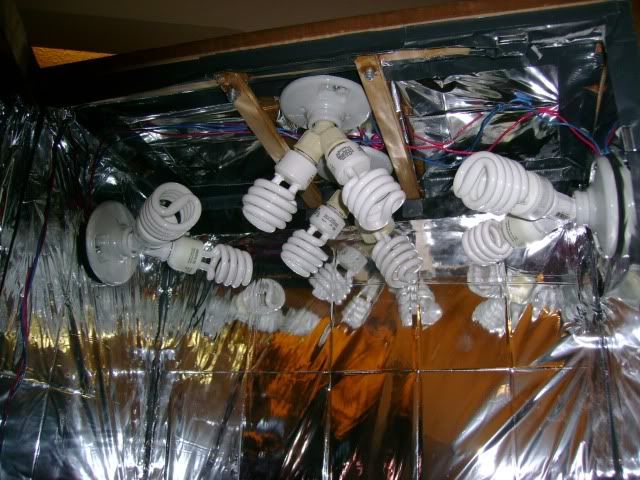
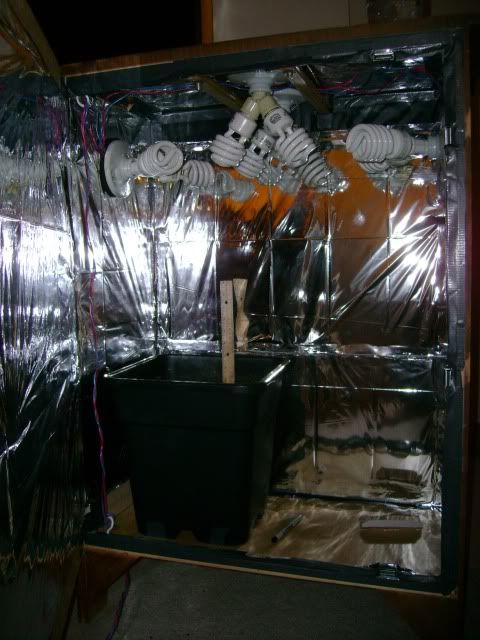
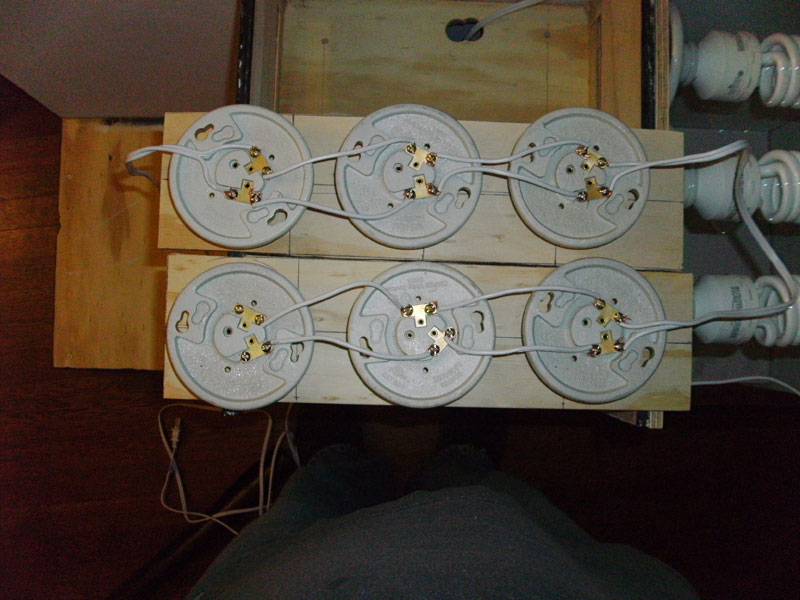
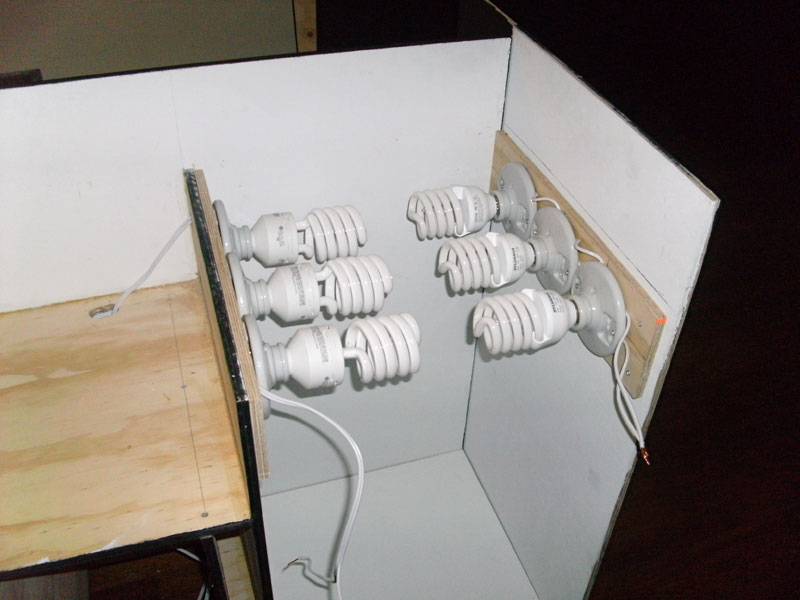
Oh, and as far as wiring your lights... if that gangly contraption doesn't work out for you, you can easily wire all your lights up with a $2 extension cord and some $1.50 ceramic or plastic or porcelain light fixtures:

Go buy a PSU (PC power supply) for about $15 or less. (You can get them at newegg.com)]
It already has the molex connectors so that you can add 6-10 fans if you really wanted to. (I use 3). The beauty, is that you have to buy NOTHING but the fans and the PSU. And you have to do NO wiring.
The only modification you have to do is to stick a paperclip in the plug where the green wire is and then ground it to one of the black wires... done.
And before anybody says "But it's totally overkill to use a 300w power supply for some fans" .... it only draws the power it's actually using. It doesn't draw 300w unless you have 300w worth of stuff plugged into it.
Oh, and as far as wiring your lights... if that gangly contraption doesn't work out for you, you can easily wire all your lights up with a $2 extension cord and some $1.50 ceramic or plastic or porcelain light fixtures:
 )
)