What's new

Grow Room Build

G

Guest

gdawg, there are folks that could better answer the flip time than I. There is one major issue with SOG's and that is the number of plants involved. The powers that be count the numbers, not the size.

happy growing,

TyStik
 
G

Guest

Hydropimp said:
TY

Are you going to put any insulation in the walls?

This is a new home, built last year and is fully insulated to current standards. No further insulation will be required.

TyStik
 
T

twowordz

gdawg

thumbs up? thumbs down!

I dont wanna be mean but this electrical installation doesnt look safe!

Is that extension cord wires? And why is there electrical tape? The wires shouldnt be out of insulation on the box on the right either. And everything should be tied.

A question: why so low? Remember water and electricity arent friends!

I post this in a constructive way, i just dont want you to get hurt.

No offense intended.

TW
 
G

Guest

Update

Update

2/3rds of the lighting has been installed, ducting is progressing, intake and exhaust ports are nearly done. Scrog frames complete, pond liners fabricated and in place.

Will be wrapping up the ducting, drywall and entry door tomorrow. The Client is all Giggles and Grins, aka: "a Happy camper", so far!!!!---------so long as I don't screw up! Looking right and tight, damned if it doesn't look like there was a Plan.

Hoooah,

TyStik :jump: :jump: :jump: :jump: :jump: :jump: :jump: :jump:
 
G

gdawg

tw no offense taken. yes i would have like to used connectors but didnt have them and it was a kinda rush, do with what we got job. its low because i had a shelf to keep below and the board is in a separate area than the room. i took a few more pics i'll upload later, its lookin better. ran the aircooling for the lights tonight and tomorrow will be the filter and a/c install. sounds like your job is going killer TY, through us a bone to look @ :)
 
G

Guest

Hey Dawg, it looks like a construction site right now, too many tools, ladders and such in the way for decent pix. Hang in there for a while longer and I will put together a clear set of photos, from the start to the finish.

Thanks to all of you for your interest and support. Being an Olde Fart it dang near takes all day to do what I used to do all day, lol. Not really, I work at it about 3-4 hours a day.

TyStik
 
G

gdawg

hey TY this is a pic from last night. i know what you mean about the job-site look. tonight we did the exhaust side. the power board is on the other side of the plastic in a closet. and no they were leftover romex pieces from jobsites, my buddy is on a budget and i promise its safe:) happy building TY! next week if its ok i will throw up a pic of the room finished and full. i already have a co2 tank and regulator to set up, what do you suggest for my filter? sealed setup or intake/exhuast?
 
G

gdawg

its gonna be a tight squeeze to exhaust my filtered air @ the same spot my lights' exhaust goes, but i have never tried to work with a sealed setup and i dont have a co2 monitor. suggestions anyone?? it will be tomorrow night before we run it, and if i have to run the exhaust out i will. i have an vegg/clone bathroom next to the bud room and was thinkin of exhausting into there and maybe extra co2 would go too, but not sure if it will be able to handle the heat in the future. later TY!
 
Y

yamaha_1fan

Ty, I think you are making it all up. You arent building anything !!!

Some pics would proove me wrong !!!

:D

J/K, but get us some pics. You are teasing us. I am guessing this will be a high quality build from what I have seen you post
 
G

Guest

Gdawg-------------absolutely fantastic-NICE work!!!!!!!!!!!!!!

Yamaha------------I am having one hell of a time with my uploads to ICMAG folder. Hopefully by next week with a little help I will be able to find the problem. Damned Windows Vista, never had this issue with Windows XP.

The duct fabrication was completed yesterday and the drywall was started. The client passed me one hell of a cold, the first in 5 years.

Dawg, on the bathroom vent fan, you can pick up a Johnson Control A19 thermostat and couple it to a metal outlet box with a duplex receptacle installed. Remove the cover from the fan and unplug it, attach it to a short extension cord and plug it in. Set the desired temp and it will handle the situation.

And finally an apology to all of you for a being a smart ass last night, my condescending post regarding ventilation. Way over medicated.

Sincerely,

TyStik
 
G

gdawg

:wave: hey TY just got home from doin a lil work. i didn't see your smartass post last night but i'll take your word for it, i know how pissy ol folks can be sometimes! :laughing: 
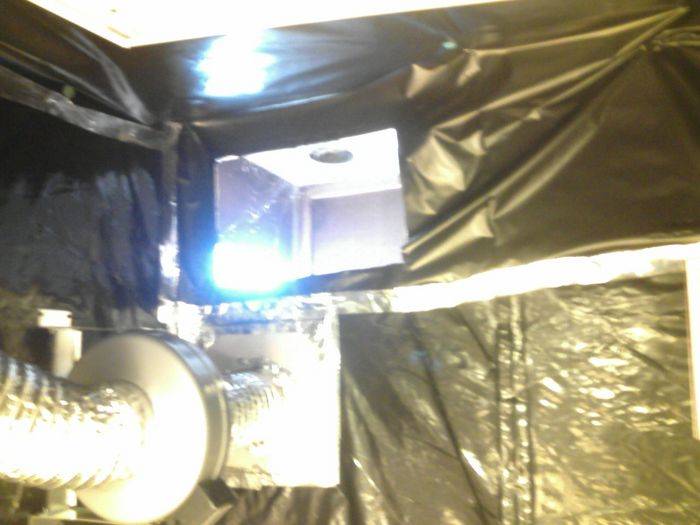
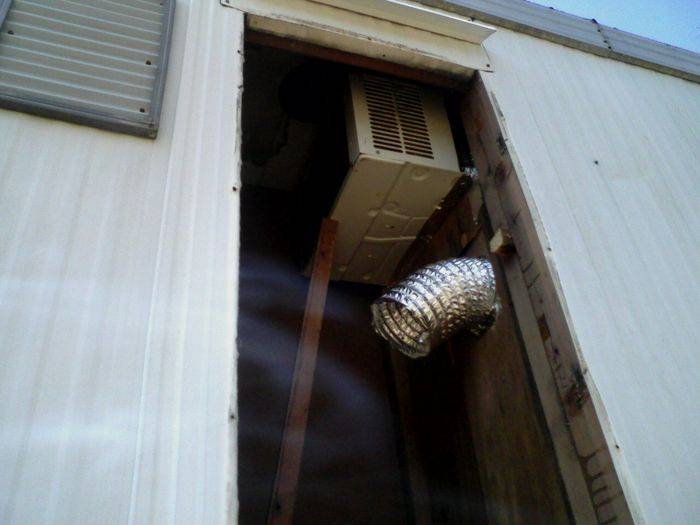
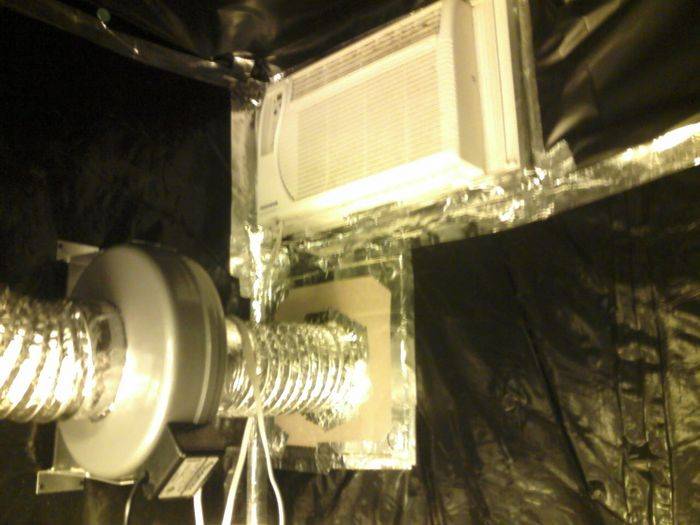
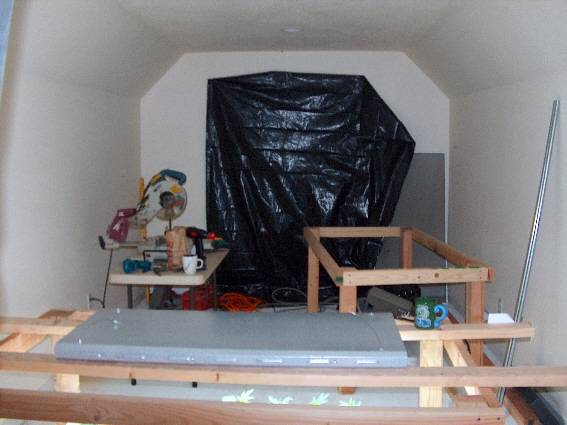
come on and give us some eye candy bro! heres what went down today.. cut in for the a/c

we installed it to a compartment that previously housed the hot water heater. i must add i'm jeoulous of that setup. the a/c will be totally out of sight. we made a hole in the bottom for ventilation and there was already a roof vent from the water heater. sweet,heh.


and finally put the lil ones under a 600. i think i'll put in 1gals in a couple days and then go ahead and flip em this weekend. :headbange

still got a good bit of work to do but the major stuff is done. i want to insulate the fans and also the inside of the exhaust compartment. mylar, ect. ect. it never ends! later TY!
 
G

Guest

Update

Update

Whoopie! Only one photo for the moment, apparently I only had trial ware in my PC bundle for editing pictures (down sizing) I have others however they are over sized. Anyone have an idea where I can download some free ware to handle this situation?

Anyway here is the Big One, 10' x 19' room, the far end (12' of it) is the flower room and the other 7' in the foreground will be the Baby and Grow area.


Yikes, I believe help just arrived.

TyStik

I will get them posted quick as possible. :jump: :muahaha: :jump:
 

Mr Celsius

I am patient with stupidity but not with those who
Veteran
Photoshop works very well for me. However, you can use microsoft paint just as well (comes with your OS, if you didn't already know).
 

FRANKENBLUNT420

me blunt is like, wicked yo!! owight
wow great info!!!

wow great info!!!

Ty-Stik said:
Frankenblunt420: Pick up a DIY framing guide/pamphlet at Lowe's, Home Depot or any large home improvement store. It will help you with basic techniques. Use 2 x 2's instead of larger dimensional lumber and frame it at 4'0" to each side. You can use 1/2" drywall cut to 7' and installed in the vertical position with 1 3/8" drywall screws and top it off with a 4' x 4' sheet of 5/8" plywood. This will provide a full surface for you to attach what ever equipment you desire.

Install the drywall and plywood with the finish side facing inward so it will accept white paint.

In lieu of nails use 3" deck screws and PRE DRILL pilot holes to avoid splitting the wood at the ends. Don't forget intermediate framing (wall studs). Frame the door opening with 2 x 4's and install a prehung 1 3/8" economy grade hollow core door with a passage lock set, weather stripping and door sweep to block light intrusion. You will see other details that need to be taken care of that are pretty much self explanatory.

I sure hope this is what you wanted, if not it will serve others that might want to build one. It will be a rigid structure that can be dismantled with the same screw gun you assembled it with and very cost effective to build.

If you are building a conventional closet the same framing principals will apply.

Good luck,

TyStik
for the love of god thank you so much!!! i was thinking about using the a 5/8" for the sides and 7/16" for the back and front maybe 5/8" for the top and bottom since i am gonna be placing everything at the top of the cab.

thanks for the info for real, never thought of using the drywall, i guess its better than using pressure board (i forget the tech name, but you know it, its the sheets that are made out of pressed/glued chips of wood, heard someone call it "pressure board" a long time ago)

PharmaCan said:
Frankenblunt420 - Are you building a closet (a permanent structure attached to your interior walls) or a cabinet (a free-standing box)?

PC :smoker:
it will be a free standing cab, wanna put casters on the bottom aswell. my garage is teh construction epicenter, so i need to be able to move it when there is work to be done on the house, and boy am i gonna be bob villa this summer!!
 
G

Guest

gdawg said:
dangit TY you ol tease!!
Hey DigitalHappy and,
Hey Dawg, you got the "ol" part right, not teasing though. I had 2 other individuals over yesterday and we went over the PC issue, their comment was "WTF"?, still a have a problem at the moment.

Showed up this AM and found that the client and her friend decided to do some work on their own, hanging Panda Film to cover the window AND provide protection to the wall finishes. It took a while to TRY and straighten up and clean up the installation, unfortunately everything was covered including hanging straps, blocking, part of the ceiling (not needed) and etc. One 10' x 50' roll was enough to do it as planned. Now she gets buy another roll to finish the job and I will use the excess on the 2nd build. No real harm and no foul, they had fun doing it. That's what counts in the long run.

The going is slow as the room is crowded with tools, equipment, grow equipment, lumber, drywall, a dog, visitors, scrog frames, hanging lights, and so on.

TyStik
 
Last edited:
Top