What's new
  • Happy Birthday ICMag! Been 20 years since Gypsy Nirvana created the forum! We are celebrating with a 4/20 Giveaway and by launching a new Patreon tier called "420club". You can read more here.
  • Important notice: ICMag's T.O.U. has been updated. Please review it here. For your convenience, it is also available in the main forum menu, under 'Quick Links"!

Green Guy LED- ( Formerly Magnum LED )

now 9. . . . . UGGHH


EDIT-- 10 ended up failing before I could even start the rebuild-- (1 more than the photo below shows)


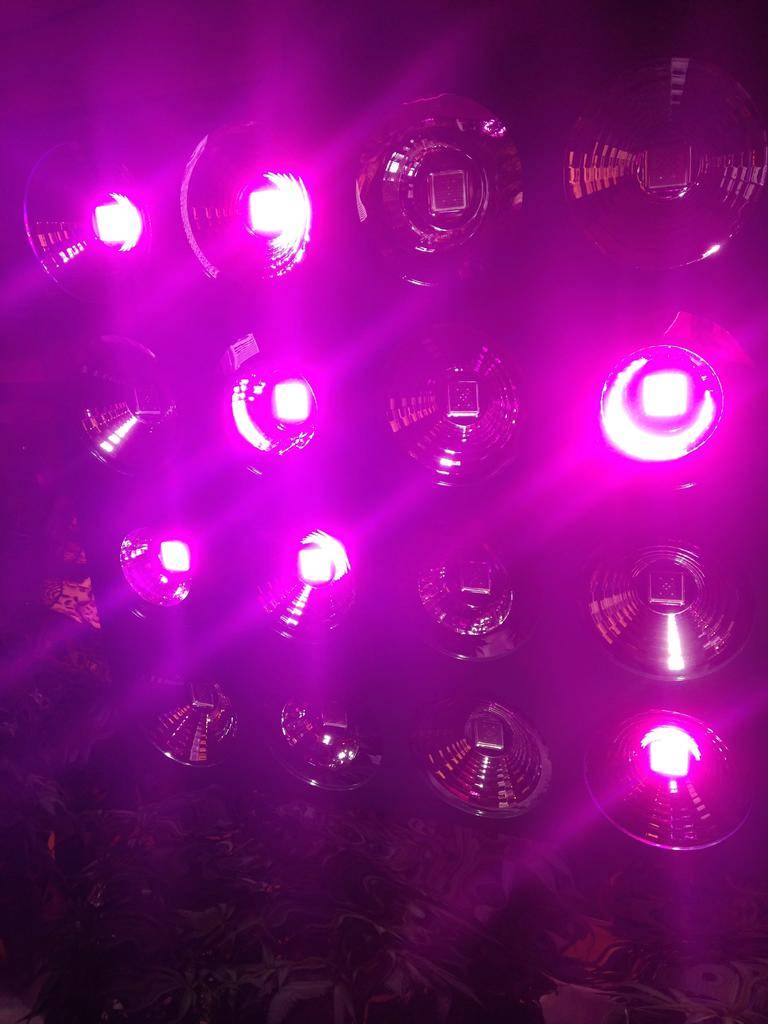
It's getting close to rebuild time, and a CUSTOM re-build it will be, just may take me some time. . . . . .
 
Last edited:
OOOOOOKKKKKAAAAAAYYYYYY. . . . . . . . .

So, learning what I have learned (about LED's and the accompanying parts and materials), tells me that this Chinese light plant has some GOOD parts, BUT IS RIDICULOUSLY UNDER-ENGINEERED!!!!!!

Bad bad bad---So bad , I actually am dumbfounded. Who would. . . . . . . never mind ....WOW

They must need to keep the costs (and weight) down for the consumers


Others have mentioned these things before, but I wanted to re- discuss this horrible engineering for future LED buyers and DIY builds


The stupidly- small heat sink (for a 50 watt LED) with a giant hole in the hottest part of the bastard------


I was reading that the Chinese were using old PC parts and this was apparently a part in abundance? IDK

Now, these chips ran at ~ 48-50 watts

I tested out the heat generated on this other heat sink , which, is STILL actually under sized, based on my tests, so tell me what these guys were thinking? Thinking $$$$$$$ NOW and later? Now you have a burned out light ------that they can sell you more parts, (chips)


16 hot led's cooking each other to DEATH!!
 
Last edited:
I will say, that the part inside are not junk by any means, except maybe the heat sinks, but now I have a virtual treasure trove of drivers, fans, power supplies, reflectors of multiple beam angles, and a skeleton frame to customize with a few CREE's and a blue and red in the center, maybe


These drivers will be powering the full spectrum chips ( my plants LOVE THEM)----- that my little convection cooling project will be using
 
I rewired this ol' light plant to have 4 warm whites (3000k Chinese COB's) in the corners and 2 full spectrums (32 x 3) in the center, with better heat sinks

They will be wired to control all 4 warm whites on/off and then another separate switch turning on the full spectrums when desired

I found all the wires and things available on the inside of the existing light


This is what it looked like from the factory ---


I finished this side today ----


Tomorrow I will finish attaching the new bigger heat sinks to the front side of the light

In addition some of the vacant holes (in the front) will have additional small fans added to push in from the front and the factory fans will do their normal pulling and exhausting

I did end up a bit crowded inside (about 1 inch too much) due to the larger heat sinks, so I will "extend" the frame of the light to accommodate the larger interior items.

I used some aluminum pieces for widening purposes---


This is an idea of what the front will look like----

(Rough photo, as I had to hold it and balance everything). Tomorrow I will secure all the heat sinks


2 of the empty holes will have to added extra cooling fans installed and the remaining will be left open for airflow
 
Last edited:


Even though this lamp will have much less wattage going through it than it was from the factory , this shows how the smaller of the 2 NEW heat sinks, compares with the little factory ones. So the weight of this new setup is still quite heavy, but it should hopefully do better that the original design that was badly engineered-- almost guaranteeing chip death

The light will go from 16 original COB's to only 6 maintaining a similar weight, I will weigh the darn thing once it gets completed
 
Last edited:
Finally!! This was a bit more time consuming than I first anticipated, mostly because small threaded screws (in length) were not available locally. I ended up widening the whole unit by ~ an inch (to squeeze everything inside) and I painted/drilled and tapped the raw aluminum to match---


As mentioned before, I hang this light fixture vertically and use a rail mover--

I made it switchable , but I will probably always leave them all on, VEG OR FLOWER


Last edited:
I am genuinely impressed with how damn bright all the whites are cumulatively

Hung like this, moving back and forth on the light rail, it shines across the entire 15 x 15 area w/ mylar. So bright


After 2 days of running this new setup, I have been carefully measuring the temperature on the heat sinks, both the rectangle--- and the slightly bigger round Giorgio 11185 XXL

Unbelievable results. I was going to use some of the empty holes on the front piece for intake fans to assist with the overall interior airflow, HOWEVER, the rectangular sinks hottest spot I found was ~ 100 degrees F. Not bad.

The round Giorgio's holding the FS chips felt almost cool to the touch, measuring out the hottest I could find at 77 F, just behind and above the COB on the rear of the heat sink

This told me 2 very important things in regards to my initial plan

1-- Obviously adding any additional fans, on the front (as intakes)--- for cooling------ is not necessary

2--- Better yet, I can add 2 more full spectrums in the middle to complete the middle square with no worries on temp or weight, as the structure was lighter than I thought it would be

Additionally, just having the front open and available for incoming air VS> trying to pull it in from the slotted sidewalls from the factory, again RESTRICTING the incoming airflow which is grabbing the heat and exiting the back. All 16 holes being sealed (from the factory) created a vacuum- AND HEAT BUILDUP- that forced the INCOMING air to be restricted and squeezed through the slotted side vents. I talk about the importance of un-obstructed airflow a lot---- because many people I visit, or observe, have ---OBSTRUCTED-- airflow--- "madness"--- in their indoor gardens. Having a few vacant open front holes on a light such as this 16 hole unit, keeps this entire structure super cool--MAXIMIZING AIRFLOW

After I add the other 2 full spectrums to the middle, I will still have the 8 empty holes as giant intake vents, and fortunately the room being scrubbed in numerous areas, helps to reduce overall dust from being stirred up and entering my LED light, or my flowers, for that matter

I feel like I just traded in a smart car for a AUDI A8 -- with regards to this LED lamp

 
Last edited:
So much fun! Thanks Doc :)

I will note--- that I have intentionally left a few plants directly in front of this re-built hood, and within 4 or 5 days in early flower, they are BURSTING with rapid flower production. WOW
 

Dr.Nonagon

Member
The colors in the pic with the purple light reflecting on the mylar looks wild, and its making the plant look blue. cool
 
The colors in the pic with the purple light reflecting on the mylar looks wild, and its making the plant look blue. cool

I now took more time looking at that photo, and it is very peculiar , the coloring is strange , but I'm trying to better understand the waves of light in the lower mylar area.
That's weird


flat9

Member
Sammy how many sq ft you got rolling in there and are you trying to cover the area entirely with LEDs? Forgive me if I'm late to the show here...
 

flat9

Member
Also for what it's worth I have the Houyi (www.ledaquagrow.com) 16 x 75 watt COB model (which reads about 610 on my kilawatt so they seem to be running these at just over half power) and I haven't had any problems with it so far. Knock on wood...
 

flat9

Member
I will say, that the part inside are not junk by any means, except maybe the heat sinks, but now I have a virtual treasure trove of drivers, fans, power supplies, reflectors of multiple beam angles, and a skeleton frame to customize with a few CREE's and a blue and red in the center, maybe

[URL=https://www.icmag.com/ic/picture.php?albumid=10746&pictureid=1264476&thumb=1]View Image[/url]

[URL=https://www.icmag.com/ic/picture.php?albumid=10746&pictureid=1264475&thumb=1]View Image[/url]

[URL=https://www.icmag.com/ic/picture.php?albumid=10746&pictureid=1264478&thumb=1]View Image[/url]

[URL=https://www.icmag.com/ic/picture.php?albumid=10746&pictureid=1264477&thumb=1]View Image[/url]

These drivers will be powering the full spectrum chips ( my plants LOVE THEM)----- that my little convection cooling project will be using

Seems you've got a mix of 70, 90, and 110 degree reflectors. I went with all 110 degree reflectors to maximize coverage...
 
What up flat9?

I've been working towards a HID free scenario. . . I am not there yet, but things are headed in that direction faster than ever before, for me.

Yeah, the guy that I bought the original light plant from, must have tweaked a few things (like the reflectors) , and called it HIS (to sell).

Sketchy character too. . . . Stay far away from Green guy, BUT Magnum LED has a NEW owner and took great care of me, so they are off the hook

Glad to hear that your Shenzen unit is working well. My plants went crazy underneath that, but again, I noticed that the overall intensity level was too darn limited to the footprint it provided. It has a bigger footprint than most lights,but that much power needs to be spread out IMO.

One plus---- is that you can stay a decent distance from the canopy and still achieve fairly good results. I am combining these full spectrum chips with warm whites--- and am expecting crazy great results.
I will spread them out as I please, breaking free from the limitations of a single hood or two or 3
 

Latest posts

Latest posts

Top