acespicoli
Well-known member
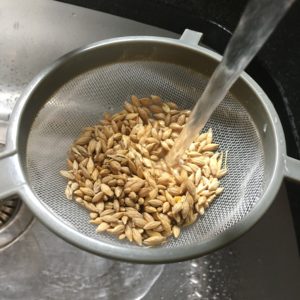
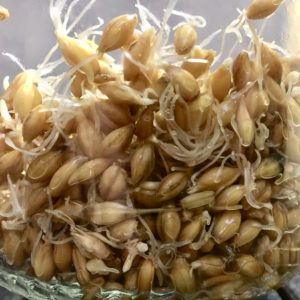
quick wash in hydrogen peroxide is a bonus for any seed planted?
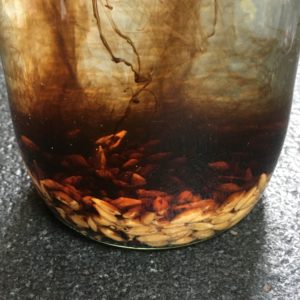
Soak your seeds in 3% hydrogen peroxide for 30 minutes.
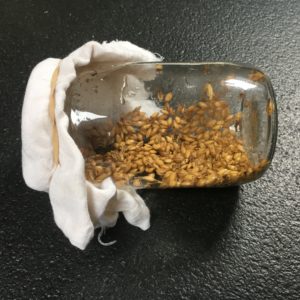
Rinse the seeds several 3X times with DISTILLED water before planting and plant them as usual.
Doing this breaks down the hard outer covering of the seeds and kills any pathogen present on them.
if unsure test on some hemp sprouting seeds this should put your mind at rest...
https://www.researchgate. net/figure/Evaluation-of-biofungicide-and-growth-stimulating-activity-of-Streptomyces-strains_tbl1_358088559
Microbial communities of vegetable seeds and biocontrol microbes for seed treatment
Tinatin Doolotkeldieva* and Saikal Bobusheva
Kyrgyz-Turkish Manas University, Plant Protection Department, Ch. Aytmatov Street, 56, Bishkek city,
Kyrgyzstan, 720044
*Author for correspondence (E-mail: tdoolotkeldieva@gmail.com)
(Submitted July 2021; Accepted January 2022; Published online January 2022)
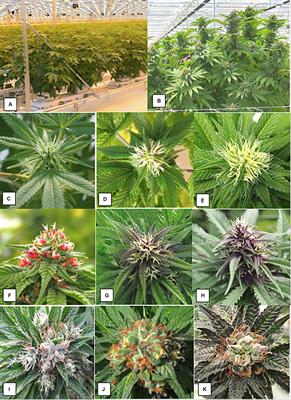
Abstract
Thirty-one species of vegetable seeds from Kyrgyzstan’s State Register were analysed for mycological and
bacterial composition using various methods, from simple visual to molecular. The modified roll-towel method
simultaneously assesses the degree of contamination and seed germination. Screening in agar medium allows
analysis of species on the outer and inner surfaces of vegetable seeds that are not detected using the roll-towel
method. As a result of the phytopathological examination, 15 fungal and three bacterial species were found.
Direct DNA extraction and amplification of the universal 16S rRNA gene of diseased seeds was used to identify
the plant pathogenic bacteria, which included Pseudomonas syringae, Pseudomonas savastanoi, Pseudomonas
cerasi, Pectobacterium carotovorum, Xanthomonas oryzae, Erwinia sp. and others from the Proteobacteria
phylum.
Keywords: seed-borne pathogens, seed germination, seedling decay,
MANY OF US USE THE "PAPER TOWEL" METHOD AND HAVE WONDERED ABOUT THE MARKS AND COLORS ? -AceS

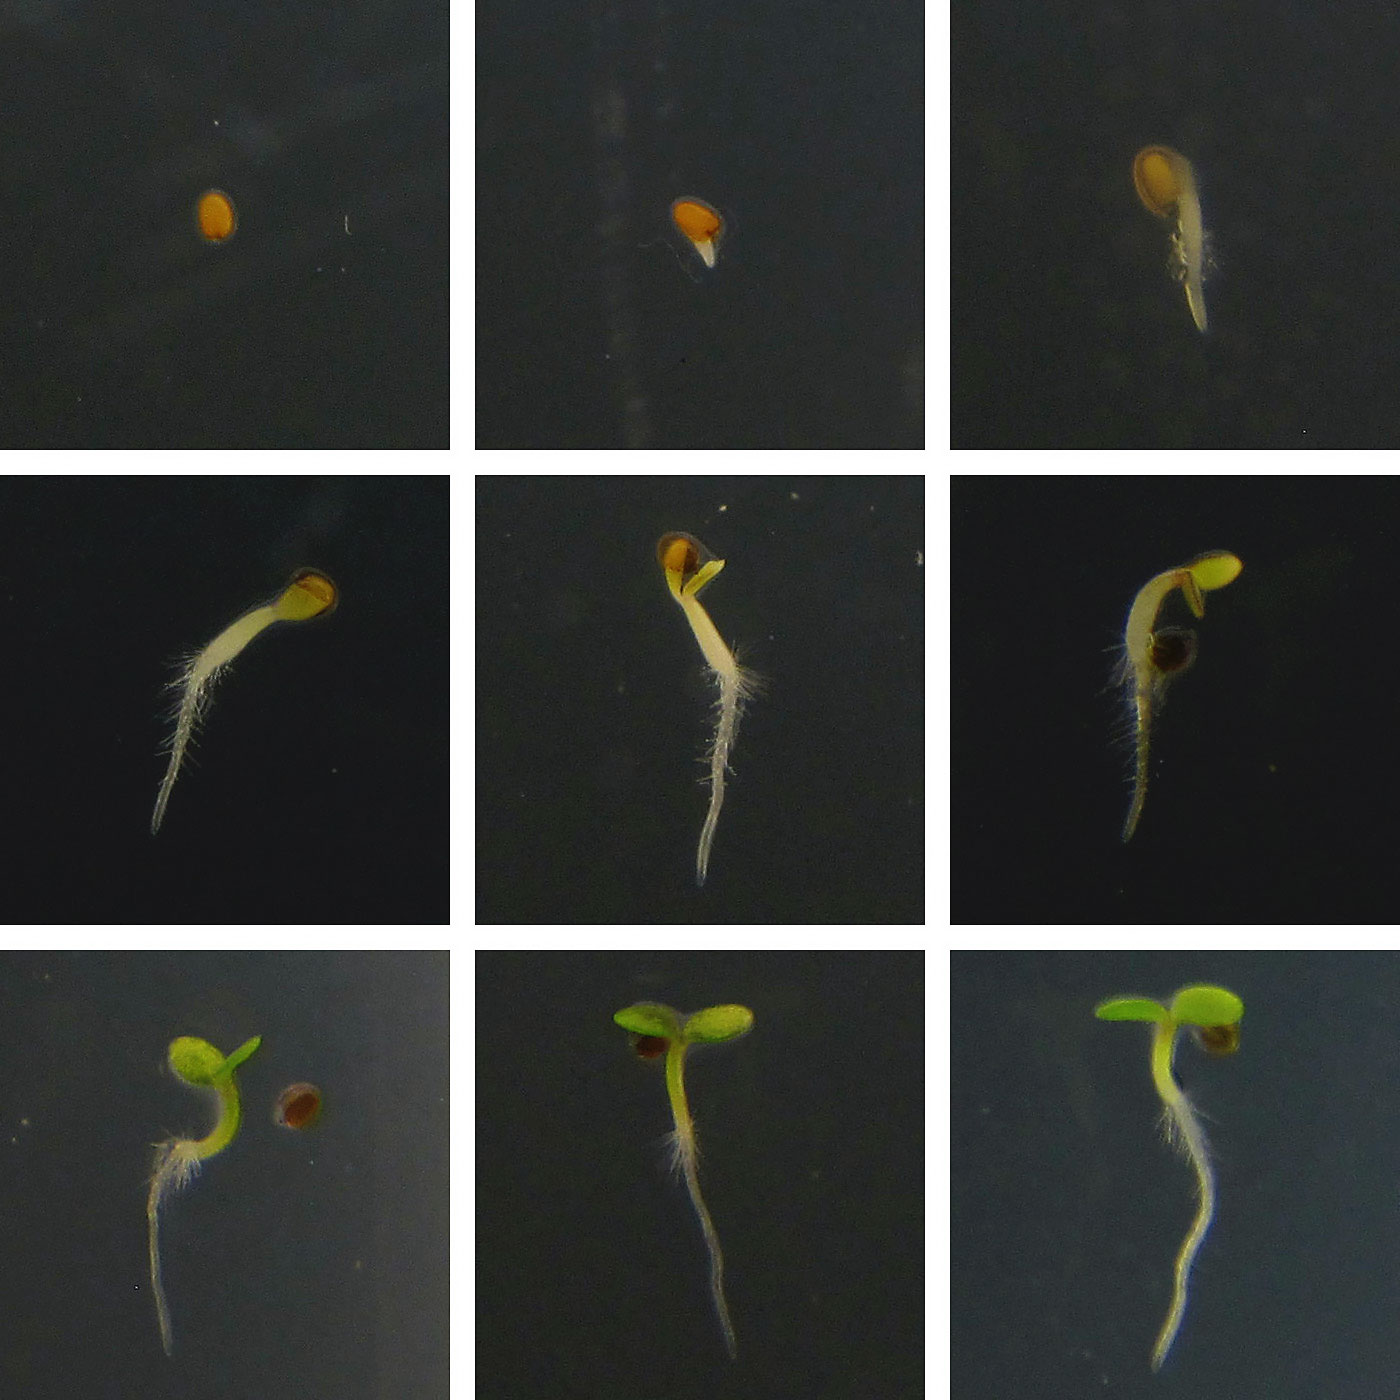
The modified roll-towel method Fig A,B,C,D
simultaneously assesses the degree of contamination and seed germination.
Soak your seeds in 3% hydrogen peroxide for 30 minutes.
Rinse the seeds several 3X times with DISTILLED water before planting and plant them as usual.
Doing this breaks down the hard outer covering of the seeds and kills any pathogen present on them.
if unsure test on some hemp sprouting seeds this should put your mind at rest...
https://www.researchgate. net/figure/Evaluation-of-biofungicide-and-growth-stimulating-activity-of-Streptomyces-strains_tbl1_358088559
Microbial communities of vegetable seeds and biocontrol microbes for seed treatment
Tinatin Doolotkeldieva* and Saikal Bobusheva
Kyrgyz-Turkish Manas University, Plant Protection Department, Ch. Aytmatov Street, 56, Bishkek city,
Kyrgyzstan, 720044
*Author for correspondence (E-mail: tdoolotkeldieva@gmail.com)
(Submitted July 2021; Accepted January 2022; Published online January 2022)
Abstract
Thirty-one species of vegetable seeds from Kyrgyzstan’s State Register were analysed for mycological and
bacterial composition using various methods, from simple visual to molecular. The modified roll-towel method
simultaneously assesses the degree of contamination and seed germination. Screening in agar medium allows
analysis of species on the outer and inner surfaces of vegetable seeds that are not detected using the roll-towel
method. As a result of the phytopathological examination, 15 fungal and three bacterial species were found.
Direct DNA extraction and amplification of the universal 16S rRNA gene of diseased seeds was used to identify
the plant pathogenic bacteria, which included Pseudomonas syringae, Pseudomonas savastanoi, Pseudomonas
cerasi, Pectobacterium carotovorum, Xanthomonas oryzae, Erwinia sp. and others from the Proteobacteria
phylum.
Keywords: seed-borne pathogens, seed germination, seedling decay,
MANY OF US USE THE "PAPER TOWEL" METHOD AND HAVE WONDERED ABOUT THE MARKS AND COLORS ? -AceS
The modified roll-towel method Fig A,B,C,D
simultaneously assesses the degree of contamination and seed germination.
Last edited:


")