Craven_au
Active member
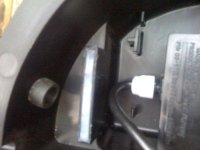
Unless they've changed designs since mine (my single pot systems are square & black, not round and green) the covers don't hold the valves down, on mine there are vertical tabs on the bases that the valves press down onto.
Setting something on top of the smartvalves is tricky - there's very little room & it's tough to stay out of the way of the upper float and arm. The best thing I came up with was epoxying some heavy bolts standing straight up in the middle and a couple nuts on the other available spots. That worked fine although both bolts eventually fell off - epoxy's problem. I found that for me there's just more that I like about the complete set-up verses any of my different pot & tray trials: Most importantly it's a tight design leaving little room for excess liquid - this means the cycles are quicker than they would be if there was a large tray. Tight also means evaporation is minimized, no light gets to the nute mix, also there's that channel on the tray that ensures a period of no standing liquid on the bottom of the pot each cycle & probably a few other things I'm not thinking of right now. But if someone did want to use the valves in their own tray it's definitely do-able, just a little tricky & there's more to think about than first apears.
sounds like u have copies not the original autopot
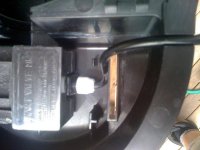
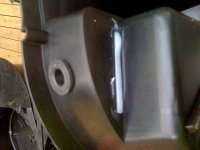
can u show a pic of the valve plz.

")