What's new
  • Happy Birthday ICMag! Been 20 years since Gypsy Nirvana created the forum! We are celebrating with a 4/20 Giveaway and by launching a new Patreon tier called "420club". You can read more here.
  • Important notice: ICMag's T.O.U. has been updated. Please review it here. For your convenience, it is also available in the main forum menu, under 'Quick Links"!

Hidden Bio-Bucket room construction

Hey guys :wave:

Nitetiger, thanks! And yeah, thats a good tip, I ALWAYS do that one when drilling anchors in concrete. Makes it much easier to get it done correctly and accurately, especially with multiple holes. The reason why I used marker is because of two reasons. 1, I was drilling two different sized holes, so I couldn't use tape unless I would've done one size of holes at a time (ie all the intake, or all the drains). I did them one bucket at a time. and 2nd, the way a unibit is constructed, it makes it difficult to tape it accurately. So I just used marker (a Sharpie) to mark the two different areas where I needed to stop and start test fitting. Construction is fun! :D

SpacedCWBY, thanks! I hope it works out too, cuz I like to :joint:

Drummerlars, thanks man. I'll edit the posts with pictures of some essential items needed to frame an area, and maybe some framing tips. I have some experience with framing, being a jack of all trades. :pimp3:
 
Thanks cracker! :wave:

I've been plagued with computer problems, so I haven't been able to post lately, but I did complete a few changes to the room:


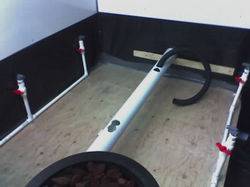
I redid the drains, using 1 1/4 inch couplings and sump hosing. It is a BIG difference over the 3/4! See for yourself! :


I did 4 buckets at a time, so I could leave 4 colonizing:


I love this bit, it cut a perfect hole for a 1 1/4" drain coupling. A better view of the cutting area:


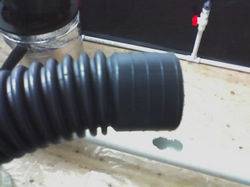
I found the exact hose BigToke uses for drain, it has these convenient ends (which I got exactly 8 out of 1-25' length!). It's found near the sumps and utility pumps at Home De Pot:


Here is some different adhesive I used when I redid the drains. It is much stronger than the other stuff I used:


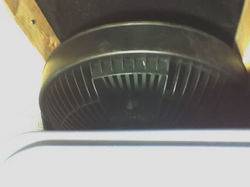
I took apart and completely cleaned all my fans, here's a big ventilation fan blowing from behind the res through the filters into the room:


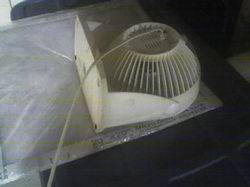
I cut a hole in the res, put a superefficient filter over it, then used a little fan to blow directly on the waterfall. It's so powerful I can feel cool air pressurizing into the buckets! :woohoo: My water temps are holding steady between 69-70 degrees:


Also, I redid the rest of the floor in the hidden area, with concrete resurfacer. It's not perfectly smooth :pointlaug but it ain't turnin' into dust no mo!

Before:


After:


And there ya have it. Here is a pic of the room with plants in it, taken the 15th:


To be continued in the grow thread... :smoker:
 
Hehe, well, it's a part of the construction, so I thought I'd post this. I finished blinging out the drain pipe, I had to fix some areas where I redid the drain, so I did it with the chrome tape, then I ended up doing the whole pipe. It pressurizes the air from the res fan into the buckets better by having the drains sealed up. I figure it might help to keep the light/heat away from the water, and besides, it just looks cool. :tongue: Check it out:


Latest posts

Latest posts

Top