acespicoli
Well-known member

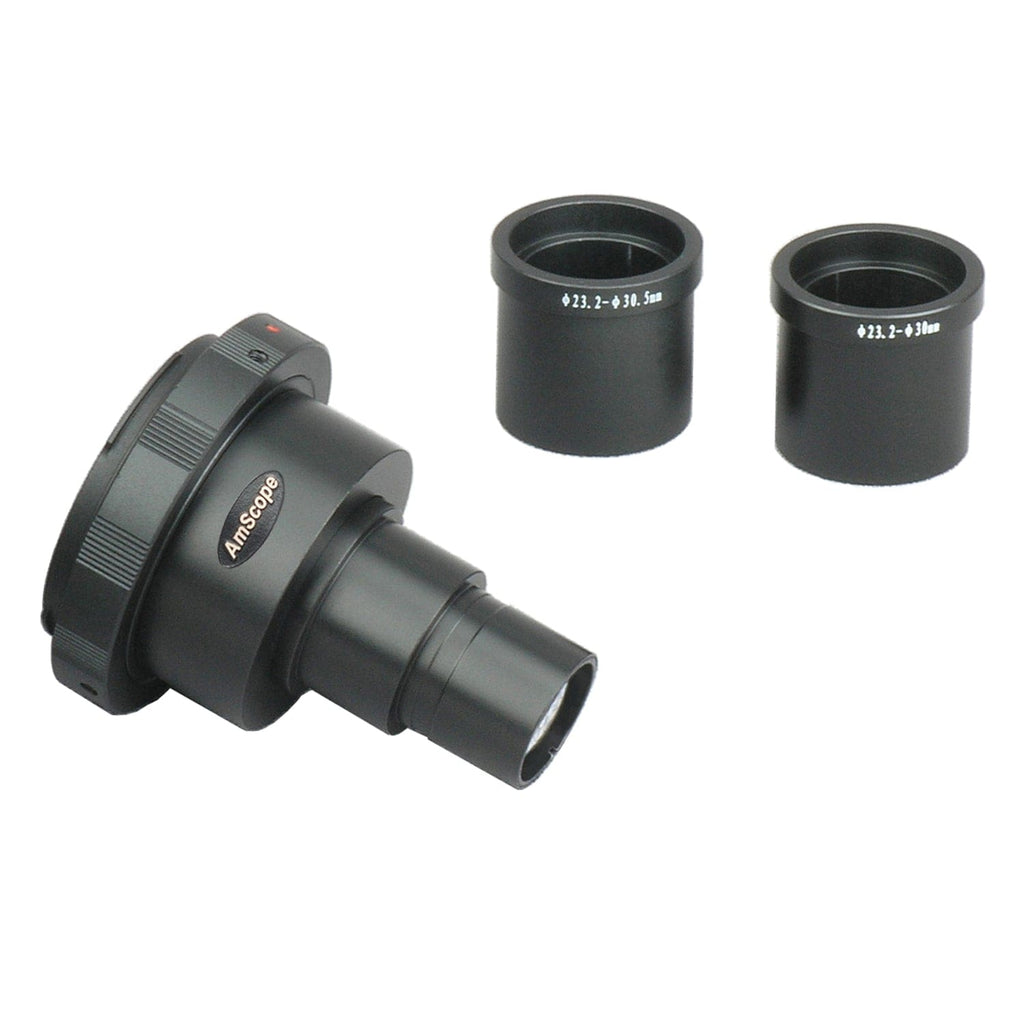
Active Eye 60X Clip-On Phone Microscope
Identify & photograph your garden pests in high resolution! The Active Eye Universal Phone Microscope allows you to convert your cell phone camera into a microscope. Its portable and convenient design attaches quickly and easily to your phone for on-the-spot viewing. This allows you to detect...
www.arbico-organics.com
")