Crumpledtrumpet
Member
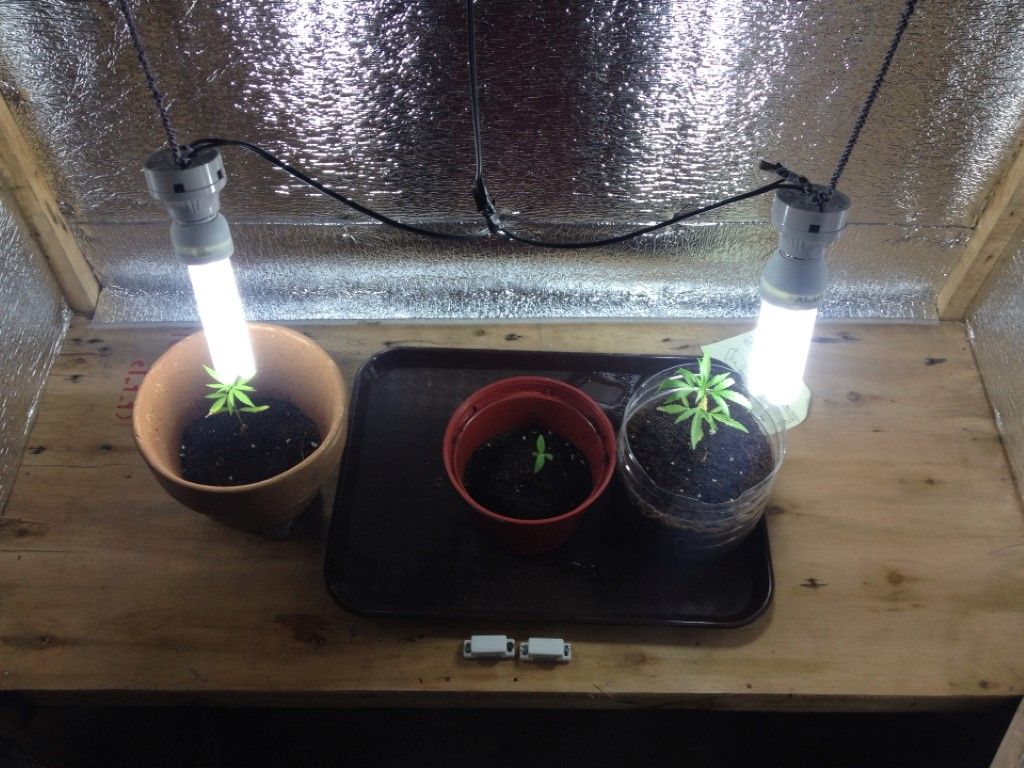
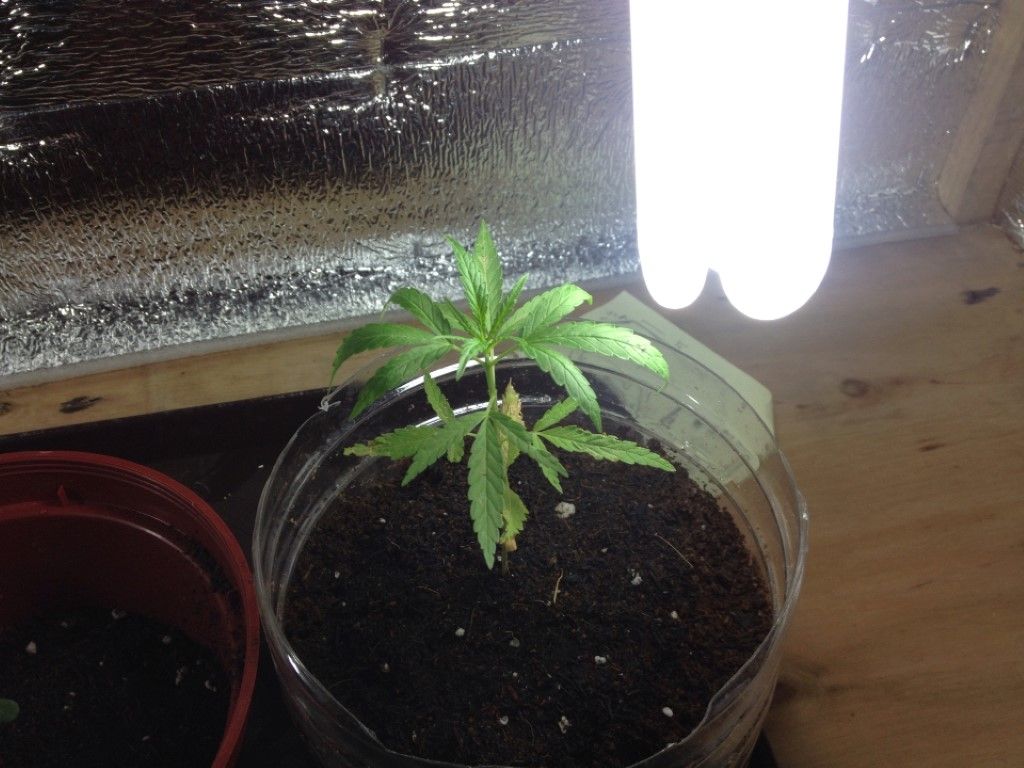
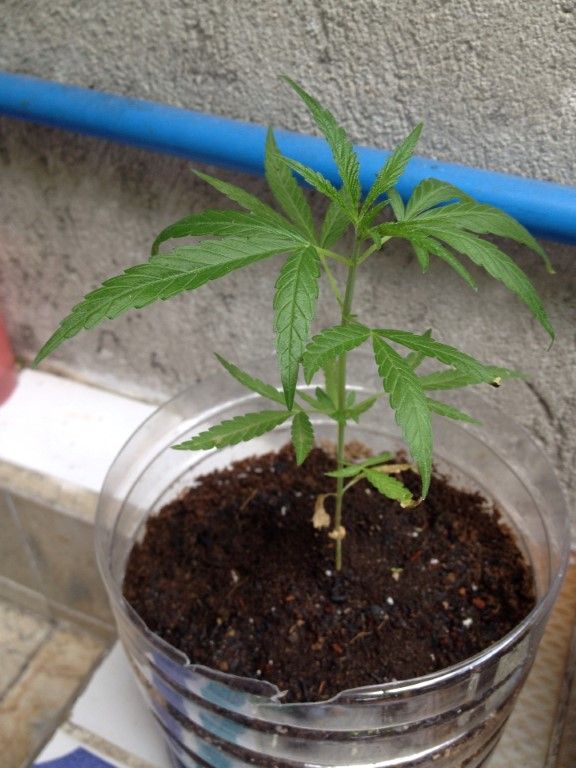
Hi Monyo, I would take note of a few things that have been said here, I know your a new grower and good to see it, Next time you plant seeds don't use clear plastic as your roots won't like that and if they are 2ltr bottoms' They are too big imo, I use 3 inch pots until rooted out and then pot on' Hope this helps' Take care.Hello again...
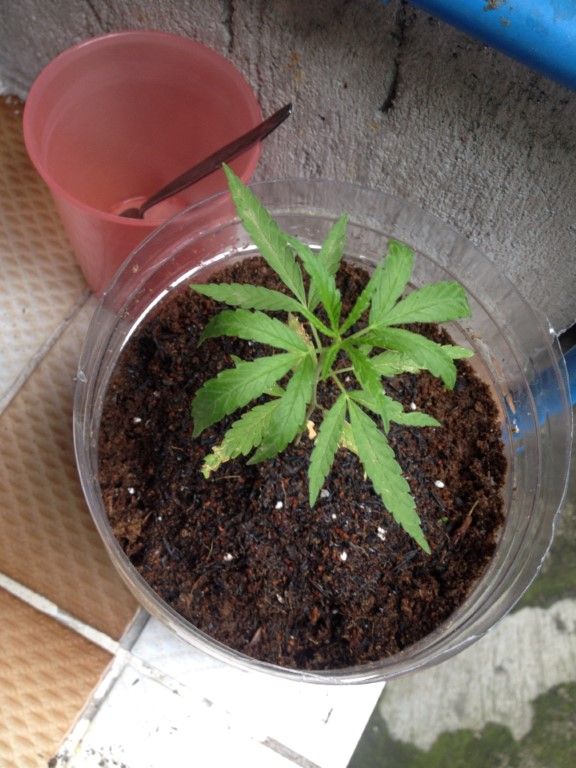
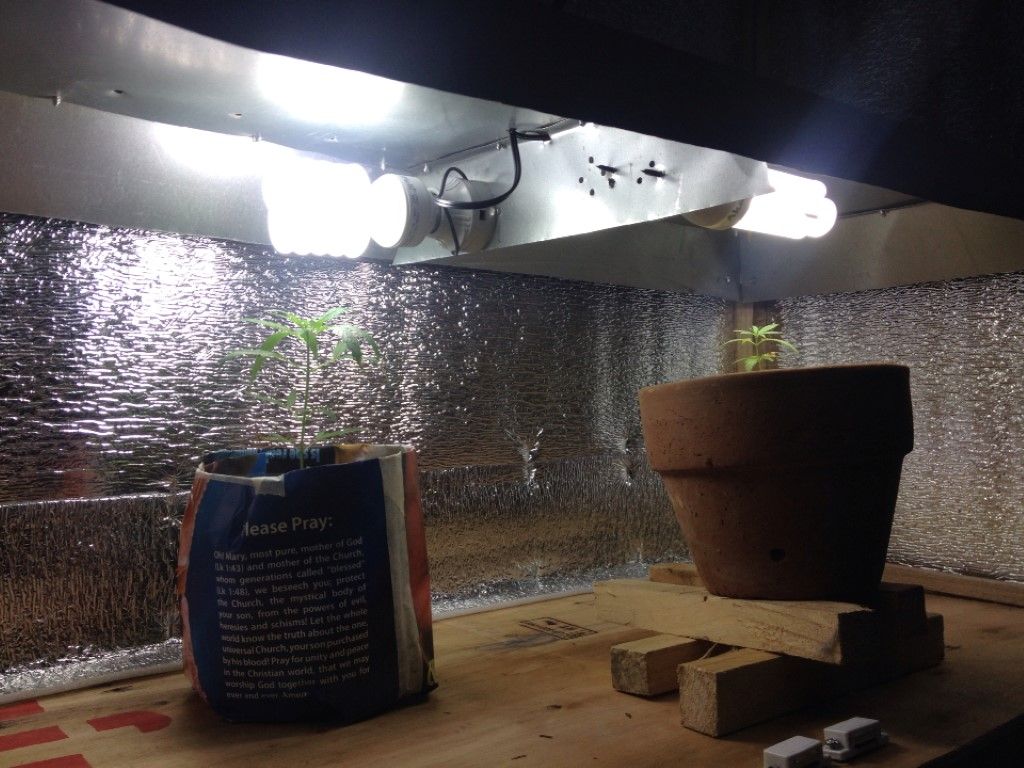
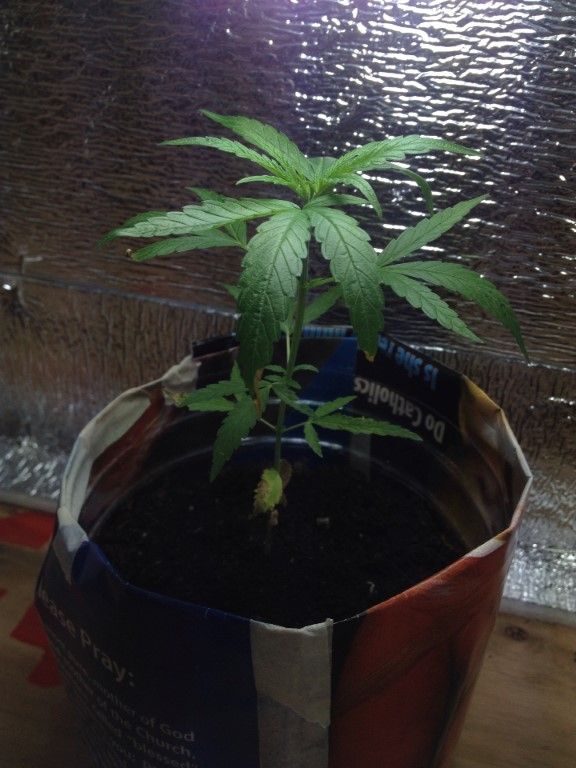
On the seedlings' 9th day, 2 have died. I don't know what caused it. There has been signs of white on the leaves. The other 2 are healthy.
I should let you know that the seeds I used might be not healthy because they are from the local weed here which is dried and not looking good when it gets here in the city. Could it be just because the seeds are not good?
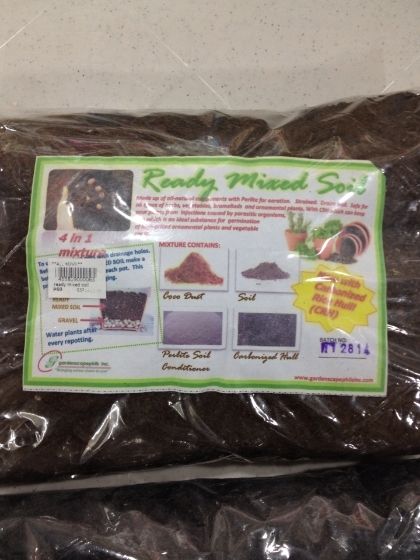
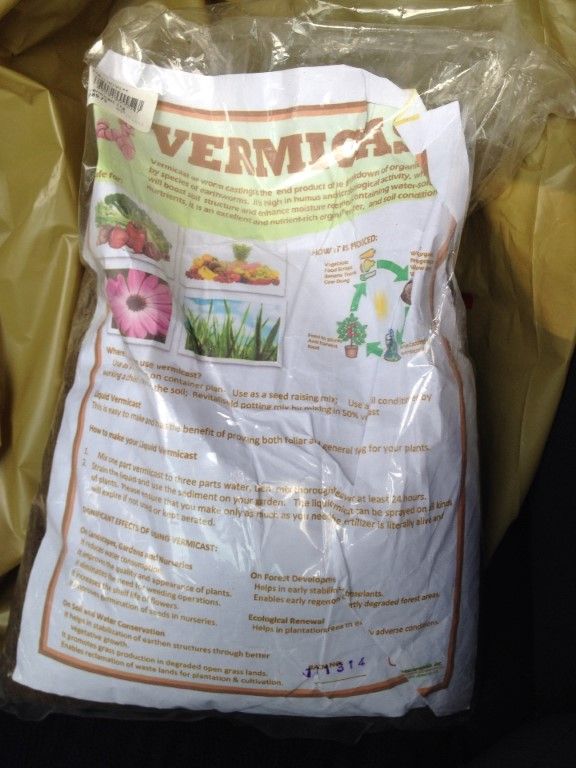
Also, what soil should I buy? I am planning on changing mine.