What's new

Tribulations of an Absentee Gardener

Boocoodinkydow

Active member
”THE MOUNTAINS ARE CALLING AND I MUST GO.....”often!!


picture.php
picture.php


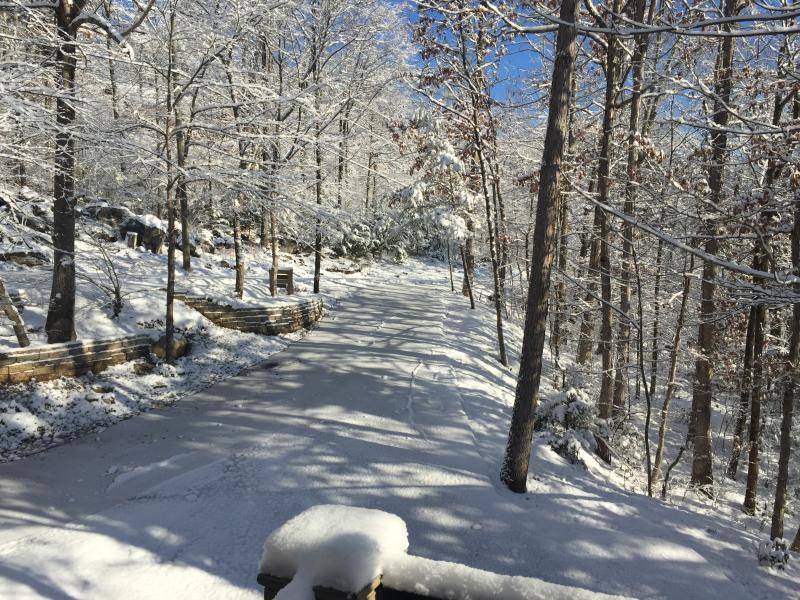
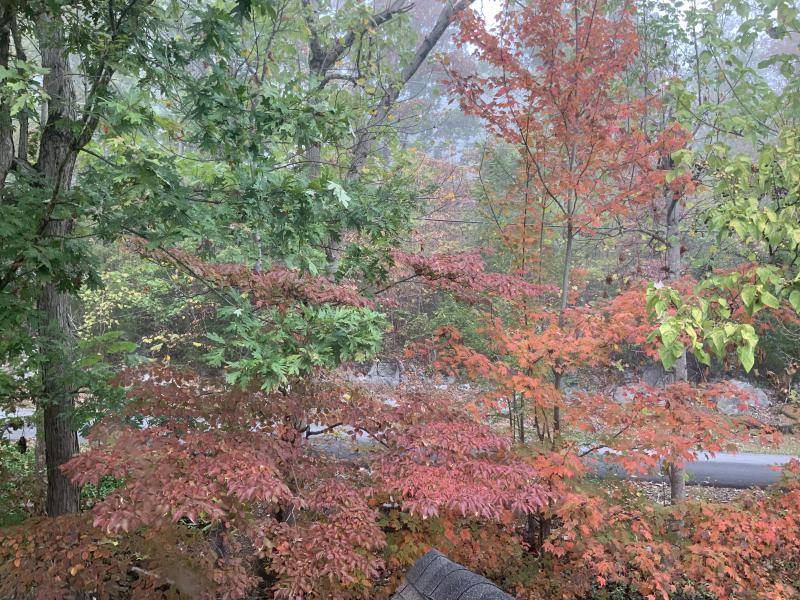
Trips to the vacation home are frequent and are generally 3-6 weeks in duration. We dearly cherish every opportunity to travel to the mountains but this makes maintaining a garden quite challenging, as you can imagine.

For more than 4 years, I’ve struggled to develop a system that can survive my many absences. It’s been a bumpy road, to say the least. There have been many failures, which I’ve been able to build upon and find the points of success.

I’d now like to share these experiences as well as keep you abreast of the progress of my preset grow. Welcome to all taking a peek.

To be continued......
 

Boocoodinkydow

Active member
AND THIS IS WHERE THE MAGIC HAPPENS......

picture.php


Many of my fellow vets will recognize this as a surplus military wall locker from an era past. It measures roughly 2’X4’X6’. It lives in a 1200 sqft woodworking shop that’s not used as frequently as it once was.

Over the years I’ve built several “experimental” grow boxes but I seem to always revert back to this inconspicuous locker. It suits my needs, is rugged and adapts well to little modifications. I’m resolved that this will most likely now be the “forever home” of my gardening needs.

My primary quest recently has been to find a reliable semi-autonomous gardening technique but you’ll also see a heavy theme of frugality and simplicity as the plot unfolds.

There’s not a single facet of my grow that couldn’t be improved upon. I use cheap household LED lights. My light schedule is 12/12 from seed. I use a single nutrient from start to finish. There is no climate control. The water is unfiltered well water, PH unknown but most likely too low. I use coco/perlite but never flush. My swick system has been in use for a year and I’ve only cleaned the reservoir and basin once, although I plan to clean it again once I harvest my present plant.

I’m hoping to establish how to get the “mostest for the leastest”. I feel there are a lot of would be gardeners on the side lines that are intimidated by the complexity of care most gardens receive. Startup costs can also be preventive for some wishing to participate in our hobby. Hopefully, I can show that these hardy plants can survive with a lot less attention than assumed as well as suggest some cost saving options that will still result in a rewarding harvest!!

To be continued.....
 

Boocoodinkydow

Active member
SO WHAT’S COOKING???......

picture.php

This is a recent pic at day 79 from seed. To get a grasp of the size, that cabinet is about 4’ wide by 6’ tall. The plant measures 56” tall by 30” wide.


picture.php

Potential of multiple colas in excess of a foot long! Color me HAPPY!!

This is an Ace Seeds Honduras, a pure Sativa with expected flower time of 98 days.

It was grown under 7)10.5w SIL’s for the first six weeks and transitioned to 11) 4’ 18w LED tubes mounted vertically in front of the plant. The light schedule has been 12/12 from seed.

The grow medium is 60/40 coco/perlite in 7 gal fabric bags.

I’ve used a single nutrient, FloraNova Bloom at full strength, from point of germination. Details on how I avoid nute burn of young seedlings later.

The water is straight non filtered well water, PH unknown.

The water/nutrient solution is being delivered through a self-replenishing Swick system. In-depth details to come.

As I mentioned, the building isn’t climate controlled and temps so far have ranged from 60-90 degrees. RH is whatever Mother Nature deals!

Nothing special. Just sticking to my theme of frugality and simplicity!!

I’ll delve into each segment of my grow as we proceed.

To be continued......
 

Boocoodinkydow

Active member
I’m perplexed as to whether I should do additional pruning

picture.php
picture.php


Day 42 of flower. Notice the trichomes covering the bottom side of the fan leaf stem. Is it past the appropriate time for pruning? Dubi says expect 98 day flower time for this strain. Not sure it’s gonna go another 8 weeks though?!?
 
Last edited:

Boocoodinkydow

Active member
THE GOOD NEWS IS:woohoo:

While rummaging around in the back of my apothecary cabinet today I found a small stash of pot that turned out to be most excellent for lying flat on one’s back in a freshly mowed hay field in the middle of nowhere on a beautiful autumn day while listening to some oldies through some good earbuds and watching the clouds float past!! (Any other old redneck hippies out there?!?)

The bad news is:dunno:

picture.php


I don’t have a clue what it is and there ain’t much of it!!
 

Boocoodinkydow

Active member
Well, another beautiful family holiday behind us and college football rivalry weekend over (my team lost, YUCK) so it’s time to get back to business!!

GOALS ACHIEVED and goals abandoned.......


At the conception of this plan over a year ago, I hoped to achieve several goals.

I.First and foremost, the system had to be semi-autonomous. I was gone for 3 weeks in October. Back in the saddle for the past 4 weeks, I’ve done nothing during this period other than some light fan leaf removal. It’s just now reached the point of needing nutrient reservoir replenishment so I’ll score this one a winner


II Next, I hoped to have a single cabinet perpetual garden by using a 12/12 from seed light schedule. I’ve yet to add an additional plant to an existing grow but I see no obstacles in achieving this. So I’ll put this one in the win column, also.

III. I had three objectives in using the 12/12 light schedule. Besides the single cabinet perpetual garden concept, I was looking for a shorter grow period. This is my third successful grow since getting things dialed in and all three plants have refused to enter the flower stage in less than 6 weeks. I’m using 5000k light spectrum. I’m thinking about switching to some 3000k bulbs and see if this is more conducive to my shorter grow plans. Until further experimentation, I’ll call this a fail.

IV. Third facet of my 12/12 light schedule was to retard plant growth. Contrary to most info I found, each of my 3 plants have exceeded 4’ tall. By using 1 gal grow bags, I was in hopes that the plants would remain compact and would facilitate 8 plants in my 2’X4’ floor space. Count this an epic fail!! It’s been my experience that plant size has not been proportional to container size when using coco in rag bags. Not only has the smaller pots not effected plant structure, but consistent moisture “swicking” proved problematic. I was constantly having to adjust the nutrient/water level in the basin as well as limiting the contact area between the bottom of the smart pot and perlite in the swick basin. I’ve since gone to 7 gal rag bags and moisture content has been dead steady. Unfortunately, I can now only accommodate 3 plants at a time.

V. Finally, I placed great importance in adhering to my theme of frugality and simplicity. I’ll delve into details of this a bit later but this has been another one I can put in the win column.

To be continued.....
 

Boocoodinkydow

Active member
A QUICK UPDATE....

13 weeks from seed
7 weeks in flower stage

This period of the grow is a bit like watching paint dry to me. Structural growth has been stagnant for the last few weeks. Colas are slowly getting denser and broadening a bit. Really getting sticky and “stanky”.

picture.php

Pistils seem to be a little more prominent in spite of some going brown. I see little difference other than that.

picture.php

Top two colas are still looking promising.

picture.php

I’m enthused over the number and size of the colas in the midsection of the plant.

picture.php

And appears that even the lowest regions are going to produce some nice little buds.

picture.php

Continuing to pack on the trichomes. Yummy!!
 

DunHav`nFun

Well-known member
Hey Bro.....Thanks for your grow and show.....Gotta say this is inspirational to the newbsters on a tight budget if...….they could reproduce your results with such minimalist efforts on controlling environment as you`ve been fortunate enough to do with all aspects of your setup.....now.....

I see you talked about issues with container size and your sub irrigated feed setup keeping the bottom containers too wet using the smaller containers until you sized all the way up to #7 smartpot/fabric pots ?.....all setups have a learning curve bro.....I respect yo redneck intuitiveness and engineering to grow a damn monster with literally no bells and whistles.....inside a damn cabinet I might add.....anyways...…

I`ll be over here on my bucket watchin and waiting for the show to unfold so thanks again for your time and...…oh....btw.....my damn team lost too.....

Peace.....DHF...…:ying: ……..
 

Boocoodinkydow

Active member
Hey Bro.....Thanks for your grow and show.....Gotta say this is inspirational to the newbsters on a tight budget if...….they could reproduce your results with such minimalist efforts on controlling environment as you`ve been fortunate enough to do with all aspects of your setup.....now.....

I see you talked about issues with container size and your sub irrigated feed setup keeping the bottom containers too wet using the smaller containers until you sized all the way up to #7 smartpot/fabric pots ?.....all setups have a learning curve bro.....I respect yo redneck intuitiveness and engineering to grow a damn monster with literally no bells and whistles.....inside a damn cabinet I might add.....anyways...…

I`ll be over here on my bucket watchin and waiting for the show to unfold so thanks again for your time and...…oh....btw.....my damn team lost too.....

Peace.....DHF...…:ying: ……..

Appreciate the kind words more than you know!! Thanx much.

Details are evolving a bit slower than I had originally planned but sometimes life just gets in the way!! I’m looking forward to dissecting each element of the grow in a little more understandable fashion in the near future.

Thanx for hanging in with us. Great to have you join in!
 

Boocoodinkydow

Active member
THERE’S AN INTRUDER IN THE HOUSE......kinda

Actually, just an unexpected resident.

picture.php

I planted a Panama seed the same time I planted the Honduras but it failed to germinate. When I returned from my last absence, I was greeted by a nice little sprout. It finally poked its head above ground somewhere between 6-9 weeks after I planted it. Not totally sure of her birthday but I’m assuming she’s about 5 weeks in this pic. Measures about 32” now. She’s very leggy and sparse with strange alternating growth from the nodes similar to what I’ve seen in some clones. The stem is really hardy and robust, however. I had actually planned on transplanting her but I let time pass me by. About all I can do now is try to keep her pulled out of the way until I harvest my Honduras. If Miss Panama takes after her big sister, I’m gonna have a real logistical problem, though!

At least I have accidental verification that my setup has perpetual gardening capabilities!!

To be continued.....
 

Boocoodinkydow

Active member
NOW, TO THE HEART OF THE MATTER.....

What makes everything tick?!?

Let’s start with the Swick system, or self wicking smartpot setup. It’s the most important segment of the operation that allows me to ignore my garden for such long intervals.

I’m not totally sure of the actual origin of this system but I credit noob_wannaB with the inception and later promoted by SweetSue in a lengthy thread on another forum that was quite informative.

It’s a pretty simple system that relies on wicking properties to work. Initially, it was designed to be used in conjunction with living soil or high quality organic soil. I was a bit reluctant to try to transition this system to my coco/perlite medium. The reservations were further reinforced by some posts from a couple of my mentors on the subject. This is a response I received from a well respected member on another forum with a lot of Swick experience:

“When growing with nutrient pour coco and nutrient rich water, you want 10-20% runoff from watering to remove the salts from the soil and the water. If that runoff collects in a swick and evaporates you are likely to get high levels of nutrients/salts that are bad for your plants. You also might get stuff growing in your SWICK.

You could do the nutrient watering above a tray and discard the runoff - like normal. Then use a SWICK of plain water to extend the time between waterings, but that seems like a lot of trouble for a small benefit of keeping the soil moist. I don't like to keep the soil moist until flower, and flower is when plants demand more nutrients.

For me, a SWICK and liquid nutrients / coco grow seems like a lot of trouble for very little benefit.

A SWICK does not need to be saved for "organic" soil, but it works best for nutrient rich soil.”

And then another reiterated:

“I agree with Rad. This system works best with a well-aerated organic soil.”

In spite of pessimistic recommendations, I timidly started some experimentation. Finding compatibility between the Swick system and my coco/perlite medium was admittedly a bumpy road. At times I thought that perhaps my mentors were right in their recommendations but persistence finally paid off.

Next, we’ll delve into the construction of a self-replenishing Swick basin and reservoir containing nutrients. It does work, Rad!!

To be continued.....
 

Boocoodinkydow

Active member
OK, TIME TO GET TO WORK.....

Let’s build a Swick!!

Options for a basin are almost infinite. Being an old woodworker with plenty of scraps, this was the best option to suit my needs.

picture.php


This allowed me to maximize the use of my space. I have 6 screened intake vents in the bottom of my cabinet so I left a couple of inches clearance on all sides for proper airflow. Also, the wooden basin is mounted on 6 short legs so to not impede the vents. The internal measurements are about 20”X40”X 6” deep.

To make it water tight, I opted to use a shower basin liner.

picture.php


This was a bit of a splurge but the 40 mil thick plastic is going to pretty much bulletproof. A more frugal option would have been a couple of layers of some quality plastic sheeting.

There’s numerous options available for those not wishing to custom build a basin. Plastic totes can be had at a reasonable cost and some are quite adequate for a couple of plants. Dollar Tree has several options that would work for a single plant. Most of the containers there, however, are clear plastic and should be covered to avoid light infiltration. Perlite exposed to light will invite algae growth, slime and other yuckies to flourish, especially if you chose to bottom feed through the Swick as I do. Wrapping the container with some quality aluminum foil would be a quick fix.

For those wanting to avoid constantly adding water or water/nutrient solution, a self-replenishing basin is a pretty simple addition.

picture.php


An inexpensive float is the key. This one has a wide range of level adjustments and has served me well. It came with NPT threads (national pipe threads). To facilitate a hose connection I had to spring for a couple of bucks for an adapter at Lowe’s.

I built a frame of hardware cloth (also known as rabbit wire) and covered it with landscape fabric. This was placed around the float to keep the perlite from impeding it’s function.

picture.php


Sourced from uncle Bezo’s online hardware store.

If you’re going to simply water through the Swick, just hook it up to the nearest water source via water hose. If your grow medium of choice is coco/perlite, it’s going to be best to feed through the Swick as well. In this case, you’ll need a reservoir to hold your solution.

picture.php


Plastic drum is a good option, relatively easily sourced in most areas and generally inexpensive.

Next we’ll load this sucker up and get it ready to rock and roll!

To be continued.....
 
Top