DrySiftWizrd
Member
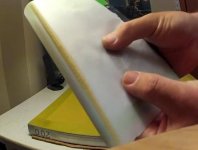
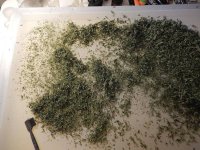
ya just cover something with parchment and swipe it around on top of the pile .. spread the pile out thin on the screen and just collect the stuff that collects on the parchment in a separate pile
Huh... I wonder if this is how Sam was doing it.......
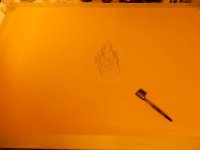
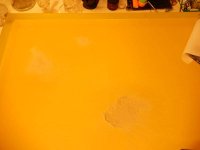
") Looks like you could get most of the work done in 10 minutes or so.
Looks like you could get most of the work done in 10 minutes or so.