What's new
  • Please note members who been with us for more than 10 years have been upgraded to "Veteran" status and will receive exclusive benefits. If you wish to find out more about this or support IcMag and get same benefits, check this thread here.
  • Important notice: ICMag's T.O.U. has been updated. Please review it here. For your convenience, it is also available in the main forum menu, under 'Quick Links"!

A new start

Palindrome

King of Schwag
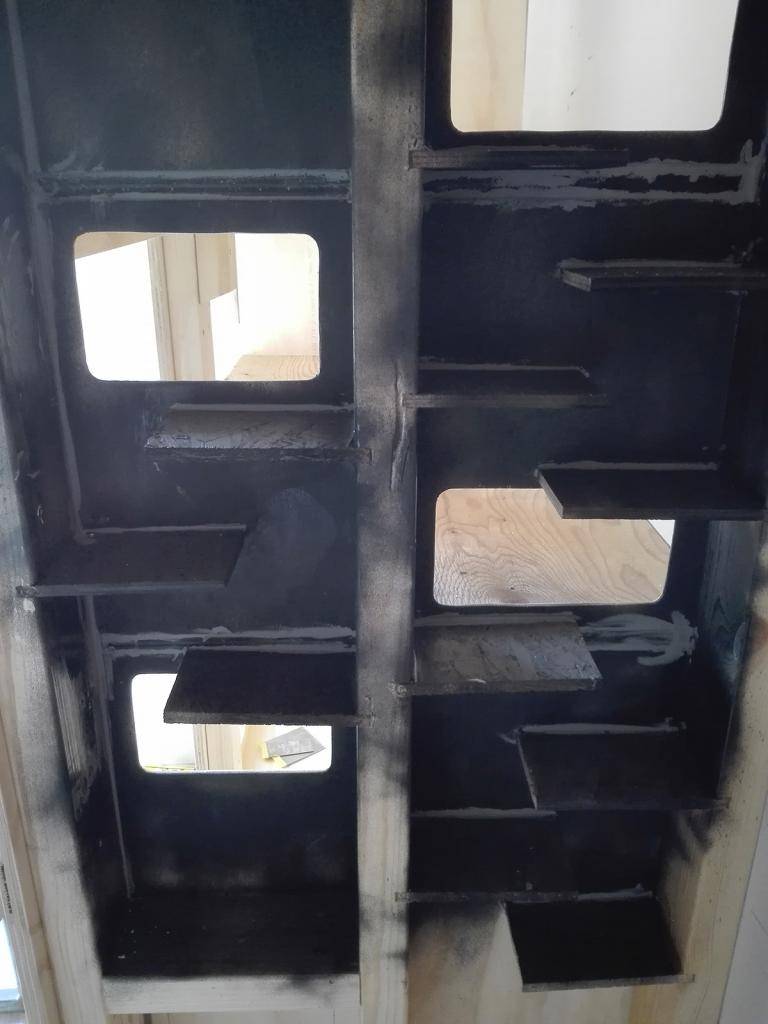
Sealed up the light trap, and other cracks with a gray acrylic seam.
It's not as flexible as silicone, but a lot cheaper and will do fine for this.


Palindrome

King of Schwag
Drain and feed line

Drain and feed line

Drain pipe

It's a Fluval Fx5 hoze I had laying around, a spare for one of my aquarium filters.


They will be secured with a clamp, just to be safe.
I only use this hoze, as I had it laying around. $ wise it would be cheaper, to buy regular 1" hoze.


Made first part of the feed line, connected it up to see if everything fits.


Palindrome

King of Schwag
So I had to drill a hole for the feedline

I am not sure what I have been drilling last, with this drill bit.
But it sure havent been something, the drill was intended to drill thru!


Nothing a little TLC wont fix I guess, but damn that drill is looking sad :comfort:

Perfect job, to do while you take a puff break!

A wetstone, some TLC and a Joint later.


Now I was able to drill the holes, for the feed line into the veg rooms.


Final job of the day, fill in more cracks with chemical wood, wood caulk or what ever it's called.


Tomorrow - more sanding, then a big clean up and then paint the inside!
 

Palindrome

King of Schwag
Day 18 @ 12/12

Day 18 @ 12/12

Pic's from the grow - Flower day 18

pH is kept between 5.6 and 6.2

Just topped the res up, with about 20 L tap water to raise the pH back up.

Ec is droppin slightly, was switching between 1.2 and 1.3. Reads out as 1.3, before I topped the res.

RQS Skunk #1 looks happier then the cheese, but far from perfect.


Cheese, far from happy. Can't quite figure this plant out, seems to be laggin iron now.


For a first grow in a decade, im happy and im sure it will yeald enough. To cover me and the misses for quite a while, during the summers many sail trips.


Palindrome

King of Schwag
Painted the inside of the closet today, with a flat white quality paint.
That will block moisture and prevent rot, but it's waterbased and safe for furniture.
It should not give off anything, that could be harmful for the plants or for me when I smoke them.


Installed metal net's in the air vents, after I did the first two layers of paint. Then taped them off and gave the inside, a last and third layer of paint.


I have kept the tape on, as I plan to paint the inside of the air channels with another layer of flat black.
This way I'll be able to paint the backside of the net black as well and avoid spraying into the fresh white painted rooms.
 

The_Skunkist

~~ Auto Ninja ~~
ICMag Donor
Veteran
This is very nice to see people like you taking time to do the things well .
Quite rare nowdays ! Continue the good work ! :)
 

Palindrome

King of Schwag
This is very nice to see people like you taking time to do the things well .
Quite rare nowdays ! Continue the good work ! :)

Thanks mate, happy to share and having a lot of fun keeping my diary.
The misses accuesd me to spend this much time on the build, to show off, to my friends online.
But I had to disagree, I am doing this for me, her and for our grow. As I am sure she will enjoy the smoke as much as me.

I have grown in all sorta setups, thrown together over night and flipped a switch.
It have gone well some times, but other time doing that have failed massive.
I got the time, im on a budget. So have brought a lot of the stuff cheap in china, waited a month or more to get it.
It takes time :D

And I am gonna look at that closet every day, work with my plants and I will enjoy that a lot more.
Looking at something that both gonna look, nice and nothing like a grow closet from the outside. But work optimal for the plants on the inside :D

Hoping once im done with the build, we'll be one happy family and get a lot of little canna babys!


Note on the grow:

Added 40 ml Micro + 60 ml bloom

pH 5.9
Ec 1.3
 

Palindrome

King of Schwag
Talked with my mate who own the cheese cut I got, he said it's normal that it looks like it's almost dying all the way to midt flower.

Dunno if thats true or not, others who had this experiance with the original cheese clone?
 

Palindrome

King of Schwag
All right, back from a short sail vacation with the misses.

Normaly I don't do this, but just had to check in and see if everything was okay.
After been gone for 4 days, it's always interresting to check on the grow.

 
C

Chipleader

it's always everyday interesting !! :D
How much time are they in flower ? and how much VEg ?
nice canopy ;)
 

Palindrome

King of Schwag
it's always everyday interesting !! :D
How much time are they in flower ? and how much VEg ?
nice canopy

Uhhh they where in veg a long time, had a lot of trouble with them in the begining.

They are now at 24 days flower

And thank you, the canopy is a bit uneven but again it's two different "strains" mixed in between each other.
Im happy with it so far, there is a single cheese plant in the back end.
That is getting shaded out a bit, but it will have to deal with it. As there is nothing to do about it now


A few pictures from today, after the lights came on.
pH 6.25
Ec 1.3

Can't complain about that, must be cos Putin is looking out for the girls!


Skunk #1


Cheese
 

Palindrome

King of Schwag
Thank you Kaskadian, it's been a LONG way too :D


@EvergreenState

Welcome aboard and thank you for tuning in, it sounds like you enjoyed the read.
Don't grow up to be me, im messed up, but I always try to get the best out of things.
In case you do, I got a few tips on the way!

Give it your best, and never give up.
Fail and fail you will, but never give up.
Sign here .... for 3 months free gym training!
The motivational outburst of nonsense, are free of charge! :dance013:


All right, got a few more plywood cover sheets made.
They are a bit of a pita, as everything have to be cut indevidualy to fit.
Also got the doors test fitted, they will need a little tweaking to light proof it all.
Thinking some foam seal strip, might do a good job at that.


A little more woodwork, then I gonna start pulling cables for lights.
Once everything is done, I'll seal the bottom with polyester to make the bottom and a inch or two up the sides waterproof.
 

Palindrome

King of Schwag
Free gym training. Cool

First step in your new free gym training program!

Watch and follow along!
[YOUTUBEIF]https://www.youtube.com/watch?v=gGkx8W0uQ98[/YOUTUBEIF]


egJJz6Y.jpg
 

Palindrome

King of Schwag
picture dump

picture dump

Started on the wiring, as I was sick of sawdust.


I've put in some PVC cable trays, just to make it a little more tidy looking.


Then back to the sawdust, this time mixed with rockwool dust as well.
Know I hate rockwool! It's a pita to work with, and my attic is filled with it. Have had to move a lot of cover boards and RockWool, do get be able to cut and drill holes. Without cutting into wires, or the structure holding the roof.


Anyway im almost ready to put it all back in place, cover it up again and be done with messing about with insulation from hell!
 

EvergreenState

Active member
I can't view the video. I click on I Agree and when I click to start the video an error message pops up. Damn I was ready to be inspired.
 

Latest posts

Latest posts

Top