
hey all, have wanted to get into hydro for a little while and after doing a fair bit of research with books and youtube (great resources for growing marijuana i might add!!) i decided to try a reticulating drip system / DWC (deep water culture grow) set up and make it myself.
anyway just thought i'd put the steps up here for others who're interested so they don't have to do the same amount of searching and playing with designs etc in order to make one. i might add i'm still a novice so i'm sure my setup isn't perfect so please feel free to critique it and give me advice on making a better one next time or improving this current one!
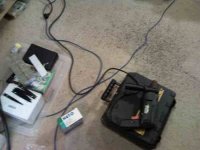
first i'll give you a list of shit you need to make the RD/DWC system.
* below items can be acquired from most hardware/hydro stores
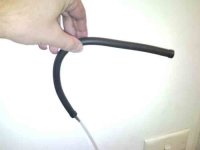
1/2" piping x ~2m
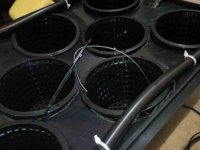
1mm piping x ~1m
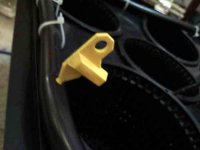
hold pumping tool (yellow in photo)
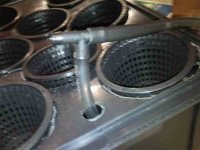
T piece
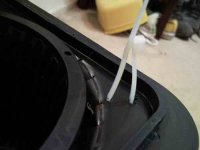
plastic stakes
30L black opaque tub and lid
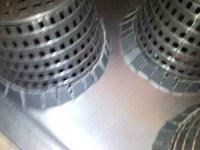
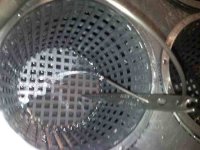
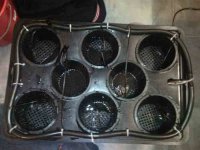
mesh/net pots x 8
clay pellets x 25L (i bought a half bag from hydro store)
* below items can be acquired from any aquarium store
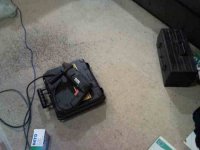
water pump
air pump
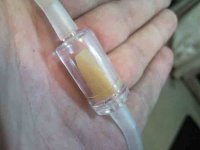
1 way valve
air stone (i'm using a flexible tube one)
2mm aquarium air piping x ~2m
* tools used
drill
jig saw
leatherman
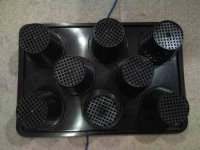
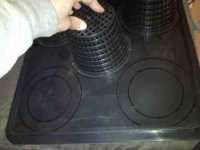
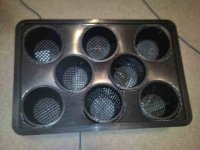
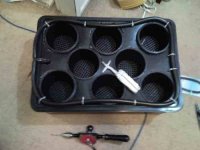
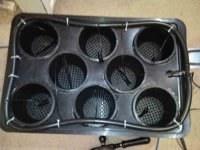
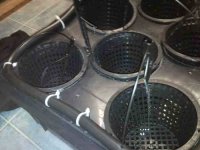
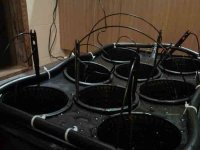
step 1. place net pots upside down on to upside of 30L tub lid and trace around them with a permanent texture.

step 2. once you've traced the 8 circles (in my case, you can do as many or as few as you like) turn the net pots upright and place the base of each pot in the middle of each circle traced and then trace the bottom in each circle.


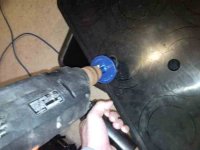
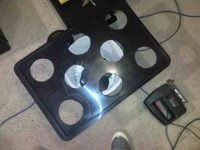
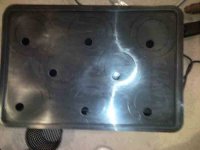
step 3. once you've traced all the circle pairs onto your container lid you need to make some kind of hole in the middle of each inner circle in order to fit the jig saw blade in in order to cut the inner circle out. a drill is the easiest way to do so!

anyway just thought i'd put the steps up here for others who're interested so they don't have to do the same amount of searching and playing with designs etc in order to make one. i might add i'm still a novice so i'm sure my setup isn't perfect so please feel free to critique it and give me advice on making a better one next time or improving this current one!
first i'll give you a list of shit you need to make the RD/DWC system.
* below items can be acquired from most hardware/hydro stores
1/2" piping x ~2m
1mm piping x ~1m
hold pumping tool (yellow in photo)
T piece
plastic stakes
30L black opaque tub and lid
mesh/net pots x 8
clay pellets x 25L (i bought a half bag from hydro store)
* below items can be acquired from any aquarium store
water pump
air pump
1 way valve
air stone (i'm using a flexible tube one)
2mm aquarium air piping x ~2m
* tools used
drill
jig saw
leatherman
step 1. place net pots upside down on to upside of 30L tub lid and trace around them with a permanent texture.
step 2. once you've traced the 8 circles (in my case, you can do as many or as few as you like) turn the net pots upright and place the base of each pot in the middle of each circle traced and then trace the bottom in each circle.
step 3. once you've traced all the circle pairs onto your container lid you need to make some kind of hole in the middle of each inner circle in order to fit the jig saw blade in in order to cut the inner circle out. a drill is the easiest way to do so!

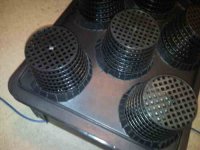


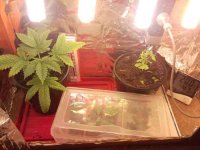

 i'll keep you all posted once i plant things in it!
