What's new
  • Happy Birthday ICMag! Been 20 years since Gypsy Nirvana created the forum! We are celebrating with a 4/20 Giveaway and by launching a new Patreon tier called "420club". You can read more here.
  • Important notice: ICMag's T.O.U. has been updated. Please review it here. For your convenience, it is also available in the main forum menu, under 'Quick Links"!

Blumat auto watering

Canniwhatsis

High country cat herder
Veteran
Don't know!

To be honest I've been fighting my cloning setup, so that one I did was completely packing a 5 gallon before up potting to the 15, then spent better than a month there before I moved her to flower.

Still never got a cut to root, and lost that strain. :(

Most of my plants are done in 3 to 5 gallon smarts, and are root packed from top to bottom by the end of flower!
 

spaceboy

Active member
Hi everyone :tiphat:

Just setup my blumats a few days ago for the first time and it seems that some pots are staying pretty dry and others are only getting partially wet and two of them that actually flooded.

I'm using pretty small pots 1/2 gall to 1 gal and have the main line going in a circle around the room and using a 15 gal tote for rez. I'm not sure where to start in terms of adjustments here besides tightening or loosening the valve, which I've already tried, but still not seeing much results.

I'm wondering if maybe I need to take everything apart and soak the blumats again or maybe just try putting some tinfoil around the line.

Any ideas where to start? :thank you:
 

Maj.Cottonmouth

We are Farmers
Veteran
When you first setup your blumats did you put the cap on underwater? For the blumat to work correctly the light green part must be full of water with no air in it. I normally fill the kitchen sink or a large bowl and put the caps on underwater. Make sure to tap the cap around when it is underwater to remove any air bubbles. Once that is done you soak your plants completely and adjust the blumat to just a drop clinging and then two arrows back on the adjustment knob. I run coco which will eat a lot more water than dirt so I don't do the two arrows back. And you will probably need to do some minor tweaking during the first week or so but then they should run trouble free provided you are not using chunky nutes.
 
O

otis33

you'll have to toy with them a little bit, but once dialed they are great. I too run coco and when setting them I soak my pots then open the sensor up all the way to make sure there are no bubbles in the line, then I dial to a cling. no two arrows. this keeps my pots nice and moist. it's hard not to mess with them when your pot seems to dry, but usually if you let it do it's thing it will. if after another day they seem lighter then make adjustments. there is a learning curve, but once you get past that they are easy to set and will run trouble free.
 

Vaporetti

New member
Requirements For The Reservoir

Requirements For The Reservoir

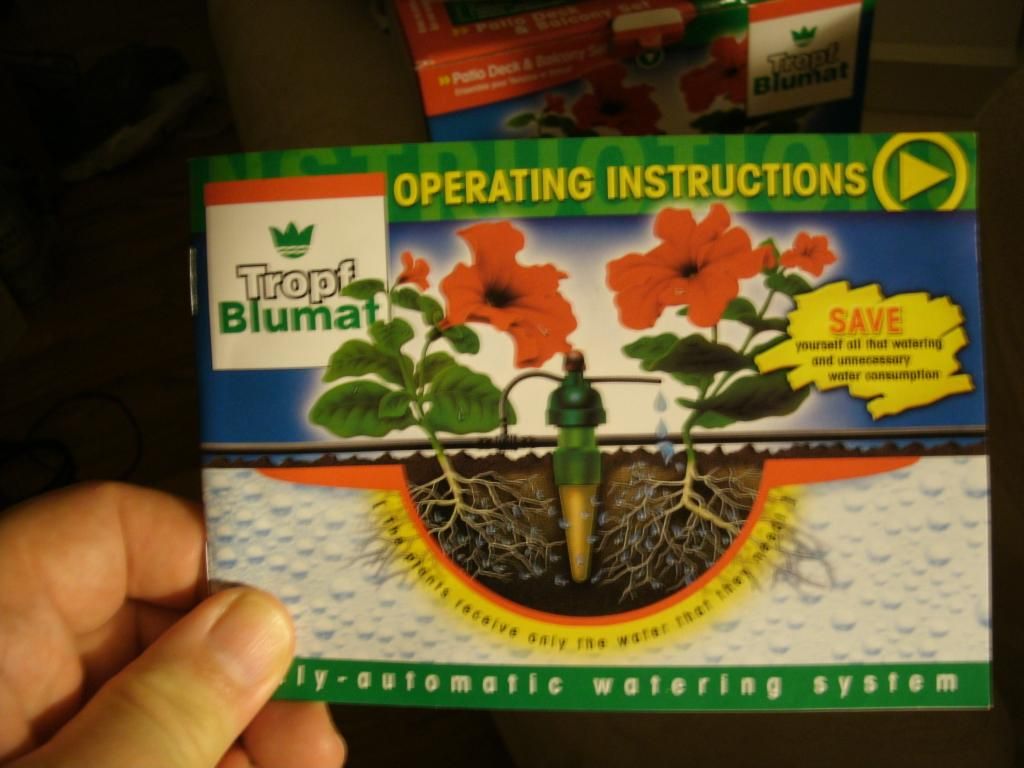
In the Tropf Blumat watering system the instructions do not describe the reservoir. They mention the system uses osmosis but does the reservoir have to provide head pressure or gavity pressure to the lines? If not then I will just anchor my tubing to the bottom of a Rubbermaid tub and see if water will siphon up the tube and down to the drippers.

If you do know how to make a gravity reservoir for indoors for a grow tent can you please point me in the right direction. Thanks in advance.
 
O

otis33

your res must be elevated, I think 1 ft for every ten feet of drip line or something
 

Vaporetti

New member
your res must be elevated, I think 1 ft for every ten feet of drip line or something

I haven't really played with this set yet but if I understand correctly water will travel up the tube in the reservoir, out through the top, down a foot or two to the blumats and I don't need a fitting at the bottom of a rain barrel or a pressure regulator or anything else but what is in the box?

:biggrin:
 

Lapides

Rosin Junky and Certified Worm Wrangler
Veteran
You drill a hole at the bottom of the reservoir. If I remember correctly, when you buy the 12 piece patio set, they give you a fitting for the reservoir. You can also buy extras.
 

Gelado`

Active member
Veteran
Hmmm, I use bootleg Blumats that are not adjustable. Setup is much the same, although my reservoirs' water levels have to be lower than the plants or the water flows very quickly! I use quart bottles for my one gallon Smartpots and they will drain the bottle completely dry! They were very cheap and work well for out of town jaunts, although they keep my medium very moist until the water runs out. Thank God I use 50% coco!
 

Eighths-n-Aces

Active member
Veteran
^^^^^^ is this what your blumats look like? i own one but have not tried it out

blumat_Room_L.jpg
 

Vaporetti

New member
That is a picture in the German/Chinese manual and mine look like that. This would make for a good Saturday Night Live Sketch, American trying to figure out watering system.

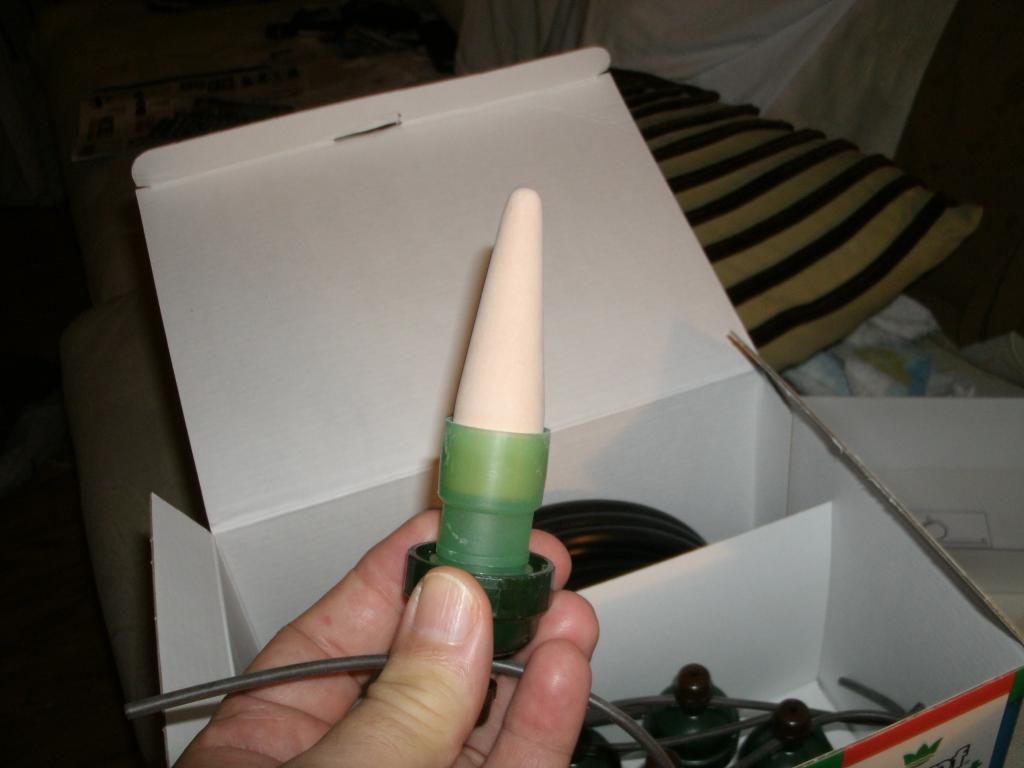
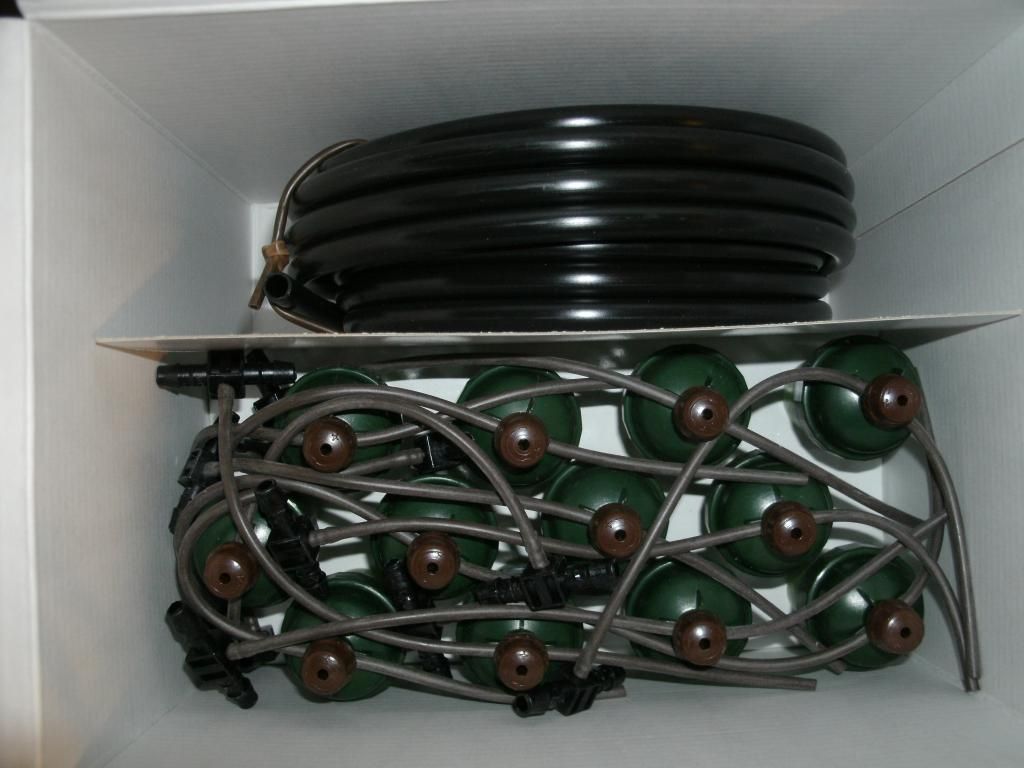
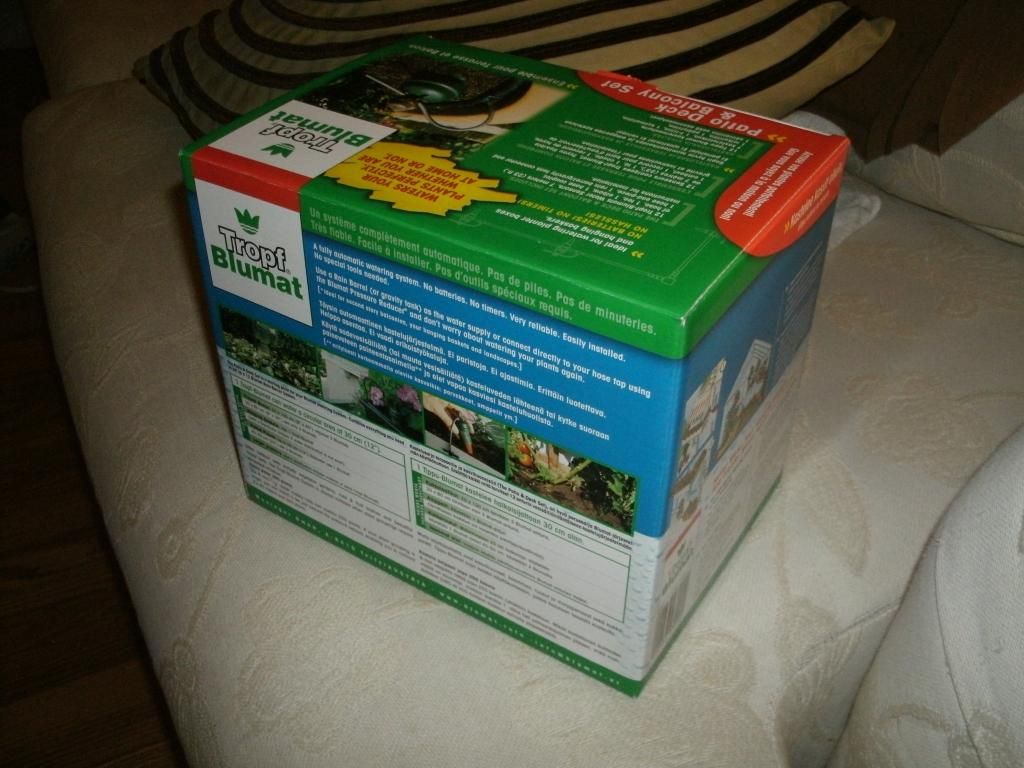
Lapides stated that I need a rain barrel or some kind of container that farmers use. Drill a hole (who knows how large????) at the bottom. Read a 218 page thread and then set it up. This set is evil. This is what my Tropf Blumat Patio Deck & Balcony Set look like. Verstehst du?

So the picture you presented is NOT gravity fed. It is some kind of siphon. I was unable to upload pictures. I have a billion byte limit or something.
 

Eighths-n-Aces

Active member
Veteran
i was trying to figure out what Gelado meant by "bootleg Blumats that are not adjustable" Vape

there are a few different types of Blumat.

these ....
p5.jpg

are what this thread and the elevated rez is all about.
 

Lapides

Rosin Junky and Certified Worm Wrangler
Veteran
Lapides stated that I need a rain barrel or some kind of container that farmers use. Drill a hole (who knows how large????) at the bottom. Read a 218 page thread and then set it up. This set is evil. This is what my Tropf Blumat Patio Deck & Balcony Set look like. Verstehst du?

I use a rubbermaid container. The drill hole is slightly larger than the OD of the reservoir connection.
 

Vaporetti

New member
I use a rubbermaid container. The drill hole is slightly larger than the OD of the reservoir connection.

Thanks for that information. There is hope. I have the Rubbermaid tub, a drill, but not the bit that goes round and round and makes a penny-sized hole. Wonder what size that hole should be. I can see this tub looking like Swiss cheese when I get done with it.
 

rives

Inveterate Tinkerer
Mentor
ICMag Donor
Veteran
You are making this way more difficult than it needs to be. Pick up a step bit, commonly used in electrical work, and drill a couple of practice holes in some scrap material. If the fitting just slips through the hole without a lot of extra room, that is the size that you want. Carefully debur the edges with a knife or some sandpaper, install the fitting, and voila.

Cheap step bit -
http://www.harborfreight.com/1-4-qu...r-inch-high-speed-steel-step-drill-44460.html
 
Last edited:

Vaporetti

New member
Tinker, tailor, soldier, sailor, rich man, poor man, beggar man, thief, etc.

Thanks for the practical help. Don't know why they don't spell it out in the manual - for the money they charge for this gizmo they should. They know it so you should know it is what they think. Anyway, you help will get me on the road now.
 

Latest posts

Latest posts

Top