Glodenglow1
Member
**I'm currently about 2.5 weeks into flower, but am going to start this thread with the re-build of my grow room.
This is my first grow in the room, and I'm posting information from a journal I've had going on Grasscity**
Man, it has been a crazy couple of weeks, I'll try to best summarize what has been happening.
Originally posted 9/7/10
Medical marijuana grow for myself and another patient.
12 plants total
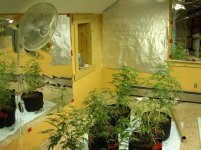
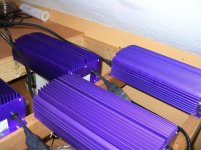
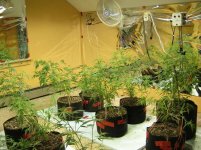
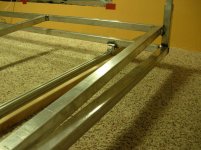
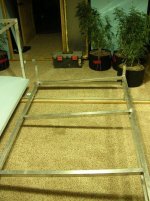
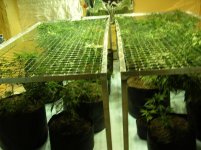
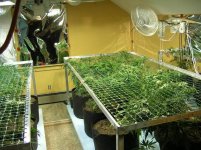
Upgraded the room after the last grow to accommodate another 4'x8' screen! Picked up another 2-1000 W lights and associated bulbs, a 800 cfm vent fan, and 2 sets of light movers.
Total room dimension went from 12x7.5' to 12'x13'
Pics 1 & 2
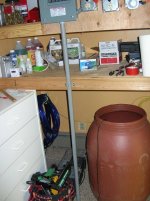
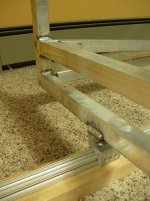
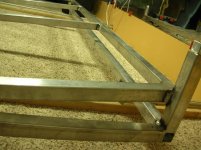
First and foremost I built a storage area to increase my use of space in what is now a very limited room area. Also wanted to get my ballasts up off the ground, out of the way, and organized. Ballasts are housed behind the electrical panel.
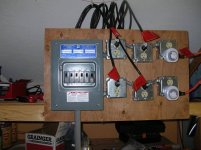
I knew going in that the additional 2K in lights would cause electrical issues as I was barely getting by on the old setup. Contacted a local electrician (who is cool), and he put together an awesome panel with 6 circuits (20 Amp) that I can use and abuse.
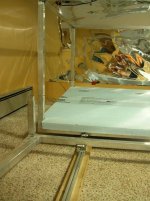
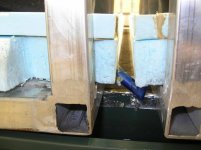
Pic 3
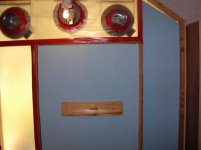
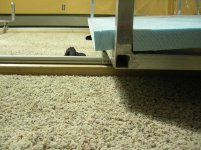
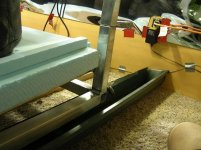
From there I basically ripped down the old wall and re-framed another wall complete with entrance, and ventillation fan support panel. Panel is made of Blue Board panels 2" thick
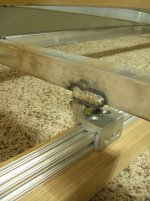
Pic 4
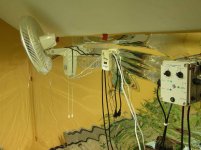
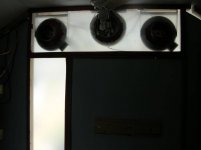
18" Air King fan, Cap 3 PPM (or CRAP 3 PPM), and atmospheric controller.
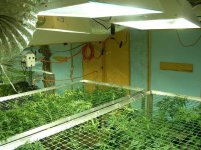
Pic 5,6,7
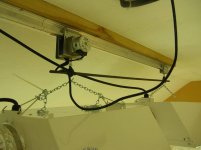
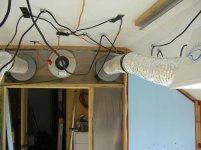
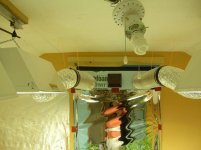
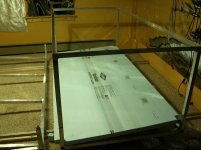
Sealed and ventilated light system. 2 inline 6" duct fans, each fan pulling through 2 lights from the outside air, and vents outside the grow room. Flex ducting used to accommodate the light movers. Also added an 8" 800 cfm fan to handle the general room atmosphere.
Pic 8
Light movers
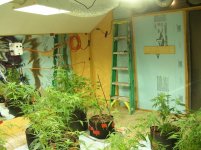
Pic 9 taken 9/6/10
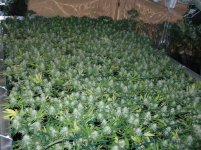
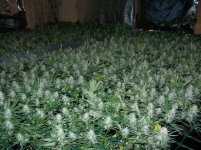
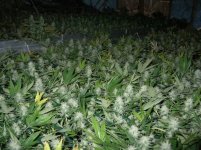
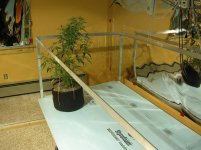
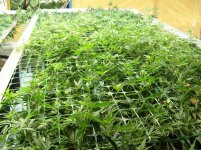
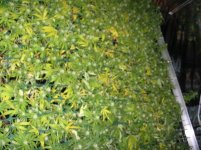
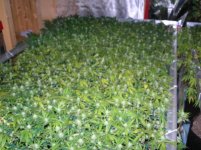
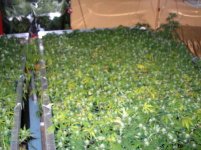
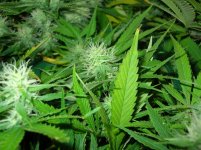
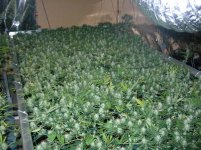
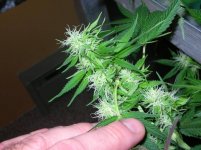
Props to my caregiver!! Though he dropped off the face of the earth for a few months, I was finally able to get ahold of him, and he produced these absolutely lovely Ice plants that are an absolute SCROG dream. Tons of branching, only thing is they are a bit flimsy, and I already broke a branch or two.
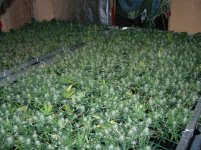
First thing I re-potted them from 3.5 gallons to 7 gallon smart-pots on Saturday, and they are going to sit in those for a week or two and then into their final 15 gallon containers.
I still got a pretty slick surprise that I am waiting to implement, they should be ready by the end of next week and will hopefully put this room over the top!! I'll not spoil the surprise but it relates to how the screen and sloped platform will integrate into something cool
I'm insanely excited about this room, and what I might be able to do with 2 8'x4' screens!!
Anyways, there will be more plant pics to come, but just finished up about 50 hours of labor on this room and am still a little focused on it.
This is my first grow in the room, and I'm posting information from a journal I've had going on Grasscity**
Man, it has been a crazy couple of weeks, I'll try to best summarize what has been happening.
Originally posted 9/7/10
Medical marijuana grow for myself and another patient.
12 plants total
Upgraded the room after the last grow to accommodate another 4'x8' screen! Picked up another 2-1000 W lights and associated bulbs, a 800 cfm vent fan, and 2 sets of light movers.
Total room dimension went from 12x7.5' to 12'x13'
Pics 1 & 2
First and foremost I built a storage area to increase my use of space in what is now a very limited room area. Also wanted to get my ballasts up off the ground, out of the way, and organized. Ballasts are housed behind the electrical panel.
I knew going in that the additional 2K in lights would cause electrical issues as I was barely getting by on the old setup. Contacted a local electrician (who is cool), and he put together an awesome panel with 6 circuits (20 Amp) that I can use and abuse.
Pic 3
From there I basically ripped down the old wall and re-framed another wall complete with entrance, and ventillation fan support panel. Panel is made of Blue Board panels 2" thick
Pic 4
18" Air King fan, Cap 3 PPM (or CRAP 3 PPM), and atmospheric controller.
Pic 5,6,7
Sealed and ventilated light system. 2 inline 6" duct fans, each fan pulling through 2 lights from the outside air, and vents outside the grow room. Flex ducting used to accommodate the light movers. Also added an 8" 800 cfm fan to handle the general room atmosphere.
Pic 8
Light movers
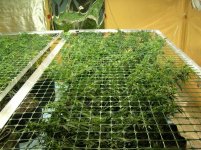
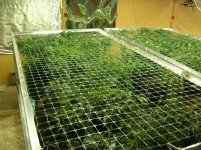
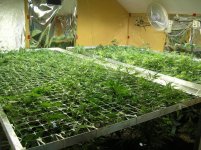
Pic 9 taken 9/6/10
Props to my caregiver!! Though he dropped off the face of the earth for a few months, I was finally able to get ahold of him, and he produced these absolutely lovely Ice plants that are an absolute SCROG dream. Tons of branching, only thing is they are a bit flimsy, and I already broke a branch or two.
First thing I re-potted them from 3.5 gallons to 7 gallon smart-pots on Saturday, and they are going to sit in those for a week or two and then into their final 15 gallon containers.
I still got a pretty slick surprise that I am waiting to implement, they should be ready by the end of next week and will hopefully put this room over the top!! I'll not spoil the surprise but it relates to how the screen and sloped platform will integrate into something cool
I'm insanely excited about this room, and what I might be able to do with 2 8'x4' screens!!
Anyways, there will be more plant pics to come, but just finished up about 50 hours of labor on this room and am still a little focused on it.


 Boy he sure has an awful lot of space.
 Can't wait to see the end result.
") Contractors make the best rooms in my humble opinion.
Contractors make the best rooms in my humble opinion.