What's new
  • Happy Birthday ICMag! Been 20 years since Gypsy Nirvana created the forum! We are celebrating with a 4/20 Giveaway and by launching a new Patreon tier called "420club". You can read more here.
  • Important notice: ICMag's T.O.U. has been updated. Please review it here. For your convenience, it is also available in the main forum menu, under 'Quick Links"!

Hidden Bio-Bucket room construction

Hello all :wave: After much reading, I have decided to construct a Bio-Bucket setup (8 buckets). That will be another thread. This one deals with the construction of the grow room itself. The dimensions and specs of the room are as follows:

5' length, 8' width, actual grow area 4'x8' with 2-600 watt HPS lights hanging above, 6" air-cooled Cool Sun and 6" Cool Tube reflectors. Each plant will have a 2'x2' area, leaving me with a foot on the edge for access. A carbon filter will be attached to the intake of the first reflector, and the Can-Fan will be in the veg room, teed off to provide a exhaust for the other flowering room. If I use my CO2 generator, I'll need to attach a motorized damper before the Can-fan, after the room, to allow me to turn off the exhaust to that room during CO2 enrichment. The intake will be mostly passive, coming in under the Bio-Bucket table from the veg room, through furnace filters, aided by powerful fans under the table and mounted to the wall. The res will be in the veg room, right by the passive intake for the Bio-Room.


This room is part of a 5'x20' area that I am going to "hide". I will use another 6' of the 20' room on the other side for a soil grow (using the complete 5'x6' area stuffed with 3 or 5 gallon soil buckets), and use the remaining 6 or so feet in the center for a veg/res/equipment room. :woohoo: Anyway, here is some pics of the construction:


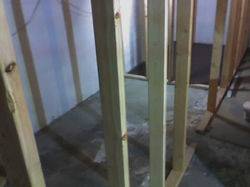
Here is the Bio-Bucket room itself. I framed it in, resurfaced the concrete (it was spalling and turning into dust), and laid a chunk of vinyl flooring down, to make cleanup nice and easy.
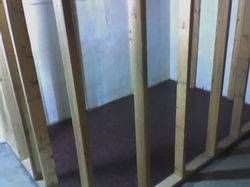


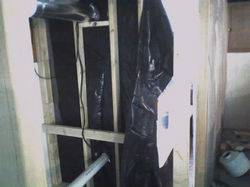
Here is a view of the entire hidden area's framing.


Here is the interior of the room after insulating and laying some plastic (6 mil) on the framing. I used black on the walls for light-proofing, and clear on the ceiling so I could see the joists to properly attach lights and etc. The white reflective is white tileboard from Home Depot, cheap, durable, easy to clean, and BRIGHT! :yoinks: Also, I'm beginning to frame the table for the buckets in this pic.
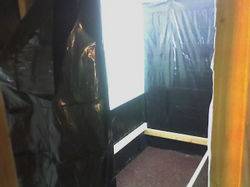


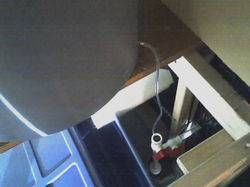
A pic of the insulation (use plastic-covered batts if you can find them, a LOT less itchy)


A pic of the tables framing progressing. I added legs and many cross-braces after this pic, forgot to photograph it before I put the plywood down, oops :pointlaug
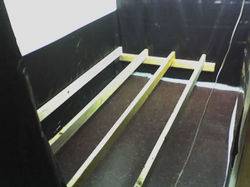


A pic of the table and also of the sides of the grow area done in tile board.
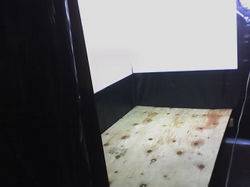


Another pic from the inside of the room.
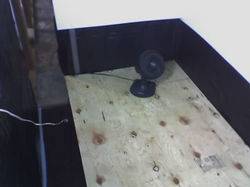


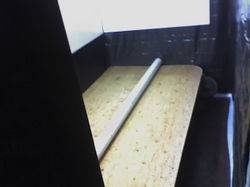
And yet another pic of the room, with a piece of 3" PVC in the center of the table for reference (it'll be my drain for the buckets)


Well, thats all for now folks. I'll update this thread with more pics of construction as it progresses. :joint:
 
I

irie-i

keep 'em coming. i wish i knew about plastic covered insulation!
 

NPK

Active member
Yeah, that plastic-covered insulation looks great. I always wear long sleeves and latex gloves when working with regular fiberglass because the itchiness is caused by tiny little shards of GLASS. Don't need that shit embedded in my skin.
 
Progress is in the air tonight...

Progress is in the air tonight...

The Dopest lookin sweet as hell, wishin i wasnt rentin more and more every day!

Thanks! You are quite the DIY guy yourself, judging by your threads. :wink:


mushupork5 looks awesome, im excited to see more progress

Thanks, I have been hard at work the past few days, and I have quite a bit to show you guys. It's lookin damn fine, IMHO. :D


Budweiser13 "tagged" looks good thanks for posting pictures..........

No problem, I've been wanting to do a Bio-Bucket setup for some time, and I figured if I can help someone with any part of it by posting pics, it'd be worth it. The only thing is sometimes I got too high and focused on work so intently, that I forgot to take pics of some stages. But I got a lot of em, at least... :dance:


irie-i keep 'em coming. i wish i knew about plastic covered insulation!

Will do. And yeah, it's cool, much less itchy, as well as having another layer of vapor/sound barrier. A bit more expensive, but worth it. :woohoo:


NPK Yeah, that plastic-covered insulation looks great. I always wear long sleeves and latex gloves when working with regular fiberglass because the itchiness is caused by tiny little shards of GLASS. Don't need that shit embedded in my skin.

Yep, it's way better for the itch factor. I had to mess with some unbatted insulation tonight (I took it off from around the 6" vent hosing, and used it to insulate another area...Waste not, want not), and I sure was itchin after! :badday: A trick to get it off: get some of your womans pantyhose, (use her old ones, because you'll ruin em and she'll kick yer ass) and use it to wash your skin, with COLD water. Start at the shoulders, and pull the hose along your skin in one direction only, towards your hand. Use a different section each swipe, this will get out 99% of that itchy crap. :dueling:
 
Okie doke, here goes:

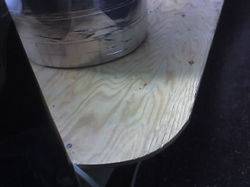
Well, first, I decided to round off the corner of the table and sand the edge to a nice finish, being that I don't have a lot of room to move around, just seemed like a good idea.


A mockup of where the buckets and drain would go.


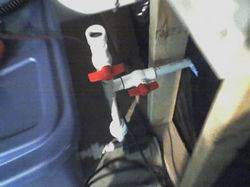
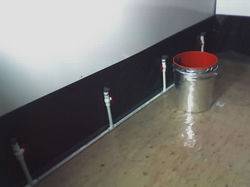
With that, I laid a piece of 6 mil clear plastic down on the table, again to make cleanup easier, and started roughing in the plumbing. I started at the res, and worked my way into the room. Here is the pump, the valve on top has a fitting to connect to a garden hose, to drain the system (i'll use a small submersible pump to drain the individual buckets into the main res).


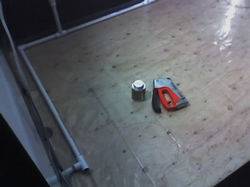
The beginning of the plumbing (My powershot staple gun is an integral part of my room building skills! :woohoo: )


One side completed:


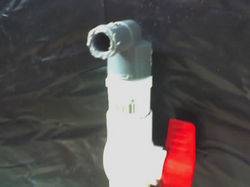
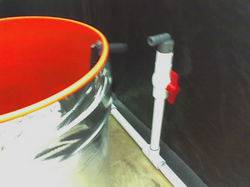
The barbed adaptor from PVC to hose: ( I remember reading in a thread BigToke advised someone with a smaller system to put the ball valve as close as possible to the bucket, which I have done)


A bit of contractor grade hose and some hose clamps take this:


To this:


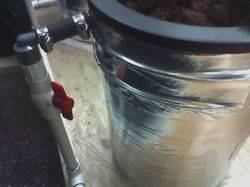
I put the valve handles near the access facing inward, away from the access area, to give me as much room as possible to maneuver, I'll be army crawling in there by harvest! :tongue:


And the finished plumbing. I used PVC as much as possible, to keep pressure consistent.


Hung reflectors: (lol)


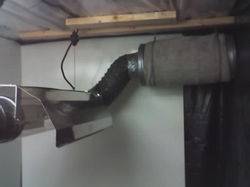
Carbon filter with a ghetto-fab prefilter:


Carbon filter hung, using electrician's jack chain, and ducting completed:


Installed the environmental controller:


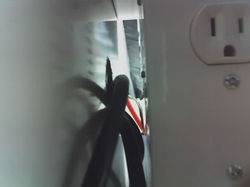
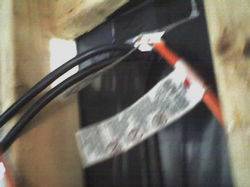
I made a hole using a hole saw behind the Control Wizard, to route wires cleanly:


The other side of the wire routing hole:

 
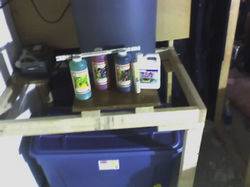
The other side of the wall where the res will be, and the beginning of a table to hold the clean water supply:


And VOILA! it's completed!


A pic of the float valve and waterfall:


The 1/4" line running from a 32 gallon Brute trashcan. I made a hole barely big enough for the line to fit into, pushed the hose into the hole, and shoved a barbed fitting into the line. I then pushed the barbed fitting back through the hole, it was tight as hell, a real booger, and even though it wasn't necessary, put some silicone on it.


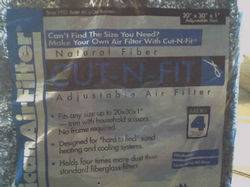
A cut to size, washable filter, which I'll screen the passive intake with:


And some industrial strength velcro to close the plastic door with. I stapled the loop side to the wall:


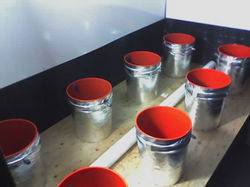
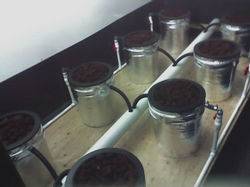
And here is the buckets, completed, colonizing the beneficial bacteria:


Constructing this room definitely was a pain, but I enjoyed doing it. I can't wait to put in some clones! I'll be growing Serious AK-47 this time around. I'll post on the construction of the buckets themselves later, gotta get back to work! :muahaha: Peace...
 

blazeoneup

The Helpful One
Moderator
Chat Moderator
Veteran
Looking good man,I always enjoy it when someone puts so much time and work into doing it proper...

Gl with your grow!
 
G

Guest

Nice job BudGood!!
your attention to detail shows in your pics! Cant wait to see more.
Have you mentioned what strains youll be grown? Keep up the good work.
 
Thanks for the replies guys:

Stealth1K, ya snuck one in on me! lol, I have quite a bit more pics to post up, on the construction of the buckets. I'll be doing that here in a minute.

Blazeoneup, coming from a guy with the Best Damn Grow Show, I'm honored. :D Seriously, your room is NICE!! I went as far as I could with the available $$$. I have some interesting ideas for my secret entrance, the fake shelf idea is a great one! I was thinking a panel that removes completely, with a door pop solenoid, hidden behind wainscoting (basically vertical wood strips that cover the lower half of the wall). It'll be at least a grow away until I build that portion, the framing, insulation, PVC, and odds and ends have bled me dry. Looking forward to seeing your grow as well! :wave:

Chevy, thanks man, I try, although as I said earlier, sometimes I get either a-too stoned, b-too into the work or c-a combination of both, and I forget to take a picture of some steps! lol And yes, as blazeoneup pointed out, Serious Seeds AK-47, a cut I've had for a looooooong time (since 01), of which the original seed plant was popped in 97 or 98, so she's almost 10! :yoinks: I wonder how different it is to the AK available today???
 
Bio-Bucket Construction

Bio-Bucket Construction

Man, uploading pictures on this can be time-consuming! OK, here goes:


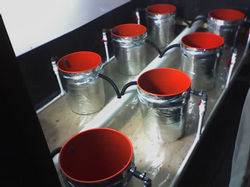
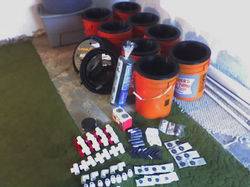
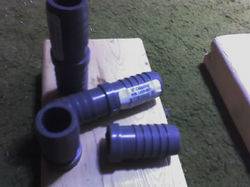
Here are the supplies for the Bio-Buckets: (I had to buy a few extra things later, but I got 90% of it the first time)


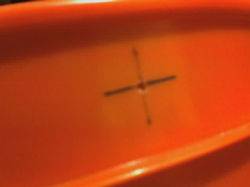
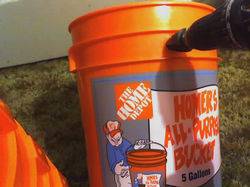
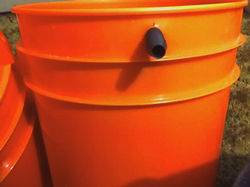
And now we have the good ol' orange buckets, courtesy of Home Depot. I couldn't source black buckets locally, and didn't want to order them, so I just lightproofed them, more on that later. Here I show the centermark of a drain hole, which I drilled with a small pilot bit:


Next, I take my trusty uni-bit, AKA stepbit, and begin slowly drilling the hole, stopping frequently to see how close I was to the size of the barbed fitting (I used 1/2" for the supply, as per BigTokes advice to someone else to use the size coming off the pump, and 3/4" for the drain, draining into a 3" PVC pipe)


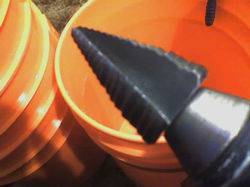
A closer pic of the bit. Once I did the first bucket, I marked the bit with a permanent marker, so I would just drill to that size for the hole needed. These bits can be expensive, this one retails for about 60-70 I believe, you can find smaller, less expensive ones though:


If you look closely, you can see where I stressed the plastic of the bucket pushing the L fitting in for the supply side! :bat: It was TIGHT, just how I likes it. :yes:


I cut the fittings (3/4 couplings) for the drain side down, (I pushed them in from the inside of the bucket out, and used silicone all around it), if I would've had a more precise method of cutting them other than a hacksaw, I could've cut the coupling in exactly half, using only 4 instead of 8, but I had em already, so who cares??


The silicone I used (notice it is waterPROOF), I did 3 layers, giving each the required 24 hour cure time. No leaks at all, between this and the perfect holes courtesy of Mr. Uni-Bit! :dance:


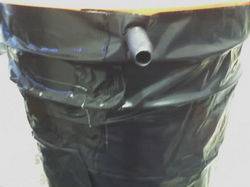
Now, on to the light proofing and eventual "bling blinging", if you will, of the buckets. :tongue: I used 6 mil black plastic for the first layer:


2nd layer I used grey duct tape, the cheap stuff, and this is one of the stages I didn't get pics off, oops. :D

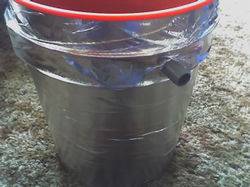
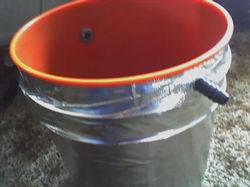
3rd and final layer I used chrome duct tape to reflect light (and hopefully heat) away. And it just looks cool, damn it! :muahaha: Here is the tape I used:


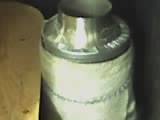
Here is a pic of the drain side of a completed bucket:


And a pic of the supply side. If you look closely, you can see how the cut drain coupling is darn near flush to the side of the bucket:


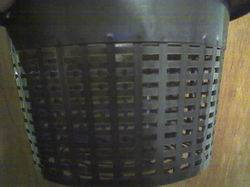
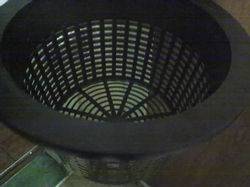
And a couple of pics of the netpots. They fit right onto the buckets, I remember BigToke saying the more BB the better, so I saw these and grabbed em up. I'm gonna be using a Mag-drive 7 to pump this, something like 15 changes per hour? I have a Mag drive 3 on there now, just to build the beneficial bacteria, the new one will be in soon:


And thats how she goes in, just like this:


I used 3/4" black hosing for the drain side, it's made by Beckett, corrugated on the outside, smooth inside, found at the Depot near the pond supplies. I got some water super hot, put the hose end I was working with in it, and worked it onto the barbed connector. And, I used about 20 inches of 1/2" hose, the rest of it is perfect for a drain hose to attach to my pump/drain mainfold thingamajiggy:


And there you have it folks, an 8 site 1200 watt Bio-Bucket setup:


And, as always, comments, criticisms and suggestions are welcome. :wave:
 

MID TOWN

Active member
hey Bud, Looks like you did a awesome job. you'll love the bio buckets. just check out my thread (1800 watt bio shed) to see the explosive growth that can come from these systems. the only thing I'd worry about is those drain lines, they look way to small. if you check out big tokes thread, he goes over it and says to use at least 1 1/4" lines, I'm usin 1 1/2 just to be safe. once you get that mag 7 up in there and some big ass roots I GUARANTEE that youll get an overfloww. If I were you I'd change those out before you get started. but other than that it looks like you got every thing down. well cant wait to see some growth.

peace and here's a pic of what those root look like
 
G

Guest

Great build...your going to have one sweet grow....Keep up the good work.
 
MID TOWN hey Bud, Looks like you did a awesome job. you'll love the bio buckets. just check out my thread (1800 watt bio shed) to see the explosive growth that can come from these systems. the only thing I'd worry about is those drain lines, they look way to small. if you check out big tokes thread, he goes over it and says to use at least 1 1/4" lines, I'm usin 1 1/2 just to be safe. once you get that mag 7 up in there and some big ass roots I GUARANTEE that youll get an overfloww. If I were you I'd change those out before you get started. but other than that it looks like you got every thing down. well cant wait to see some growth.

Damn...Hmmm...I had read in another thread where BigToke had told a guy to use 1/2 and 3/4, because of the size of the system. Maybe I was mistaken, I do remember specificly the 1/2 in supply line, but I am starting to question the 3/4 drain line....damn.... And it was such a booger to get it to where it is... I did install plastic root shields on 1/4 to 1/3 of the net pot, to prevent roots from growing in that area, did you do that also? I don't have plants in there yet, so I may just change them out if they are gonna be too small. CRAP! Time to go look into this a little more. Thanks for the heads up man :wave:


Respect Great build...your going to have one sweet grow....Keep up the good work.

Thanks man! This build is one of the most organized and thought out I've ever done, thats for sure. I just hope the grow goes the same way! :D


Thanks for stoppin' by guys!
 

NiteTiger

Tiger, Tiger, burning bright...
Veteran
Lookin' great BudGood!

Only thing I can offer ya is a little tip on the drilling - Y'know how you marked the bit with permanent marker? Something I've found that helps for drilling to a certain death is tape. Just take a loop of tape, and line up the edge of it with your marker line. Stick the ends of the tape to each other, so you have a little flag sticking off the side of the bit.

Now, it's a breeze to know when you're at the right depth, because it's a lot easier to see when that little tape flag touches than it is to see that marker line :D

Look forward to seeing the plants in there!
 
Last edited:

Latest posts

Latest posts

Top