TheCronnoisseur
New member
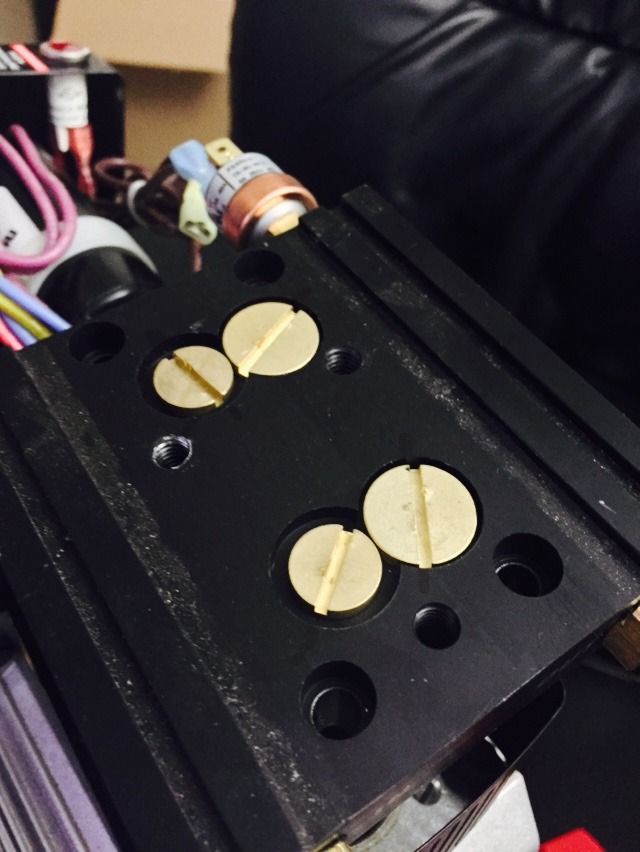
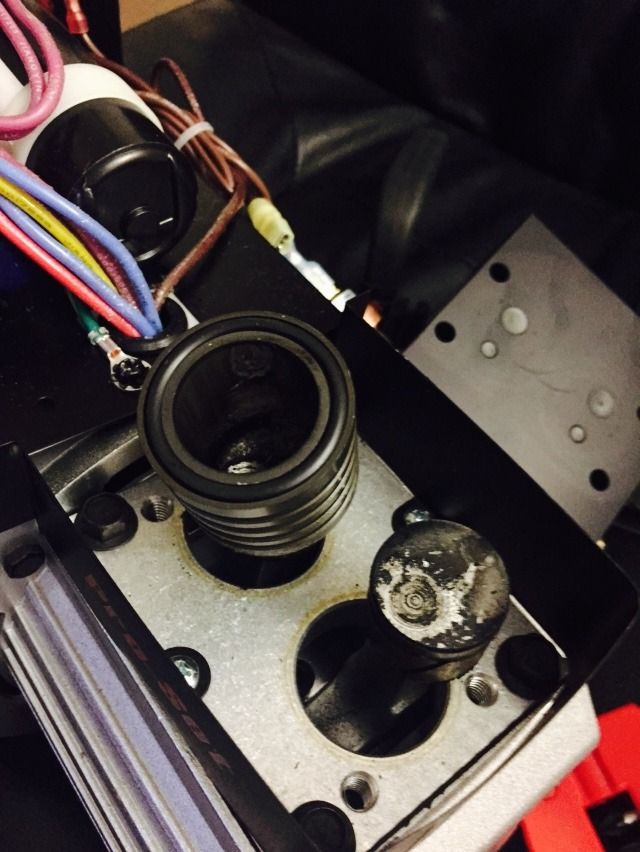
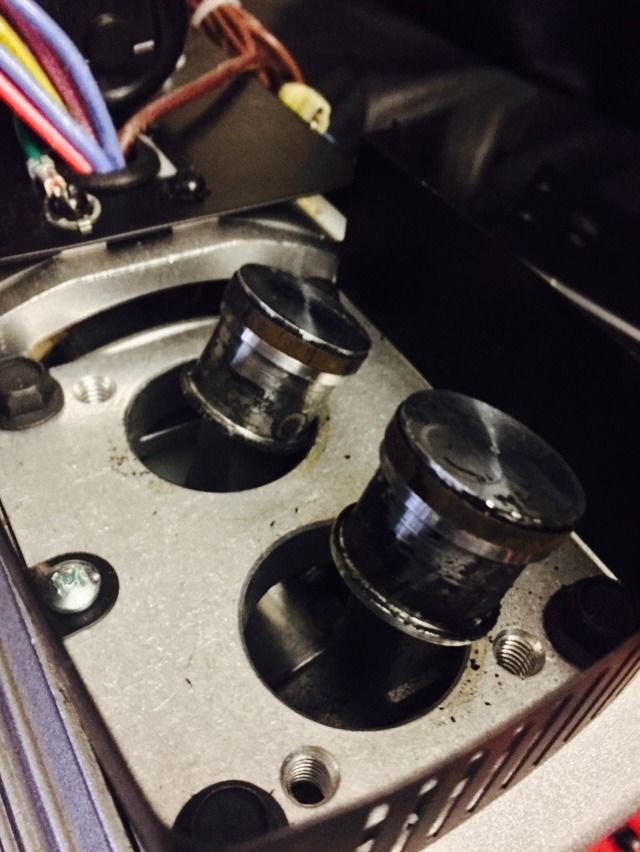
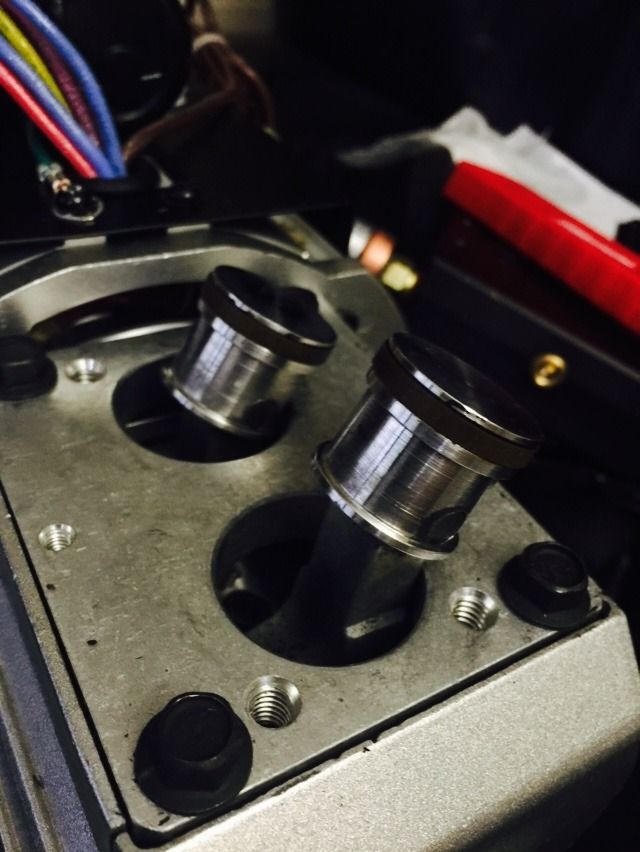
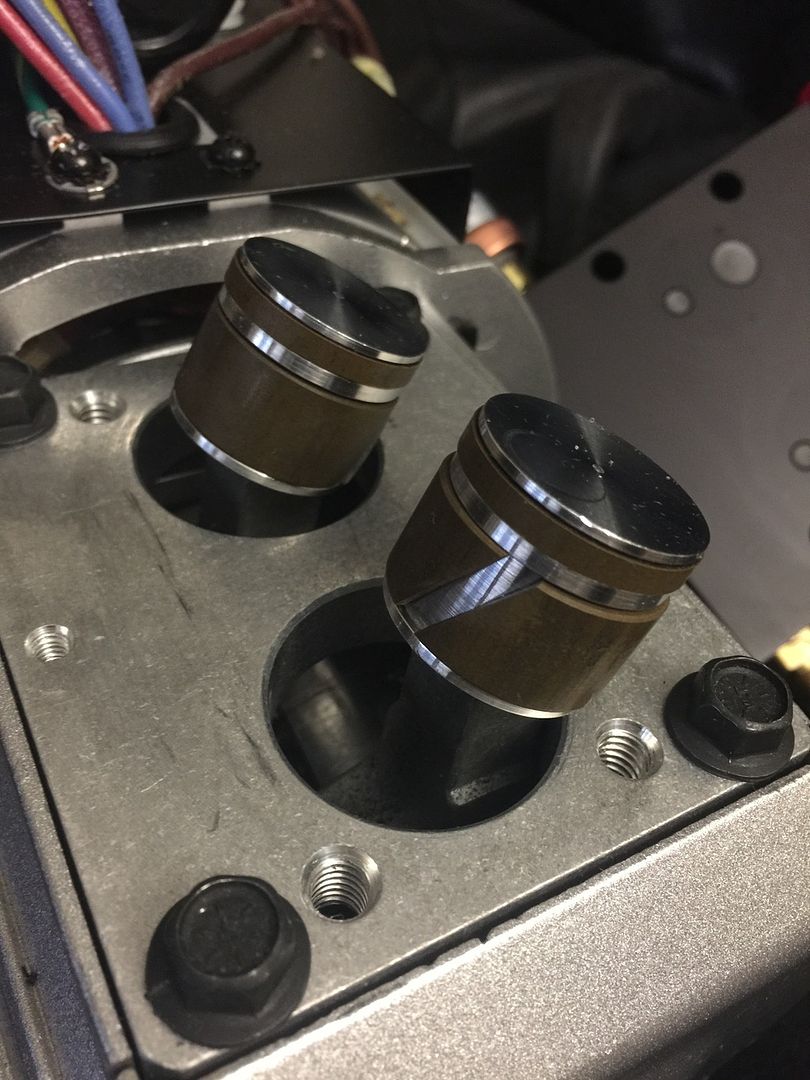
I am in need of instructions and advice on rebuilding and cleaning a CPS TR-21 recovery compressor. Ive recovered oil into my recovery line and want to make sure the pump is cleaned before I go ahead and continually use it. Also some in-site on installing a CPS TR21X2 Rebuild Kit http://www.centurytool.net/TR21_Oilless_Compressor_Rebuild_Kit_p/cpstr21x2.htm would be greatly apprecated for the time will come for a complete rebuild.
")