
You are using an out of date browser. It may not display this or other websites correctly.
You should upgrade or use an alternative browser.
You should upgrade or use an alternative browser.
Cloning Deep Satellite (and beyond)
- Thread starter Siskiyou
- Start date
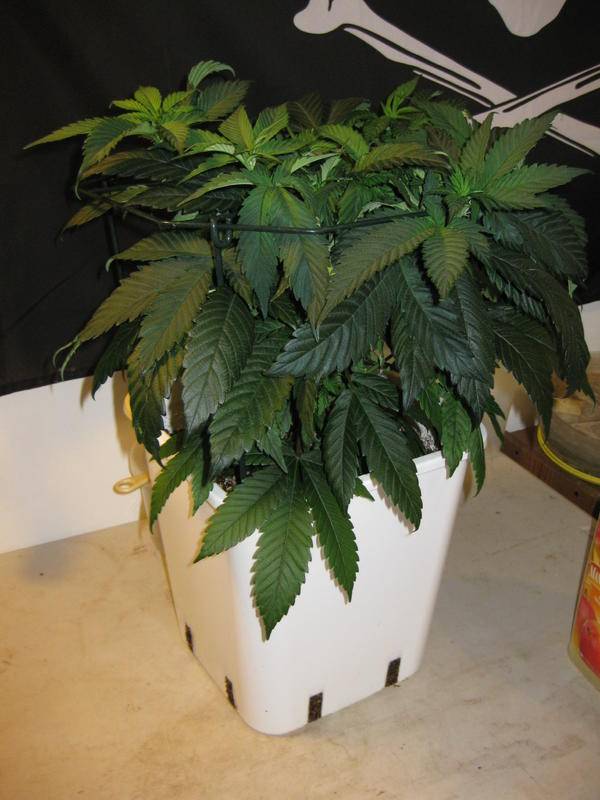
This is a clone of a Deep Satellite (Fractal Genetics) female chosen from three (out of three seeds!) that I started last April 1st. I have flowered her out several times now and consider her a keeper. This plant was taken as a clone in early November, transplanted and topped in December, transplanted again in mid January and is now ready to create the next generation and go into flower.
This one is being trained onto a screen.
This one is being trained onto a screen.
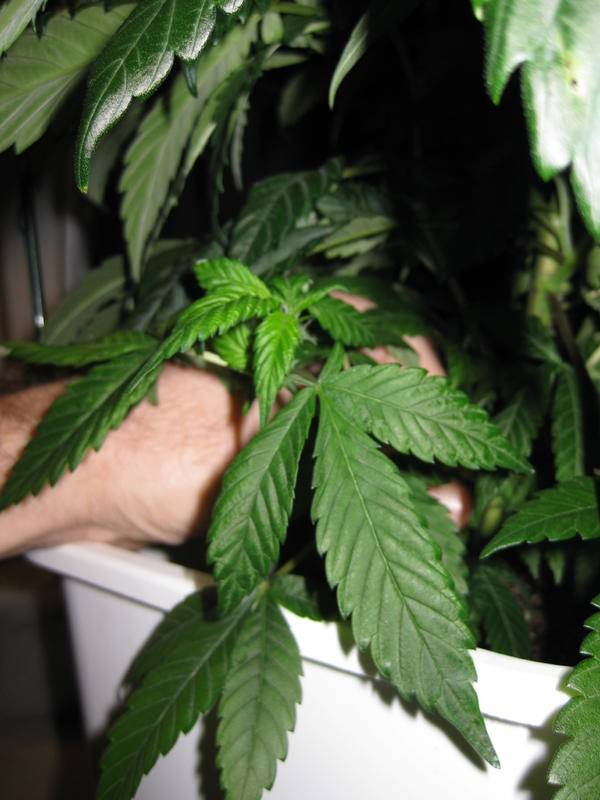
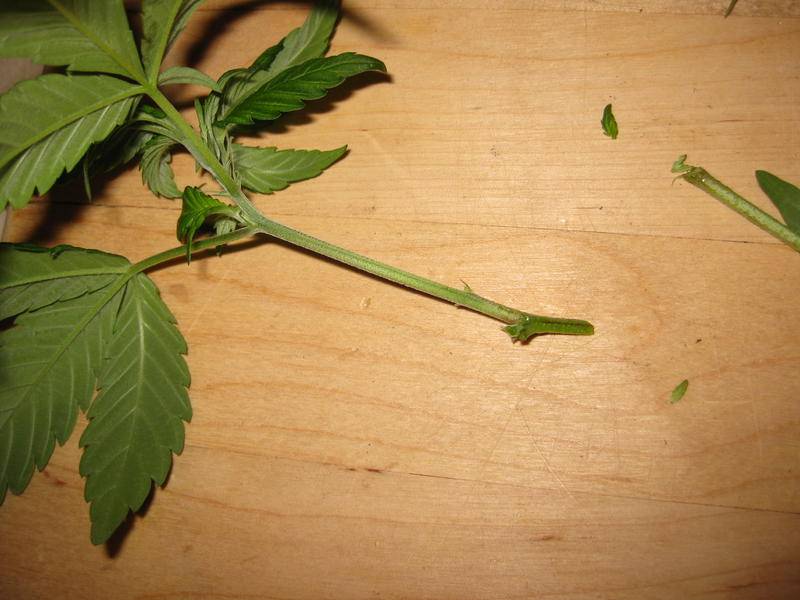
Here is a nice lower branch with a couple of nodes. It would need to be trimmed out anyway. I cut it off right at the main stem and immediately place it into the cup of water. Since there was another branch that seemed perfect for cloning I took it, too. Sometimes I have to choose between several and always go for the healthiest ones.
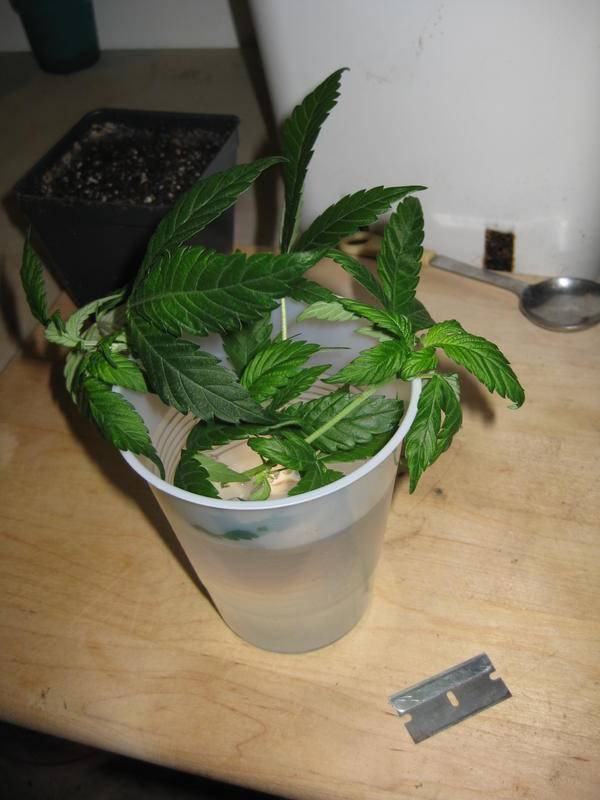
Since I am making two clones, I prepare another small pot.
Here is the branch as cut from right at the main stem, before trimming.
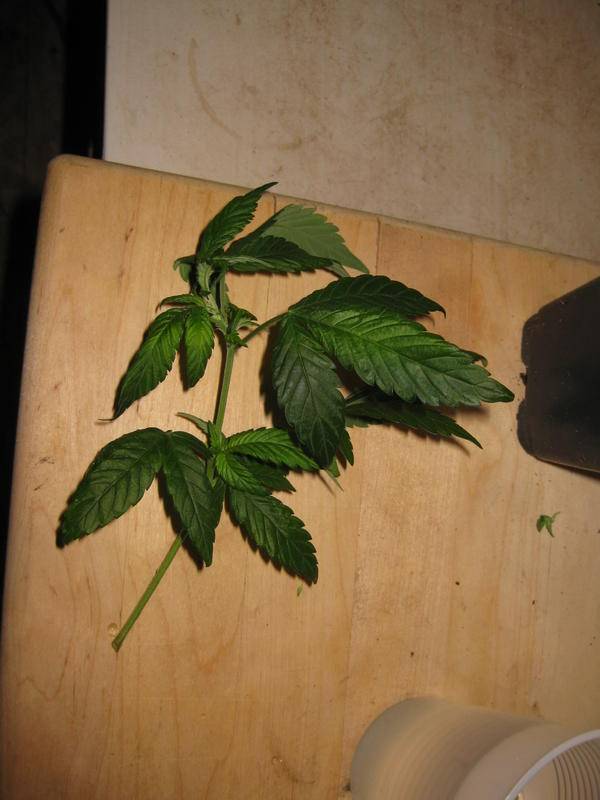
I cut off all leaves at the lower node, being careful to leave the node itself intact.
Just below the node, i make a 45 degree cut to remove excess stem.
Here is the branch as cut from right at the main stem, before trimming.
I cut off all leaves at the lower node, being careful to leave the node itself intact.
Just below the node, i make a 45 degree cut to remove excess stem.
If you believe in cloning voodoo dip the bottom of the fresh cut into cloning gel or powder, deep enough to cover the freshly trimmed lower node (not pictured). This will nullify all attempts to be organic unless you use aloe vera, which I have read here on IC, works also.
I use the back end of my sharpie to make a pilot hole in the medium, then poke the cutting into the hole. Using fingers, gently press the soil from all sides to eliminate large air pockets and press the medium gently against the stem. Be careful not to compact the soil, a light firming up should be enough.
I then lightly water around the sides, so the soil is just moist, not soggy.
I then trim any large leaves that will be left so that they don't hang too far over the edges of the pot. This helps keeps leaves from touching the leaves of other plants or the sides of the dome which could encourage mildew in the high humidity environment of a cloning tray. There is also a school of thought that this trimming of the leaves encourages more vigorous root growth, but there is always a compromise here, since leaves will be needed for photosynthesis as soon as the clone is rooted.
Last edited:
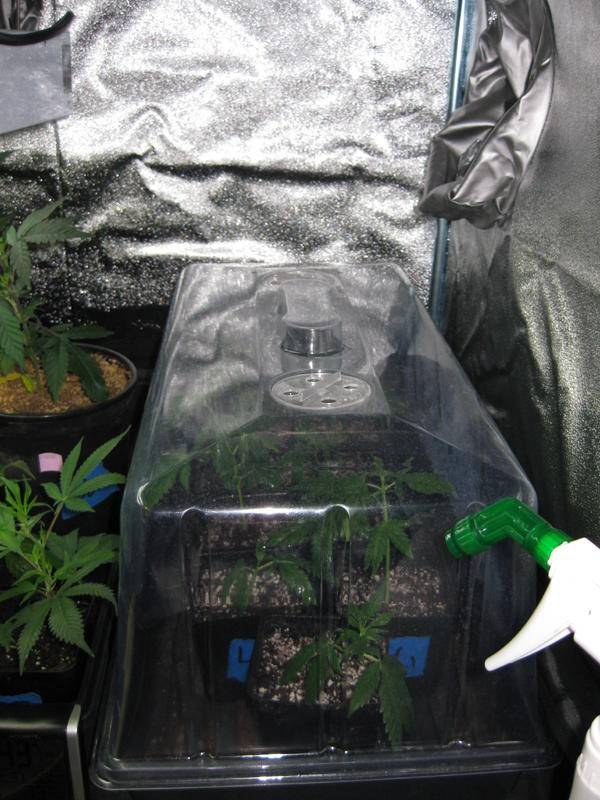
The two new clones will be added to the new cutting tray, and lightly misted with plain water. (Here you can see the previous round of cuts from some Lucky Charms, these were taken three or four days prior)
For the first several days to a week (or even two weeks for the toughest cuts) I place them under the dome to preserve humidity. At least once a day I take the lid off for a few minutes or longer, wipe out the built up humidity inside the dome, mist the clones with fresh water and replace the lid. When I suspect that the clones have rooted I remove the dome, but i watch them carefully for signs of wilting, replacing the dome if they show stress. a half-way measure is to leave the dome on, but open the vents.
 Many thanks to all those (at IC Mag and elsewhere) from whom I gleaned my method.
For the first several days to a week (or even two weeks for the toughest cuts) I place them under the dome to preserve humidity. At least once a day I take the lid off for a few minutes or longer, wipe out the built up humidity inside the dome, mist the clones with fresh water and replace the lid. When I suspect that the clones have rooted I remove the dome, but i watch them carefully for signs of wilting, replacing the dome if they show stress. a half-way measure is to leave the dome on, but open the vents.
A few things I neglected to mention.
That sharpie is for writing labels on everything. Even when you think you know each girl intimately and could spot her offspring from across the room, label everything. That blue painters masking tape works really well, and peels off easily, sticking again to the new container after transplant as long as the surface of the pot is dry.
Keep a log. It doesn't have to be anything fancy, just notes about dates and such. You'll be glad to have the easy reference later.
That razor blade in the photo of my cloning station is my tool of choice for cloning, but a scalpel works well, too. Keep it clean: with a dab of alcohol on a paper towel, clean the blade before making cuts.
If the branch being cloned has too many leaves even after the initial trim, it may struggle to support them all in the initial stages of rooting, so it may be best to remove an excess leaf or two. This is something one gets a feels for with practice.
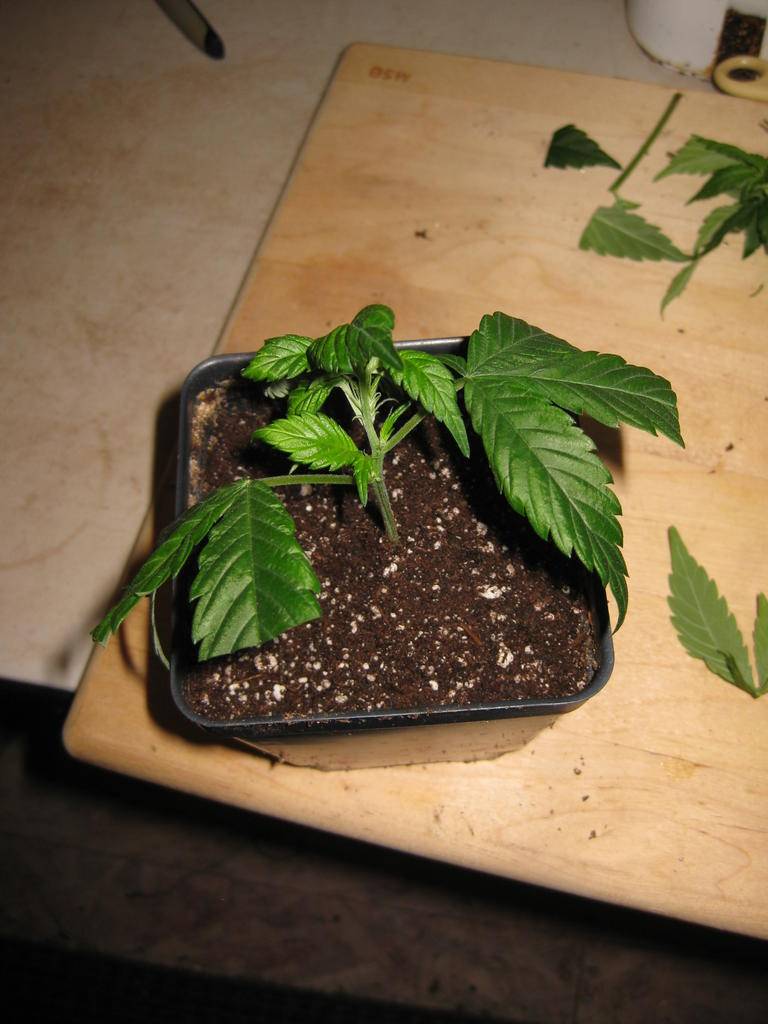
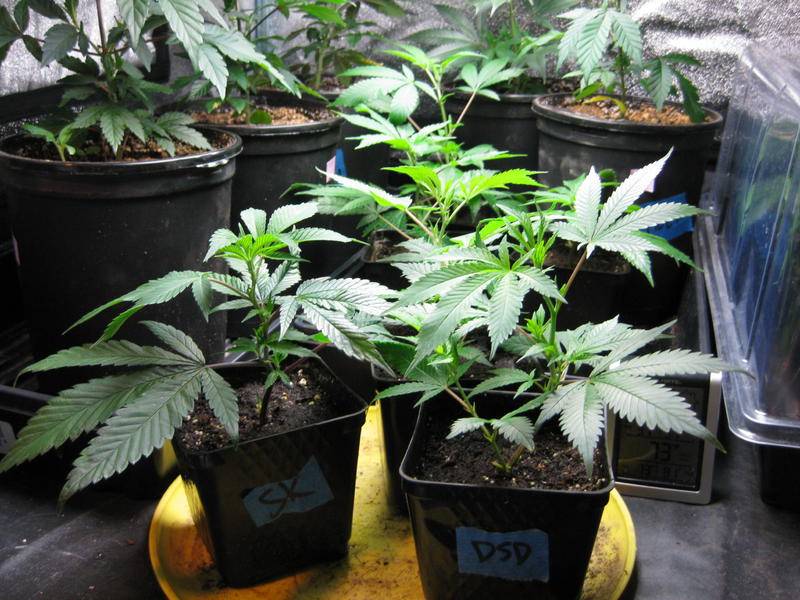
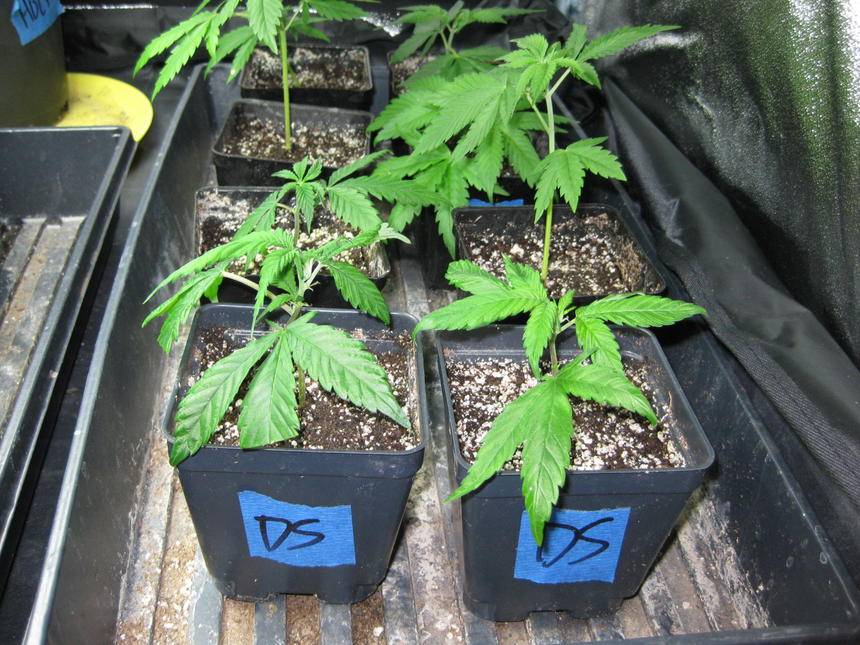
These little plants are from clones that were taken in late december. When I saw that they were rooted and doing well without the dome, I gave them each a few tablespoons of earthworm castings as a top dressing and watered it in. A burst of new growth followed. When the young plant has grown an inch or two, you know it is well established and ready to transplant, like these are.
I really like the structure of that DSD in the foreground.
That sharpie is for writing labels on everything. Even when you think you know each girl intimately and could spot her offspring from across the room, label everything. That blue painters masking tape works really well, and peels off easily, sticking again to the new container after transplant as long as the surface of the pot is dry.
Keep a log. It doesn't have to be anything fancy, just notes about dates and such. You'll be glad to have the easy reference later.
That razor blade in the photo of my cloning station is my tool of choice for cloning, but a scalpel works well, too. Keep it clean: with a dab of alcohol on a paper towel, clean the blade before making cuts.
If the branch being cloned has too many leaves even after the initial trim, it may struggle to support them all in the initial stages of rooting, so it may be best to remove an excess leaf or two. This is something one gets a feels for with practice.
These little plants are from clones that were taken in late december. When I saw that they were rooted and doing well without the dome, I gave them each a few tablespoons of earthworm castings as a top dressing and watered it in. A burst of new growth followed. When the young plant has grown an inch or two, you know it is well established and ready to transplant, like these are.
I really like the structure of that DSD in the foreground.
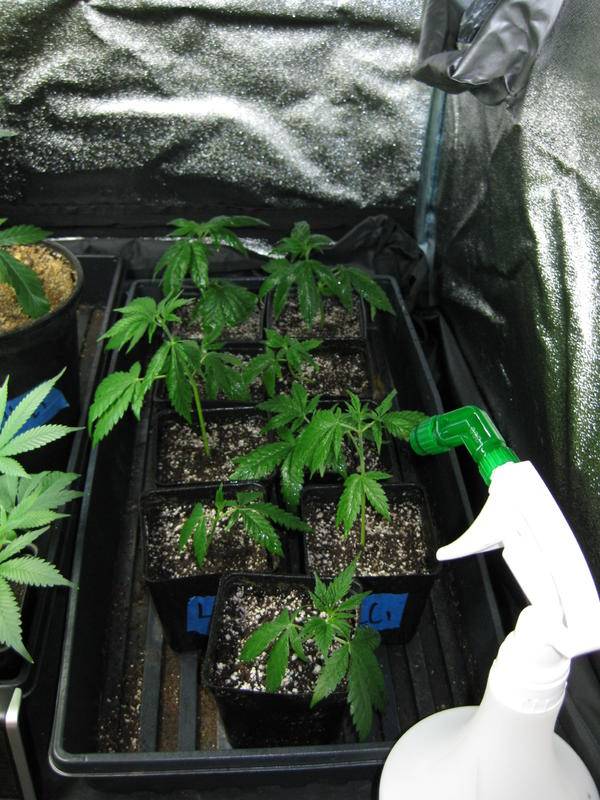
These girls, clones of a sticky and stout female from a House of Love 12+2 Mix Pack, were taken in early or mid December and uptransplanted a few weeks ago and are growing quickly. The mother plant stayed short and grew like a single large cola with a few side buds. The clones already show more branching than the seed plant. I will finish these in a 3 gallon pot. For plants I expect to get larger I prefer 5 gallons.
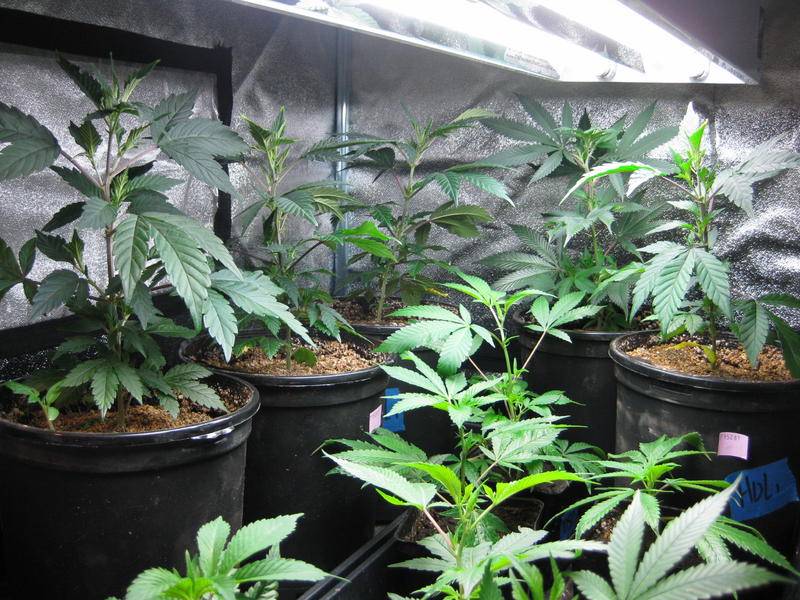
I just noticed two things about the last picture I posted. One: the plant on the left has a volunteer tomato sprout. Yes I use homemade vermicompost. Two: Four of the five plants in the back row are clones of the HOL girl I mentioned, but one is something else entirely. Label everything.
Of course, there are many paths up the mountain. This same method also works well with "plugs" and rockwool, but those demand a bit more attention and are slightly less forgiving , in my opinion.
I also bought one of these.
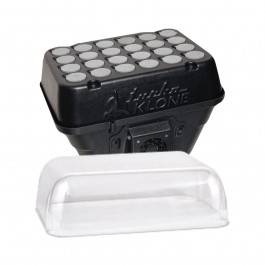
It works very well also. All I did was lower the Ph of my 7.0 tap water slightly with a few drops of vinegar and I had a 100% success rate on my first try. I also found that it makes quite a bit more noise than I expected and generates some heat which threw off my temps in the penthouse nursery. Also since I only make a few clones at a time, I like the silent cool method of rooting in soil-less mix.
When I first learned plant propagation I was using a commercial soil-less mix with the misleading name SuperSoil. I'm pretty sure it was 50-50 sphagnum and vermiculite. It would be quite easy to mix one's own using sphagnum and perlite in any ratio. The product i like to use these days is Pro-Mix HP.

I also bought one of these.
It works very well also. All I did was lower the Ph of my 7.0 tap water slightly with a few drops of vinegar and I had a 100% success rate on my first try. I also found that it makes quite a bit more noise than I expected and generates some heat which threw off my temps in the penthouse nursery. Also since I only make a few clones at a time, I like the silent cool method of rooting in soil-less mix.
When I first learned plant propagation I was using a commercial soil-less mix with the misleading name SuperSoil. I'm pretty sure it was 50-50 sphagnum and vermiculite. It would be quite easy to mix one's own using sphagnum and perlite in any ratio. The product i like to use these days is Pro-Mix HP.
It is actually a full week since the Deep Satellite clones were taken. I opened the vents on the dome day four and stopped misting daily. I took the dome all the way off on day six. They show no signs of wilting or stress.
The Bubba Kush S1 clones that were in the back of the tray have rooted. It may be hard to see in this photo, but roots are poking through the drain holes.

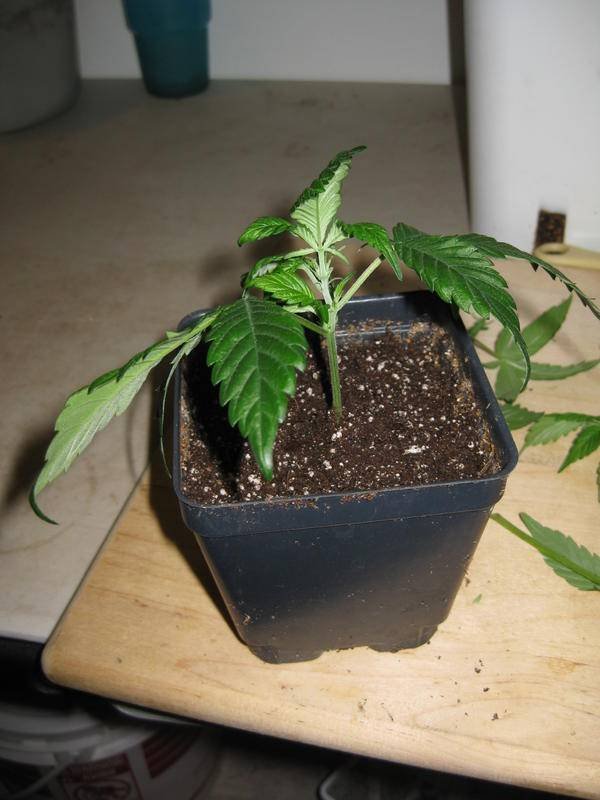
I am transplanting some clones that were taken in late December. I could have done so sooner by the look of the roots.
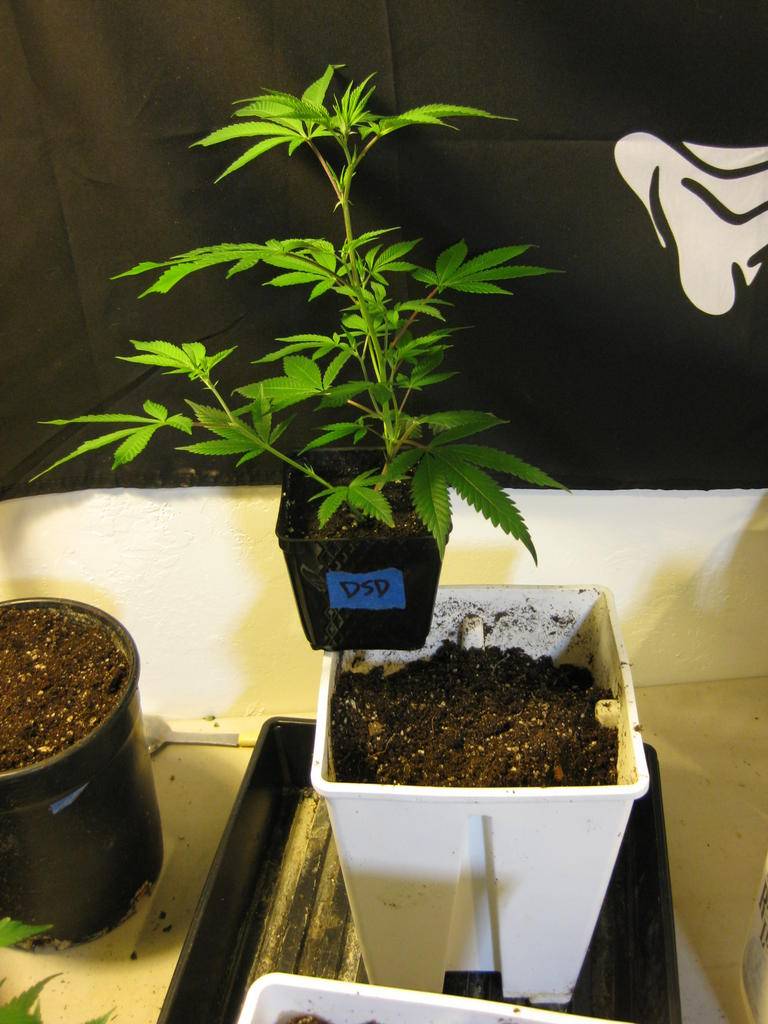

Do you recognize that DSD from post #9 one week earlier? Up until now it was straight Pro-Mix with one top coat of earthworm castings. The mix into which they are being transplanted is rich and full of life. Once they settle into the full soil mix, they will take off rapidly.
The Bubba Kush S1 clones that were in the back of the tray have rooted. It may be hard to see in this photo, but roots are poking through the drain holes.
I am transplanting some clones that were taken in late December. I could have done so sooner by the look of the roots.
Do you recognize that DSD from post #9 one week earlier? Up until now it was straight Pro-Mix with one top coat of earthworm castings. The mix into which they are being transplanted is rich and full of life. Once they settle into the full soil mix, they will take off rapidly.
Last edited:
A quick internet search revealed that the commercial mix "SuperSoil" that I used in the 80's and 90's, has since been acquired by the mega corporation ScottsMiracleGro in 2006. They have incorporated the old logo, and kept the caption "since 1954", but it is unclear whether the product ingredients have changed. The website that the SMG corporation currently has for the product by the name "SuperSoil" doesn't even list the ingredients, so i have no idea whether it is the same thing. Since I have never had any but the worst of luck with any MiracleGro product I wouldn't touch it. Never put anything in your soil that you don't trust.
BudsBudsBuds!
New member
Nicely done ! this was exactly what i was looking for because i wasnt sure if cloning could be done in soil ")

