
PotentGreen
Member
I showed this DIY method in my perpetual thread. Thought I'd post it here to help anyone who's thinking about dropping big $ on a carbon filter from a hydro shop or online. It's a little brief as I wrote it real baked.. If anyone has a question lemme know! I learned all this stuff from my good buddy smokesalot420. Thanks man
So my DIY carbon filter was made today, and BOY did it it take awhile. This is simply because it required some small handywork and we were very stoned over here at the spot") And I'm a bit of a perfectionist..
And I'm a bit of a perfectionist..
So I took pictures throughout the whole process so others who have an issue with odors escaping to neighbors/family can make their own carbon filters for their set ups, without dropping 100 + $ at the hydro store or whatever. Those things are EXPENSIVE, and once they're old... you've gotta get a new one! This DIY filter can be reused over and over again. The carbon is changed out every 2 runs or so..
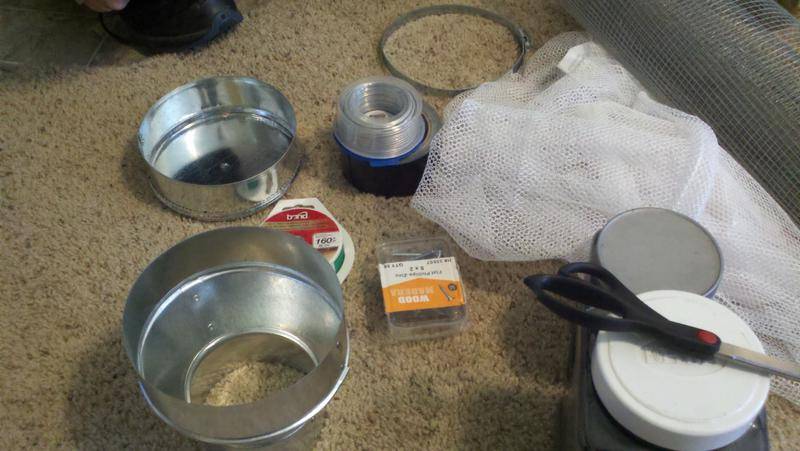
So the materials needed in the process are...
-4 to 6 inch reducer
-6 inch cap
-2 different kinds of wire mesh (big-little)
-clamp
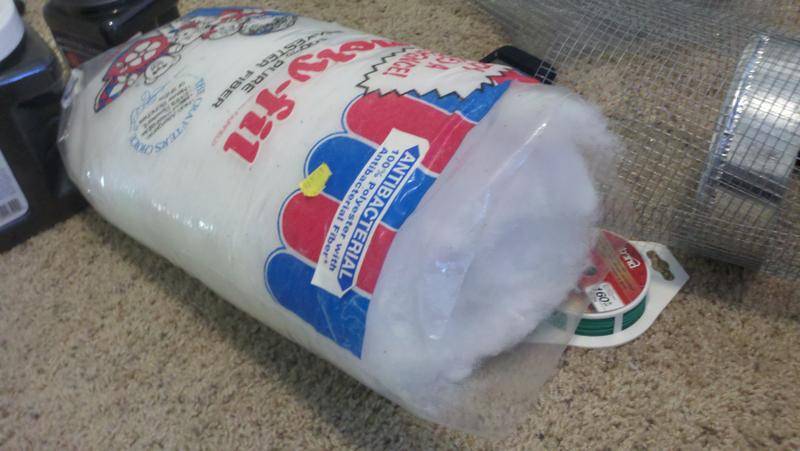
-100 % polyester with antibacterial fiber
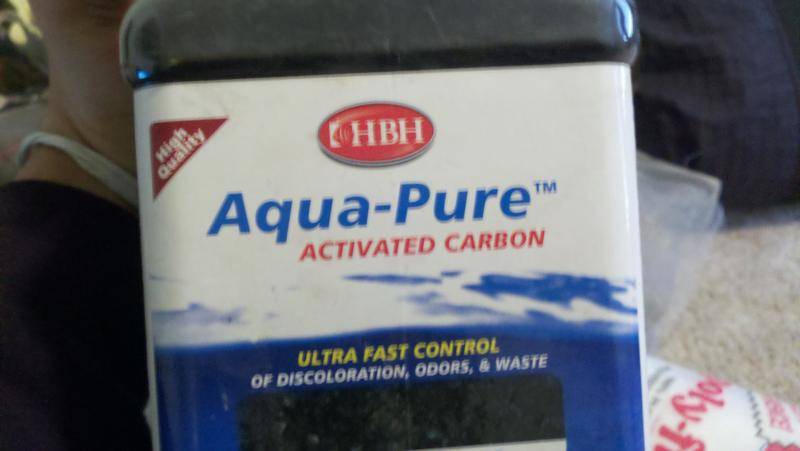
-good amount of activated carbon
-power drill or something to get screws in, through the metal reducer/cap
-screws
-plant ties or small wire for securing and tying
-mesh gym shorts
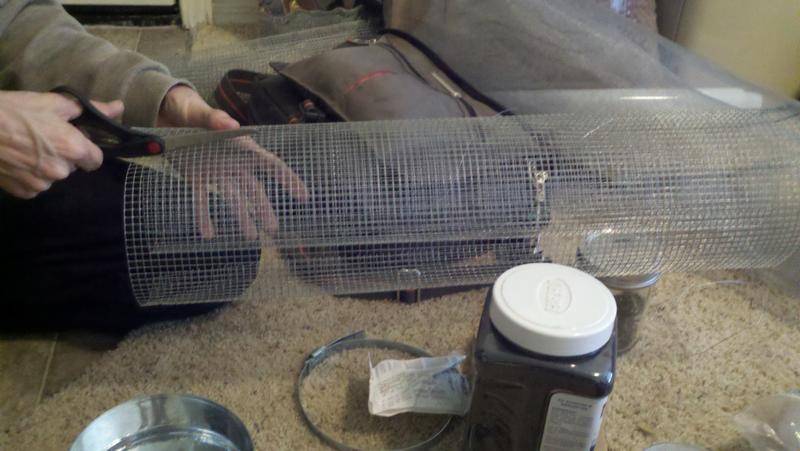
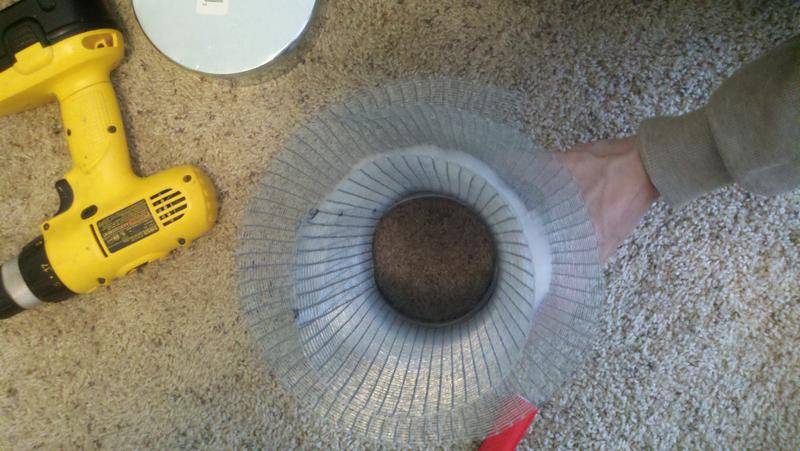
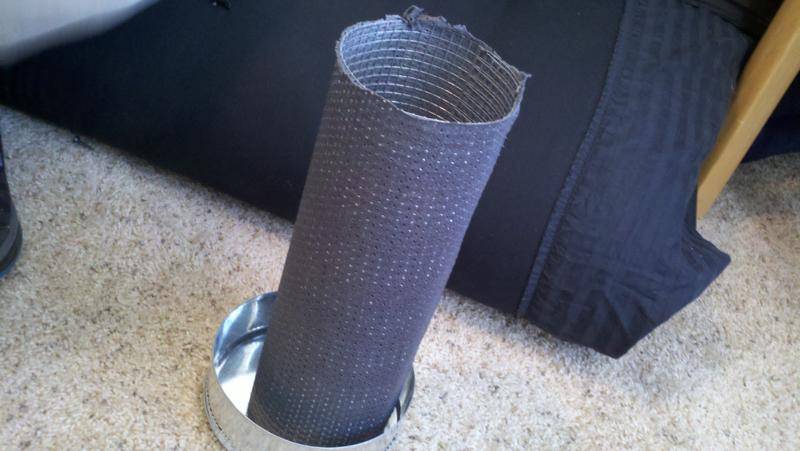
First, the larger wire mesh was cut to an appropriate size to roll up and fit the outside edge of the 4 to 6 inch reducer
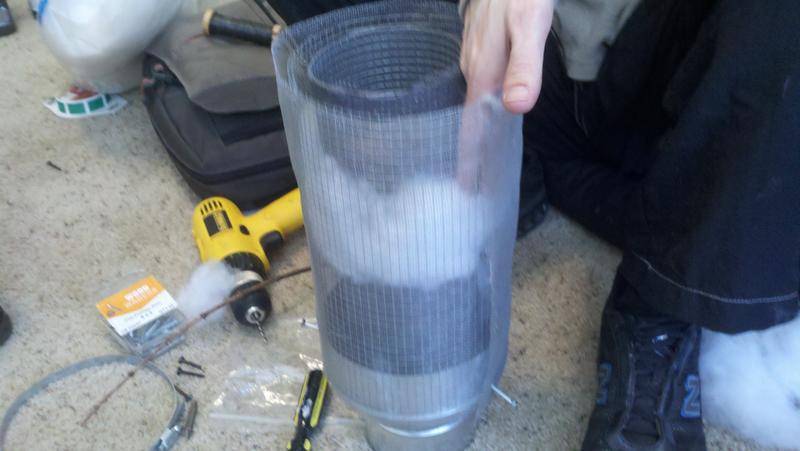
Next, more of the larger wire mesh is cut to an appropriate size for the inside edge of the reducer (4 inches)..
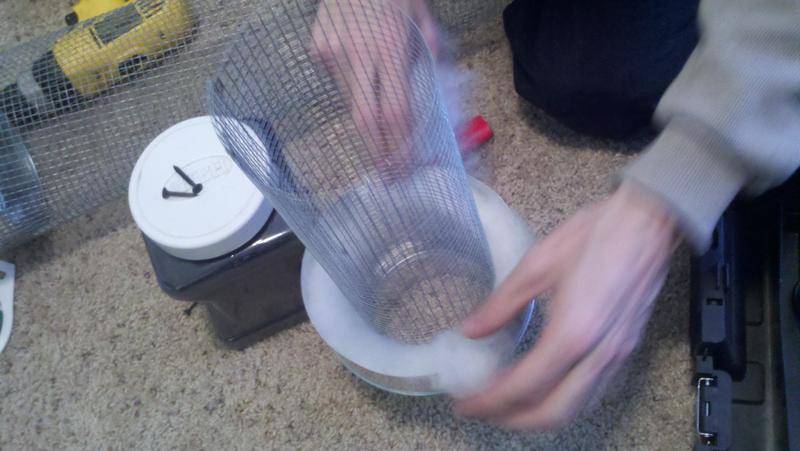
Just to get some perspective....(we were just shoving polyester in there to see if there was enough room all the way around for there to be a good amount of carbon)
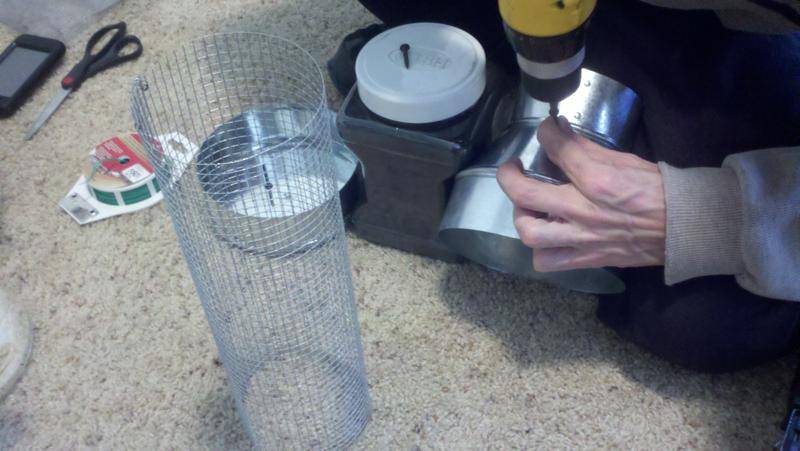
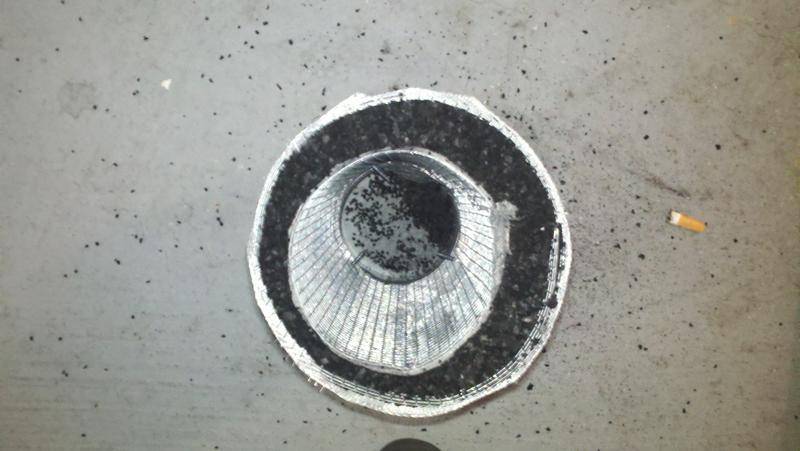
Screws are drilled through the base of the reducer and through the outer wire mesh or both layers of wire mesh when you're ready to secure it... Be careful when drilling, slipped off a few times and caused serious frustration ha!
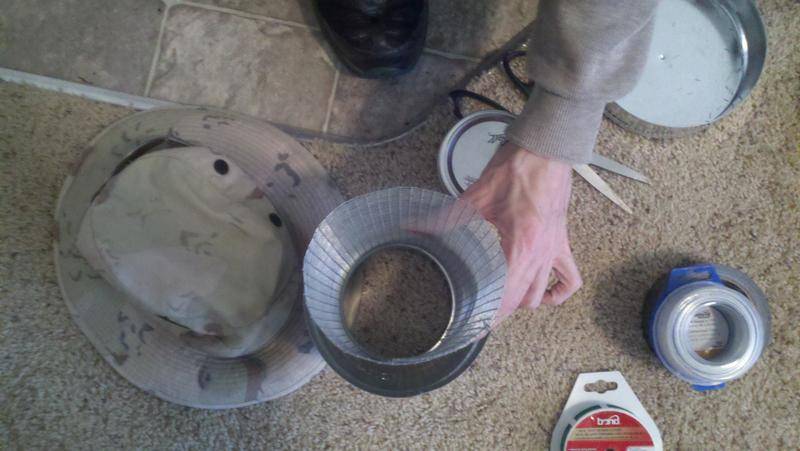
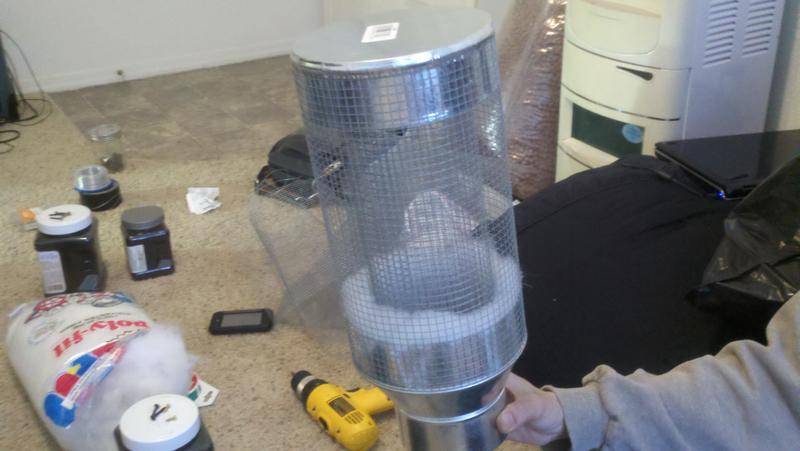
Here's a sneak peak at what we are shooting for... Just imagine carbon stuffed around the outter edge
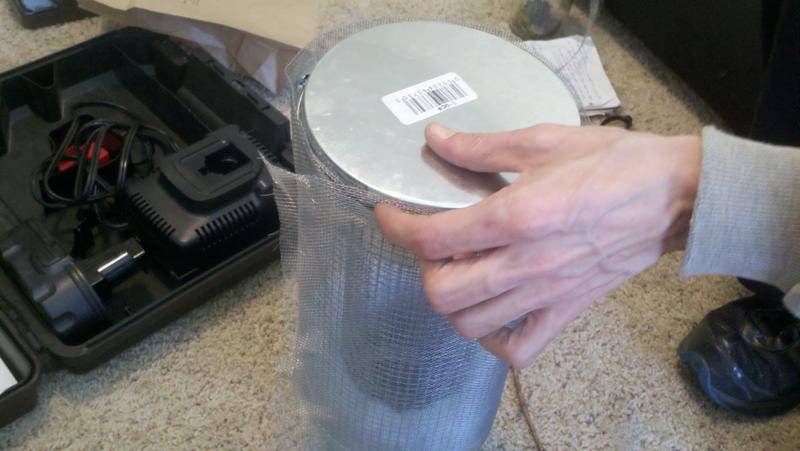
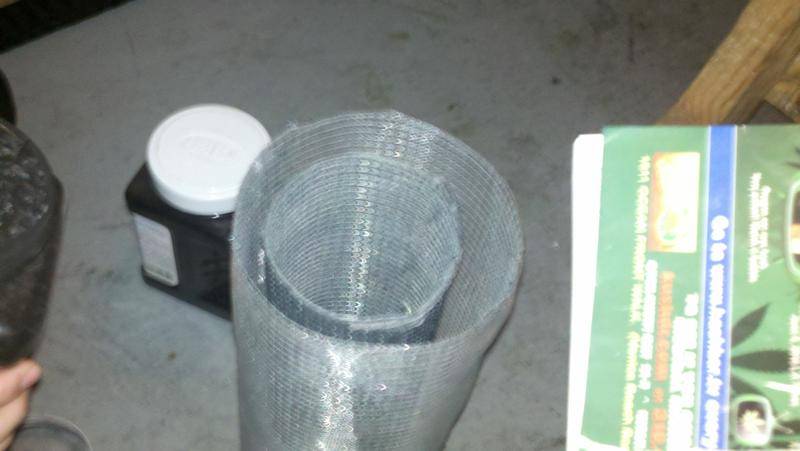
The smaller mesh, with finer holes is now cut to appropriate size to fit around the outside of the filter. Providing more...filter
I would assume if you've got a really big, high CFM fan you'd want this outter layer of mesh to be REALLY fine. Don't want chunks of carbon shooting around your grow room...
Then, a piece the same size as the last is cut out of your basic mesh gym shorts...
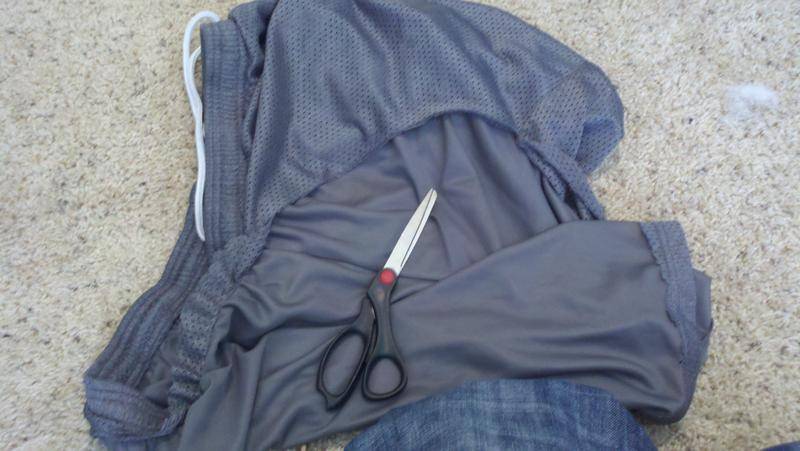

Lookin good... Trim it until it's visually appealing although it doesn't matter since this part will not show..
After our inner wire is wrapped in mesh gym shorts, we refill our filter with 100 % polyester w/antibacterial fiber. This is for the bottom of the filter so no carbon dumps out and no air escapes...all odor gets scrubbed.
Take it outside to funnel the carbon in (i used a magazine as a funnel). Some of the little finer chunks will get blown away as they are pretty much like dust. We are counting on the bigger chunks of carbon to do the job. I'd suggest wearing sunglasses and gloves while doing this and perhaps a mask. Carbon dust cant be too great down your throat..
Secure the 6 inch cap on the end of your filter.. this took some adjusting but we got it. Then clamp that sucker in place until you need to replace the carbon
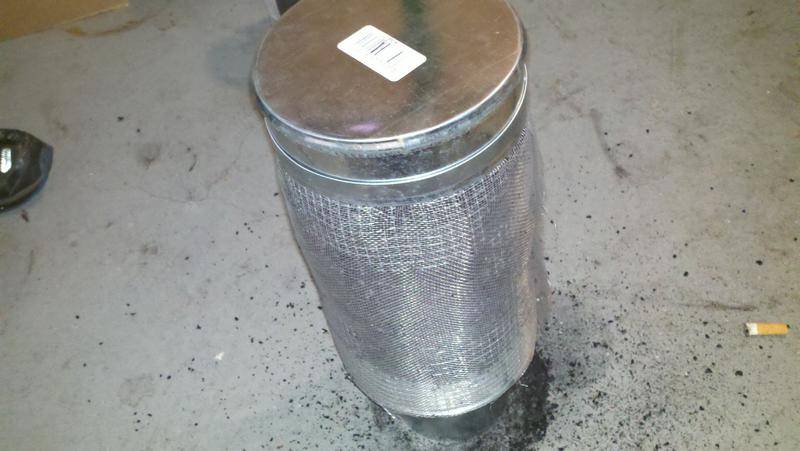
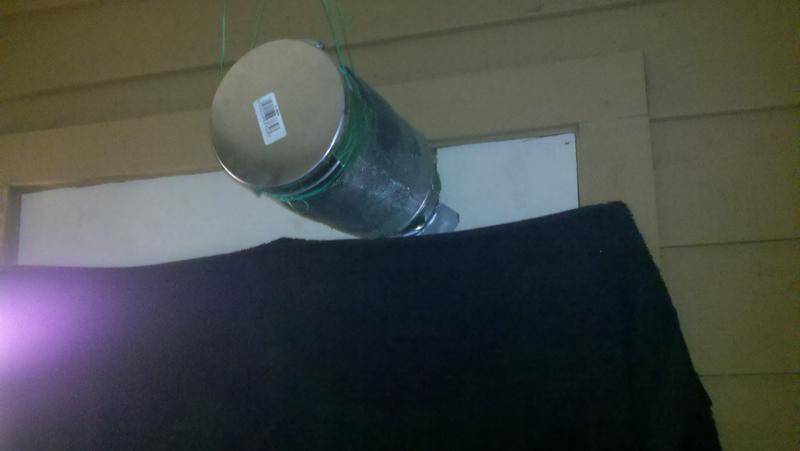
I put a hook in the roof and hung 'er up with some wire. Very sturdy. Duct taped to the MAX
And that's it everyone.. Time consuming but simple, and it beats spending 100 or more bucks. The best thing is you an make these things ANY SIZE YOU WANT. Meaning you could make a mini one for a drying tent, or a MASSIVE one for big operations. I did this size because it was appropriate for my flowering room.. I hope this helped
OH, and I'd recommend turning your exhaust fan off while you attach the filter and secure the hooks. And then when you turn it on get the hell out of there for a few hours or throw a towel over it because all the small carbon dust will get blown through the filter by the fan. I did NOT turn my fan off and was getting sprayed with black dust the whole time we put it on the outtake.
PG
So my DIY carbon filter was made today, and BOY did it it take awhile. This is simply because it required some small handywork and we were very stoned over here at the spot
And I'm a bit of a perfectionist..So I took pictures throughout the whole process so others who have an issue with odors escaping to neighbors/family can make their own carbon filters for their set ups, without dropping 100 + $ at the hydro store or whatever. Those things are EXPENSIVE, and once they're old... you've gotta get a new one! This DIY filter can be reused over and over again. The carbon is changed out every 2 runs or so..
So the materials needed in the process are...
-4 to 6 inch reducer
-6 inch cap
-2 different kinds of wire mesh (big-little)
-clamp
-100 % polyester with antibacterial fiber
-good amount of activated carbon
-power drill or something to get screws in, through the metal reducer/cap
-screws
-plant ties or small wire for securing and tying
-mesh gym shorts
First, the larger wire mesh was cut to an appropriate size to roll up and fit the outside edge of the 4 to 6 inch reducer
Next, more of the larger wire mesh is cut to an appropriate size for the inside edge of the reducer (4 inches)..
Just to get some perspective....(we were just shoving polyester in there to see if there was enough room all the way around for there to be a good amount of carbon)
Screws are drilled through the base of the reducer and through the outer wire mesh or both layers of wire mesh when you're ready to secure it... Be careful when drilling, slipped off a few times and caused serious frustration ha!
Here's a sneak peak at what we are shooting for... Just imagine carbon stuffed around the outter edge
The smaller mesh, with finer holes is now cut to appropriate size to fit around the outside of the filter. Providing more...filter
I would assume if you've got a really big, high CFM fan you'd want this outter layer of mesh to be REALLY fine. Don't want chunks of carbon shooting around your grow room...
Then, a piece the same size as the last is cut out of your basic mesh gym shorts...
Lookin good...
Trim it until it's visually appealing although it doesn't matter since this part will not show..After our inner wire is wrapped in mesh gym shorts, we refill our filter with 100 % polyester w/antibacterial fiber. This is for the bottom of the filter so no carbon dumps out and no air escapes...all odor gets scrubbed.
Take it outside to funnel the carbon in (i used a magazine as a funnel). Some of the little finer chunks will get blown away as they are pretty much like dust. We are counting on the bigger chunks of carbon to do the job. I'd suggest wearing sunglasses and gloves while doing this and perhaps a mask. Carbon dust cant be too great down your throat..
Secure the 6 inch cap on the end of your filter.. this took some adjusting but we got it. Then clamp that sucker in place until you need to replace the carbon
I put a hook in the roof and hung 'er up with some wire. Very sturdy. Duct taped to the MAX
And that's it everyone.. Time consuming but simple, and it beats spending 100 or more bucks. The best thing is you an make these things ANY SIZE YOU WANT. Meaning you could make a mini one for a drying tent, or a MASSIVE one for big operations. I did this size because it was appropriate for my flowering room.. I hope this helped
OH, and I'd recommend turning your exhaust fan off while you attach the filter and secure the hooks. And then when you turn it on get the hell out of there for a few hours or throw a towel over it because all the small carbon dust will get blown through the filter by the fan. I did NOT turn my fan off and was getting sprayed with black dust the whole time we put it on the outtake.
PG

