G
Guest
Ya Vern I'm holding my breath for some pics man. 10-12z's, fuk yea I hope you pull it.
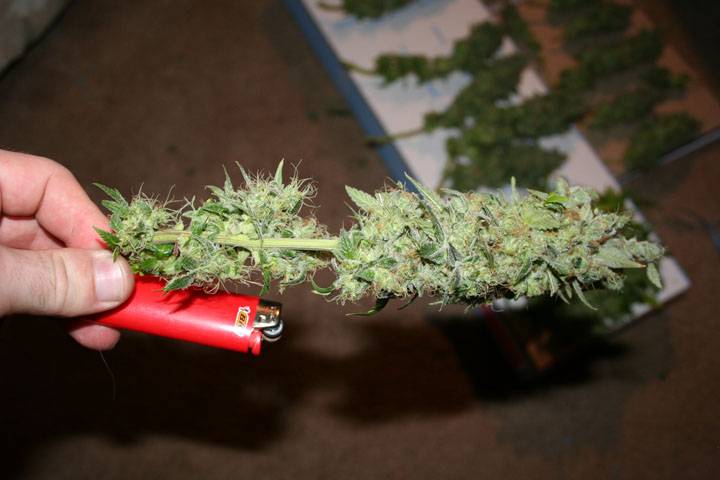
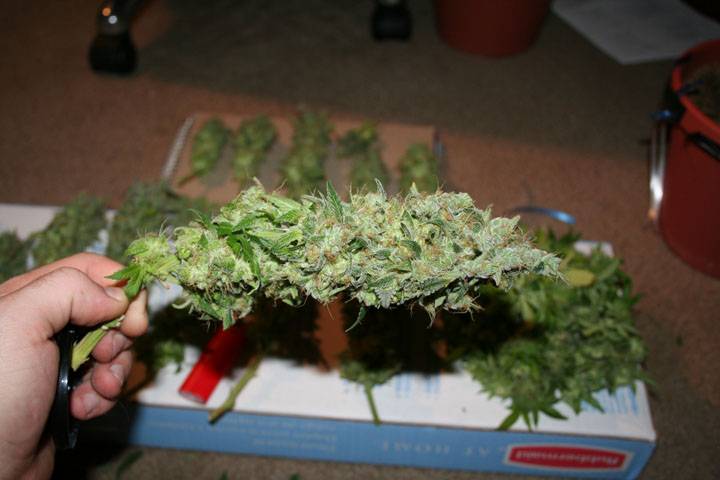
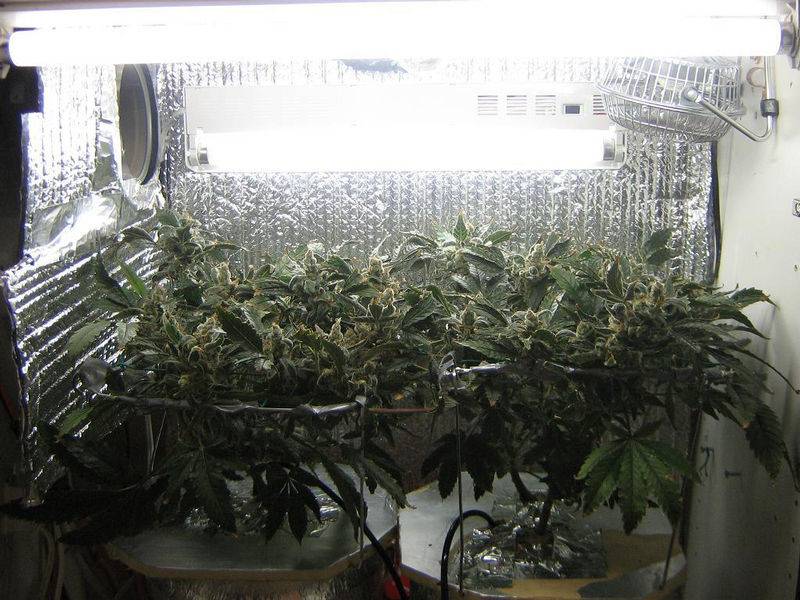
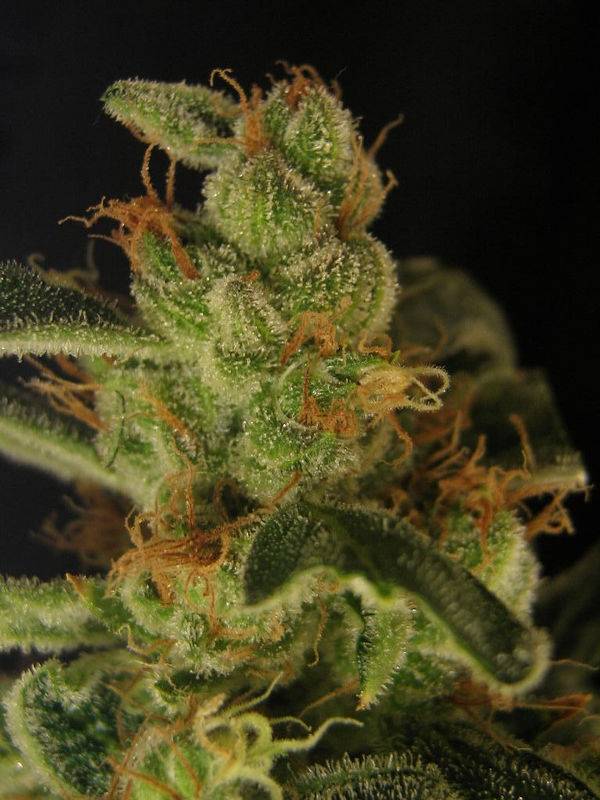
Here's some 150 porn day 43:

Here's some 150 porn day 43:


 Morning all and a happy memorial day weekend to all
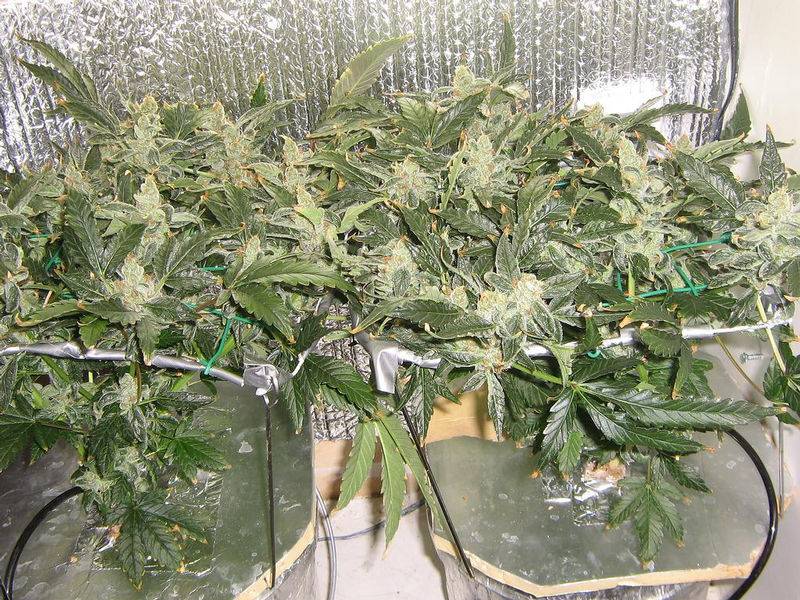
")

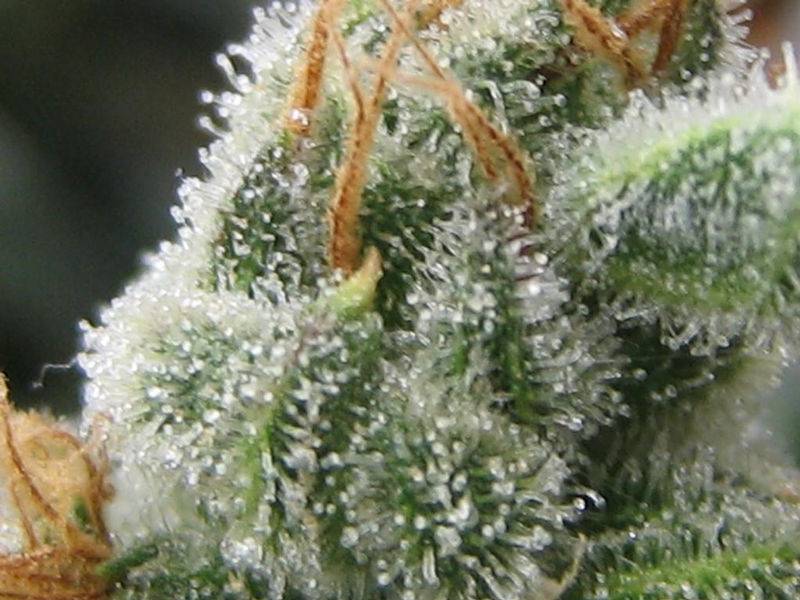
sugabear_II said:I tried a sample and it was pretty good
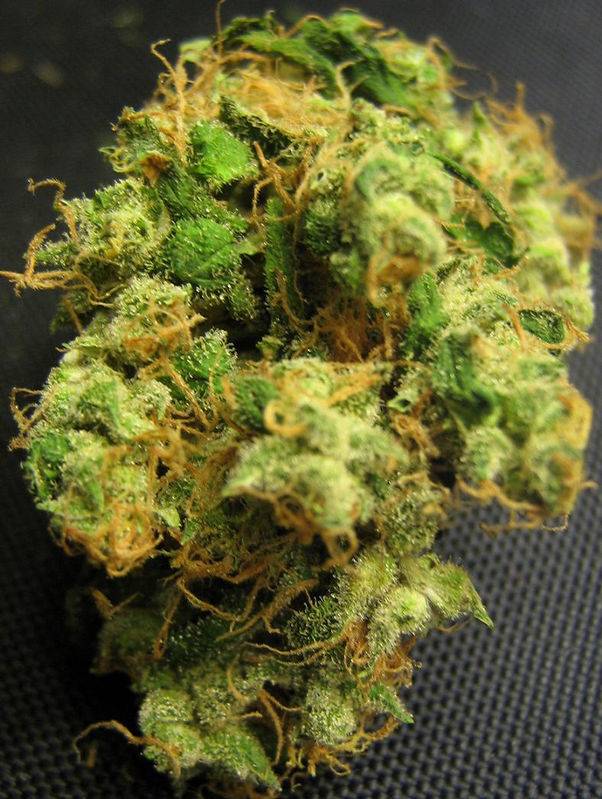
 , and the lemon REFUSES to herm. Wonderful strain!
 I know, I know, what a waste.


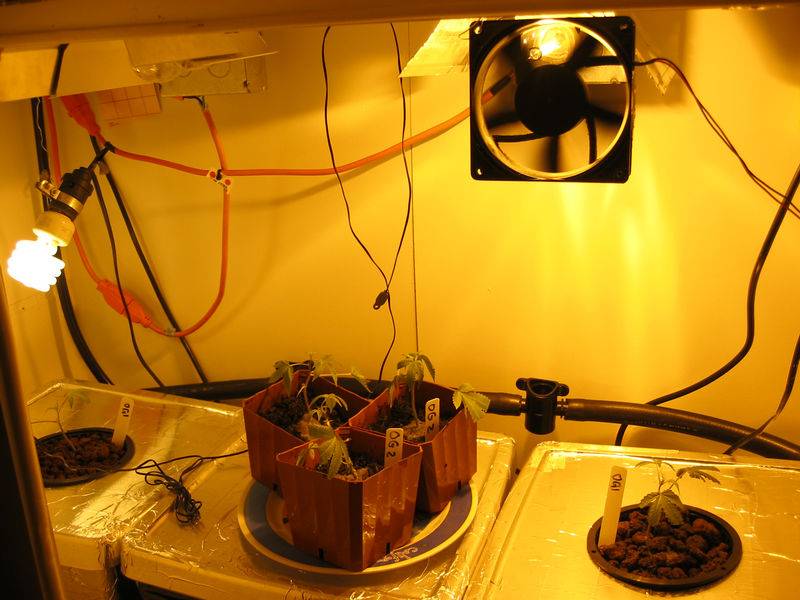

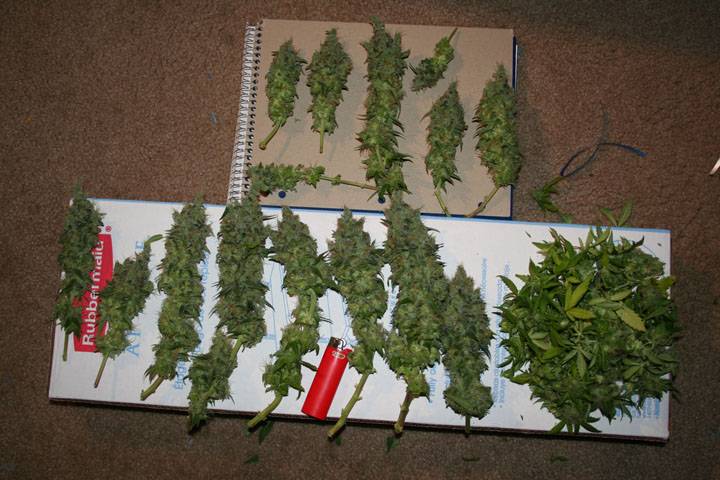
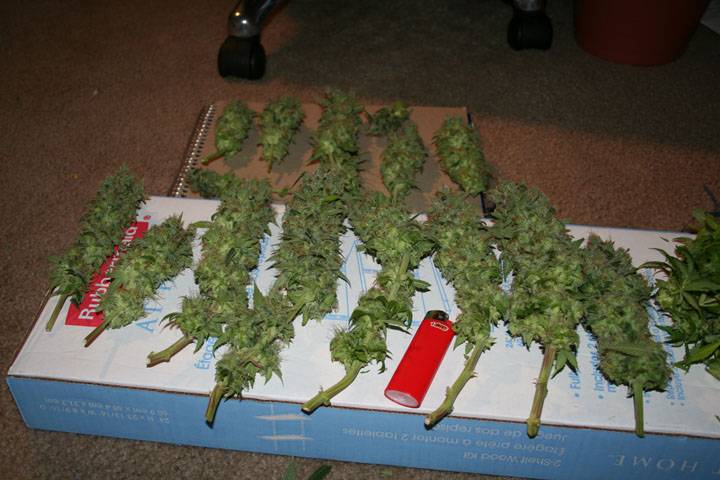
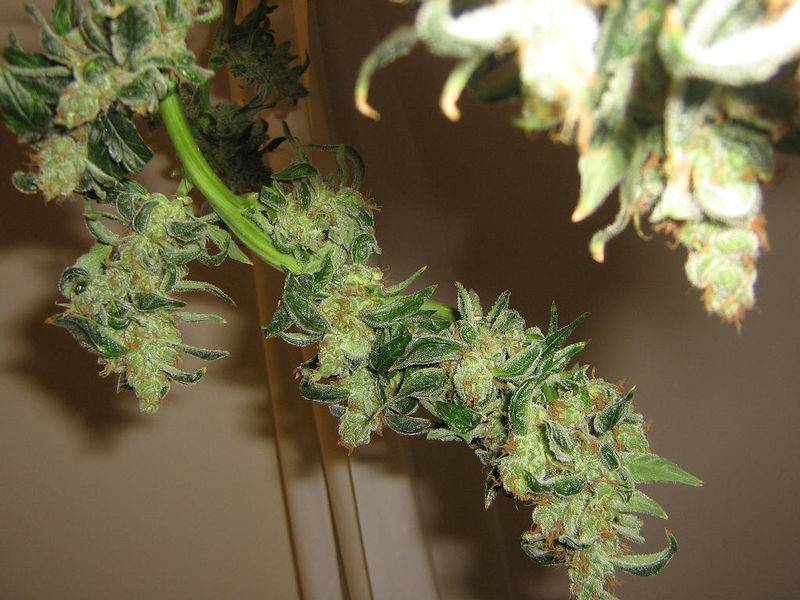
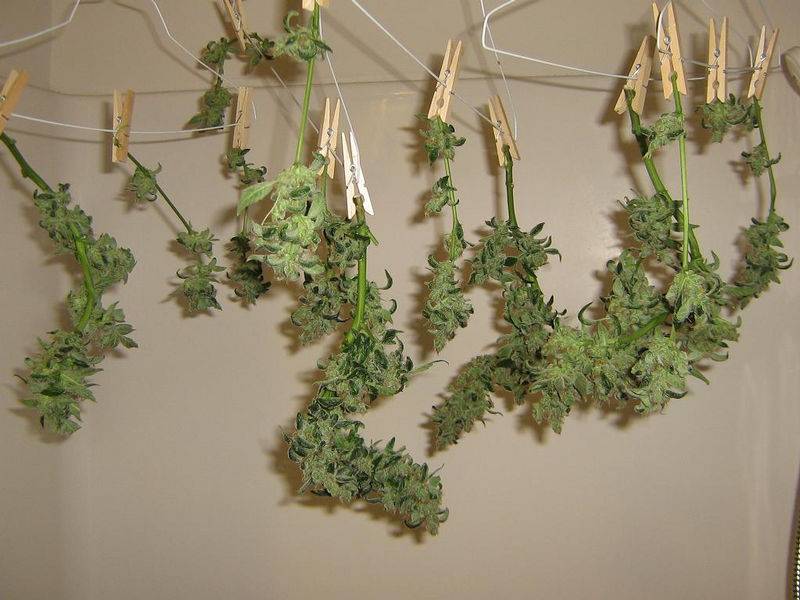
 well after about 50 days of flower the axe has fallen


Vern Equinox said:I told you I'm really stoned; I'm babbling like an idiot... Good-night!
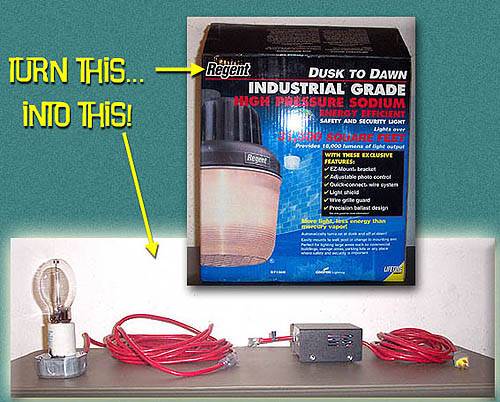
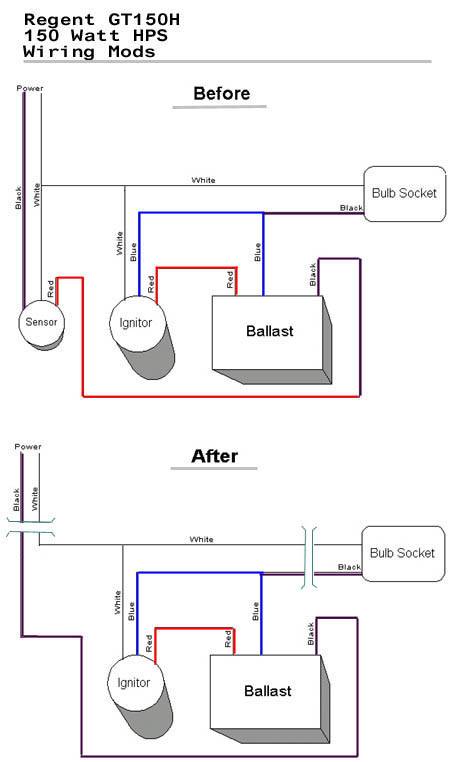
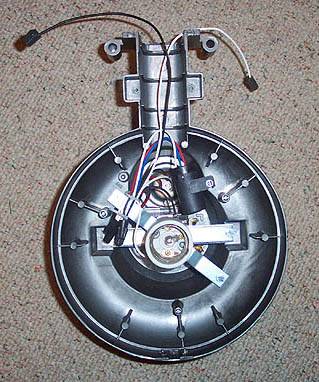
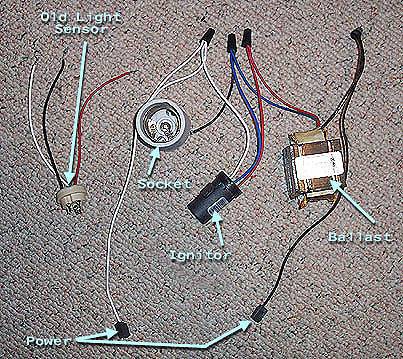
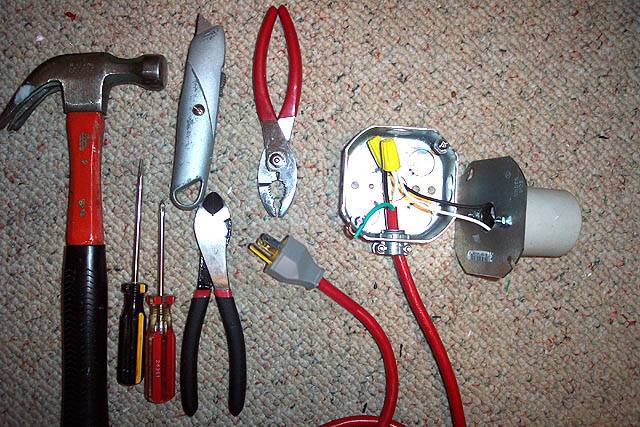
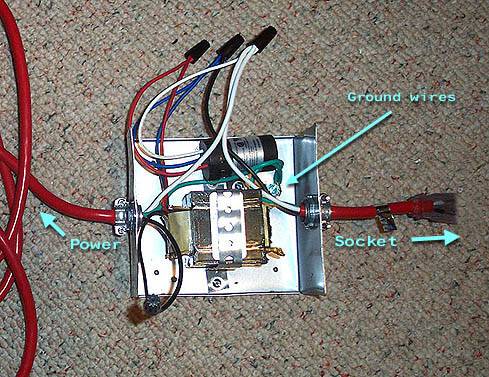
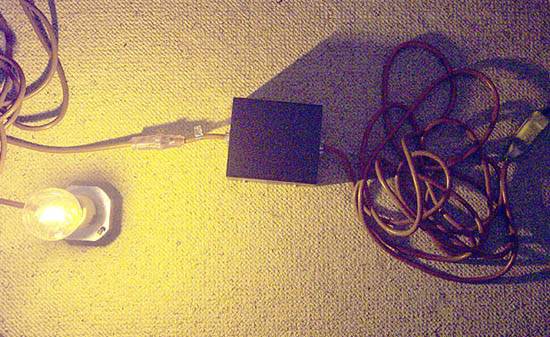
CarpeNoctem said:Hey guys can you dirrect me in the way of the the conversion guide for security lights? I've looked jsut cant find it. Thanks guys