
Palindrome
King of Schwag
And he said LED there be light!
And he said LED there be light!
The LED strips and drivers have arrived, still waiting on a few things before I start building the lights.
Total 65 strips (46V MAX 900 mA)
The drivers are 46V @ 500 mA = 23 Watt per strip.
From Estonia export (ebay) @ 10$ a strip = 650$ incl shipping
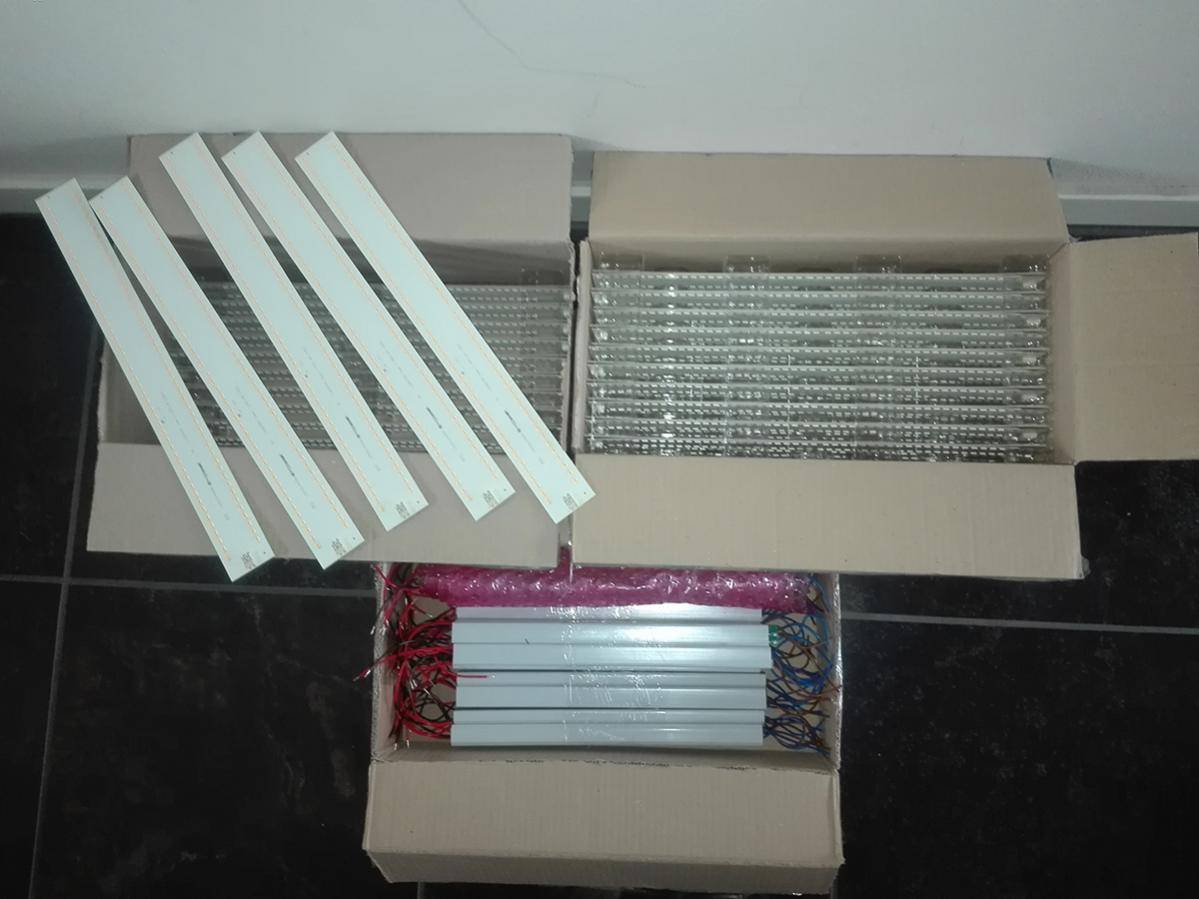
And he said LED there be light!
The LED strips and drivers have arrived, still waiting on a few things before I start building the lights.
Total 65 strips (46V MAX 900 mA)
The drivers are 46V @ 500 mA = 23 Watt per strip.
From Estonia export (ebay) @ 10$ a strip = 650$ incl shipping


