
Peregrin Took
Active member
I get asked about my cloning technique alot, and figured it was time to do a little how-to.
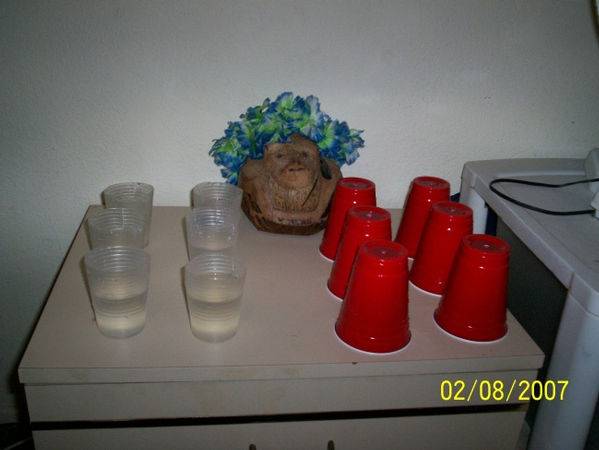
This is super simple, and hard to screw up. All you need is:
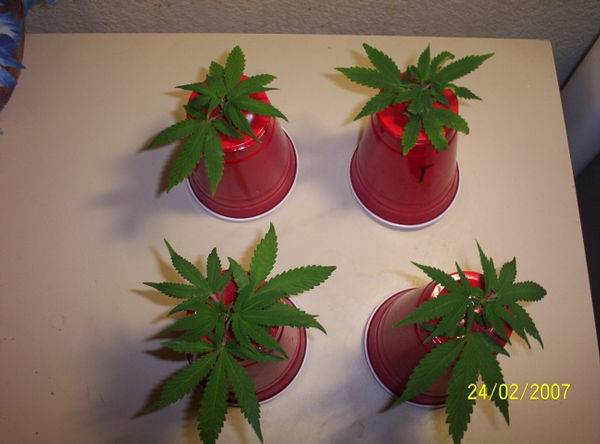
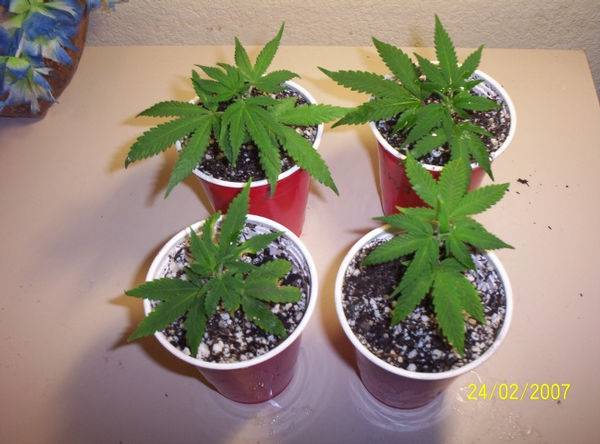
-Cups, two different sizes. The larger size shouldnt be clear, but somewhat opaque, like the red party cups shown.
-Rooting hormone. I use whatever is cheap.
-Water
-Cuttings
First drill/cut a hole in the bottom of the larger cup, a little larger than the stem of your cutting. Now fill the other, smaller, cup with water, I use straight tap water, to about 1-3 inches from the top ( depending on the size of your cutting )
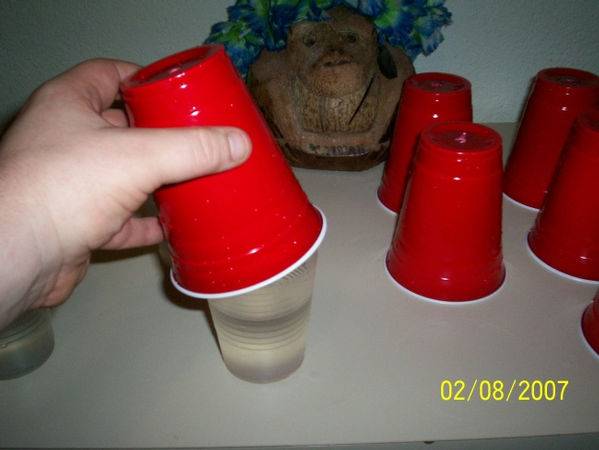
Ok so heres the deal, you want to be able to slide the larger cup, upside-down, over the smaller cup of water. If the bottom cup has a tapered rim or such, you might need to cut a little bit off to get the top cup to fit all the way over the bottom one. Also it helps to make a few vertical cuts around the top of the bottom cup, above the water level, to help it slide inside the the top cup.
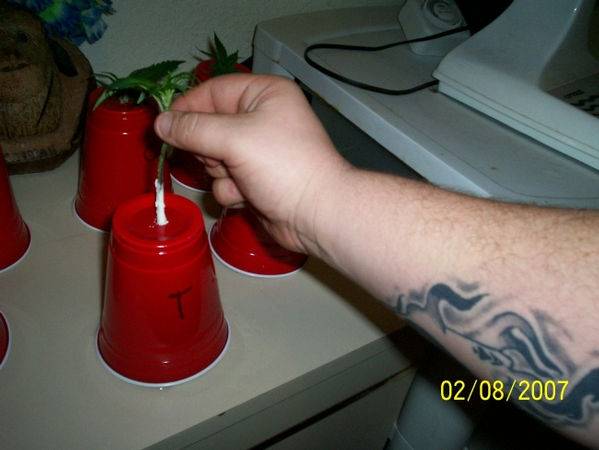
Now simply take your cutting, dip in your hormone of choice, and slide her in. This is why I said to make the hole on the top cup a little larger than the stem, or else you will end up scraping off your rooting hormone when you try to insert it.
Make sure the water level in the bottom cup is high enough to submerge the bottom 1-2" or so of the cutting.
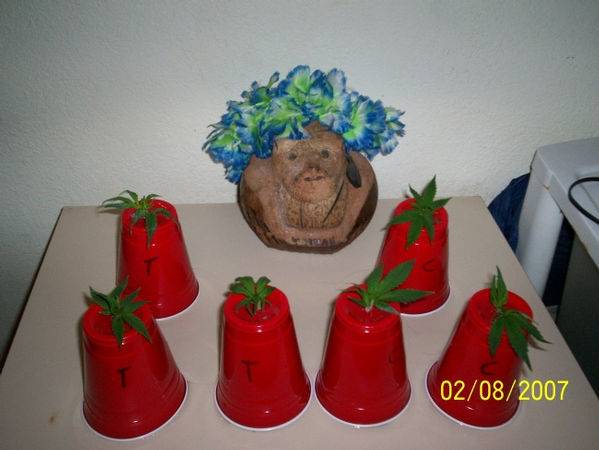
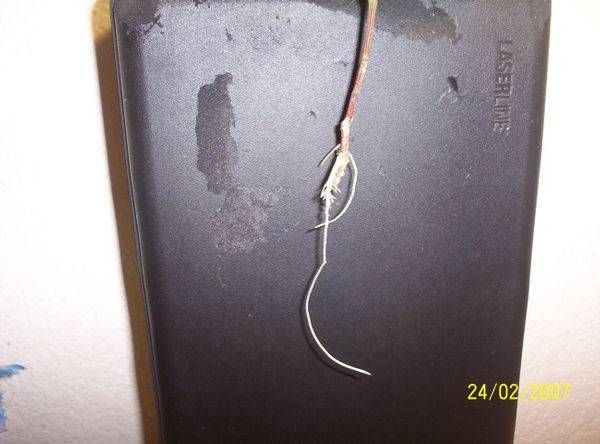
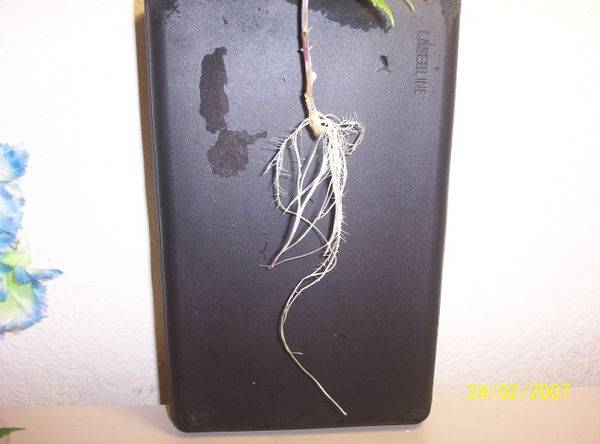
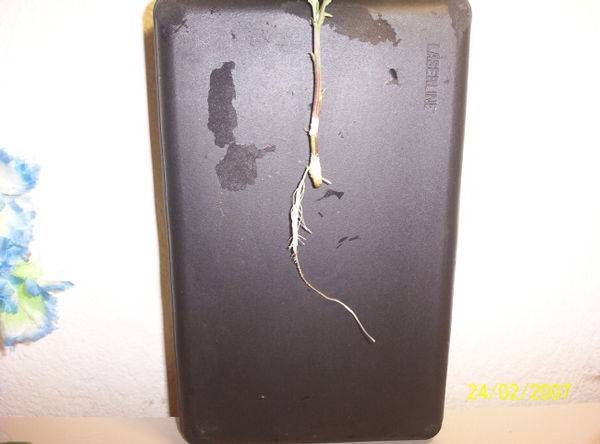
Now your done, simply stick em under some low wattage lighting, and wait. After around a week or so, you can start lifting the top cup and checking for roots. Takes me anywhere from 5-15 days to start seeing 'em.
This is super simple, and hard to screw up. All you need is:
-Cups, two different sizes. The larger size shouldnt be clear, but somewhat opaque, like the red party cups shown.
-Rooting hormone. I use whatever is cheap.
-Water
-Cuttings
First drill/cut a hole in the bottom of the larger cup, a little larger than the stem of your cutting. Now fill the other, smaller, cup with water, I use straight tap water, to about 1-3 inches from the top ( depending on the size of your cutting )
Ok so heres the deal, you want to be able to slide the larger cup, upside-down, over the smaller cup of water. If the bottom cup has a tapered rim or such, you might need to cut a little bit off to get the top cup to fit all the way over the bottom one. Also it helps to make a few vertical cuts around the top of the bottom cup, above the water level, to help it slide inside the the top cup.
Now simply take your cutting, dip in your hormone of choice, and slide her in. This is why I said to make the hole on the top cup a little larger than the stem, or else you will end up scraping off your rooting hormone when you try to insert it.
Make sure the water level in the bottom cup is high enough to submerge the bottom 1-2" or so of the cutting.
Now your done, simply stick em under some low wattage lighting, and wait. After around a week or so, you can start lifting the top cup and checking for roots. Takes me anywhere from 5-15 days to start seeing 'em.

 .peace
")
 nice one hobbit ganga fiend


