
hey guys and gals, long time no long winded post, so here goes for nothing. A new concept from the freshheadies crew, figured i would post it here.
Well i suppose this post have been a long time coming. and today i am finaly getting off my ass to post it.
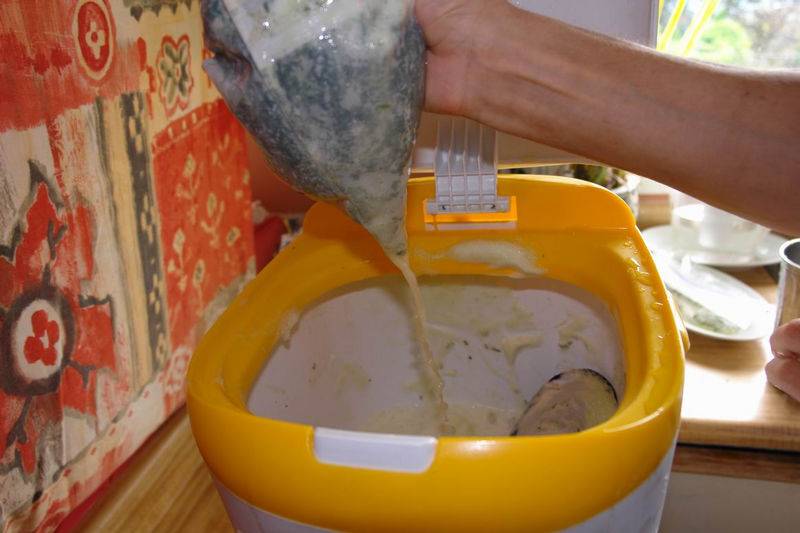
I have finaly released the bubblenow washing machine, which can be used to wash off the resins we so desire. The unit itself is about five gallon size, and is extremly lightweight for portable use. You can take this baby anywhere you have a plug, and get it working for you.
I have to say im pretty darn impressed, with the whole process. From the choice of mix time, from 2 minutes up to 15 minutes, as well as the complete removal of settling> once the unit is done, you can start draining into your bags, and because its a fast drain there is literaly NO settling time. whoo hoo.
So anyway, i will start by explaining each photo.
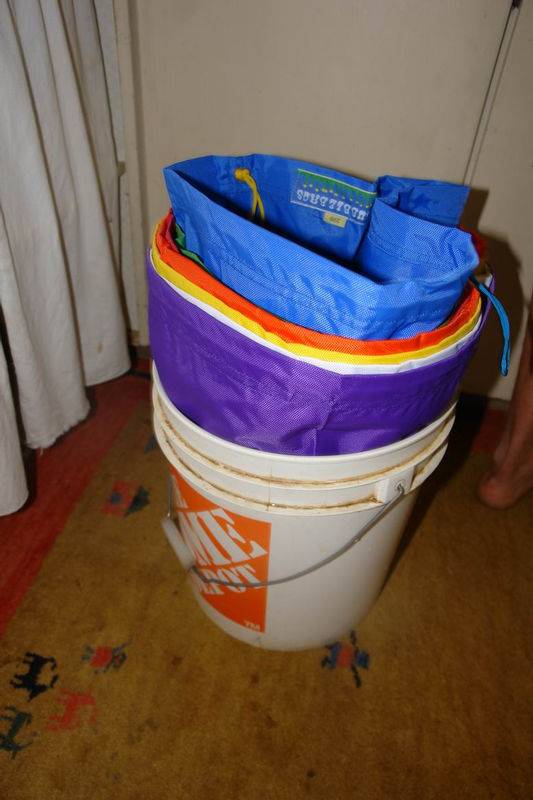
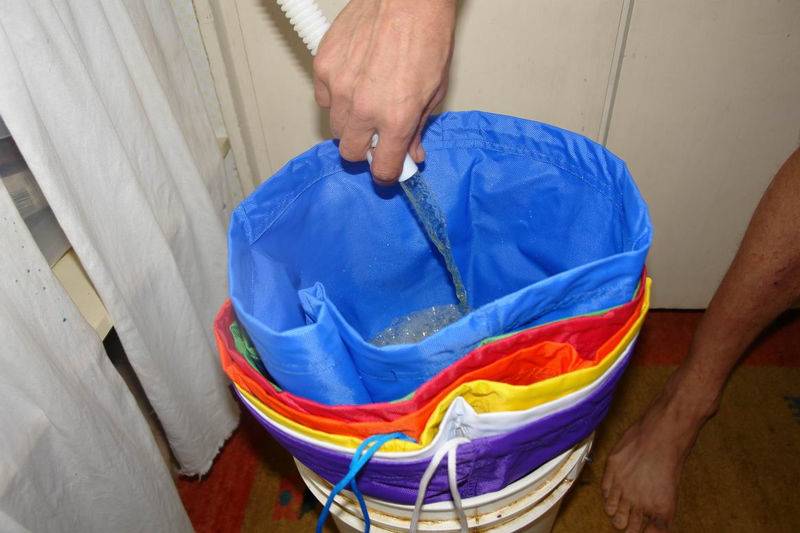
First off, we have photo 1: which the bubblenow unit with its hose for filling up the unit( i use a five gallon bucket its way faster, will talk more about this further into the thread), as well as the all screen zipper bags that come with the unit. these ones are prototypes and are being replaced by a singler larger bag that i will post as soon as it arrives from being manufactured. Also pictures here is a seven bag kit. i am currently out of my eight bag kits, thus i used a seven for this photoshoot. I will use my 90u as soon as they come in with this unit and show you guys what came out of that.
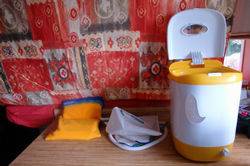
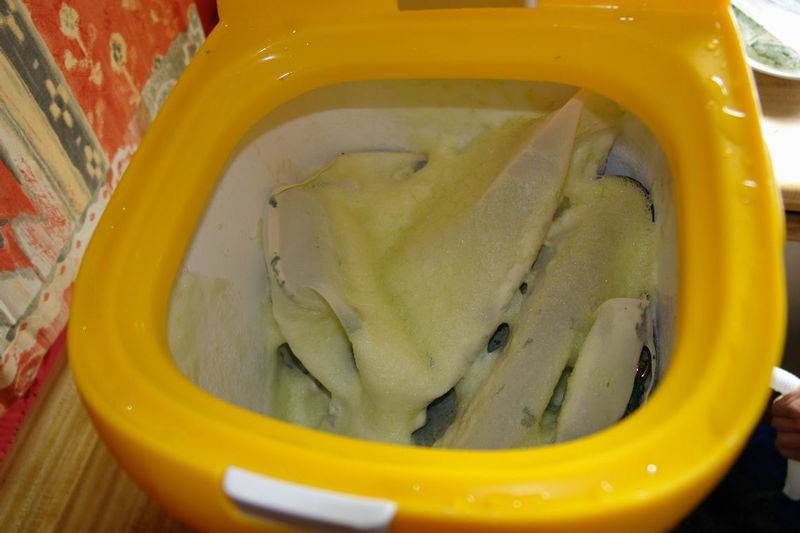
Photo 2: is the inside of the BUBBLENOW you can see the small motor in the bottom that spins as well as sucks air, to create this wicked cyclone effect inside the unit. YOu can turn the unit on without the lid being closed but i would suggest having water in it to do this.
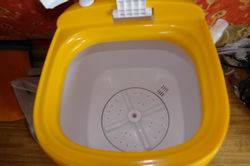
photo 3: is the outside of the unit with the lid closed.
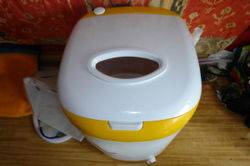
photo 4: this is some trim a friend of mine had. I almost fell over when i actualy smelt it. he told me it was bubblegum, but after smelling it and especialy after smoking a bowl of the Bubble. i knew instantly it was not bubblegum, but was the infamously long lost Romulan. WOW i hadnt seen this strain in bc for almost a decade. last time i saw anything romulan it was a cross , alas it was nice to see.
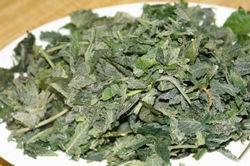
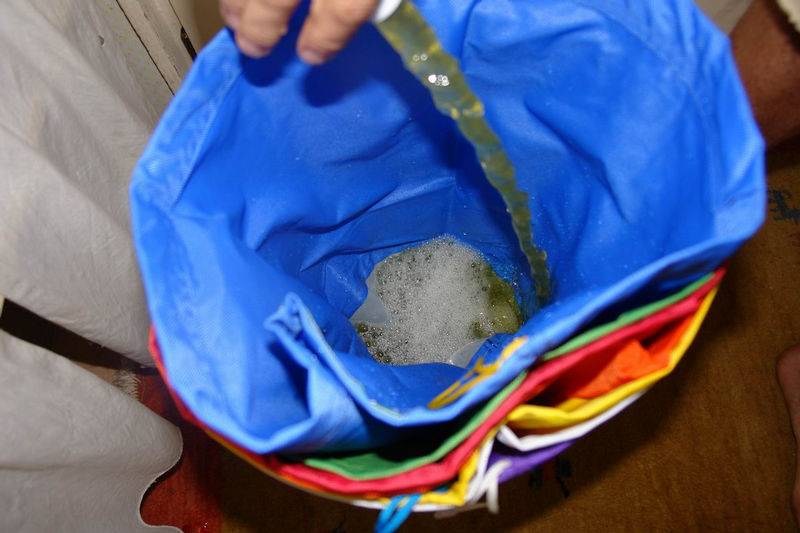
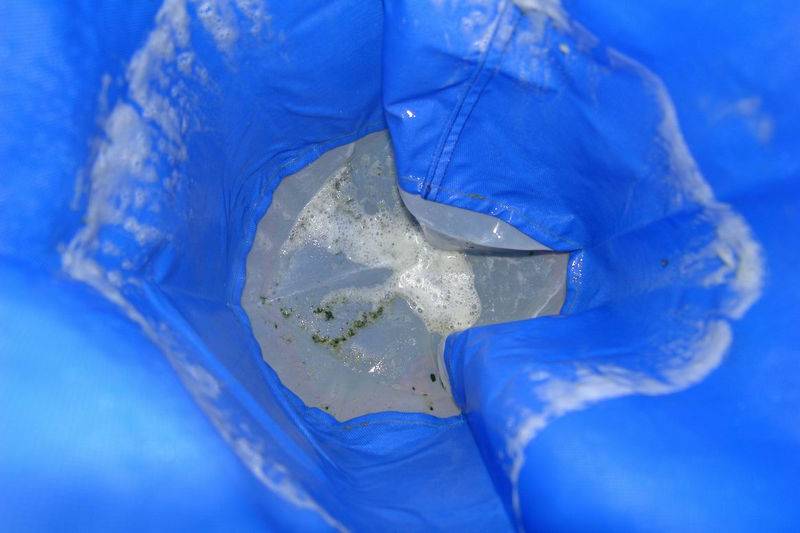
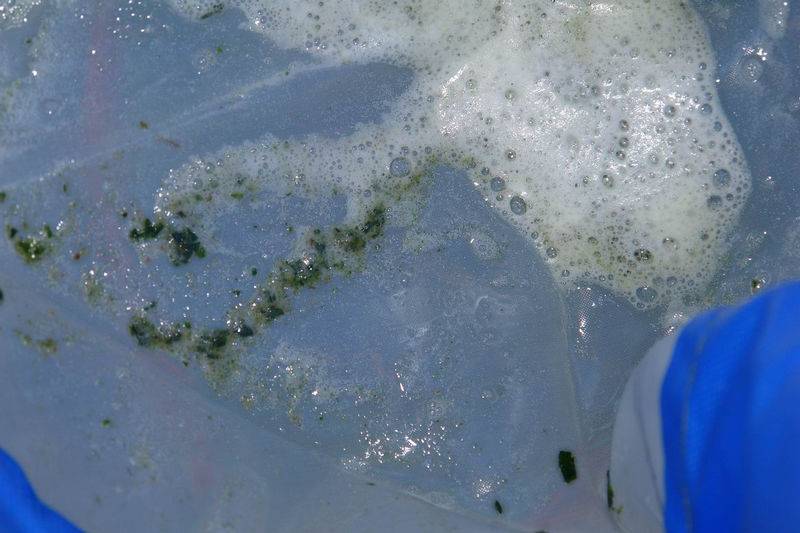
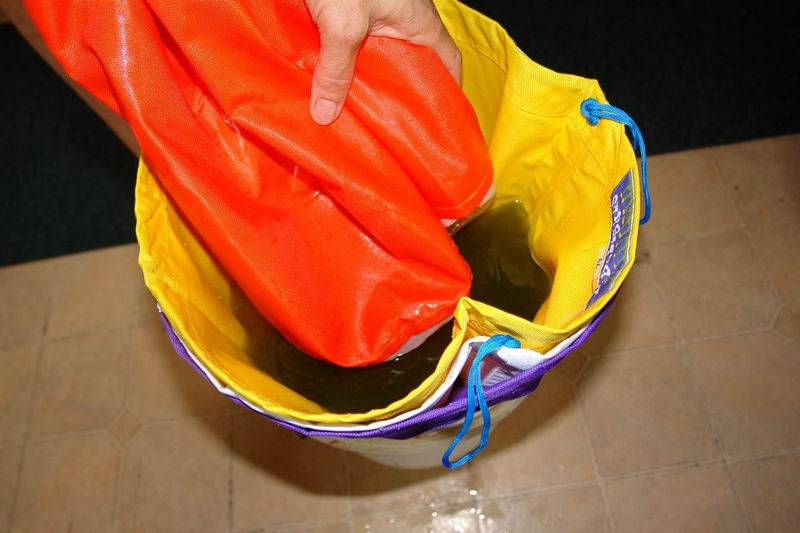
photo 5: The trim being placed carefuly into the all screen bag. NOw keep in mind the reason we do this carefuly is because anything that ends up on the outside of your bag will filter thru to your bubblebags. I use a 220u bubblebag to catch anything that may have ended up on the outside of my all screen 220u bag. So that is the reason you will see a 220u blue work bag used with the BUBBLENOW.

photo 6: More trim going out of the ziploc onto our plate and then into our bags. I am using two different types of all screen zipper bags for this run, but please understand there are prototypes and will not be seen in the future , this will be released WITH ONE LARGE SINGLE BAG.

photo 7: The second bag being filled with the trim.

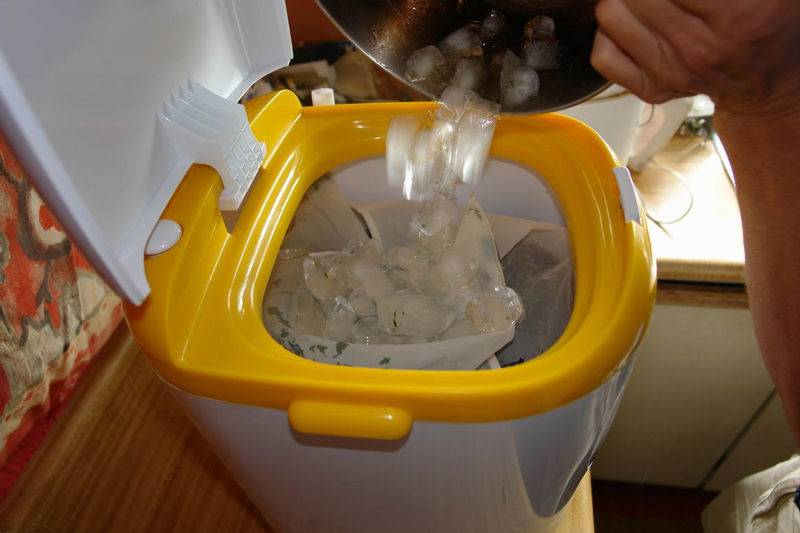
photo 8: A large bowl of ice is then added to each bag of trim> With this process we want most of the ice to be inside the bag in order to do its job of both cooling the water as well as breaking off the glands from their capitate stalks.

photo 9: Filling up the bag with ice.

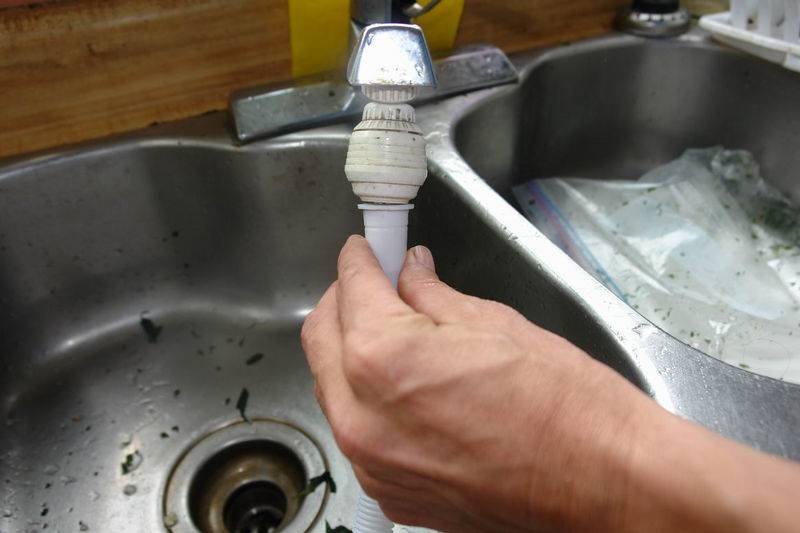
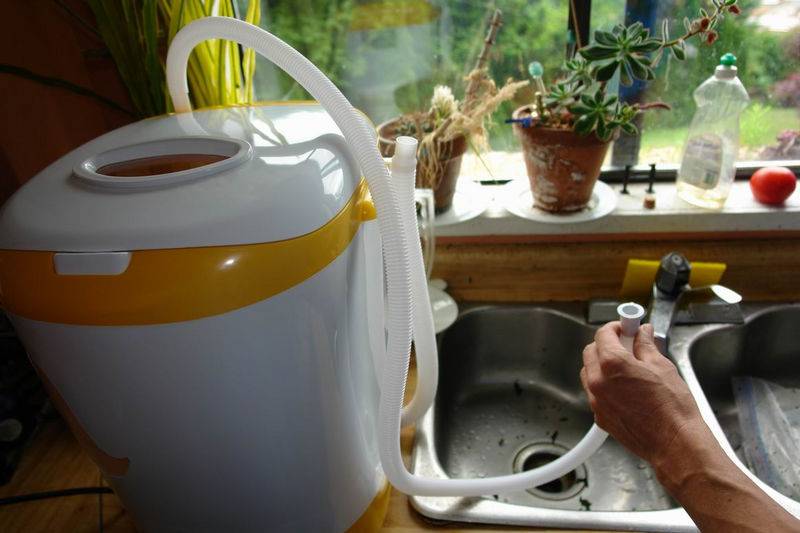
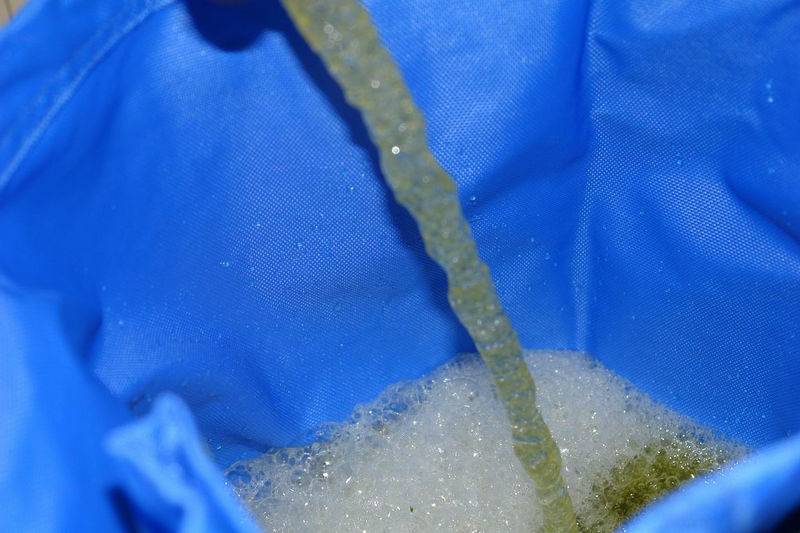
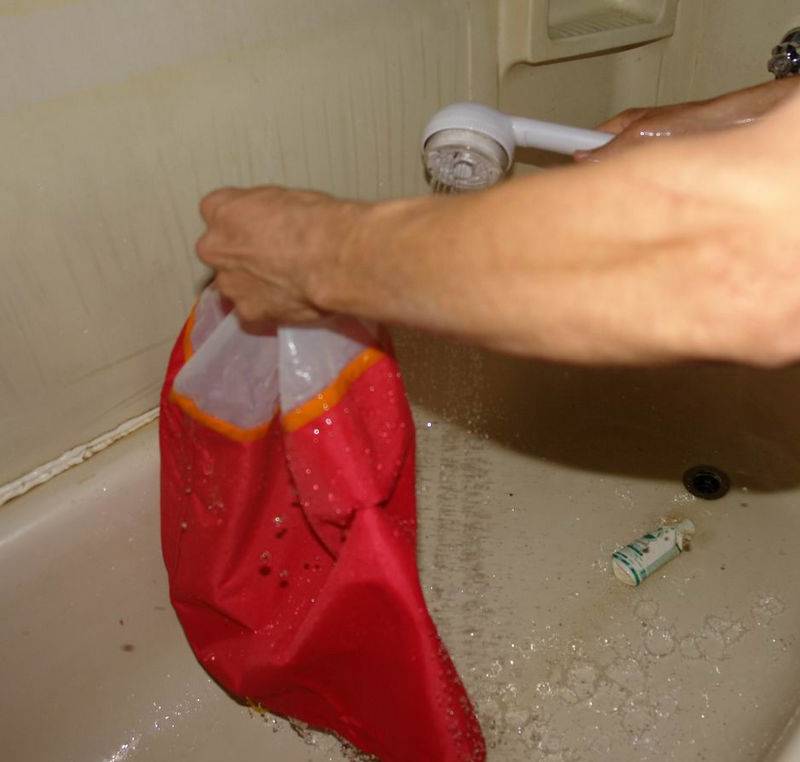
photo 10: this hose comes with the unit for filling from the tap, it has to be held and doesnt work so great, but depending on the type of tap you have, it can be useful as it fills the unit up quickly.

Well i suppose this post have been a long time coming. and today i am finaly getting off my ass to post it.
I have finaly released the bubblenow washing machine, which can be used to wash off the resins we so desire. The unit itself is about five gallon size, and is extremly lightweight for portable use. You can take this baby anywhere you have a plug, and get it working for you.
I have to say im pretty darn impressed, with the whole process. From the choice of mix time, from 2 minutes up to 15 minutes, as well as the complete removal of settling> once the unit is done, you can start draining into your bags, and because its a fast drain there is literaly NO settling time. whoo hoo.
So anyway, i will start by explaining each photo.
First off, we have photo 1: which the bubblenow unit with its hose for filling up the unit( i use a five gallon bucket its way faster, will talk more about this further into the thread), as well as the all screen zipper bags that come with the unit. these ones are prototypes and are being replaced by a singler larger bag that i will post as soon as it arrives from being manufactured. Also pictures here is a seven bag kit. i am currently out of my eight bag kits, thus i used a seven for this photoshoot. I will use my 90u as soon as they come in with this unit and show you guys what came out of that.

Photo 2: is the inside of the BUBBLENOW you can see the small motor in the bottom that spins as well as sucks air, to create this wicked cyclone effect inside the unit. YOu can turn the unit on without the lid being closed but i would suggest having water in it to do this.

photo 3: is the outside of the unit with the lid closed.
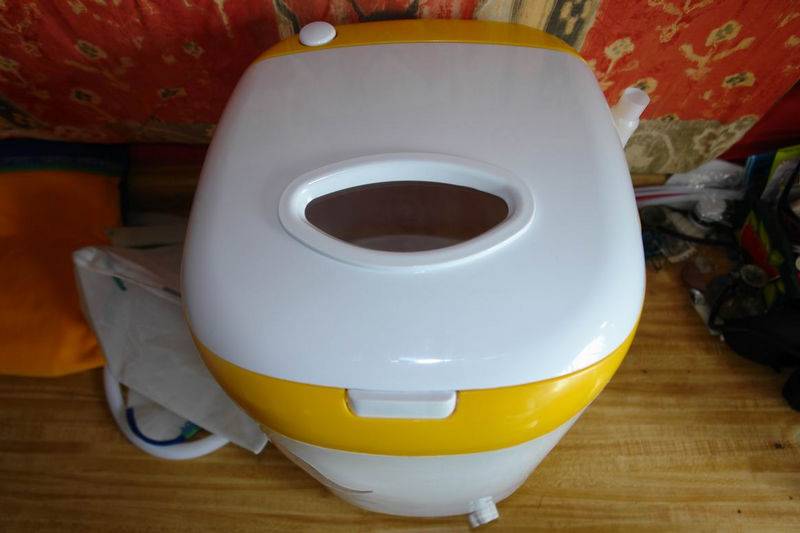
photo 4: this is some trim a friend of mine had. I almost fell over when i actualy smelt it. he told me it was bubblegum, but after smelling it and especialy after smoking a bowl of the Bubble. i knew instantly it was not bubblegum, but was the infamously long lost Romulan. WOW i hadnt seen this strain in bc for almost a decade. last time i saw anything romulan it was a cross , alas it was nice to see.

photo 5: The trim being placed carefuly into the all screen bag. NOw keep in mind the reason we do this carefuly is because anything that ends up on the outside of your bag will filter thru to your bubblebags. I use a 220u bubblebag to catch anything that may have ended up on the outside of my all screen 220u bag. So that is the reason you will see a 220u blue work bag used with the BUBBLENOW.
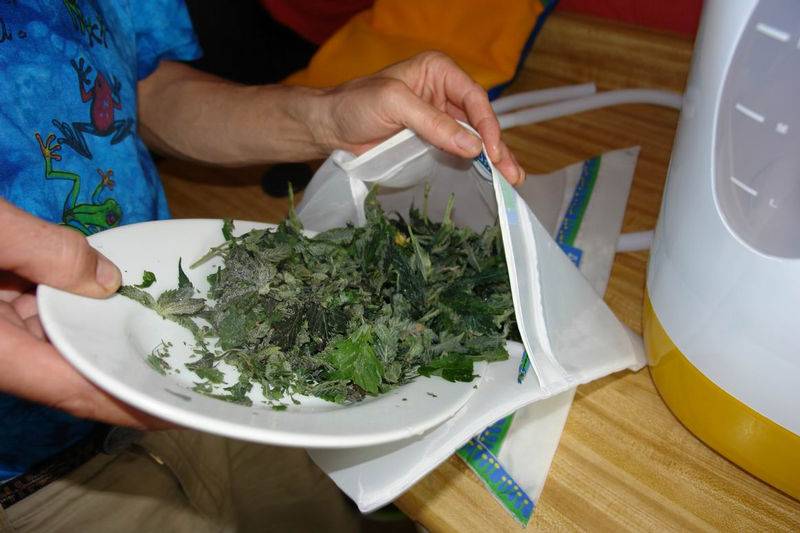
photo 6: More trim going out of the ziploc onto our plate and then into our bags. I am using two different types of all screen zipper bags for this run, but please understand there are prototypes and will not be seen in the future , this will be released WITH ONE LARGE SINGLE BAG.
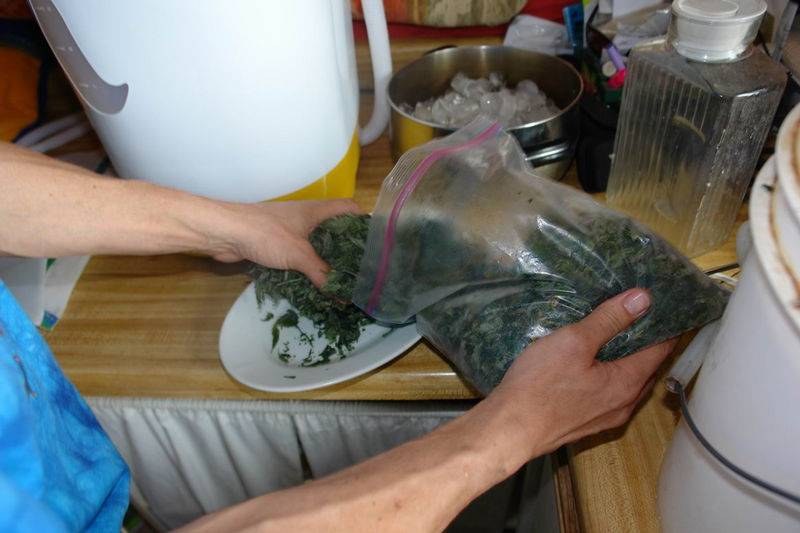
photo 7: The second bag being filled with the trim.

photo 8: A large bowl of ice is then added to each bag of trim> With this process we want most of the ice to be inside the bag in order to do its job of both cooling the water as well as breaking off the glands from their capitate stalks.

photo 9: Filling up the bag with ice.

photo 10: this hose comes with the unit for filling from the tap, it has to be held and doesnt work so great, but depending on the type of tap you have, it can be useful as it fills the unit up quickly.


 .I have the 5 gal 4 bag set now that i added the 45 and i love it and this looks like the extra to add to that while i keep adding bags
  .Cant wait to see the final product,do you think the yeild is increased with this or the product is more potent and pure?.Peace and stay safe,DancesWithWeed


") I don't wanna say to much really, I'll tell ya more about it next time I get a hold on you somewhere.
I don't wanna say to much really, I'll tell ya more about it next time I get a hold on you somewhere.
