traxamill627
Member
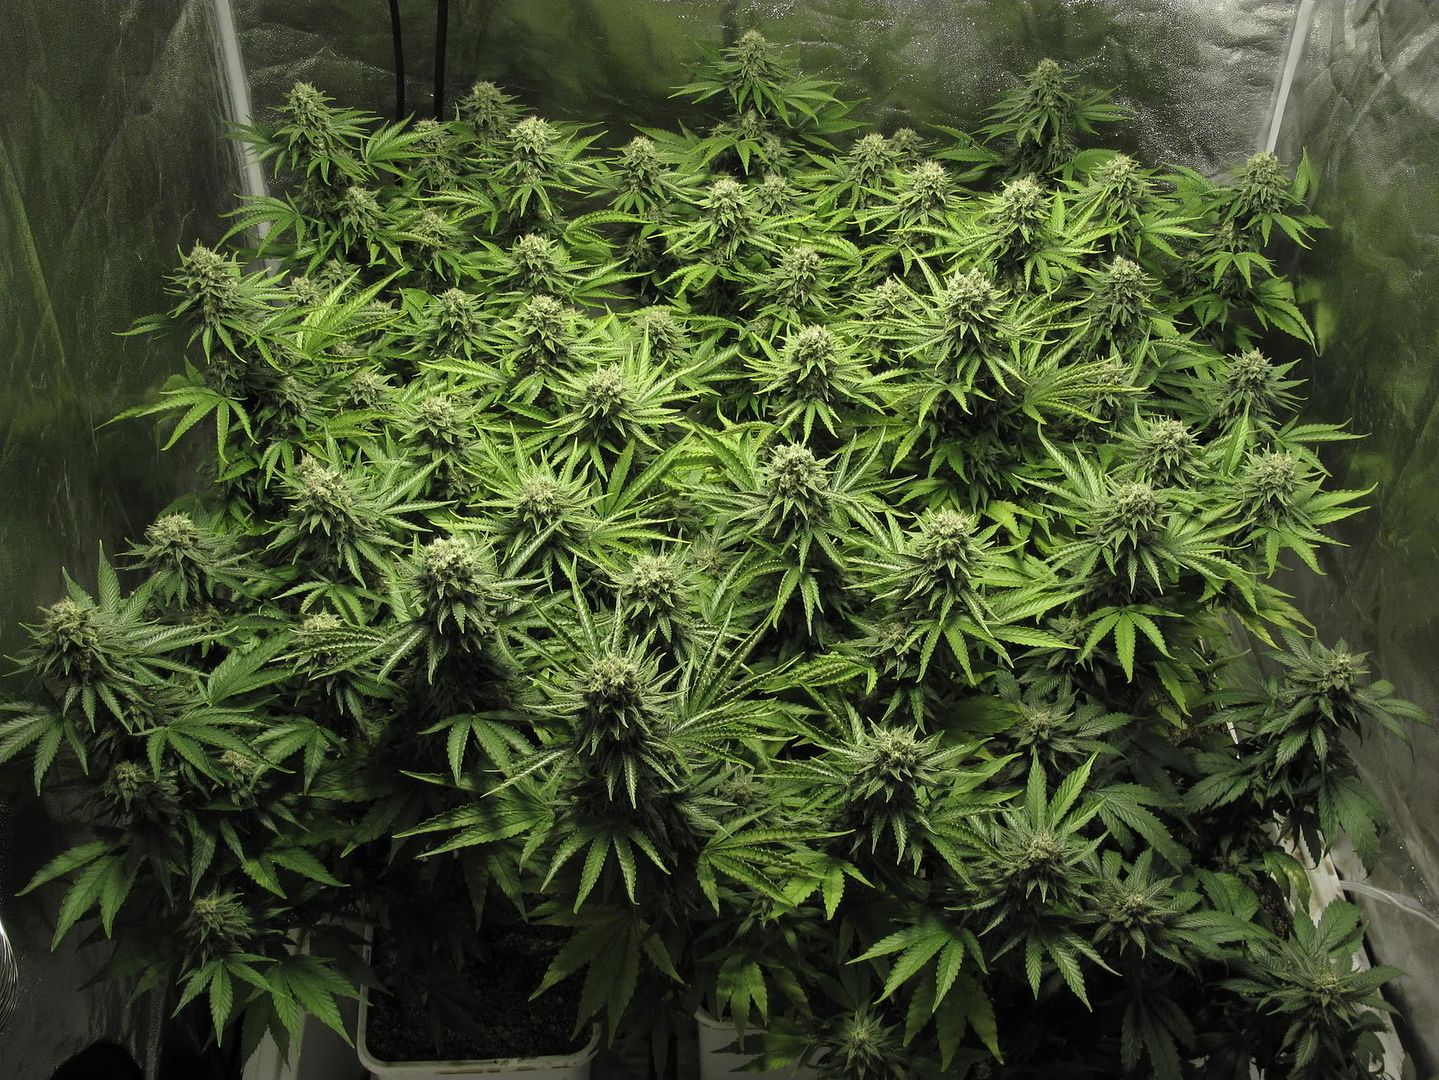
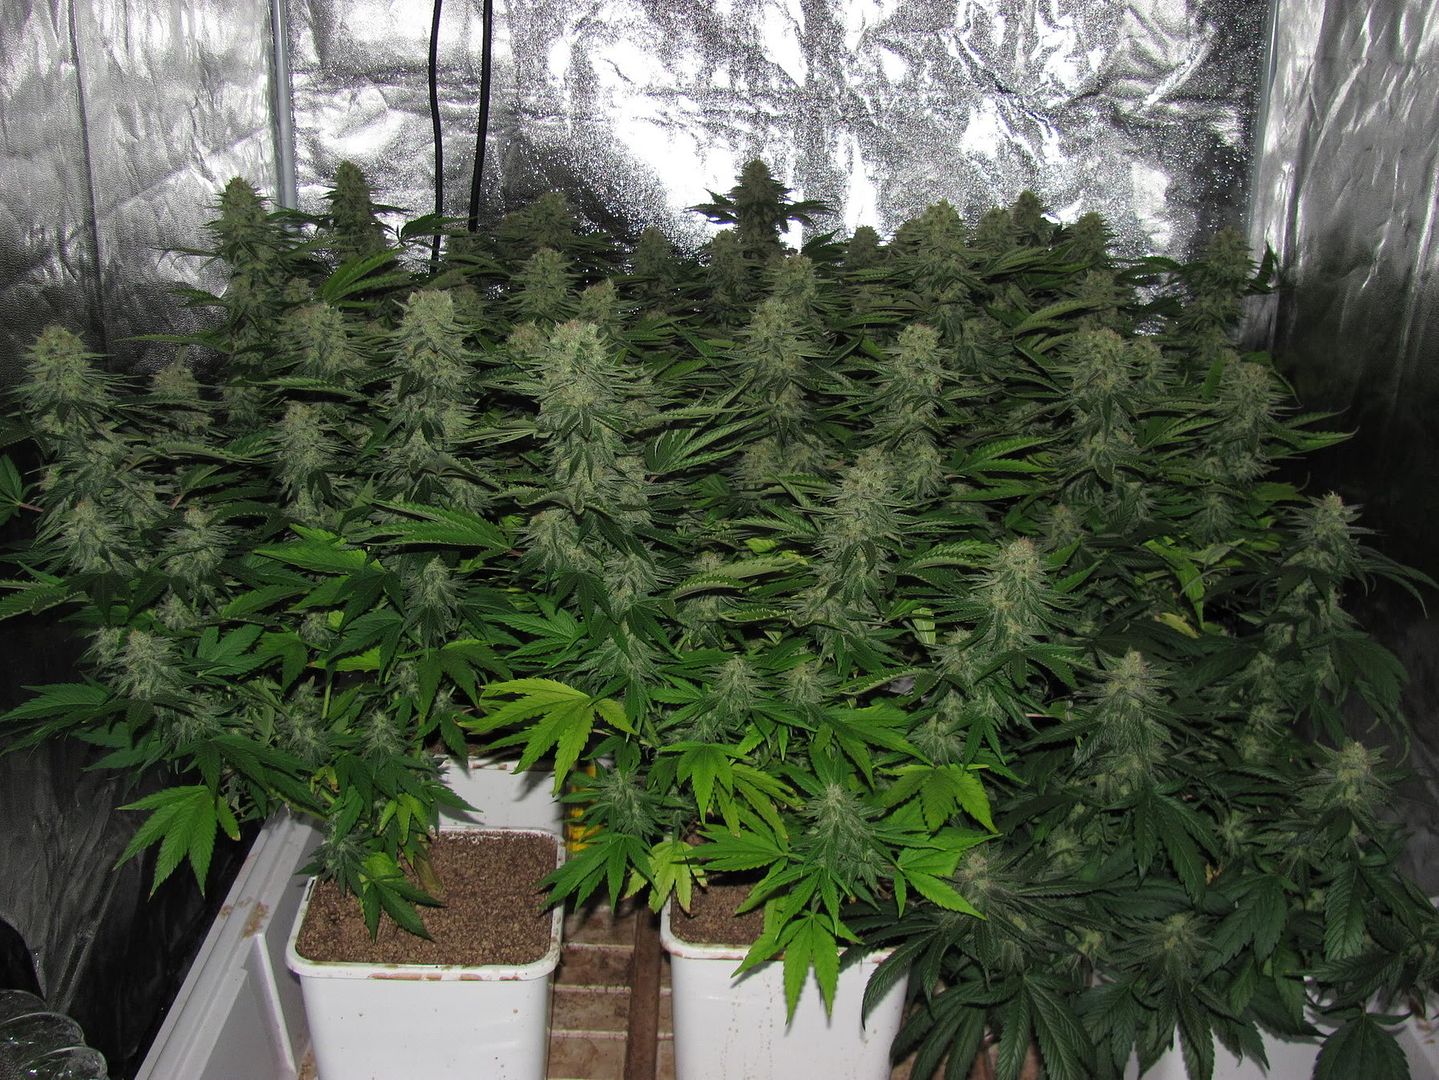
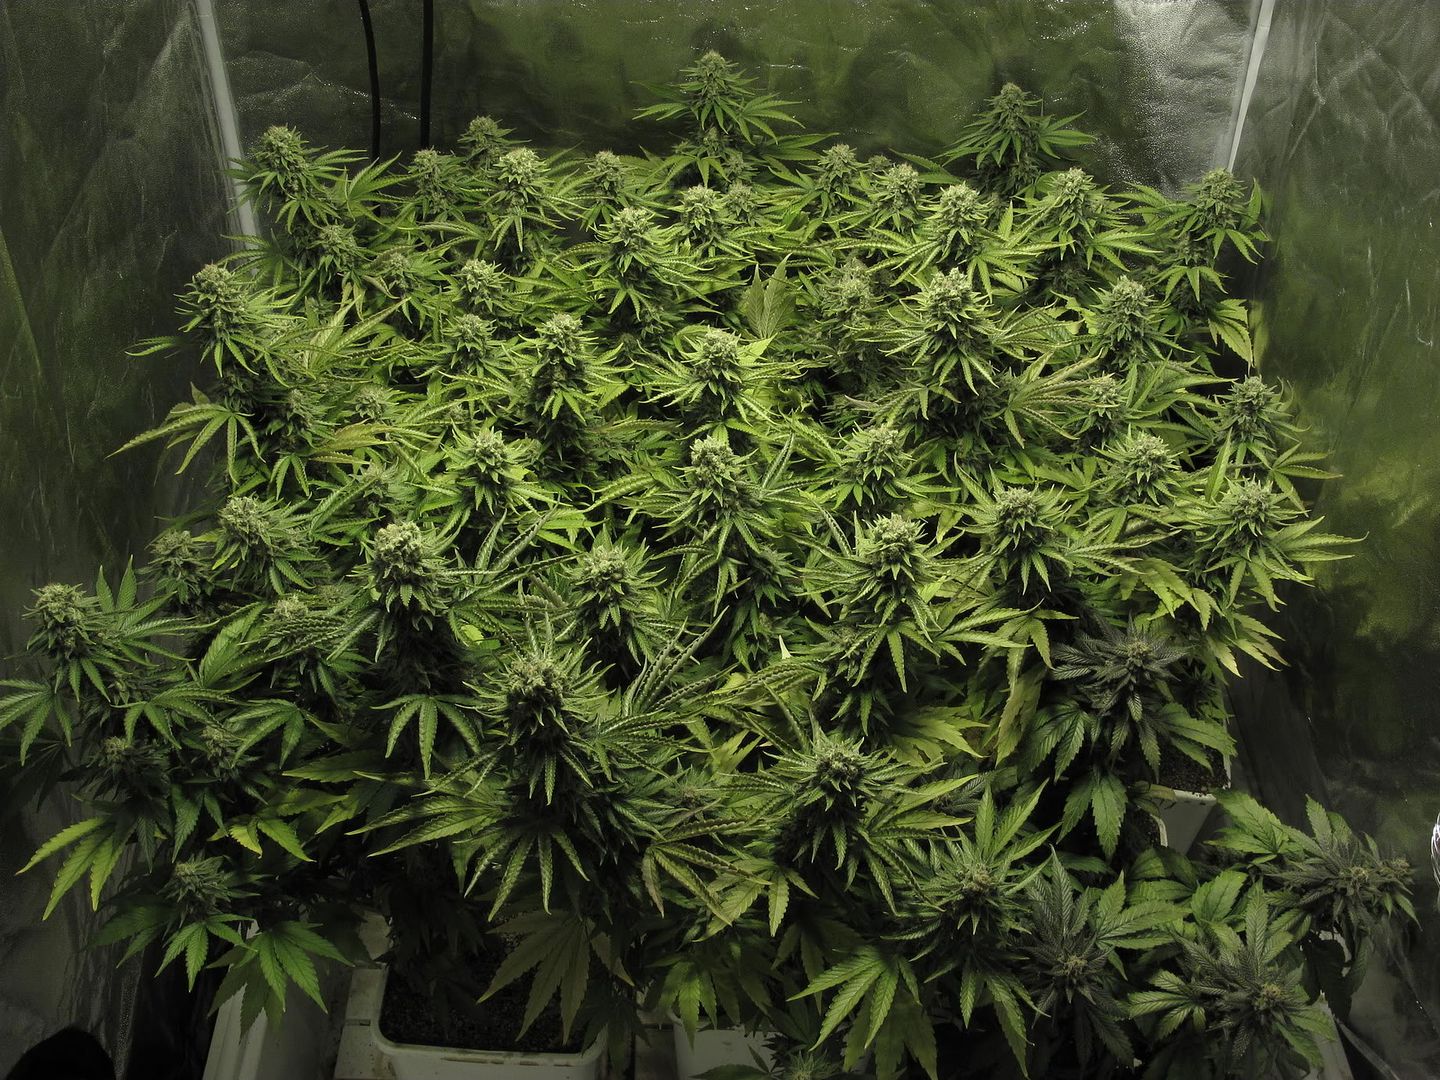
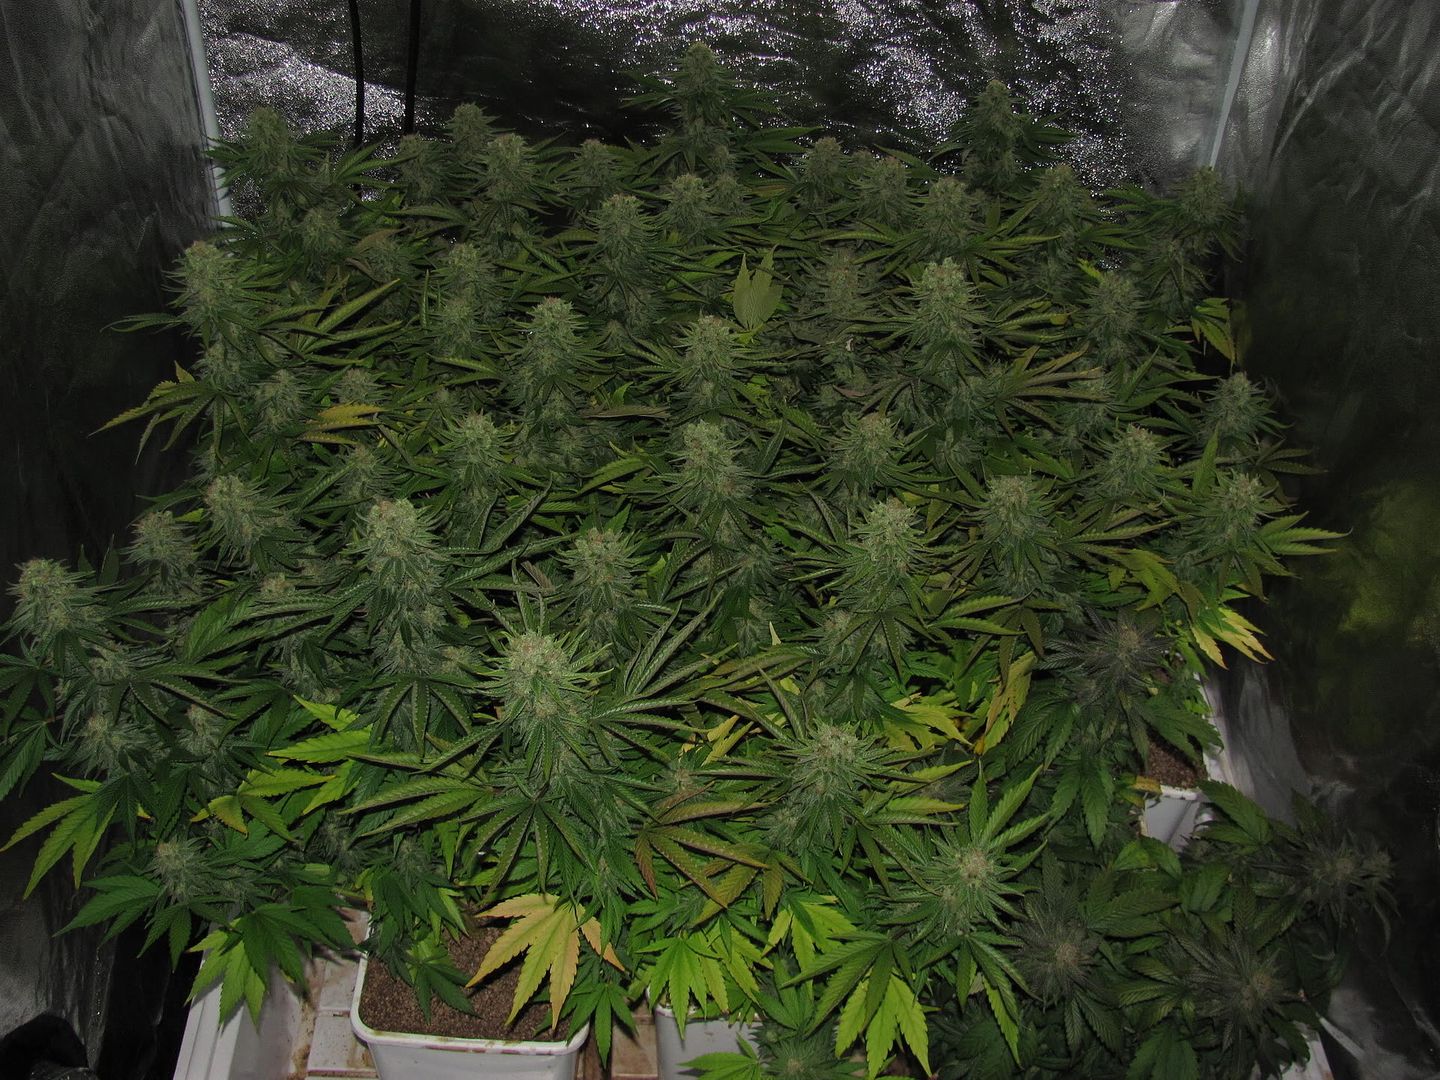
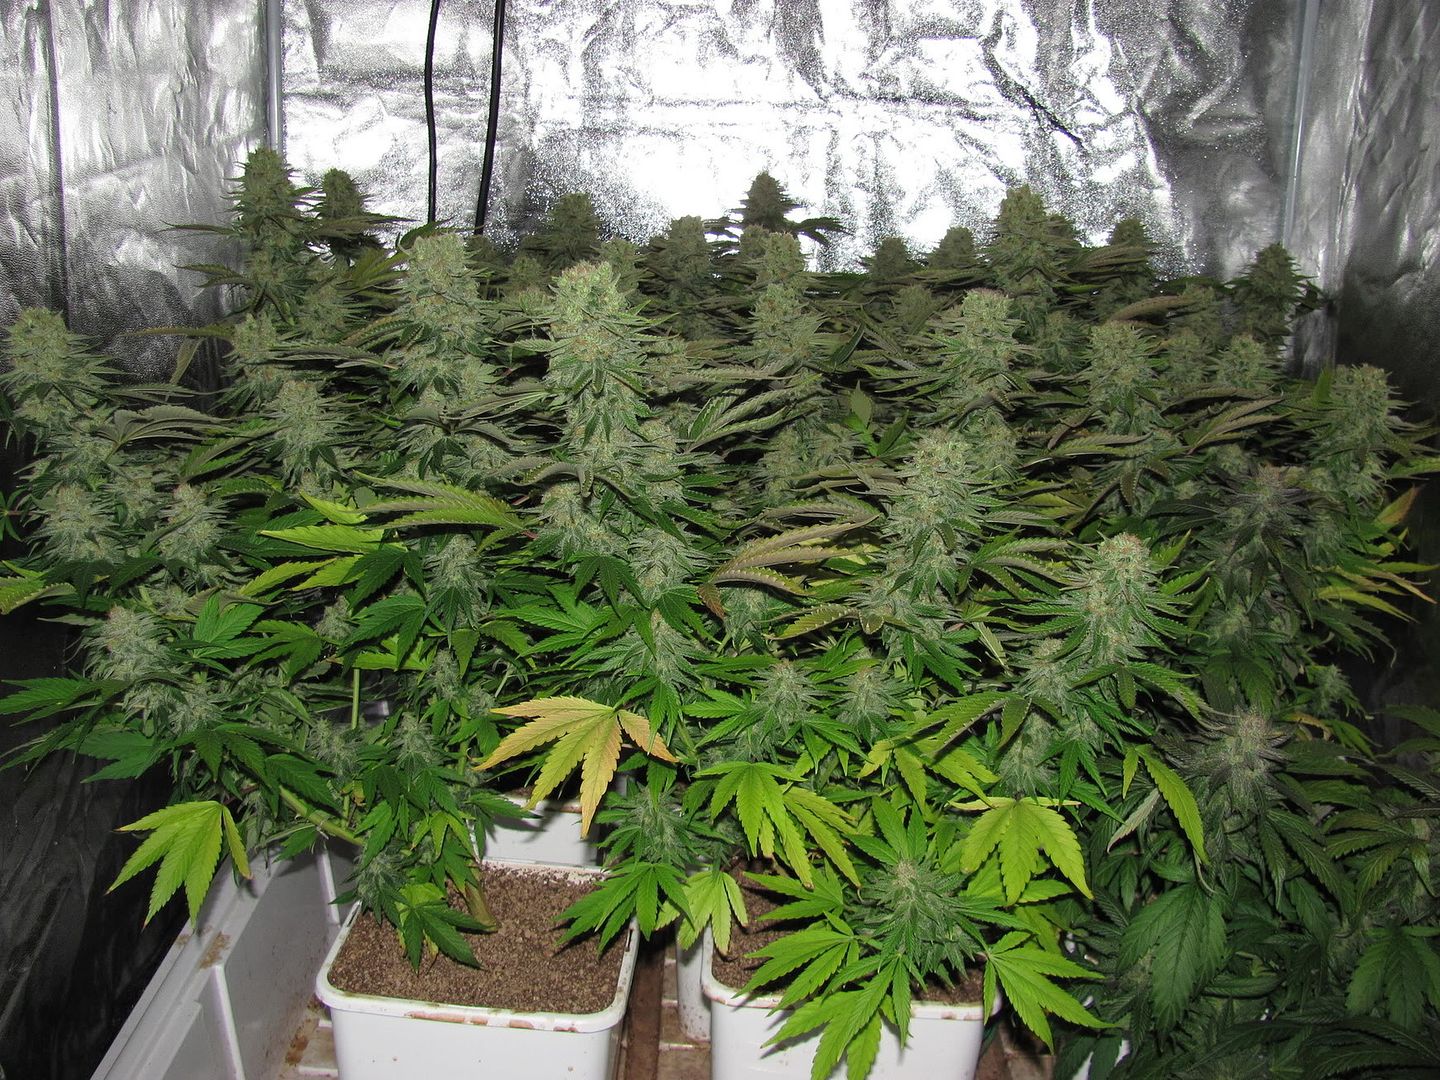
looking good! these pics make my mouth water!
looking good! these pics make my mouth water!
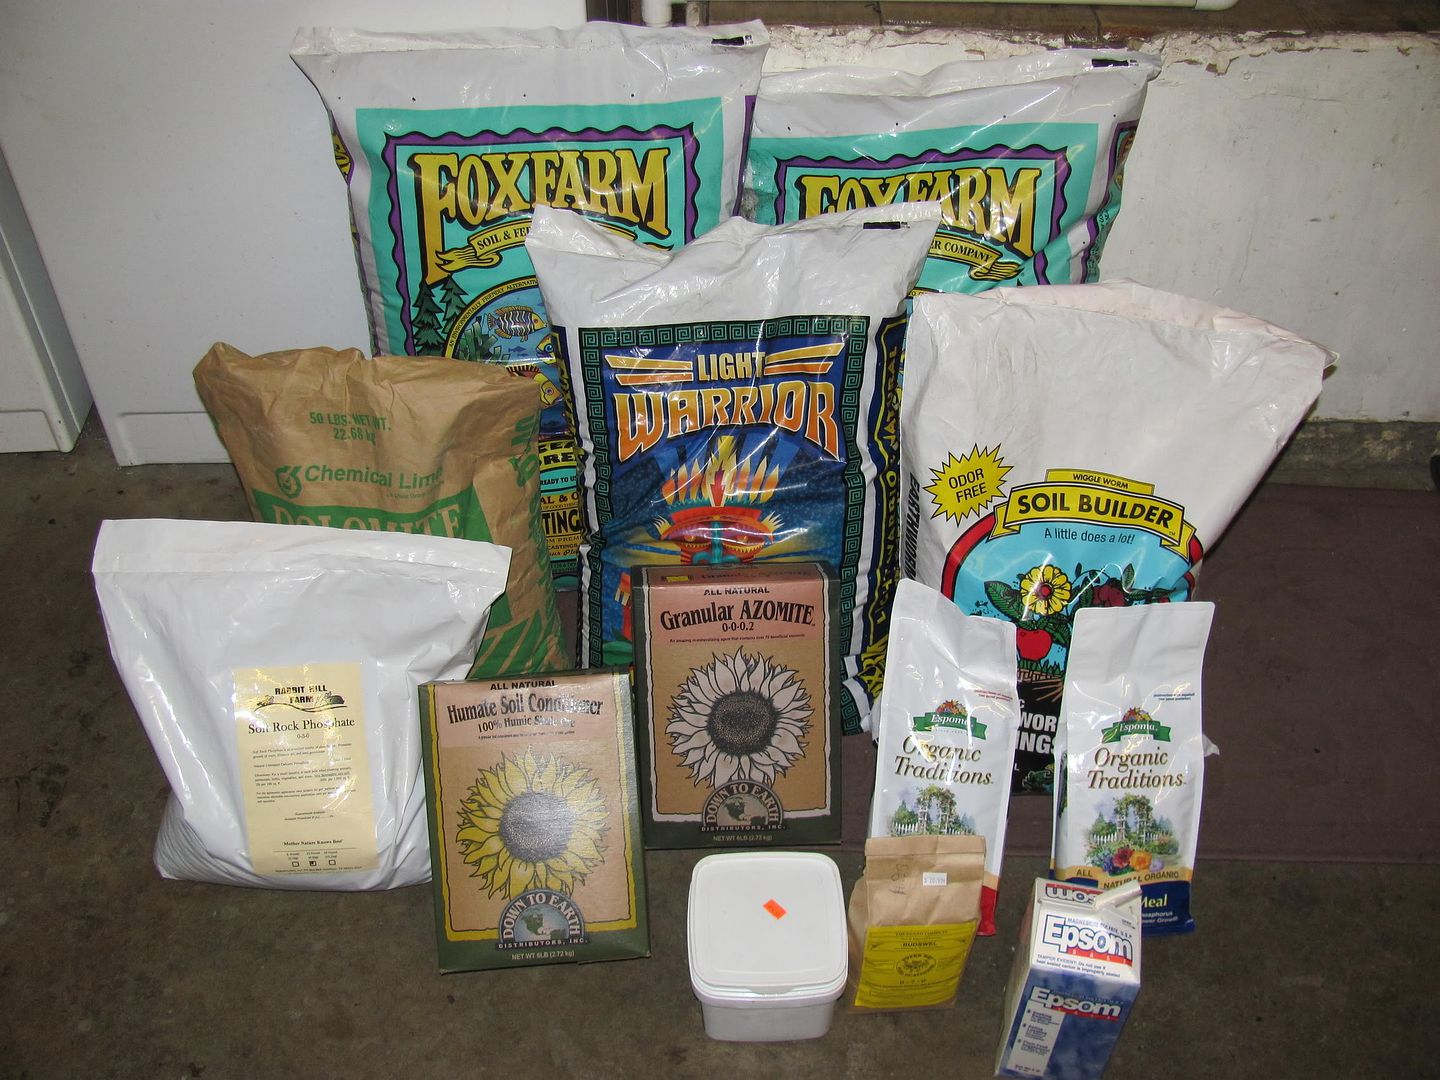

yeah brother I used the super soil recipe with great success. SUBCOOL is da man! Did a side by side comparison of super soil v.s. regular soil for green crack and their was a major discrepancy in overall growth and weight.:yay:
I'm pretty sure there was @ least a quarter z more for each plant that had super soil vs. each plant that didn't but I don't remember...
I used "bloombastic" by ATAMI PK booster as well. Bloombastic was the only nutrient I added during the whole grow. I will have to try out your advice and mix in some molasses and guano/kelp teas.
The only thing I did different from your recipe is I used roots organics soil and chose not to put in the guano b/c roots soil already has guano and worm castings and I didn't want to make my soil too hot. Also i didn't use any humic acid...
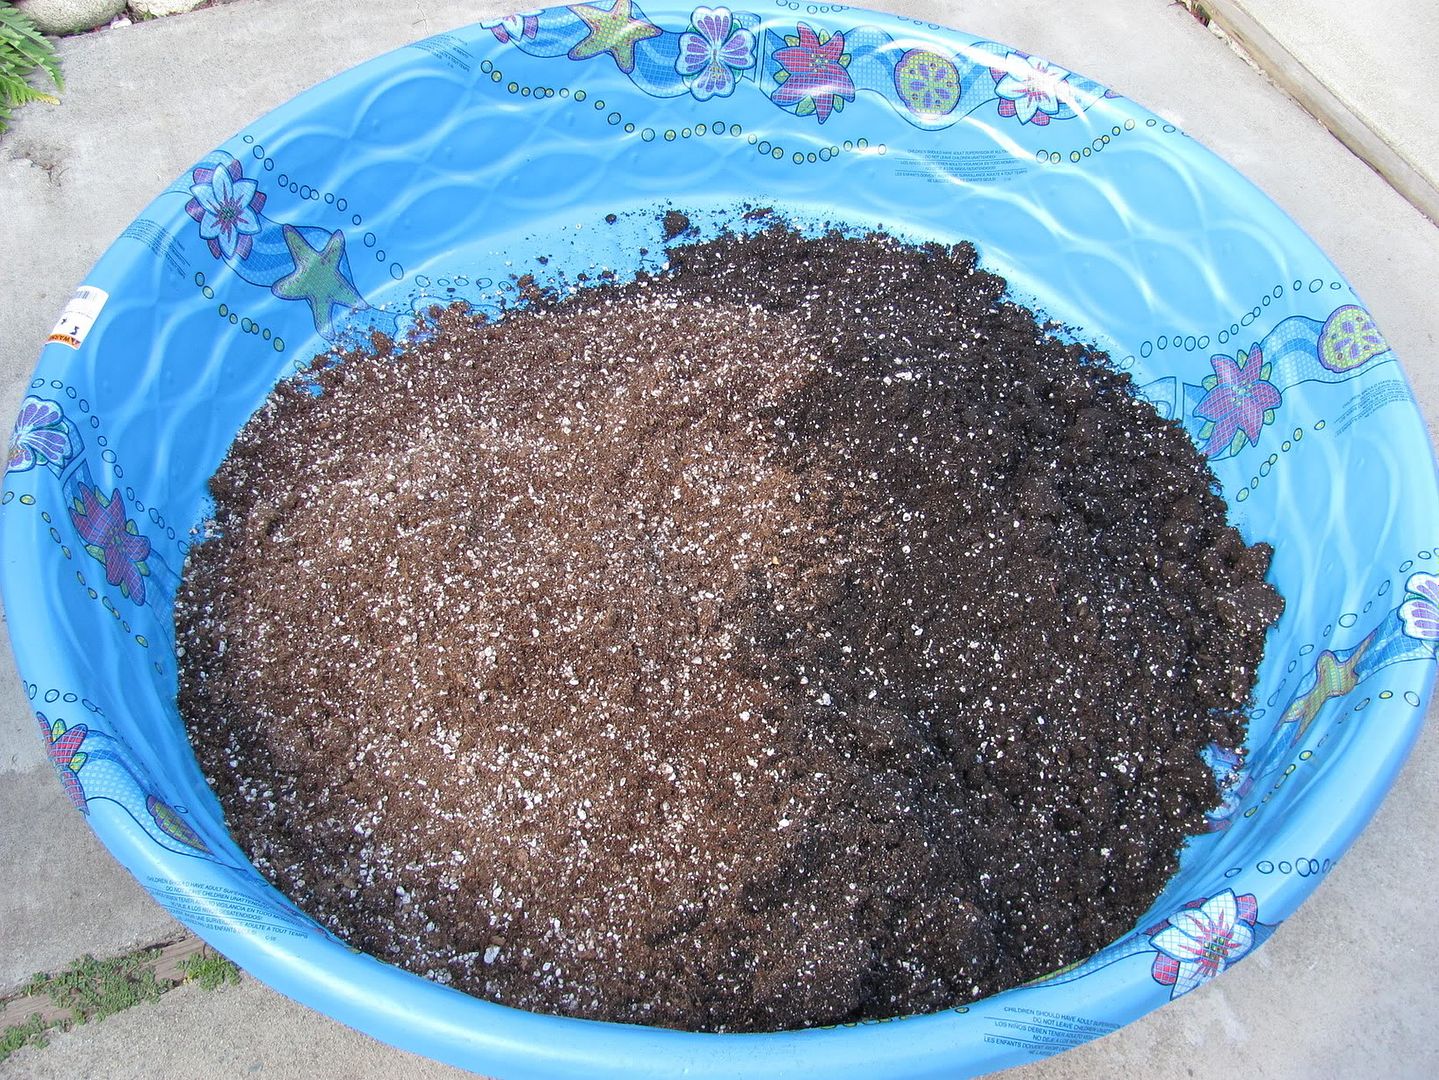
Remember... The longer the soil "cooks" the closer you can put the roots in direct contact with the super soil w/o burning them. I had some super soil cooking for about 4 months that sat in a tote in a dark room. As an experiment, I successfully cloned a cutting into straight super soil!
I love how candid, concise you are with temps, humidity, nutrient levels. Keep it up man


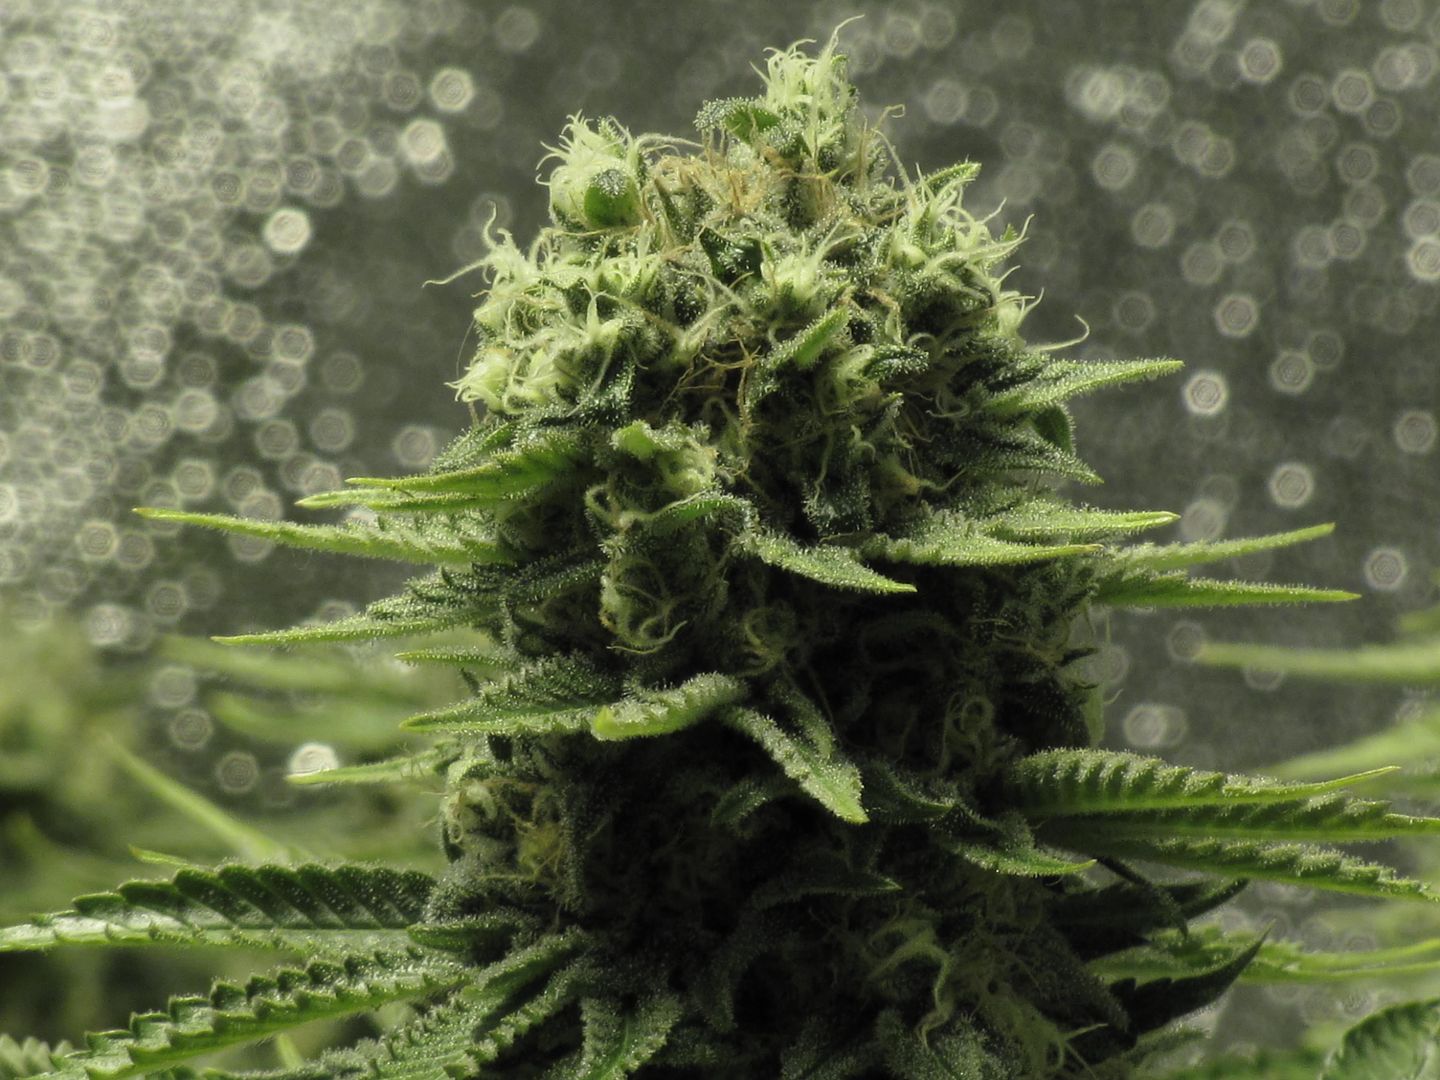
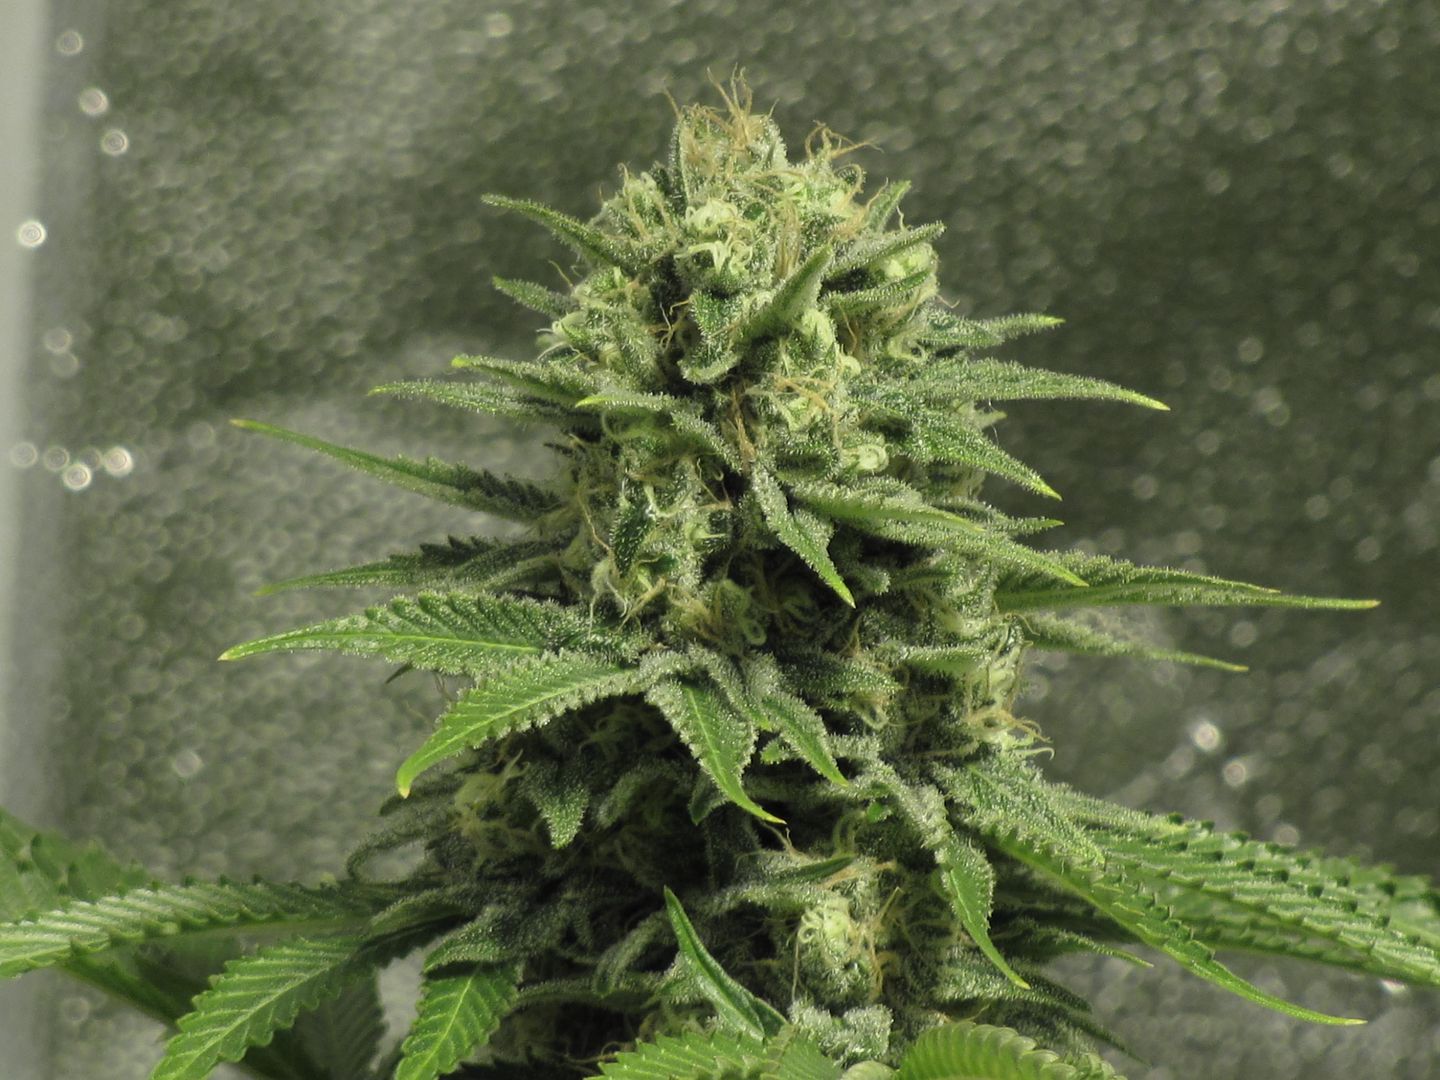

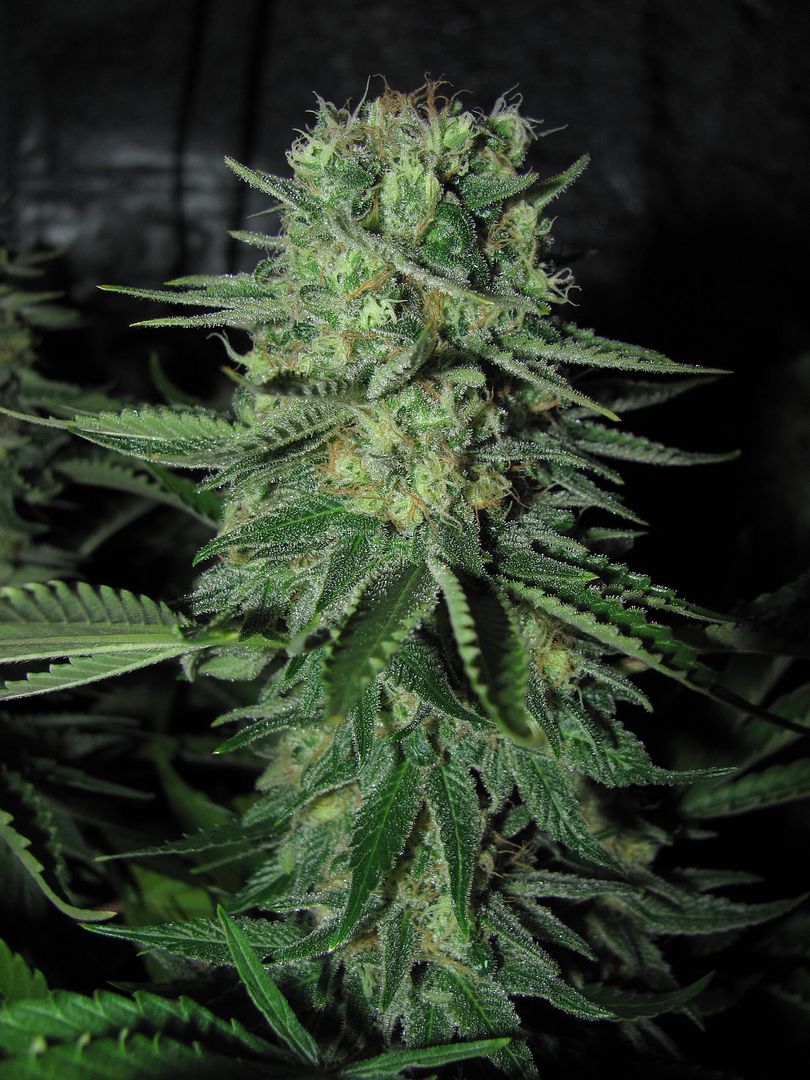
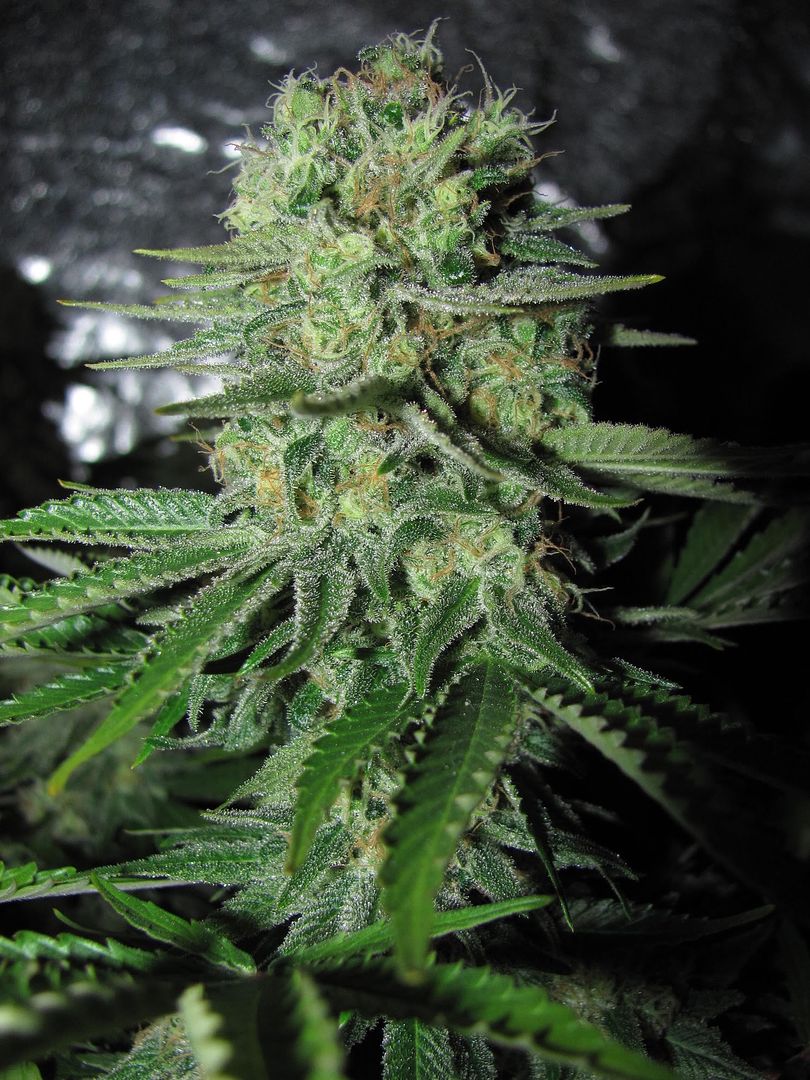
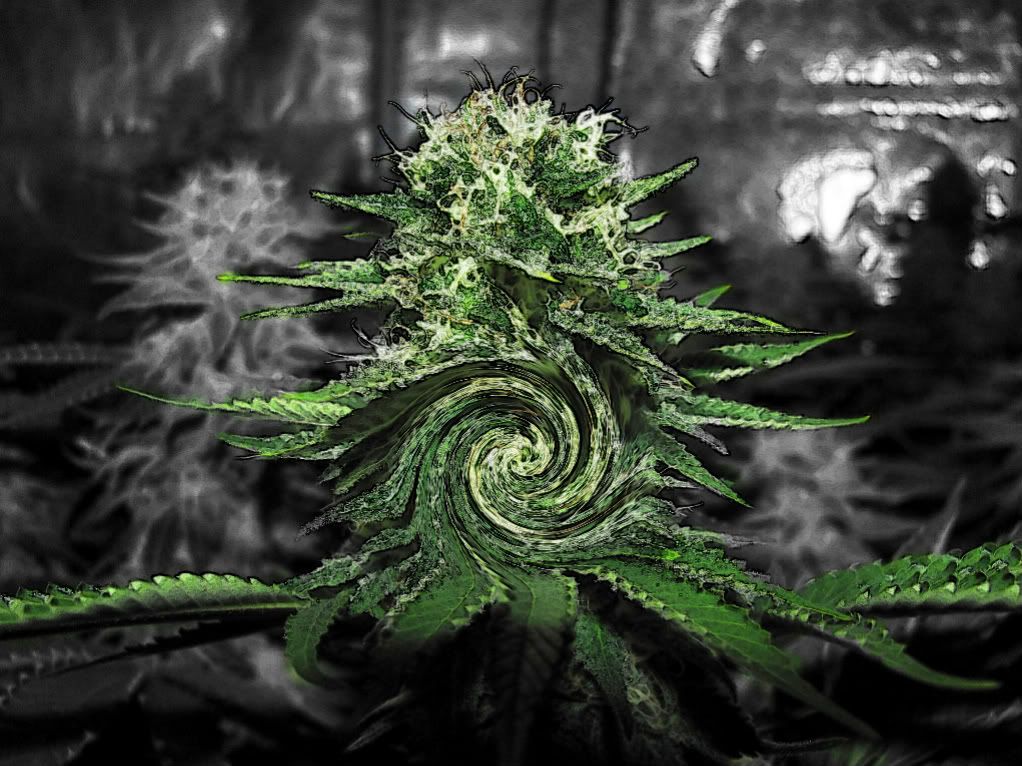
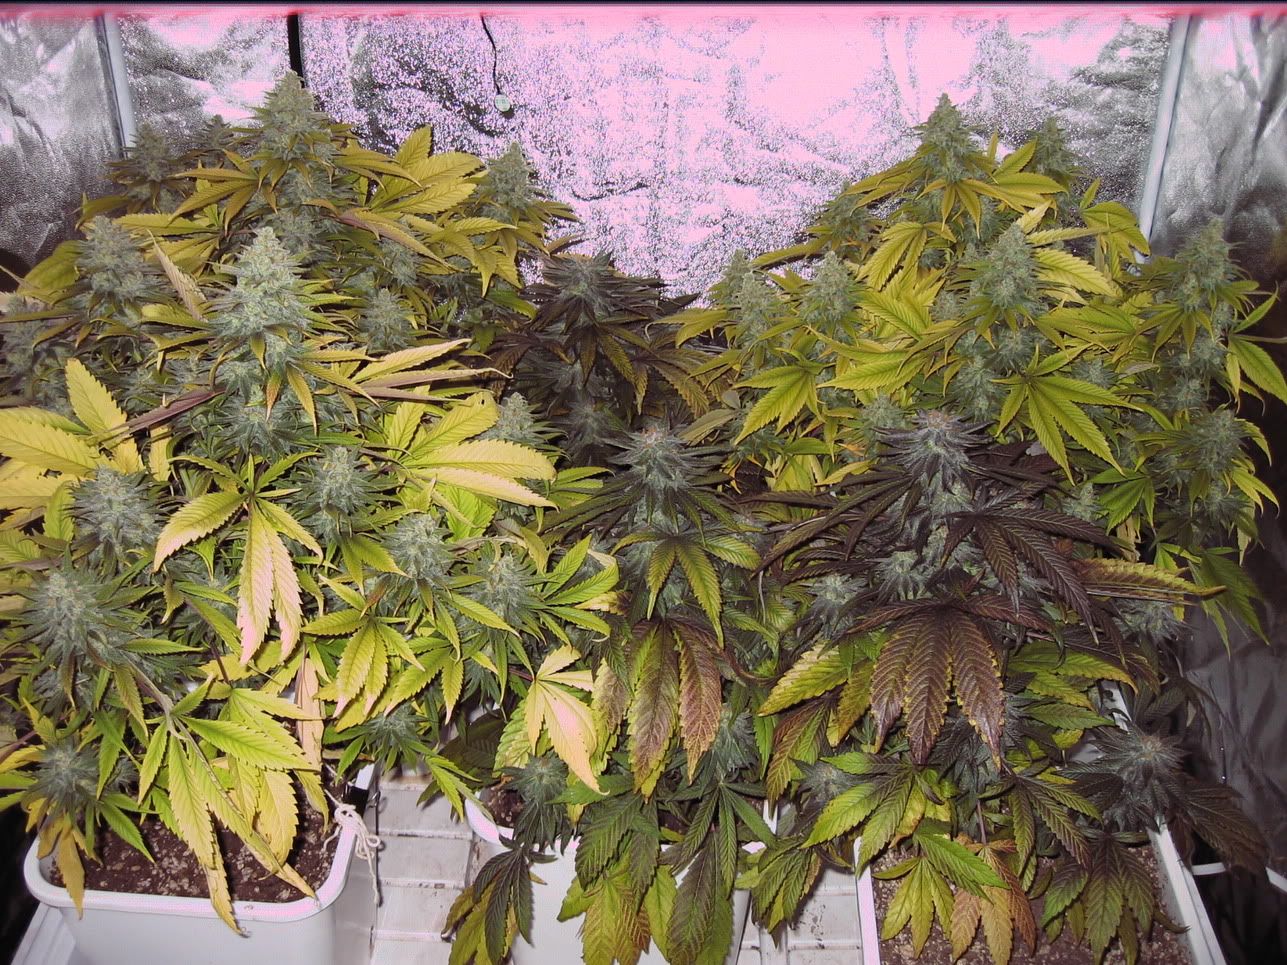
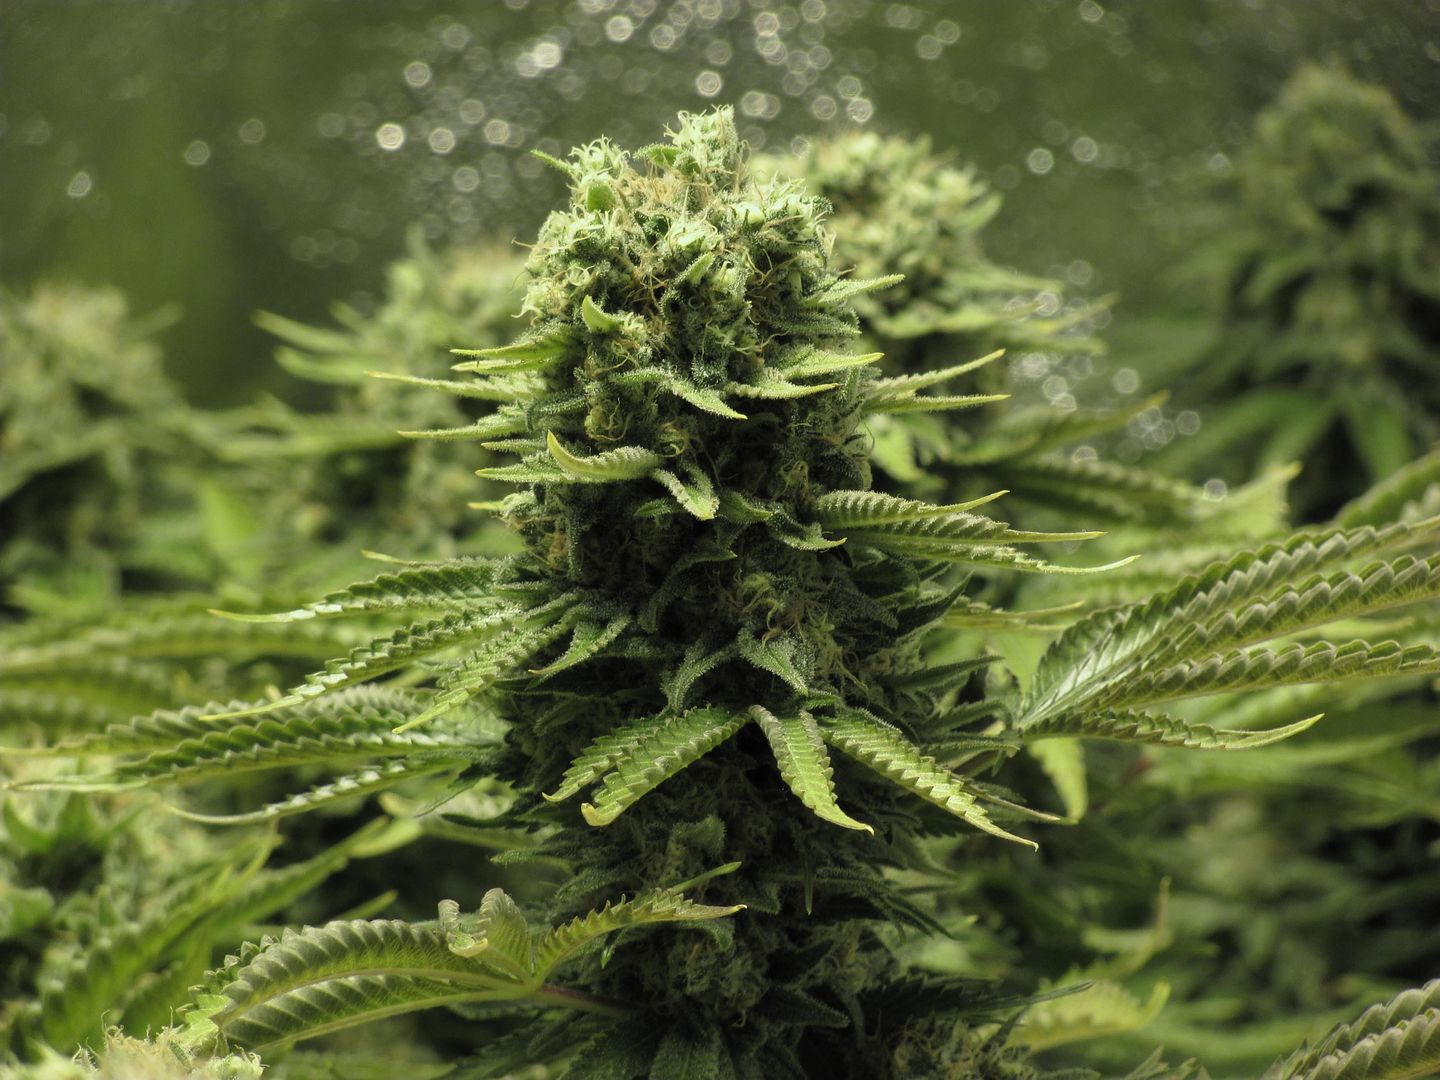
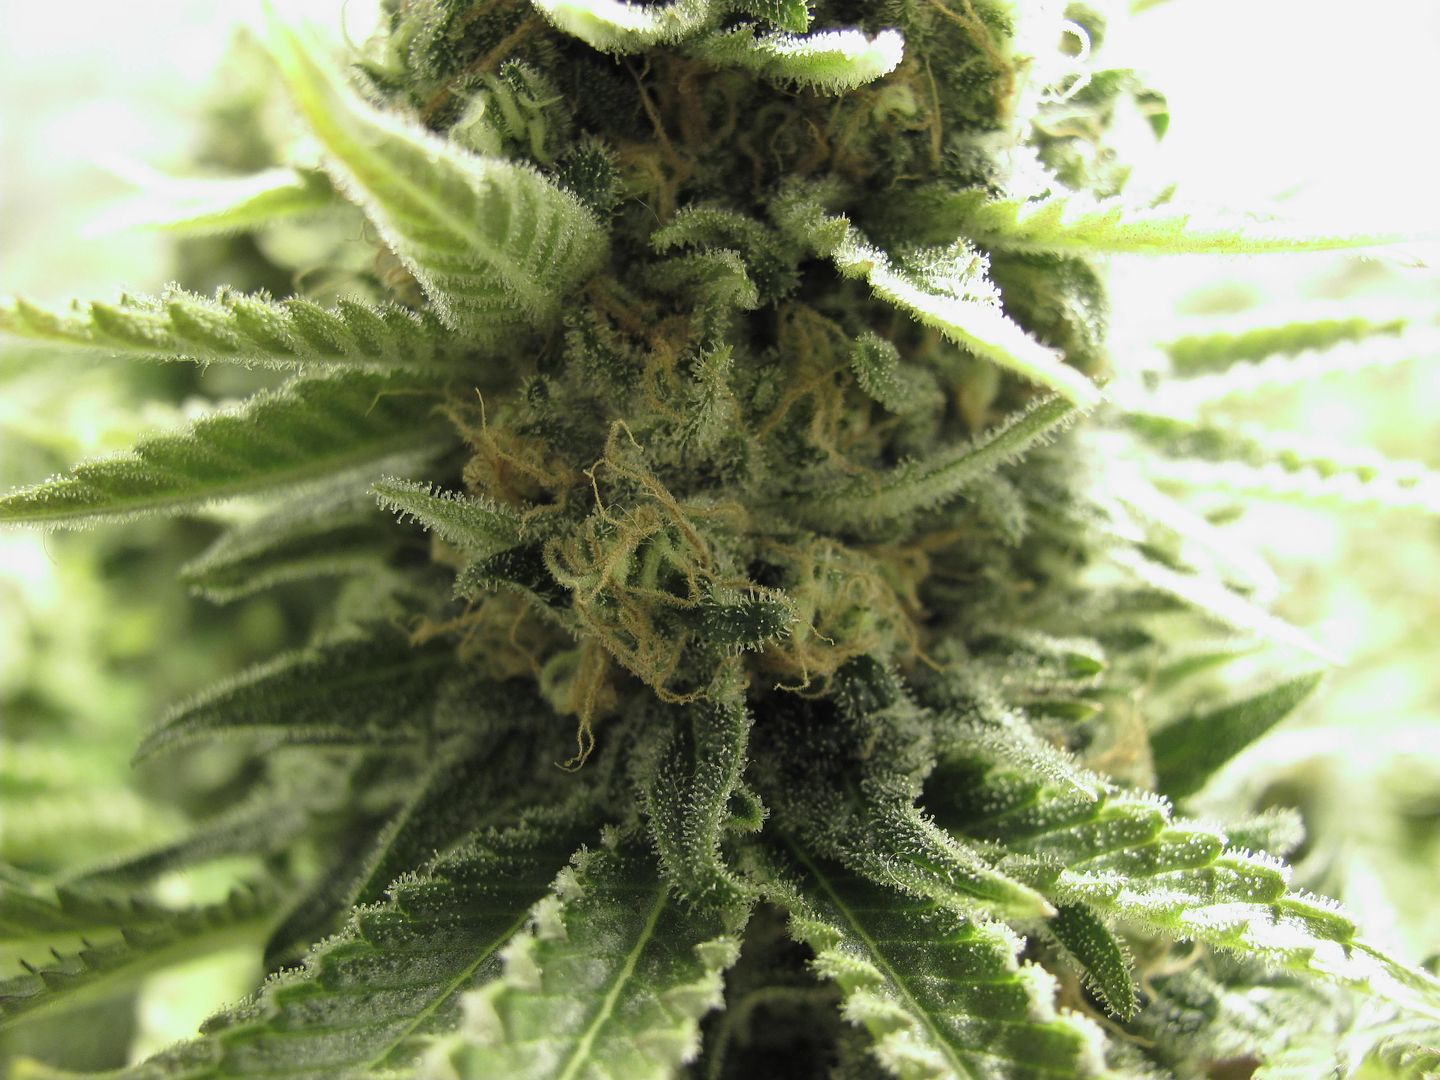
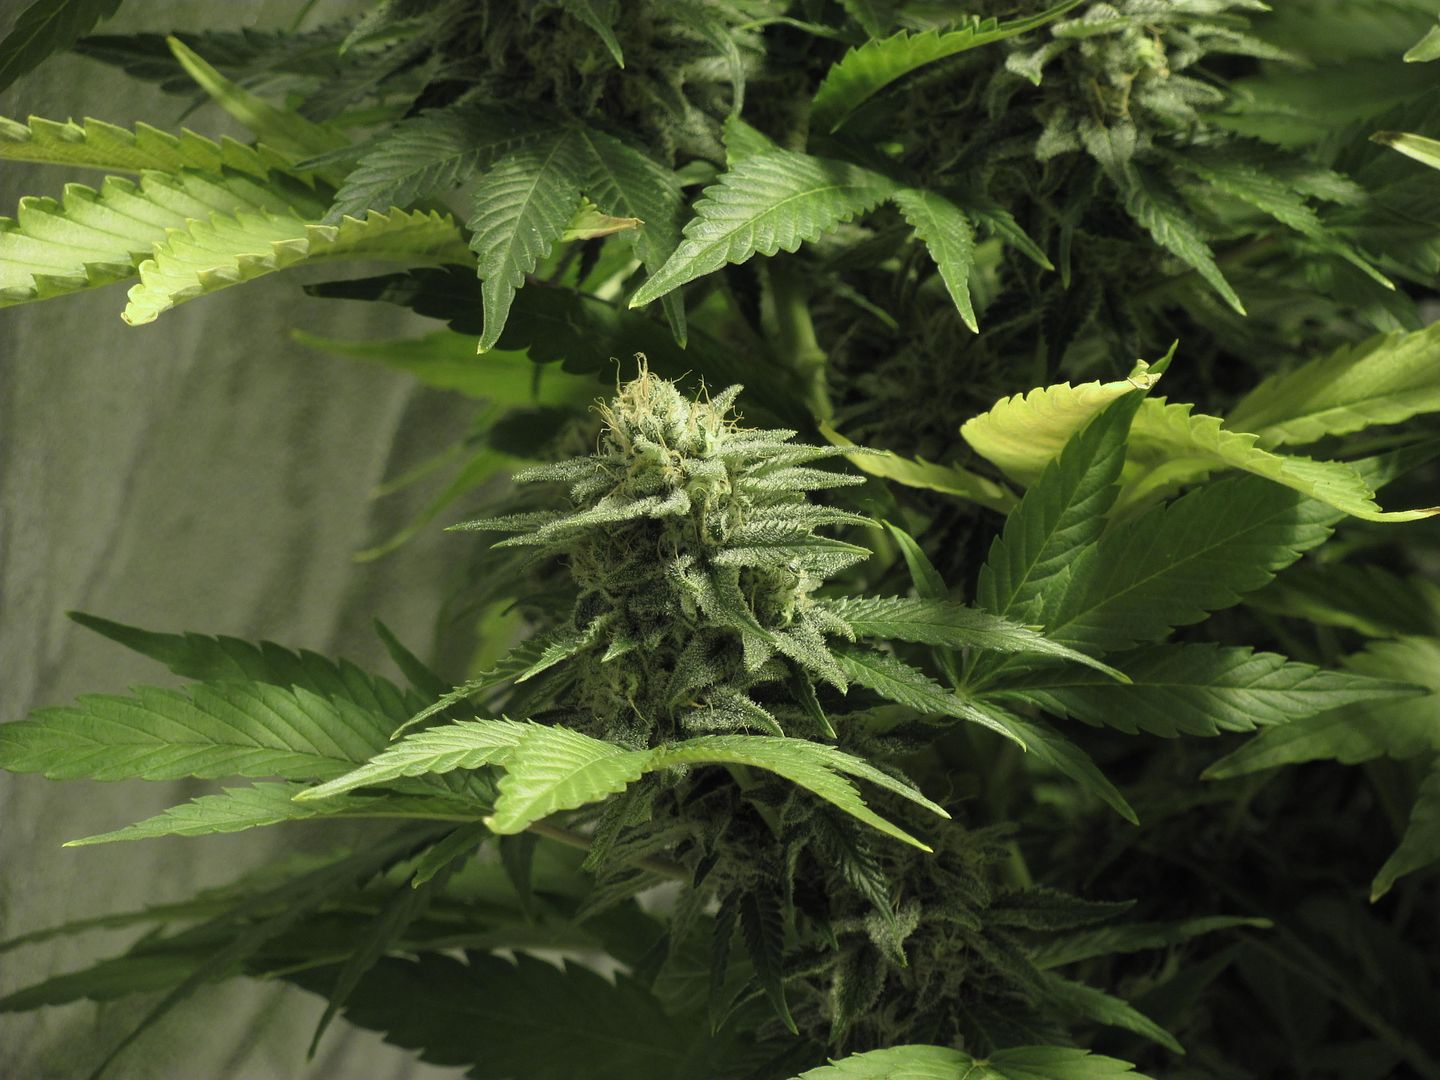
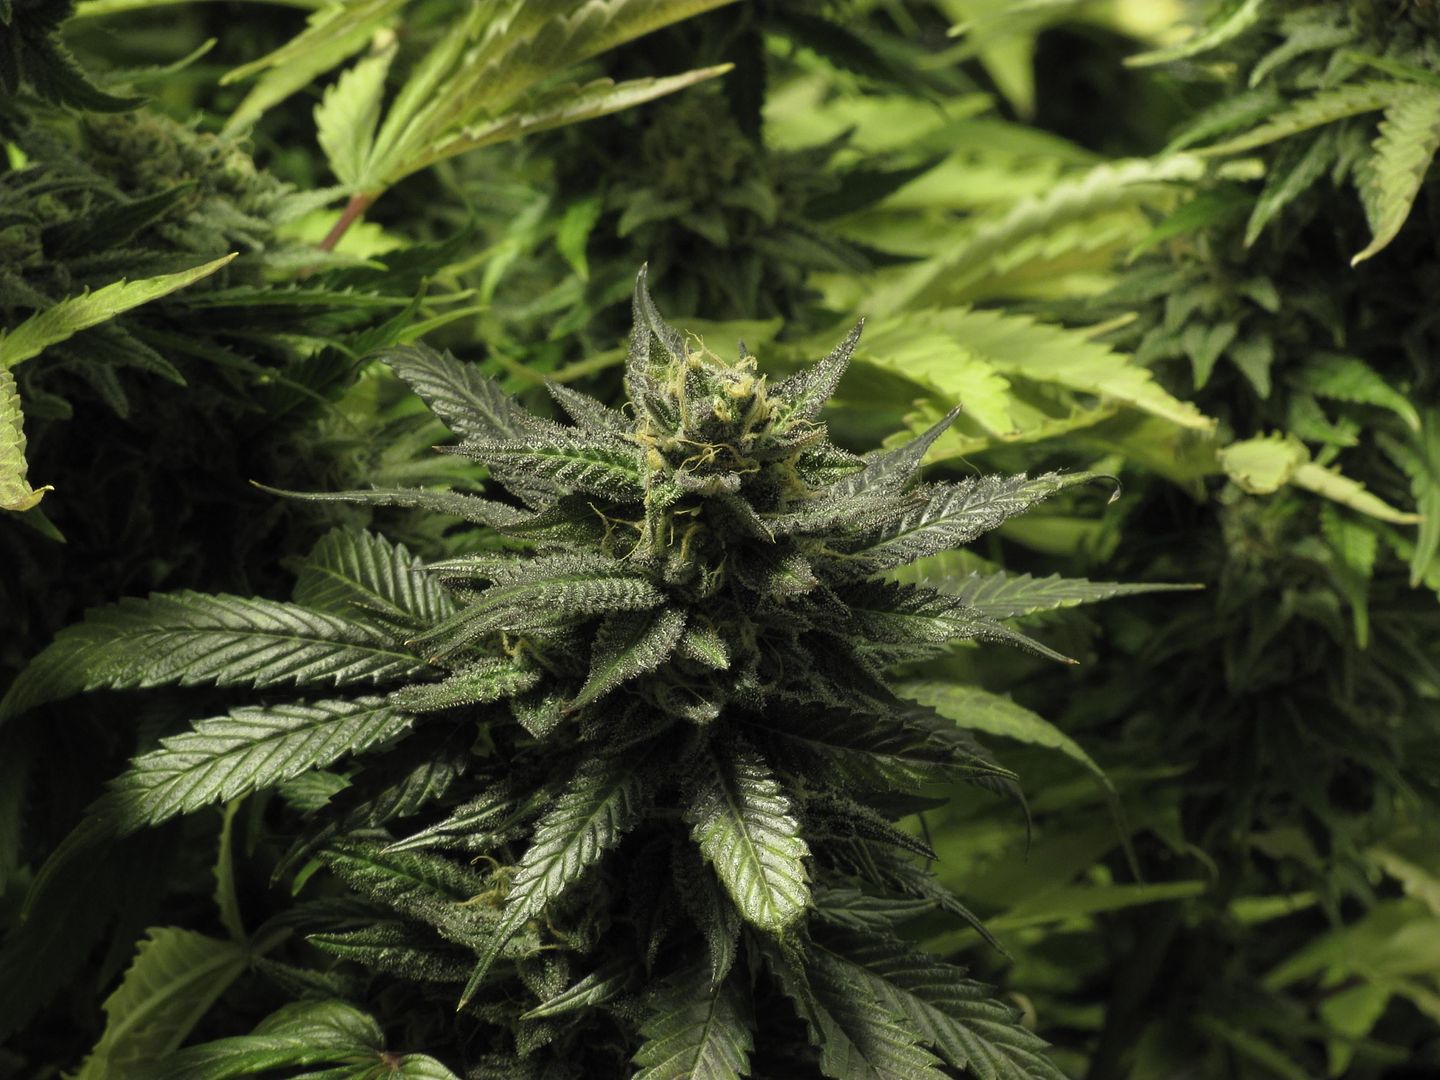
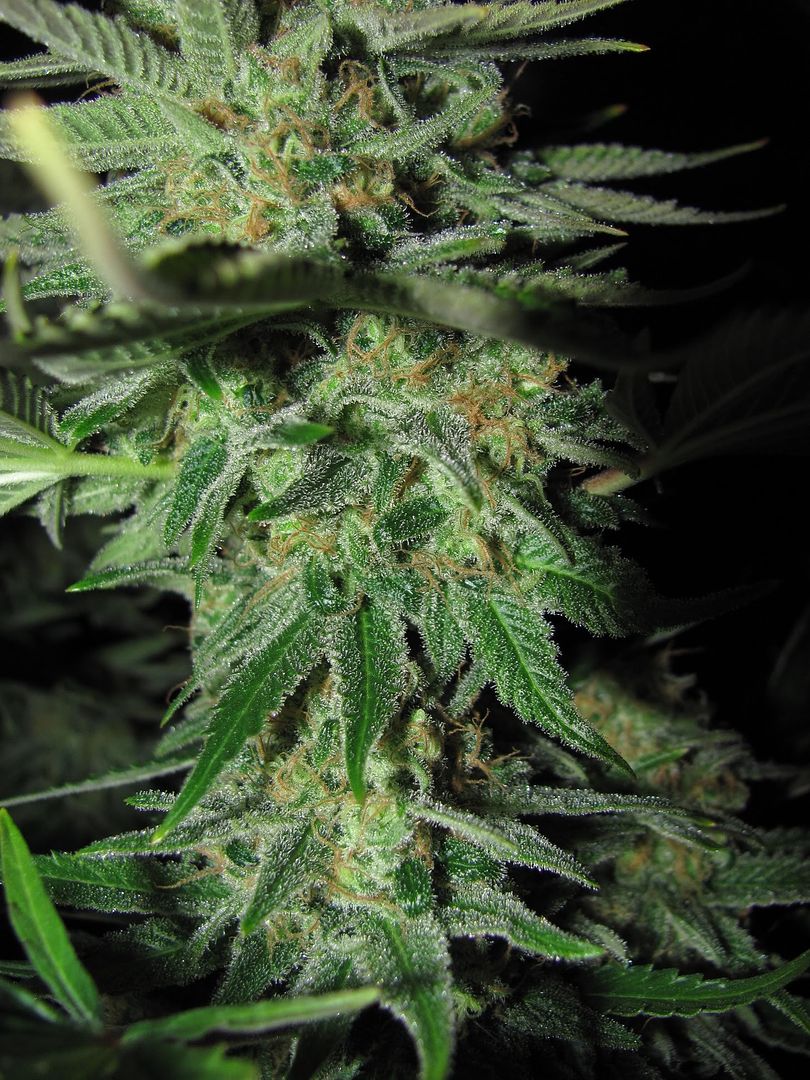
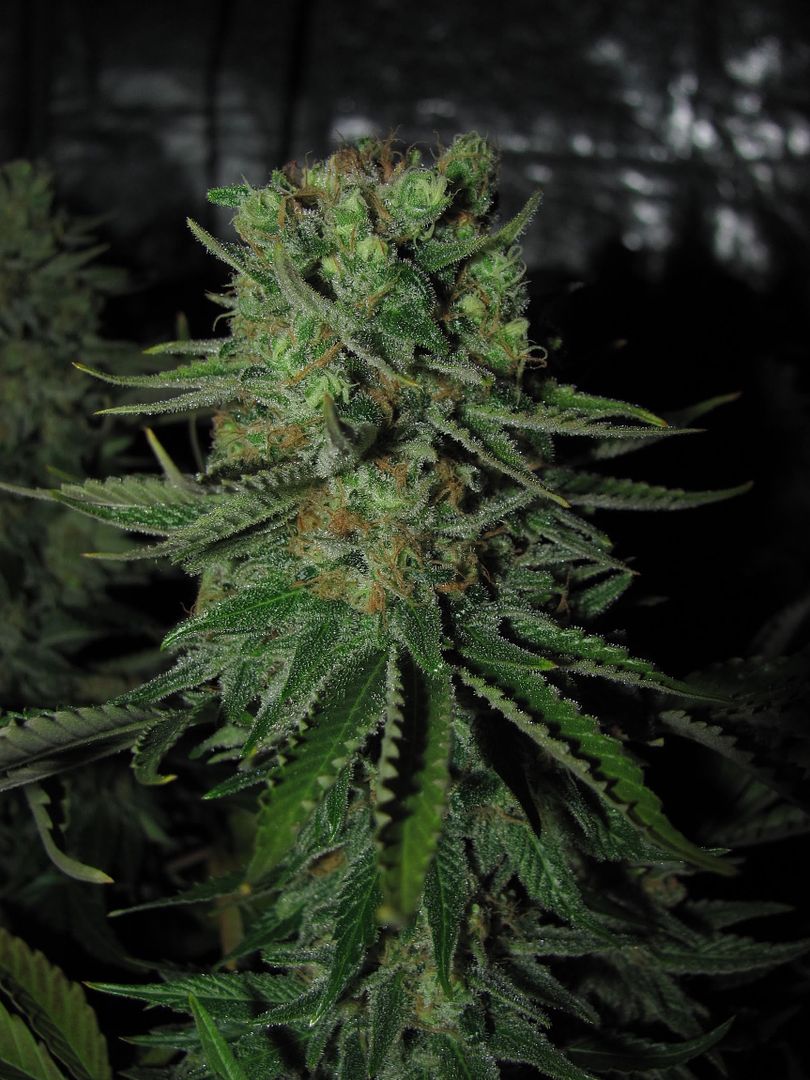
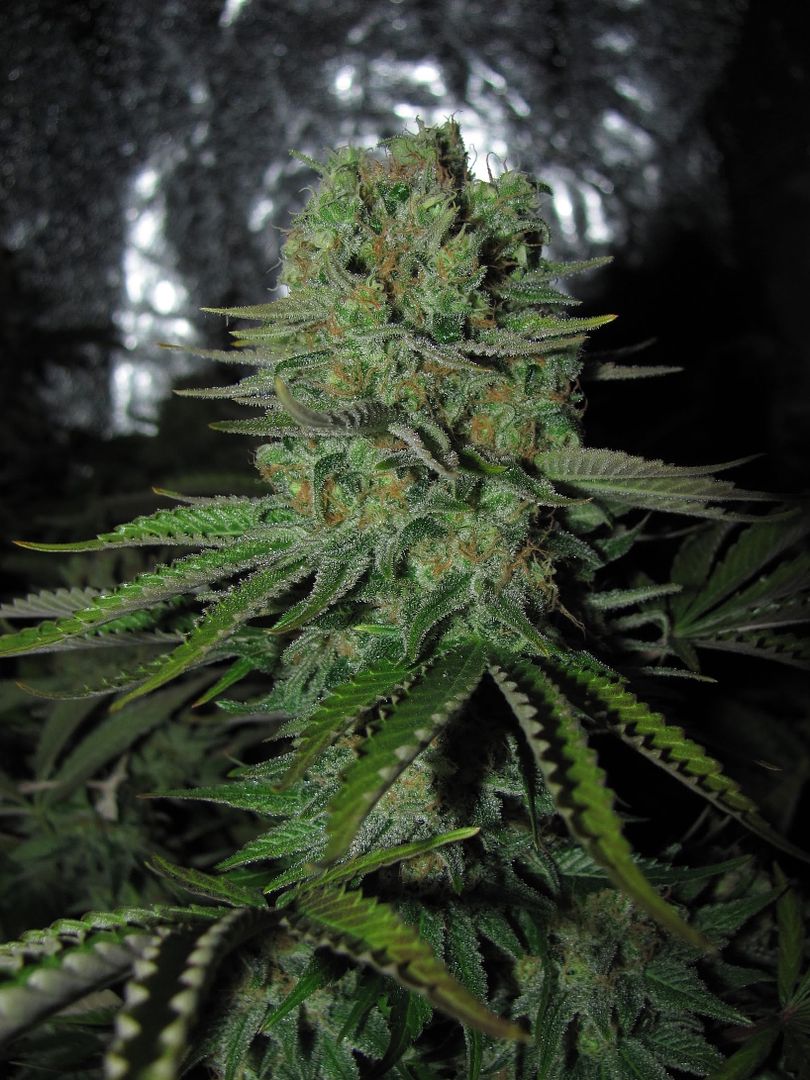
What are the trichs like? Those flowers look great!
The super soil + bloombastic seem to be sufficient but I think a little extra guano in the soil couldn't hurt too much. I can't affirm that adding the guano would be overkill. MY super soil babies seemed healthy and the plants turned some fantastic orange-ish and purple colors at harvest time. The "regular" soil mix I compared with the super soil was the roots 707 blend. the babies in 707 were green with more yellow than the super soil ones fo' sho. Only used bloombastic the whole time. Next time, I might try mixing some roots 707 as the base soil for my next super soil batch.Interesting so you didn't add the guano in your mix? Did you start to see any deficiencies towards the end of flower from the lack of P, or did your roots Soil(with guano), and bloombastic cover the P end of nutes so that the guano would have been overkill?
One question though. So when you just let it sit in the tote for 4 months are you supposed to periodically add water or open the lid every once in a while for the microbes or do you just literally put it in the tote and forget about it for that long?

Hey man I really appreciate that advice on the super soil. It sure clears things up for me. I can't wait to see the results! I have heard of that bloombastic before, and I really want to try it. Sounds like it produces some good results. The 707 idea for a base isn't a bad idea at all. I think they market it as not having much in it for those who want to choose their own destiny haha?Hell Ya brother super soil is GRRRRRREAT! So easy to make and so effective. I like how it takes a lot of the guess work and science out of cultivation as it focuses on the needs of the microbes to nourish the plant.
The super soil + bloombastic seem to be sufficient but I think a little extra guano in the soil couldn't hurt too much. I can't affirm that adding the guano would be overkill. MY super soil babies seemed healthy and the plants turned some fantastic orange-ish and purple colors at harvest time. The "regular" soil mix I compared with the super soil was the roots 707 blend. the babies in 707 were green with more yellow than the super soil ones fo' sho. Only used bloombastic the whole time. Next time, I might try mixing some roots 707 as the base soil for my next super soil batch.
That particular batch was made in November and it was a rainy winter so it was usually pretty moist. I also placed a plastic bag directly under the tote lid to seal in the moisture. It is insisted that you periodically add water and mix up the soil AS NEEDED. Every time I would pop open the lids to see if I needed to add water, the soil was already moist with a collection of water droplets lining the underside of the plastic bag. I would still mix up the soil for sure on a bi-weekly basis but I didn't feel the need to add more water.
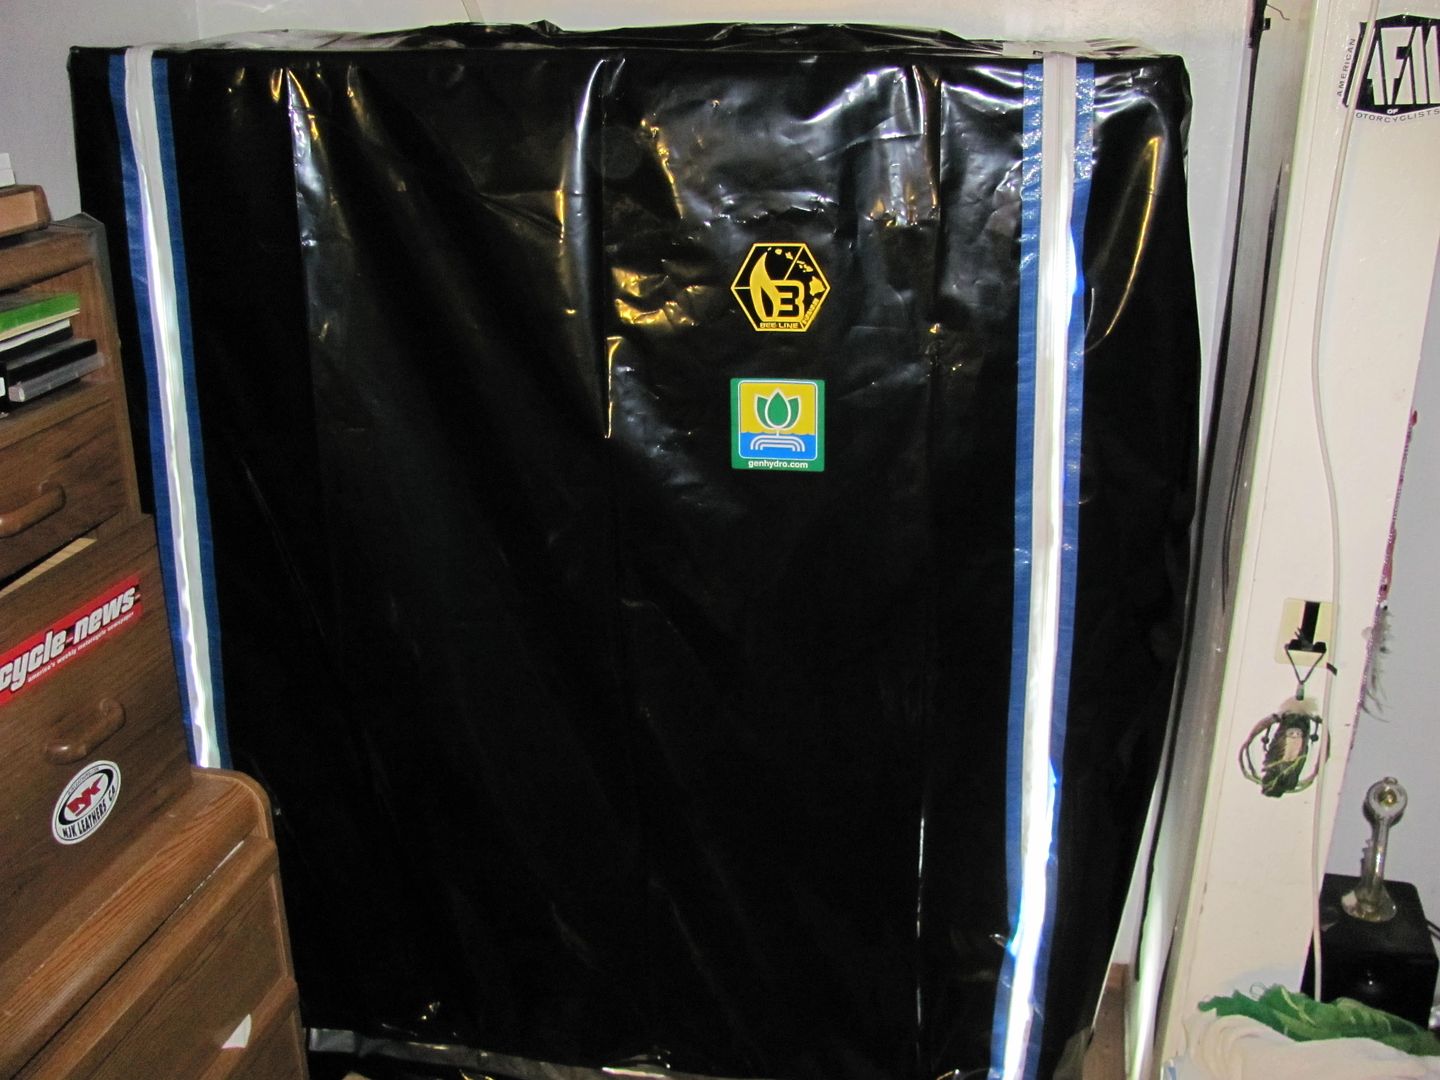
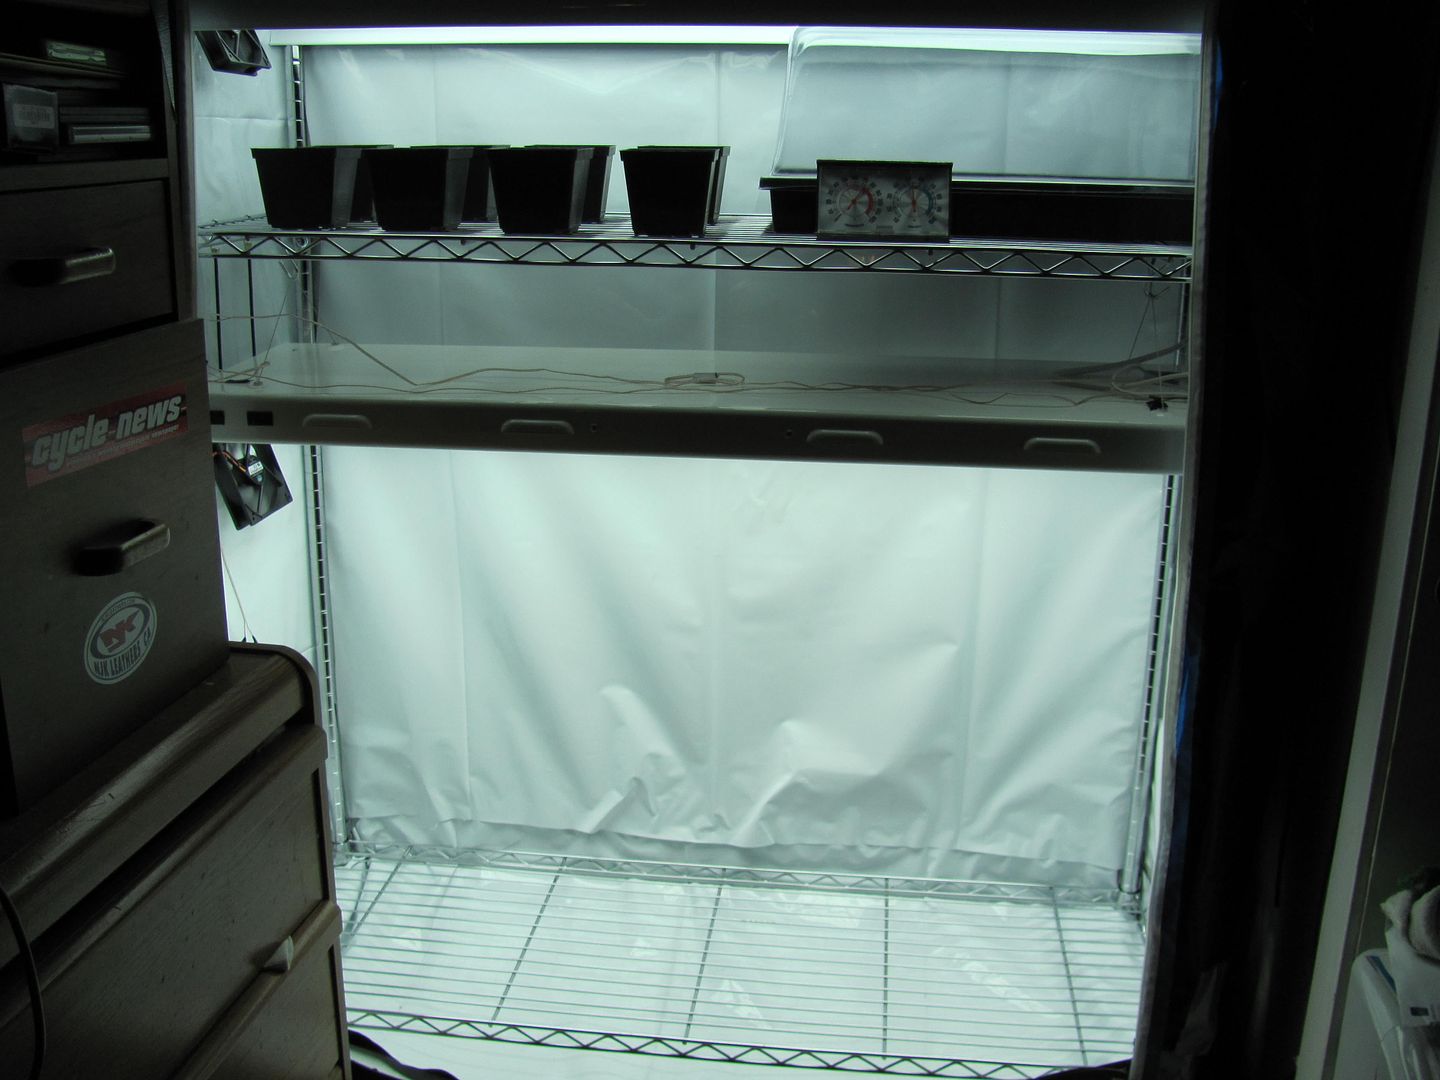
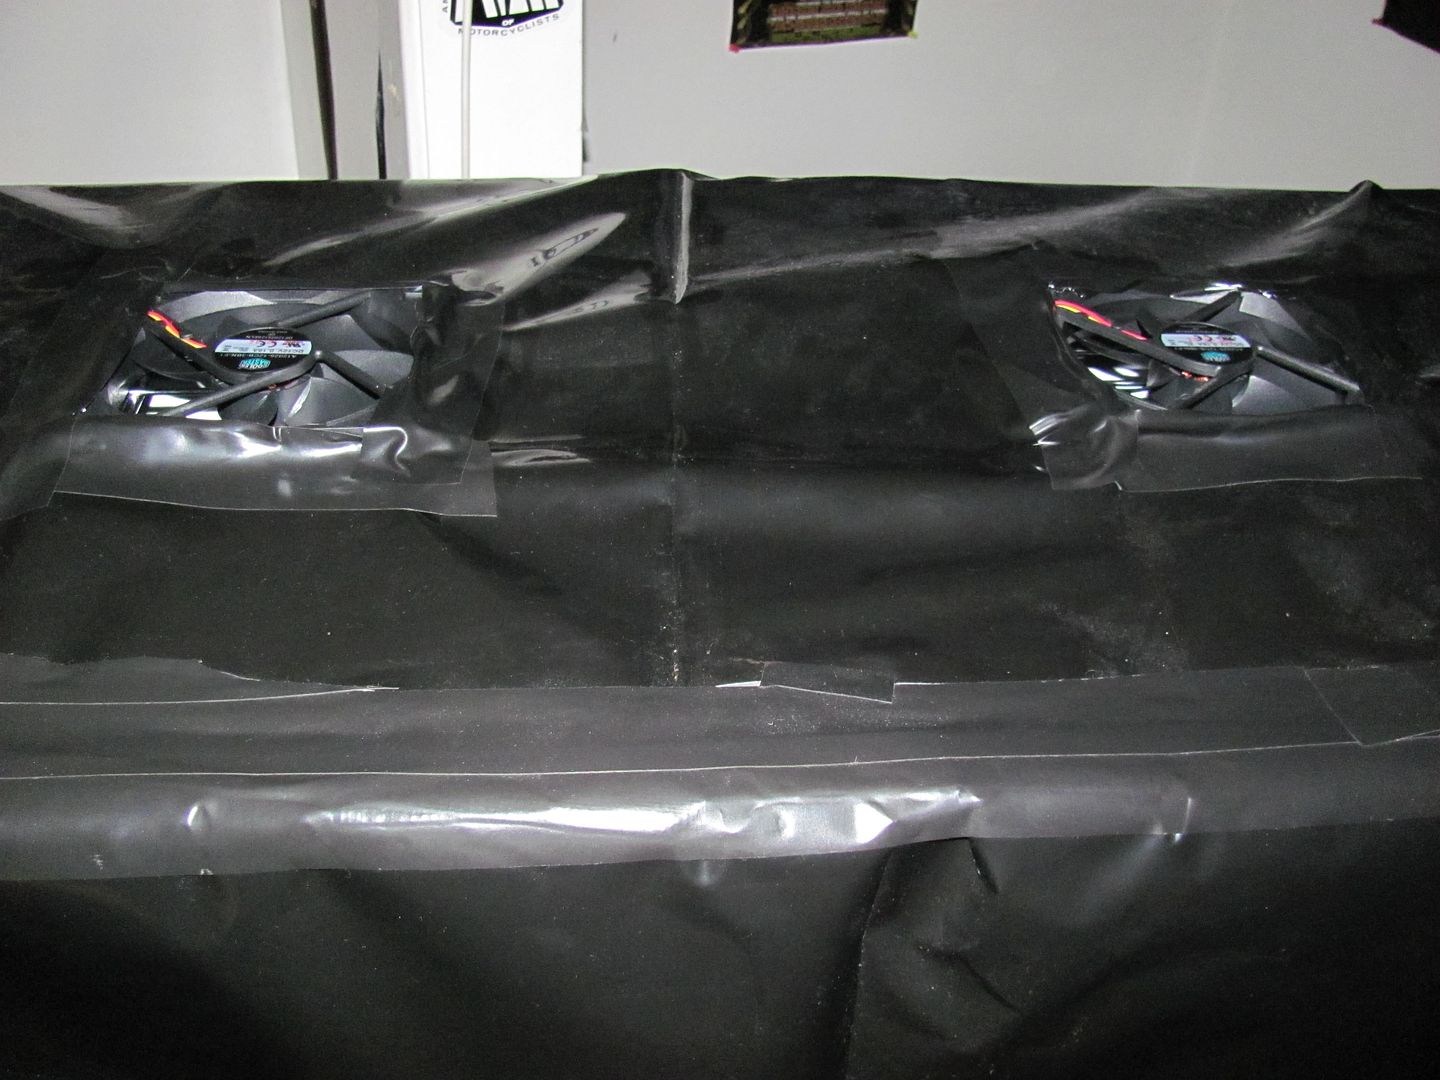
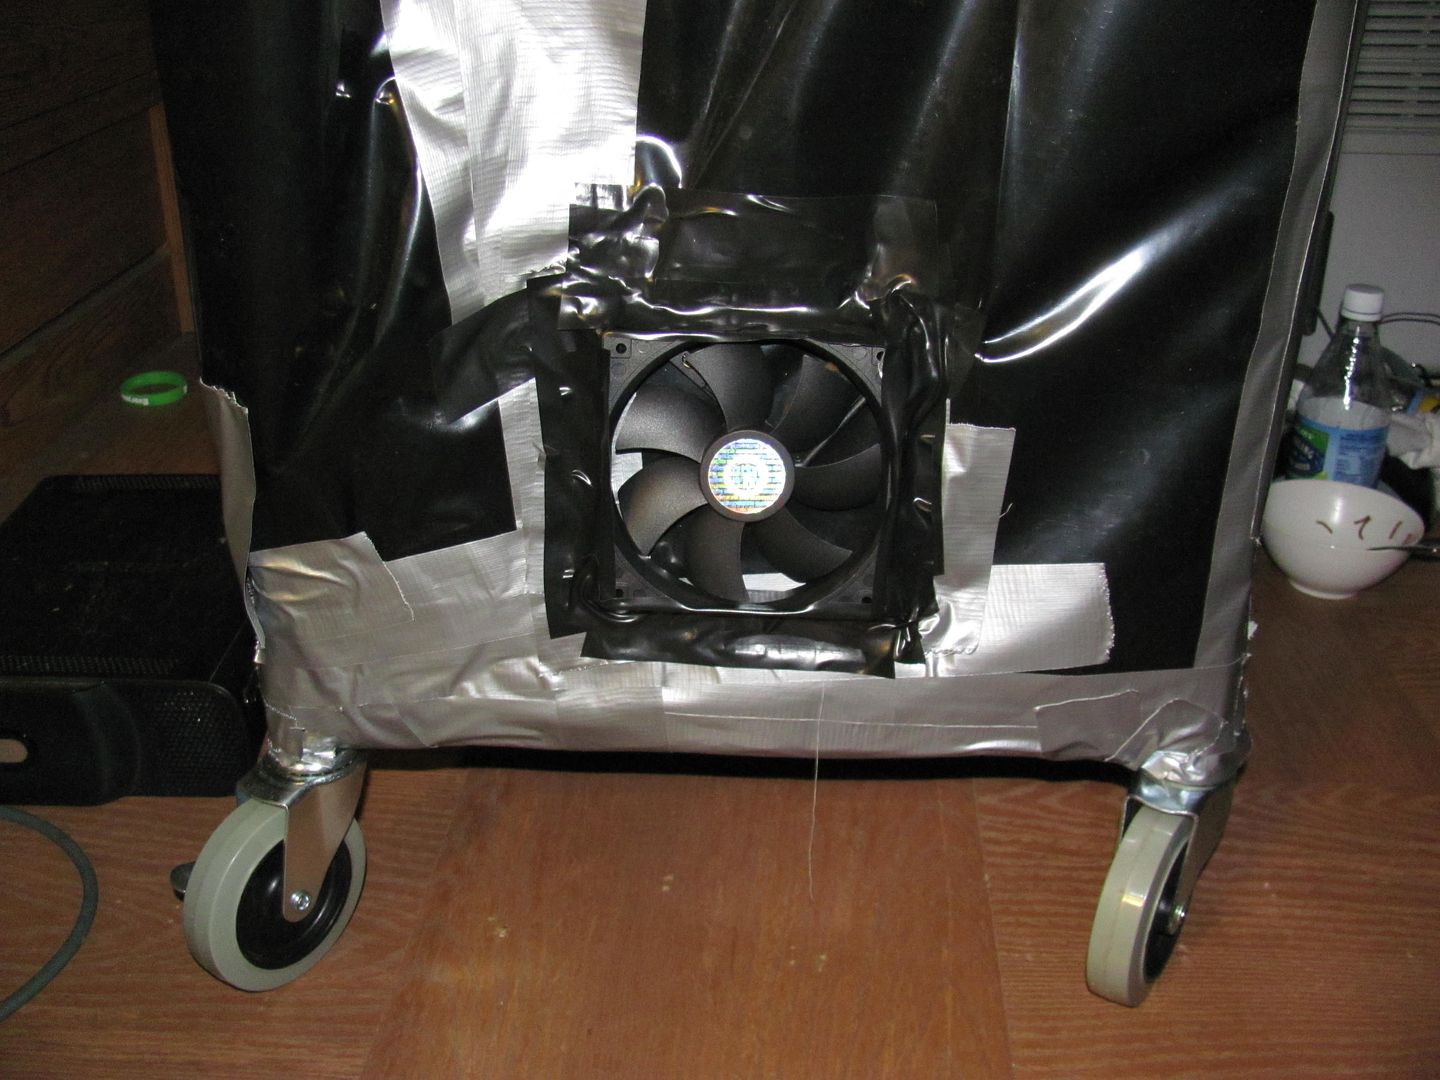
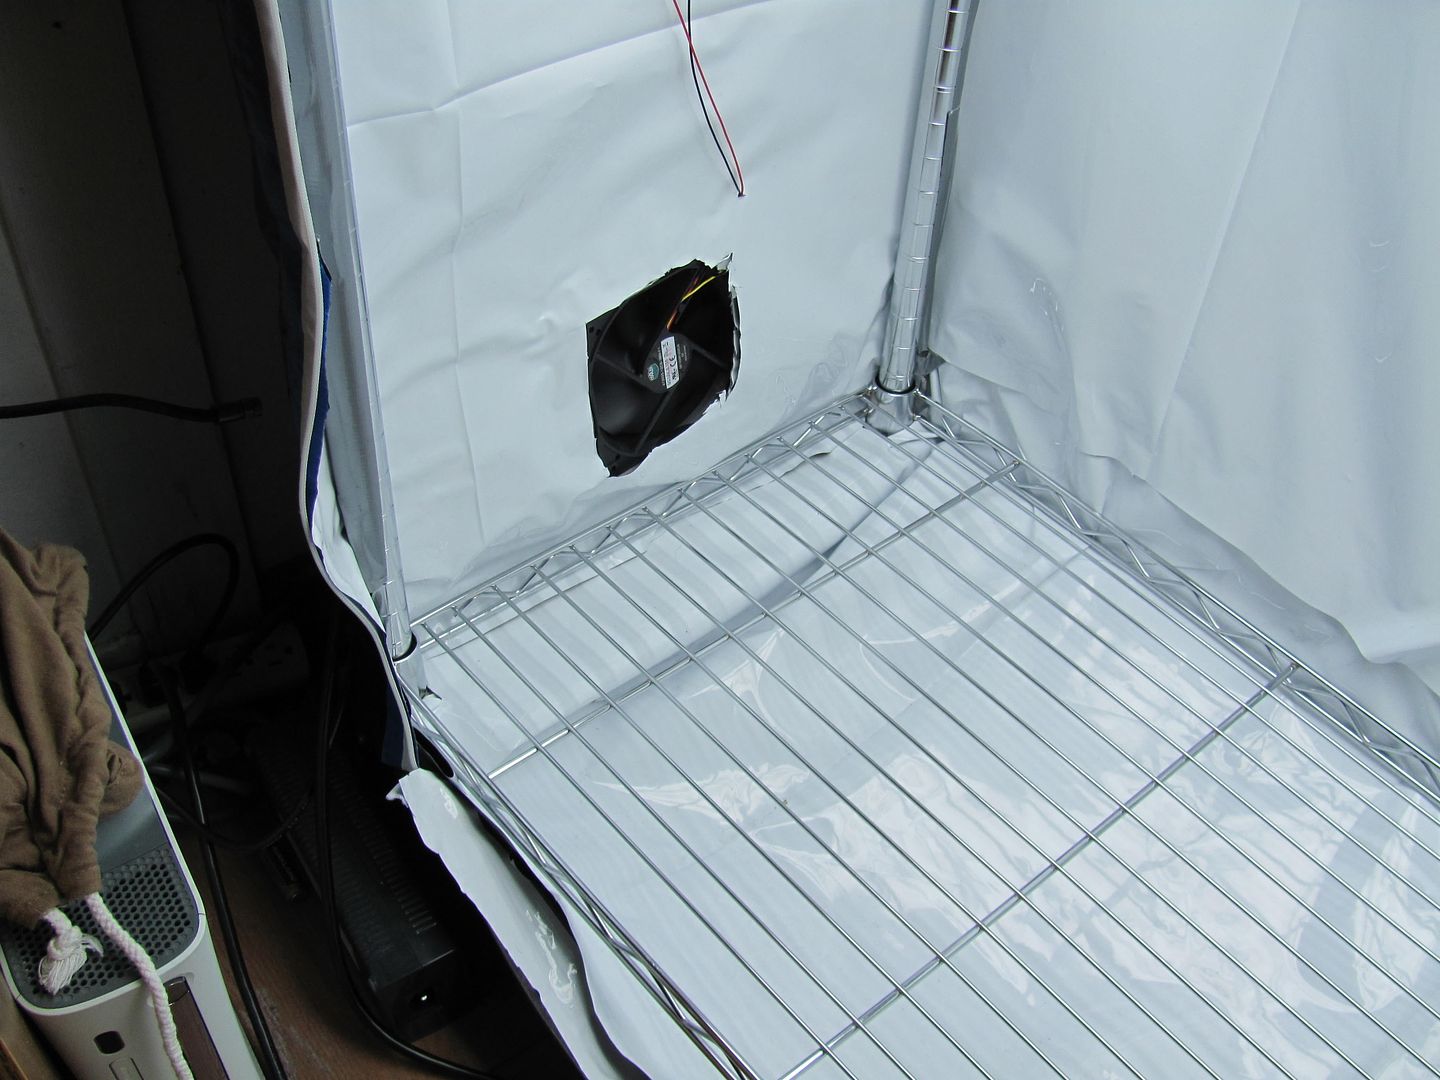
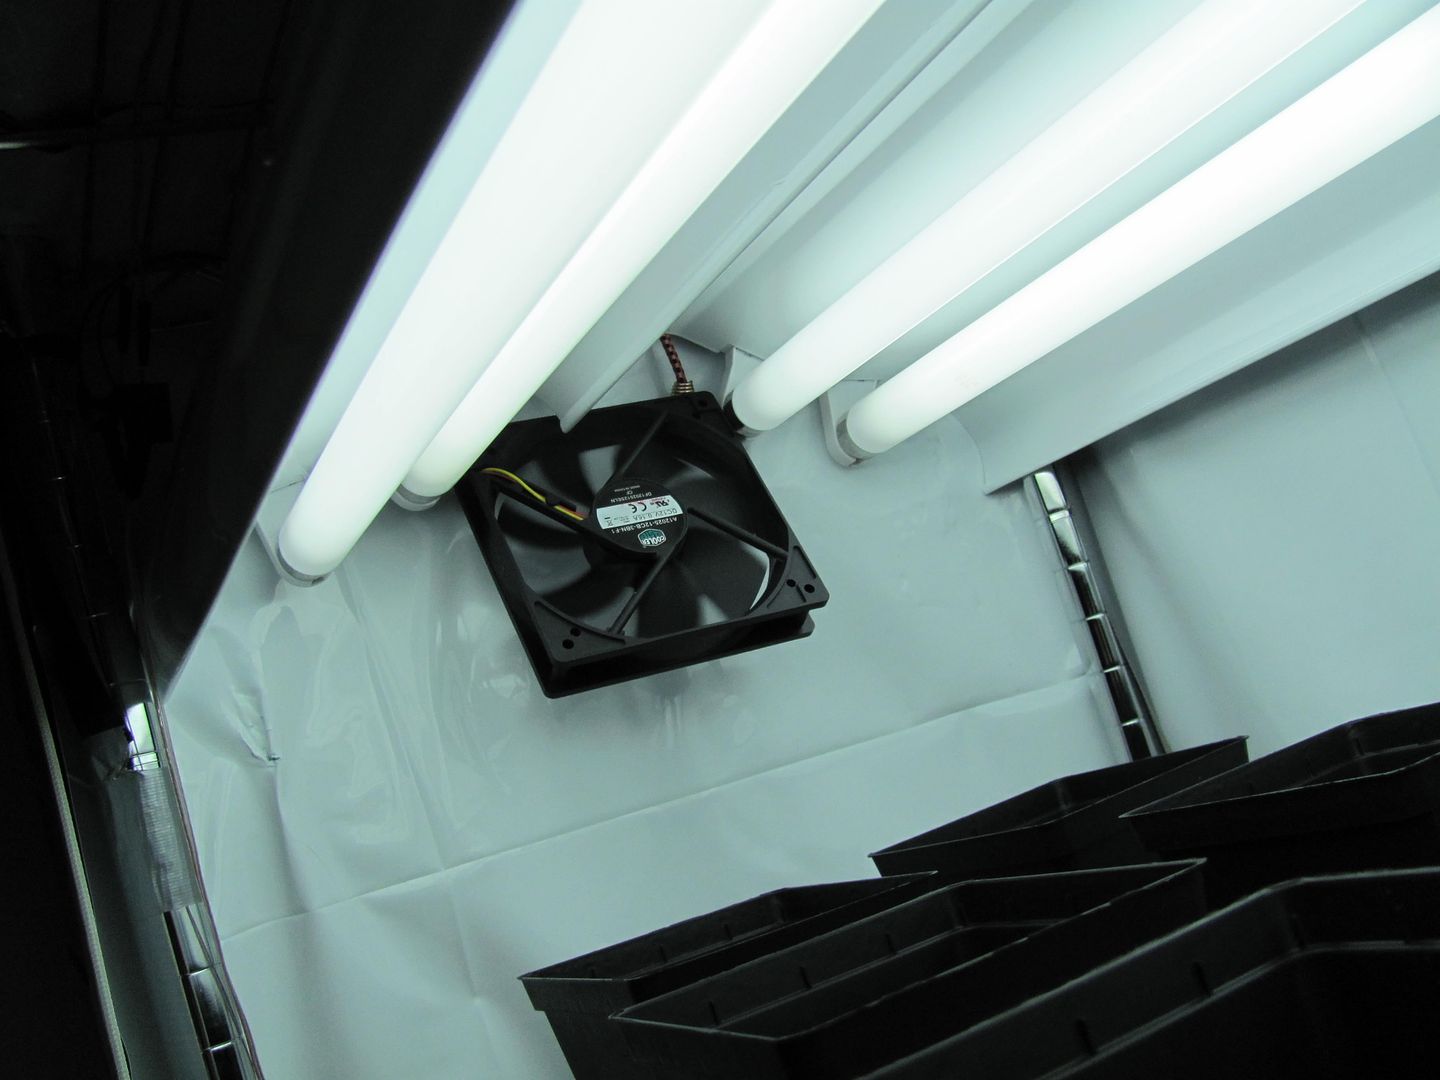
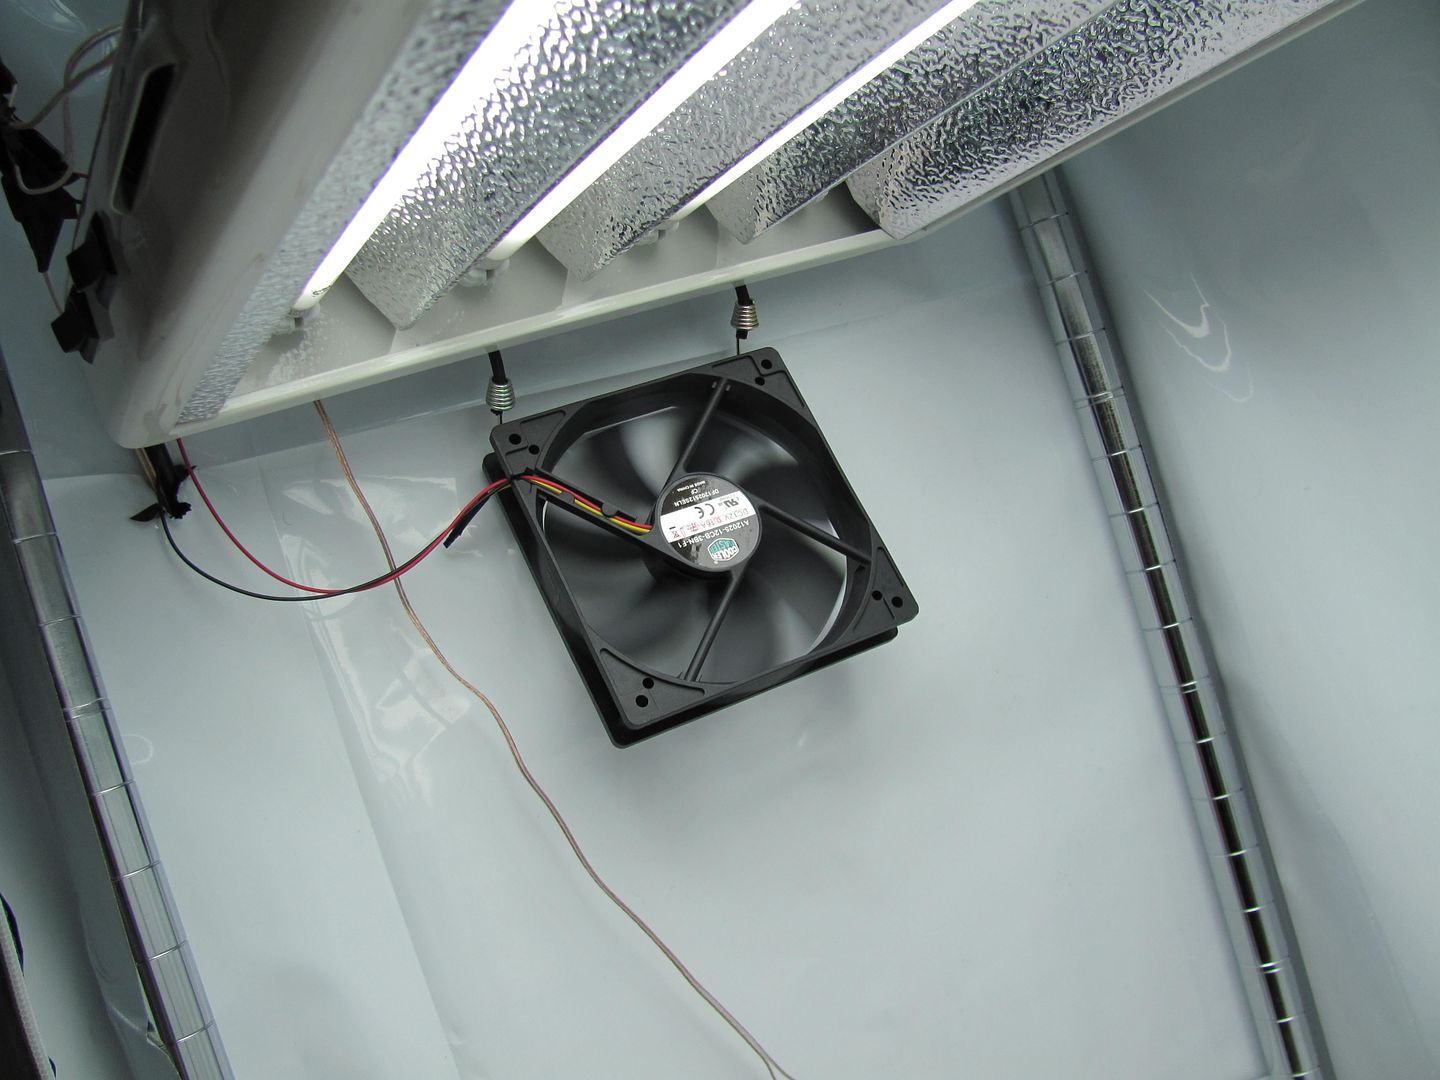
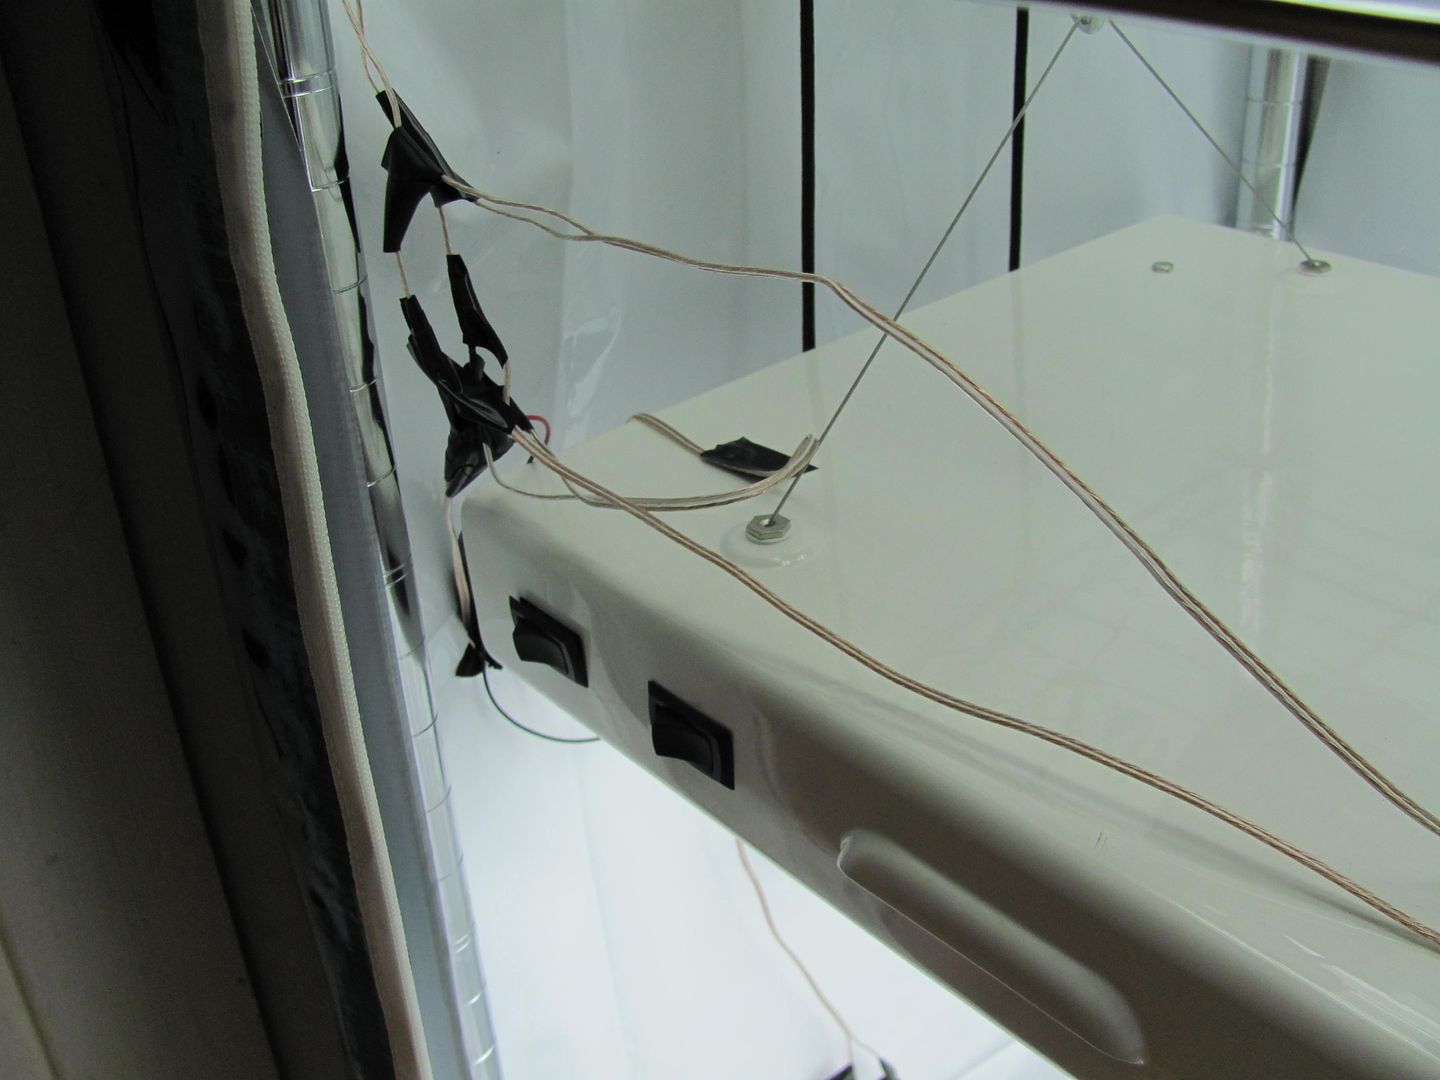
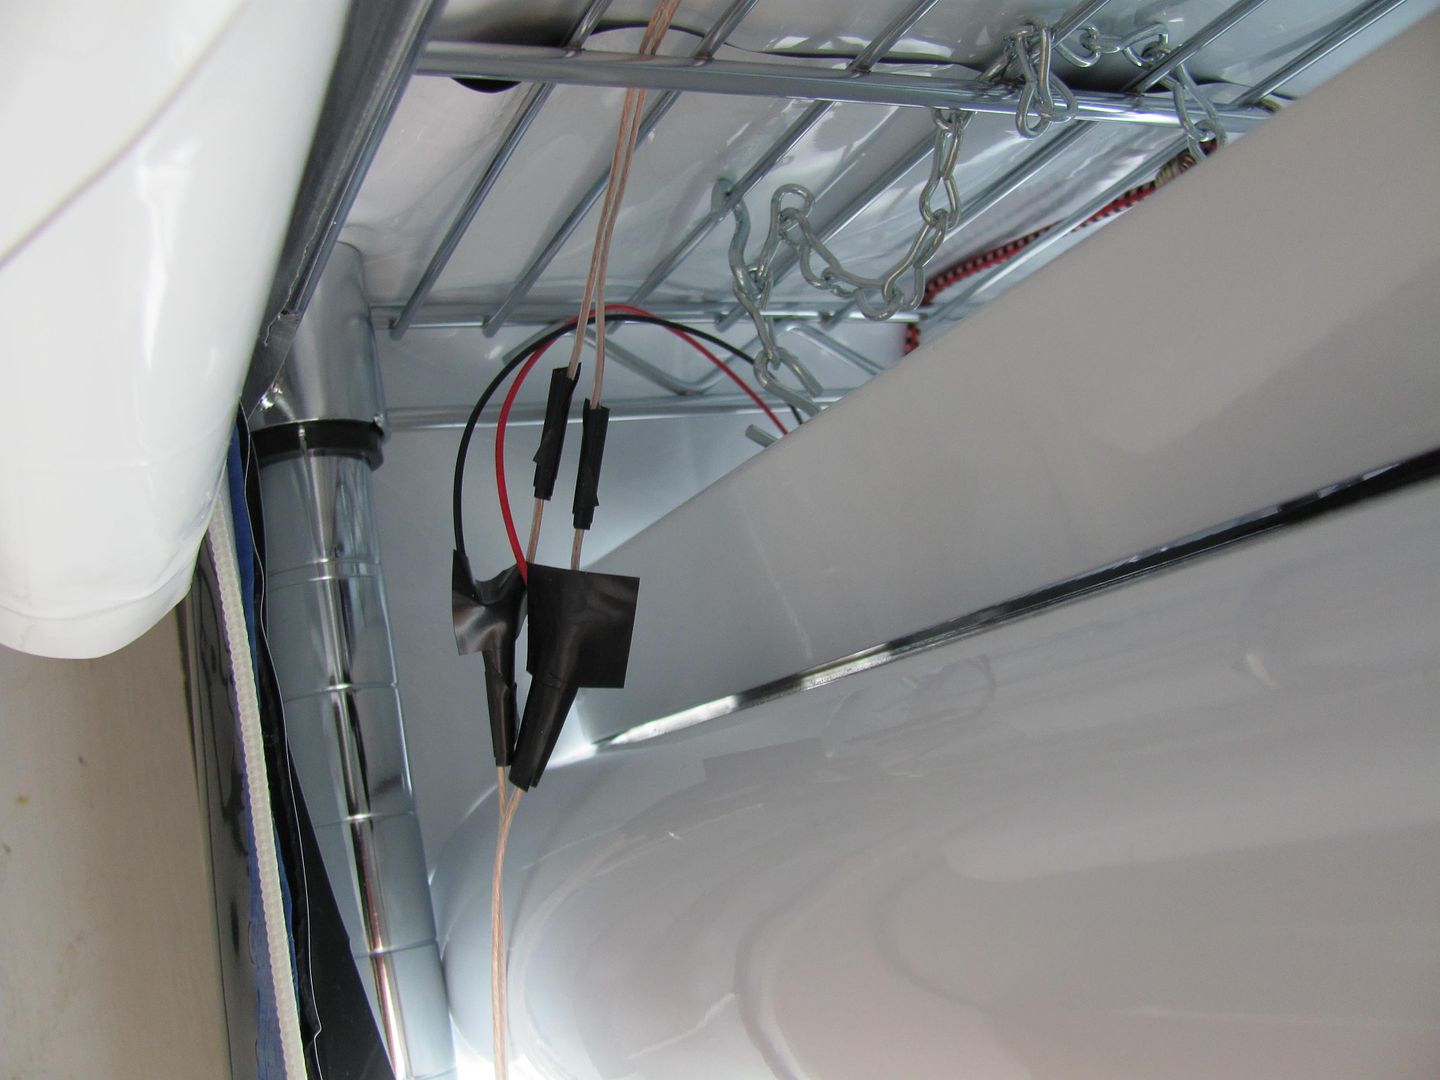
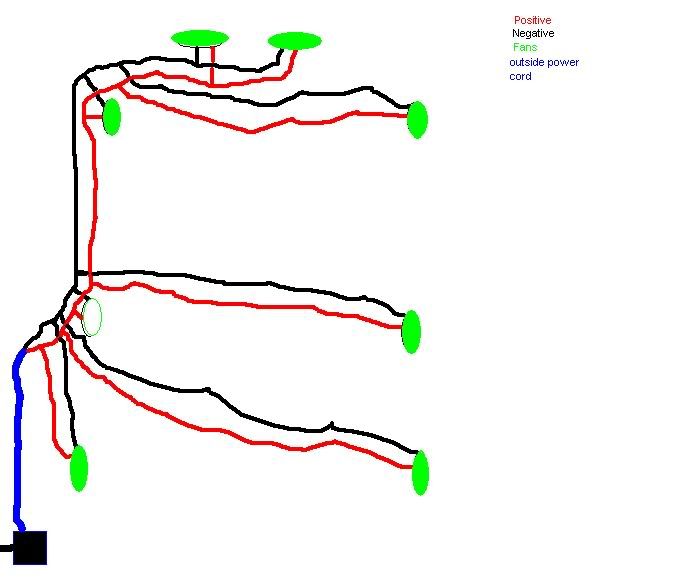
justiceman, I dig your DIY veg tent. My friend was hating on it but I might just have to make one for myself to prove him wrong.
Do you know of any threads that can teach me how to wire those computer fans?
I know more about organic soil than hydro so I'm guessing your using a flood and drain table w/ soil pots? If I am correct and this is a flood and drain table, do you plan to use the super soil in combination with this system?
How much dry wieght do you plan to have with those 6L pots? Have you ever tried bigger pots?

Good Lord Justiceman!
Just did a front to back read today.
Your quest for resin is worthy to call it a Crusade.
I'm subscribed and watching for the rest on...friggin awesome!
M-
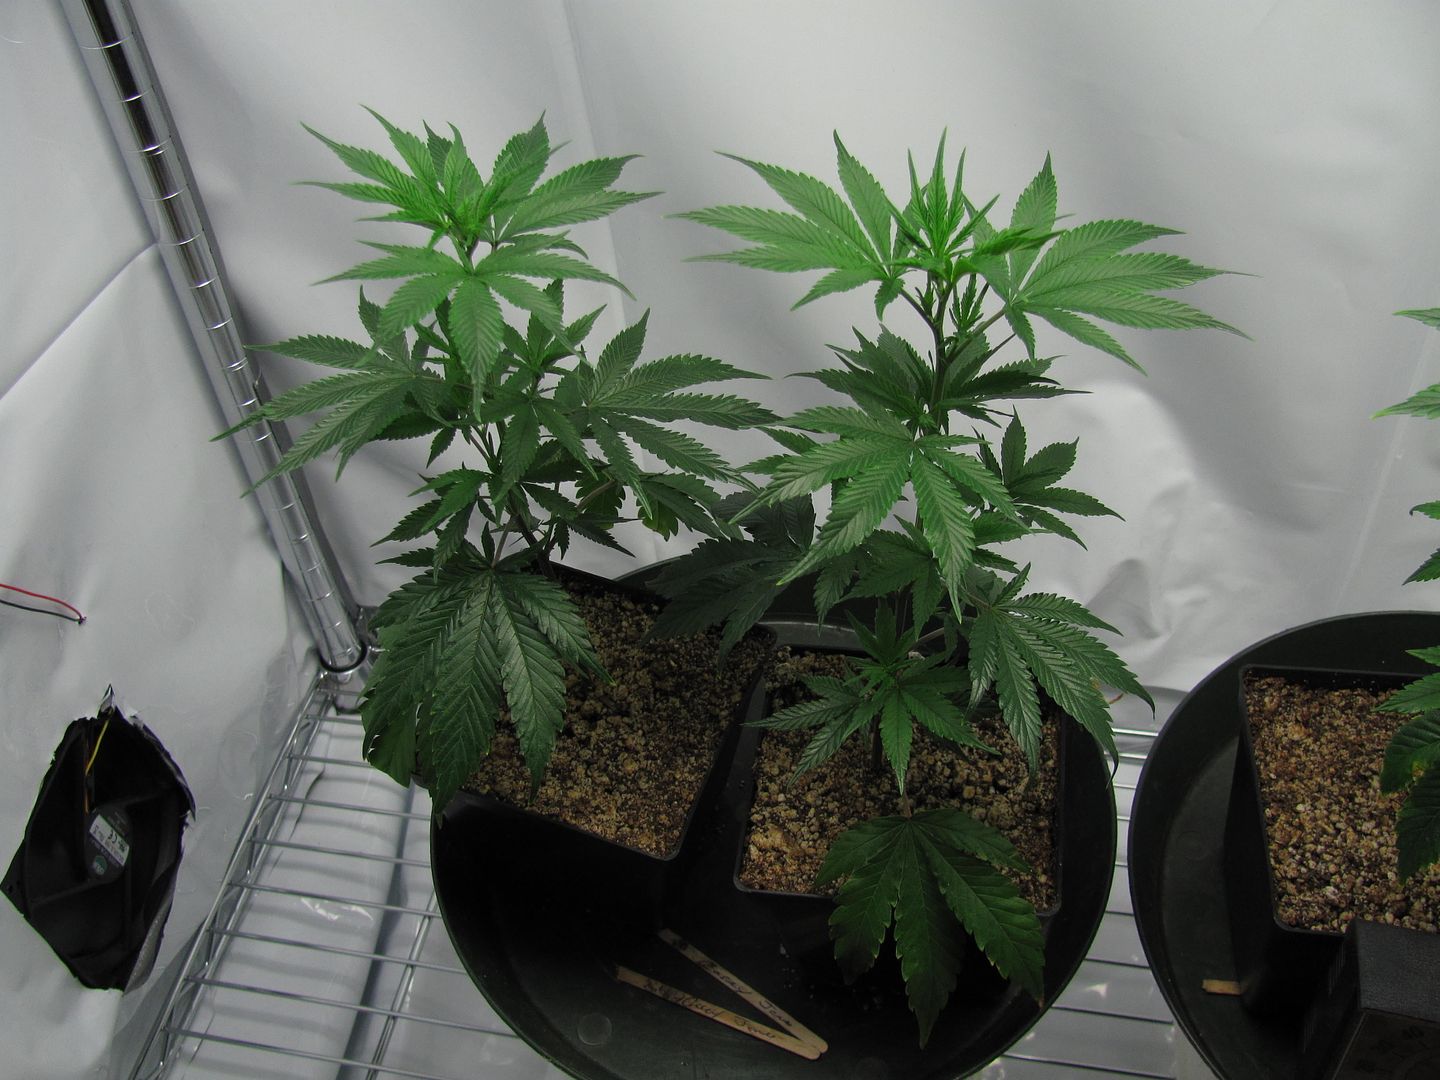
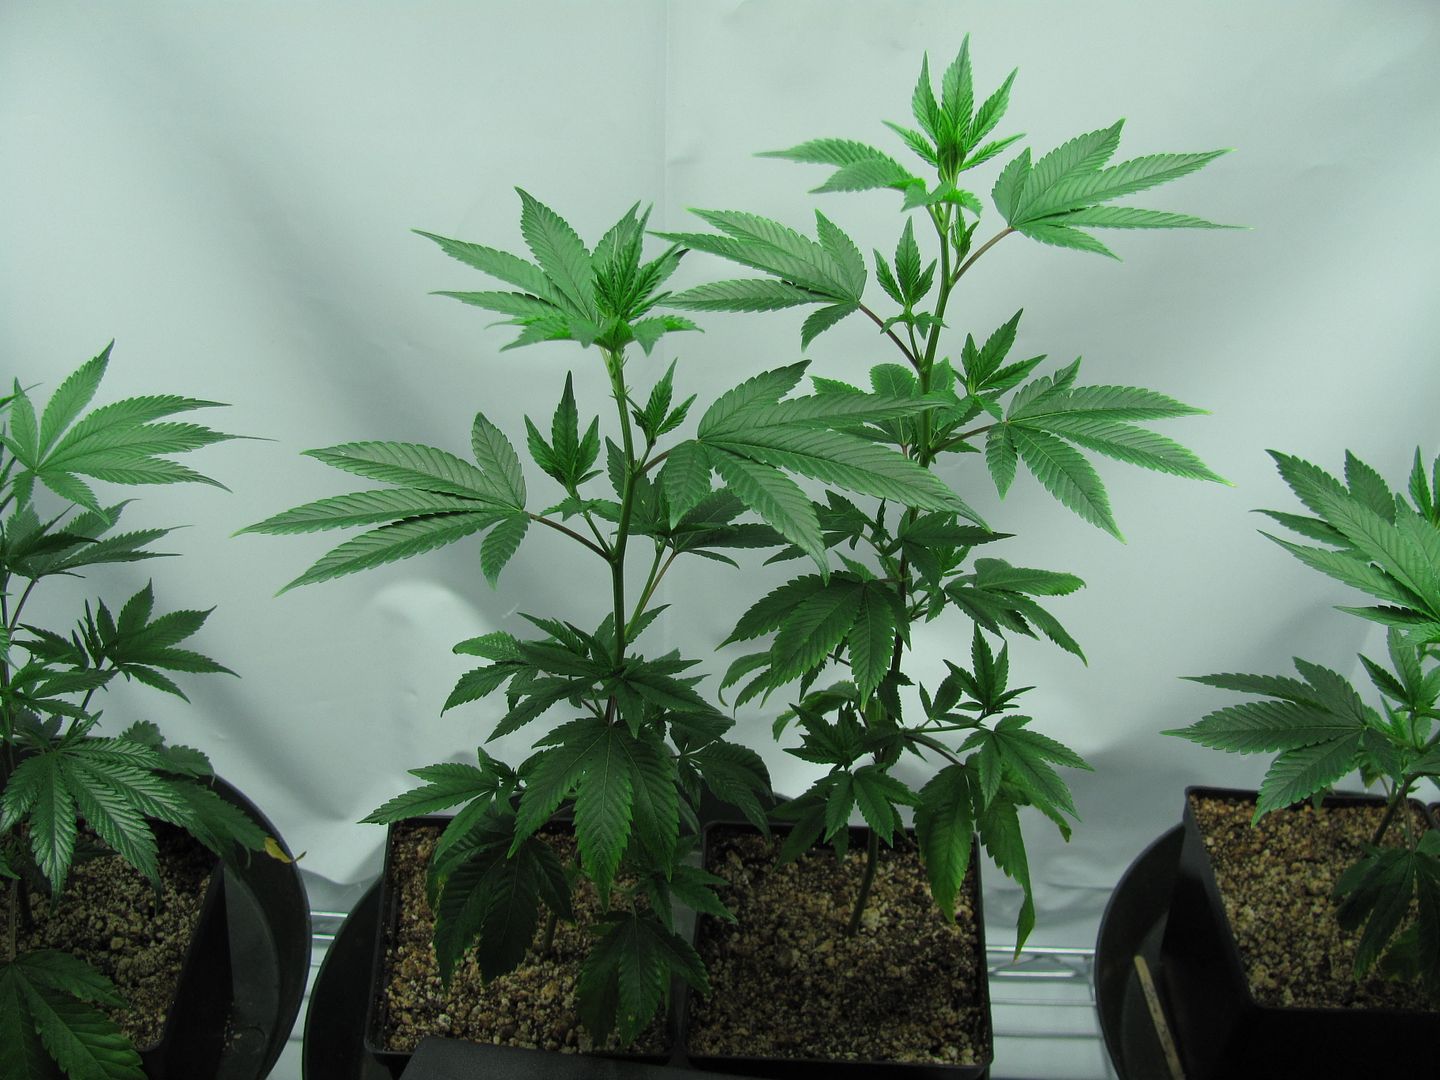
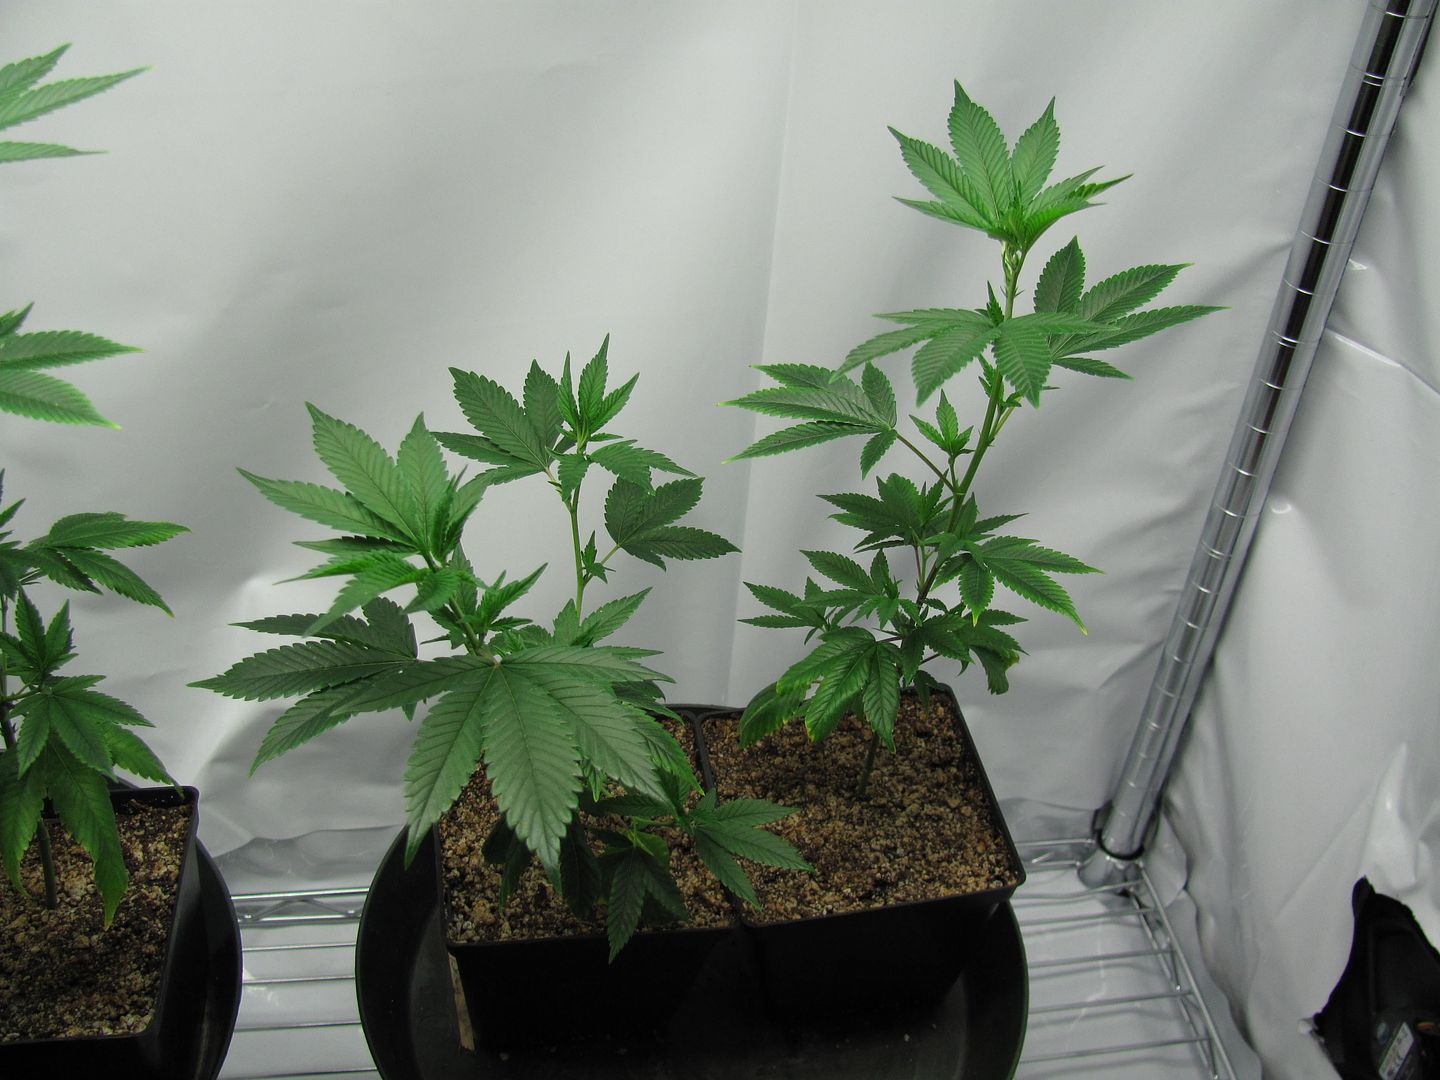
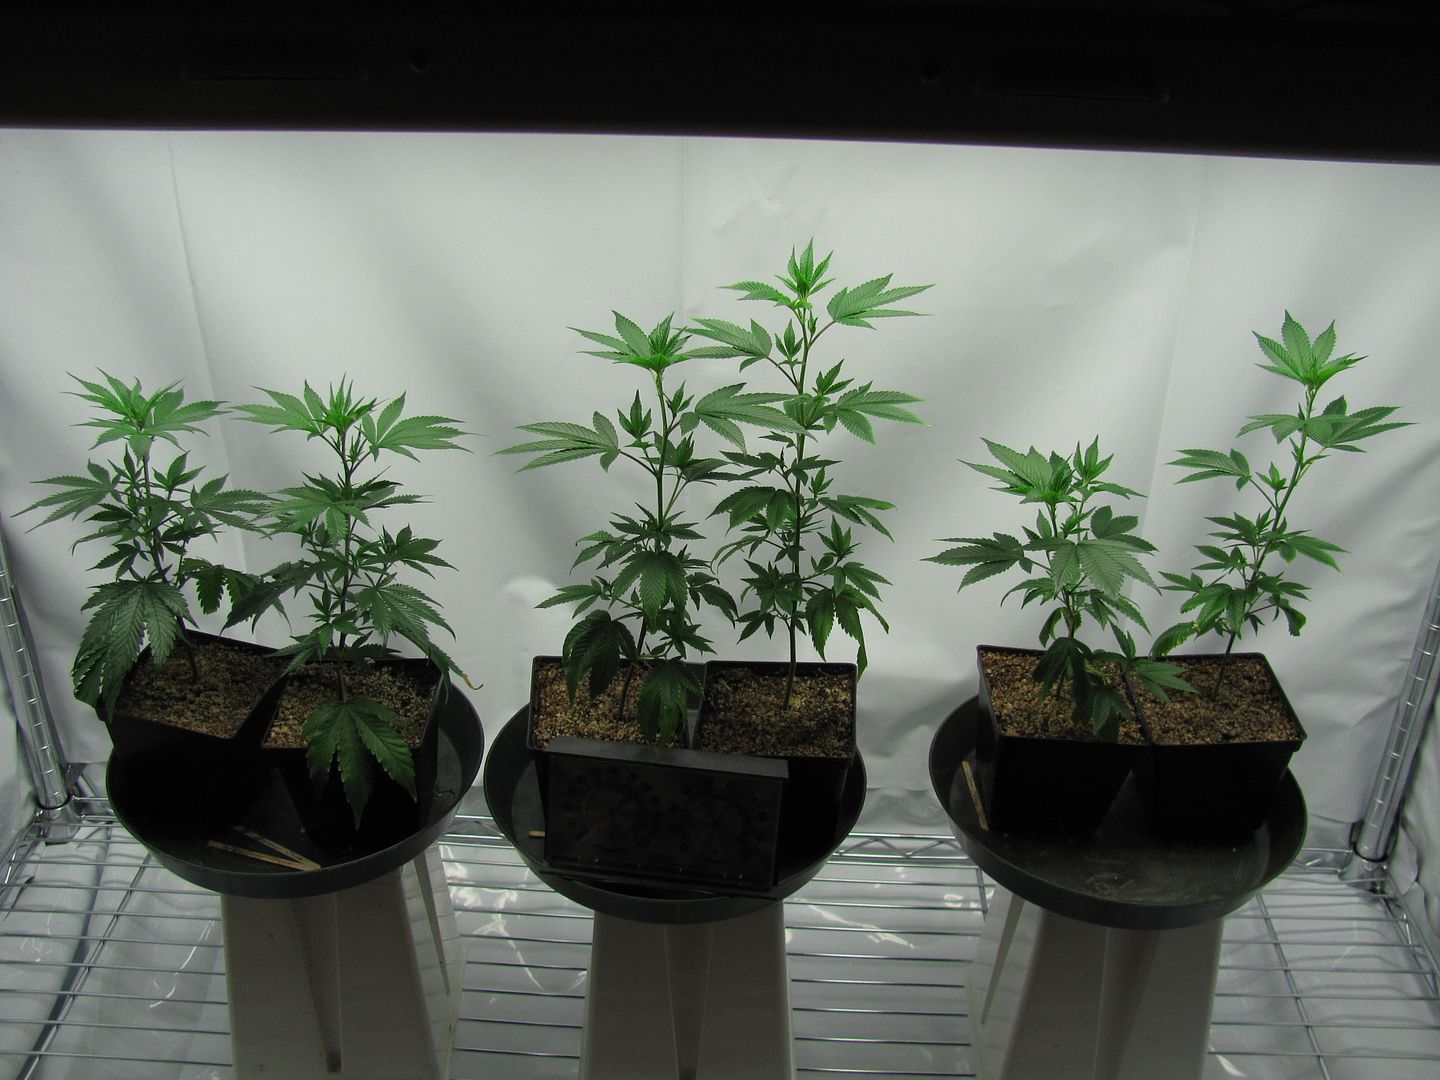
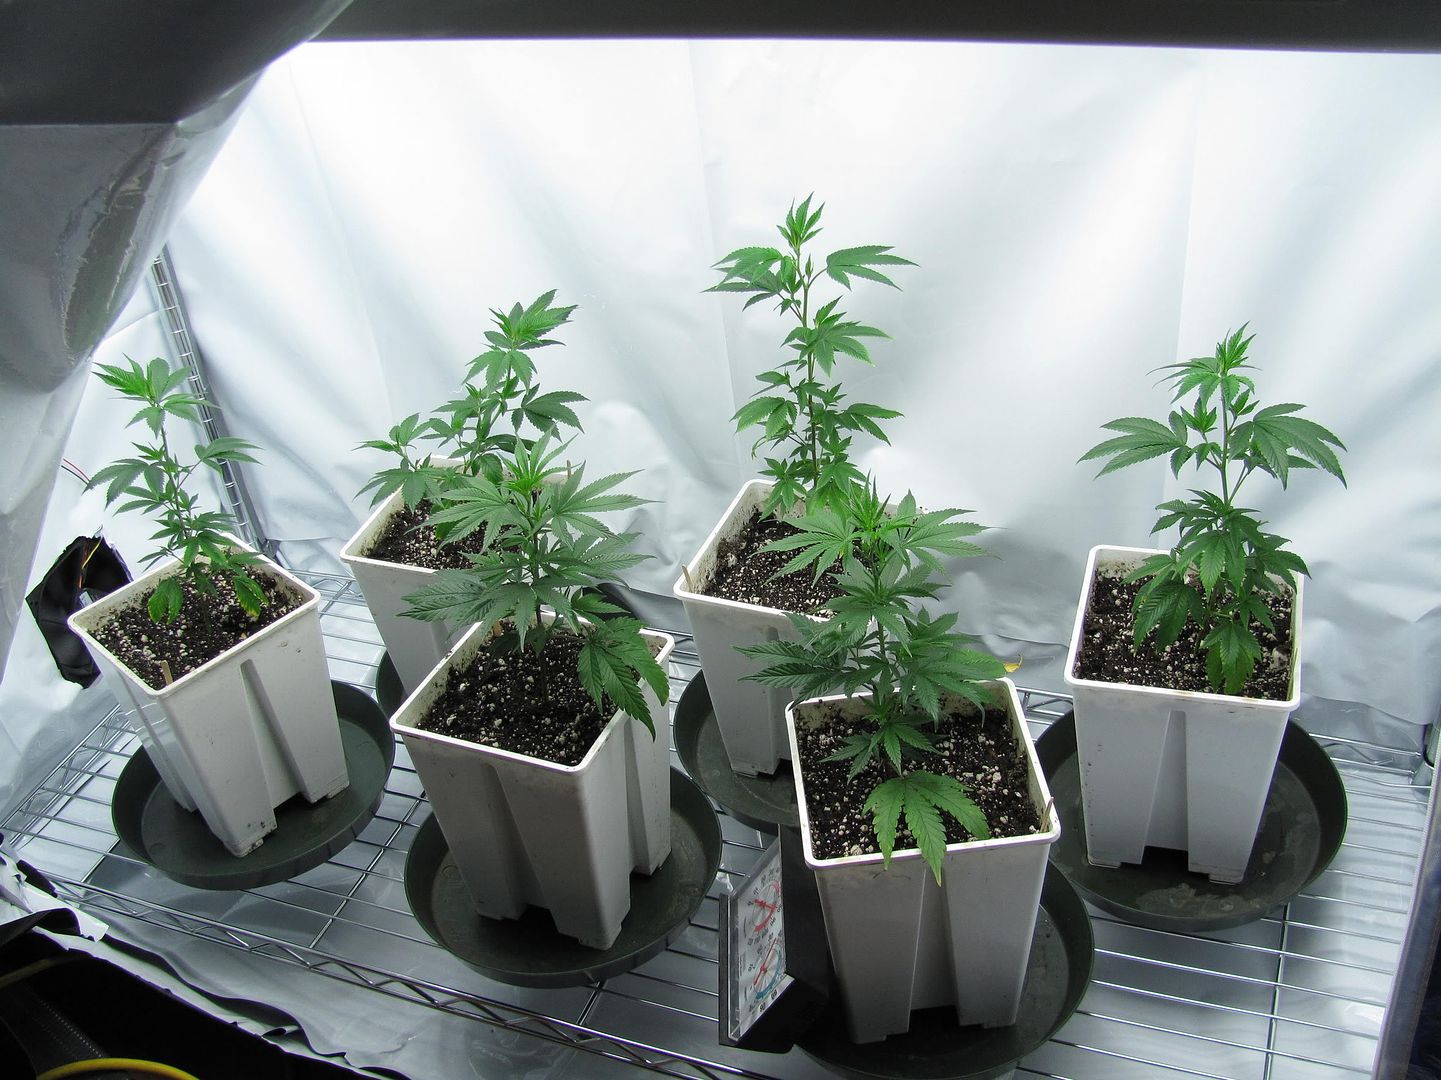
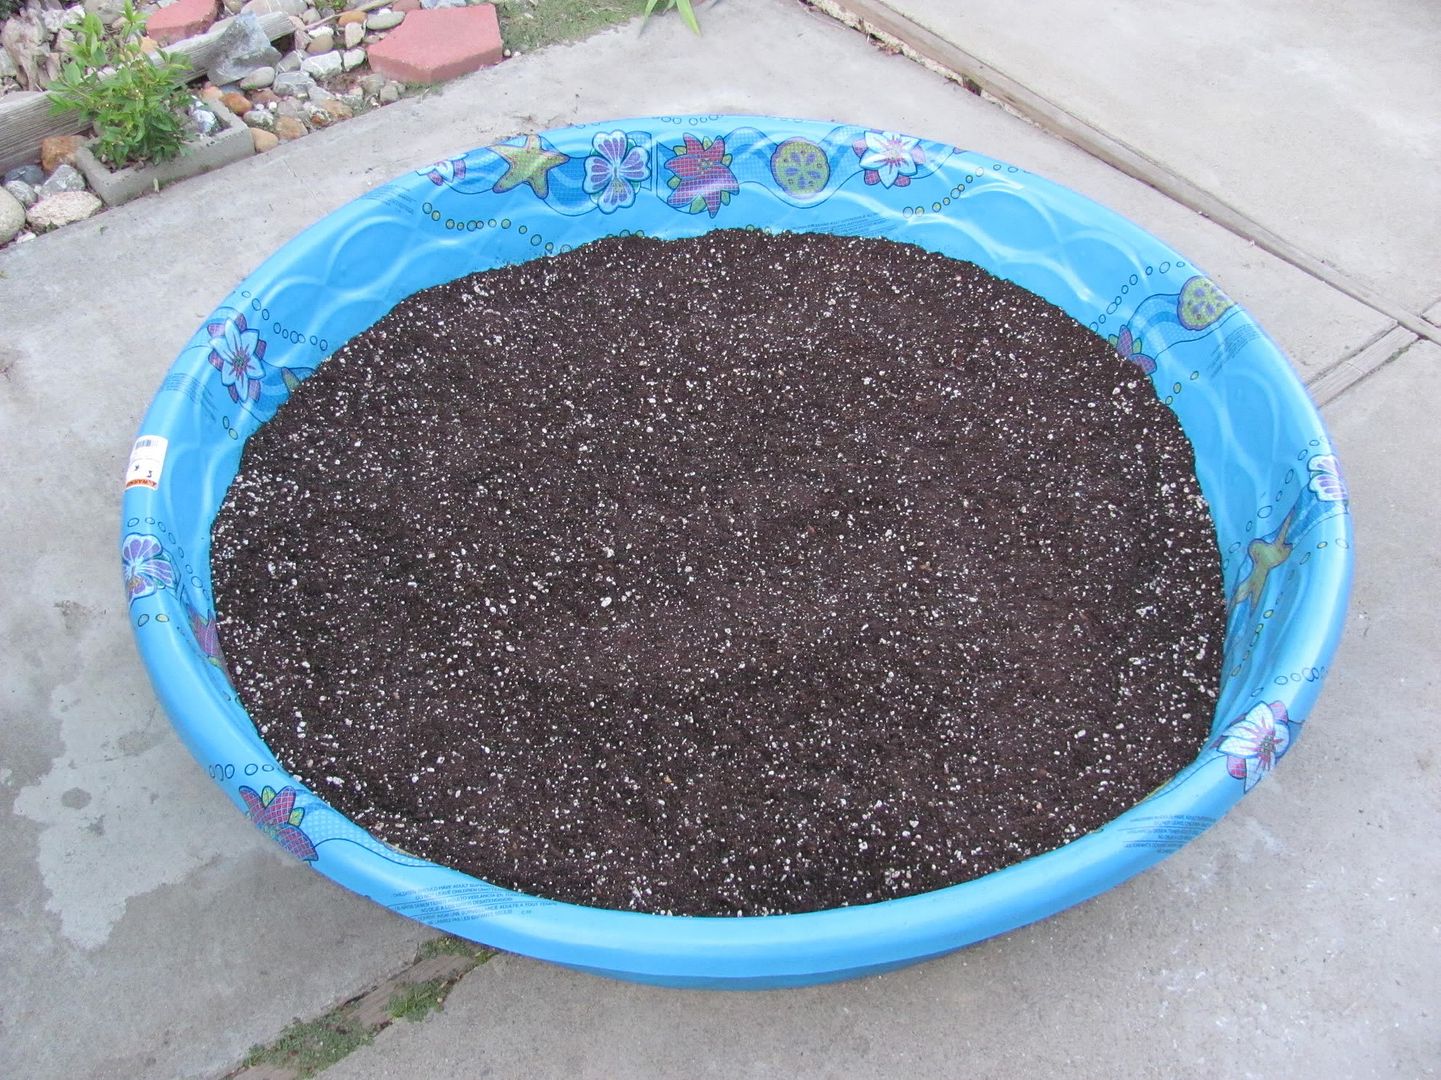
 I already have a plan set in mind for them but who knows plans change. We shall see. I am going to veg them in the station for 3-4 weeks. I won't leave them in the 4" pots for the that long though. I'll put them in something bigger soon. But after the 3-4 week veg I plan to transplant them into some 5gal smart pots and throw them outside for a little bit of fun! The cuts I got are 2 Casey Jones, 2 Chem Dawg's, and 2 Head Band's. Here is what I fed them after the transplant. I know it might seem high to some, but last time I fed some cuts(.9EC) They became severely malnourished so I figured I'd bit the bullet and see what happens with this dose. I figure it should work out fine as the Roots Soil-less doesn't have much in it, but it has a perfect consistency for starter clones and seedlings as in has a generous amount of perlite for adequate oxygenation of the root zone.
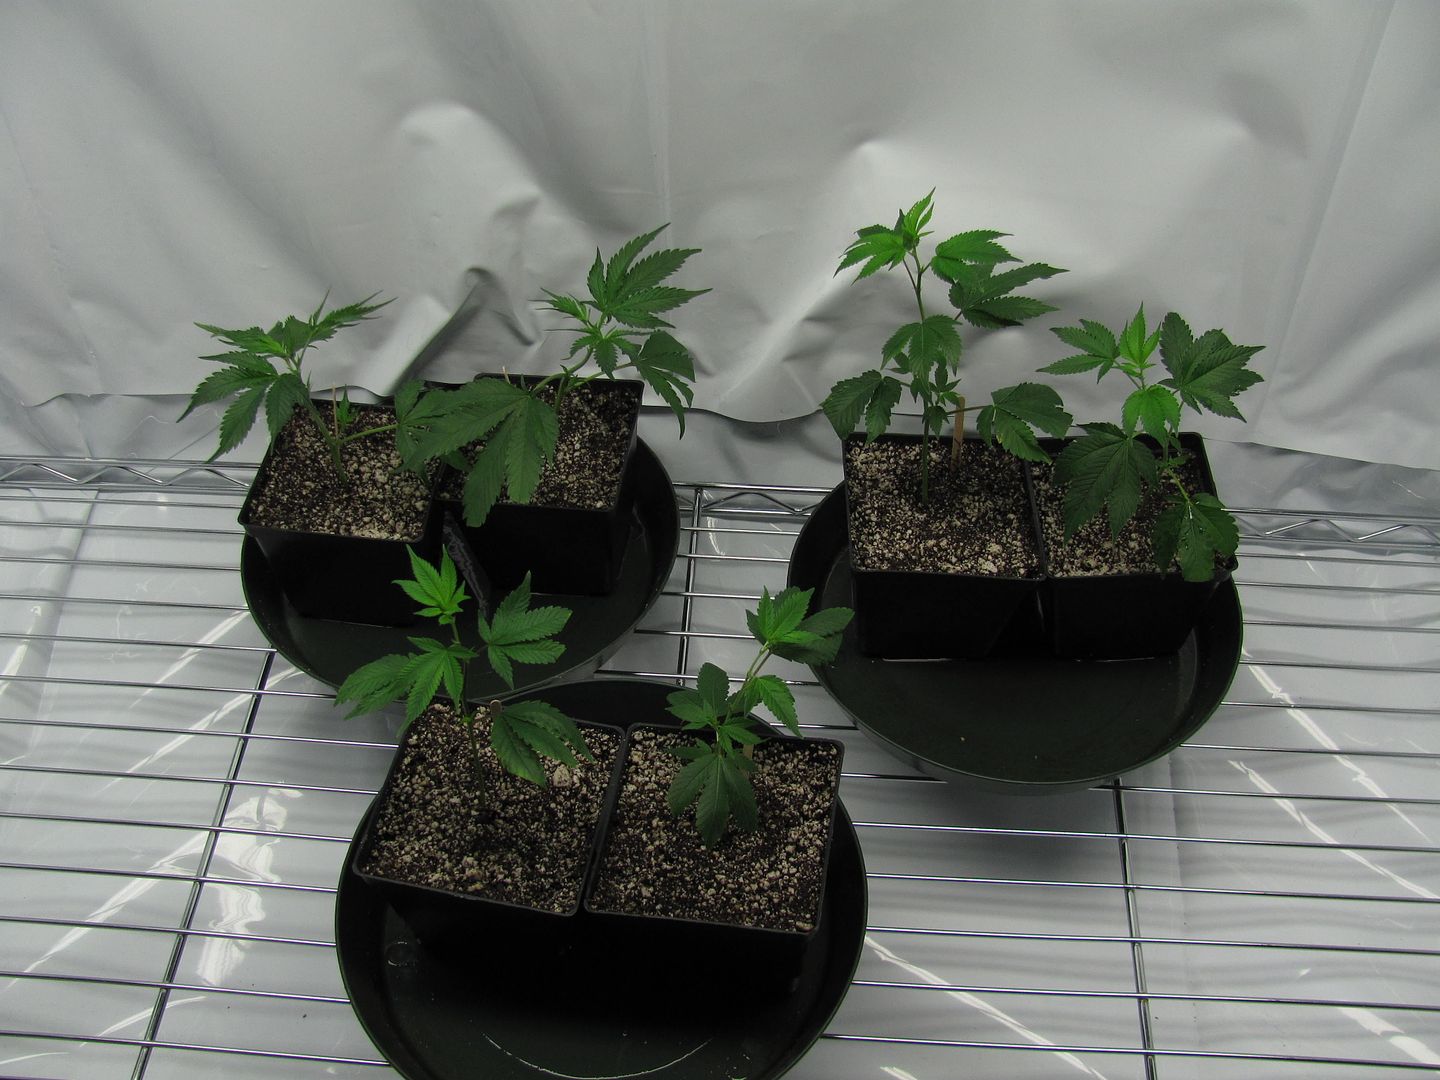


justiceman,
Congratulations on getting through your whole grow with a new nutrient line and no problems. This is the the very definition of a successful grow IMHO.
I'm 1 week into flowering and I noticed you stopped using botanicare's liquid karma after the first week of flower. I picked up this product and was planning on using it during the whole flowering period... Do you have any good reason to disregard this action?
I will be supplementing blackstrap molasses as well. Any suggestions as to the amount of molasses per gallon of H20?
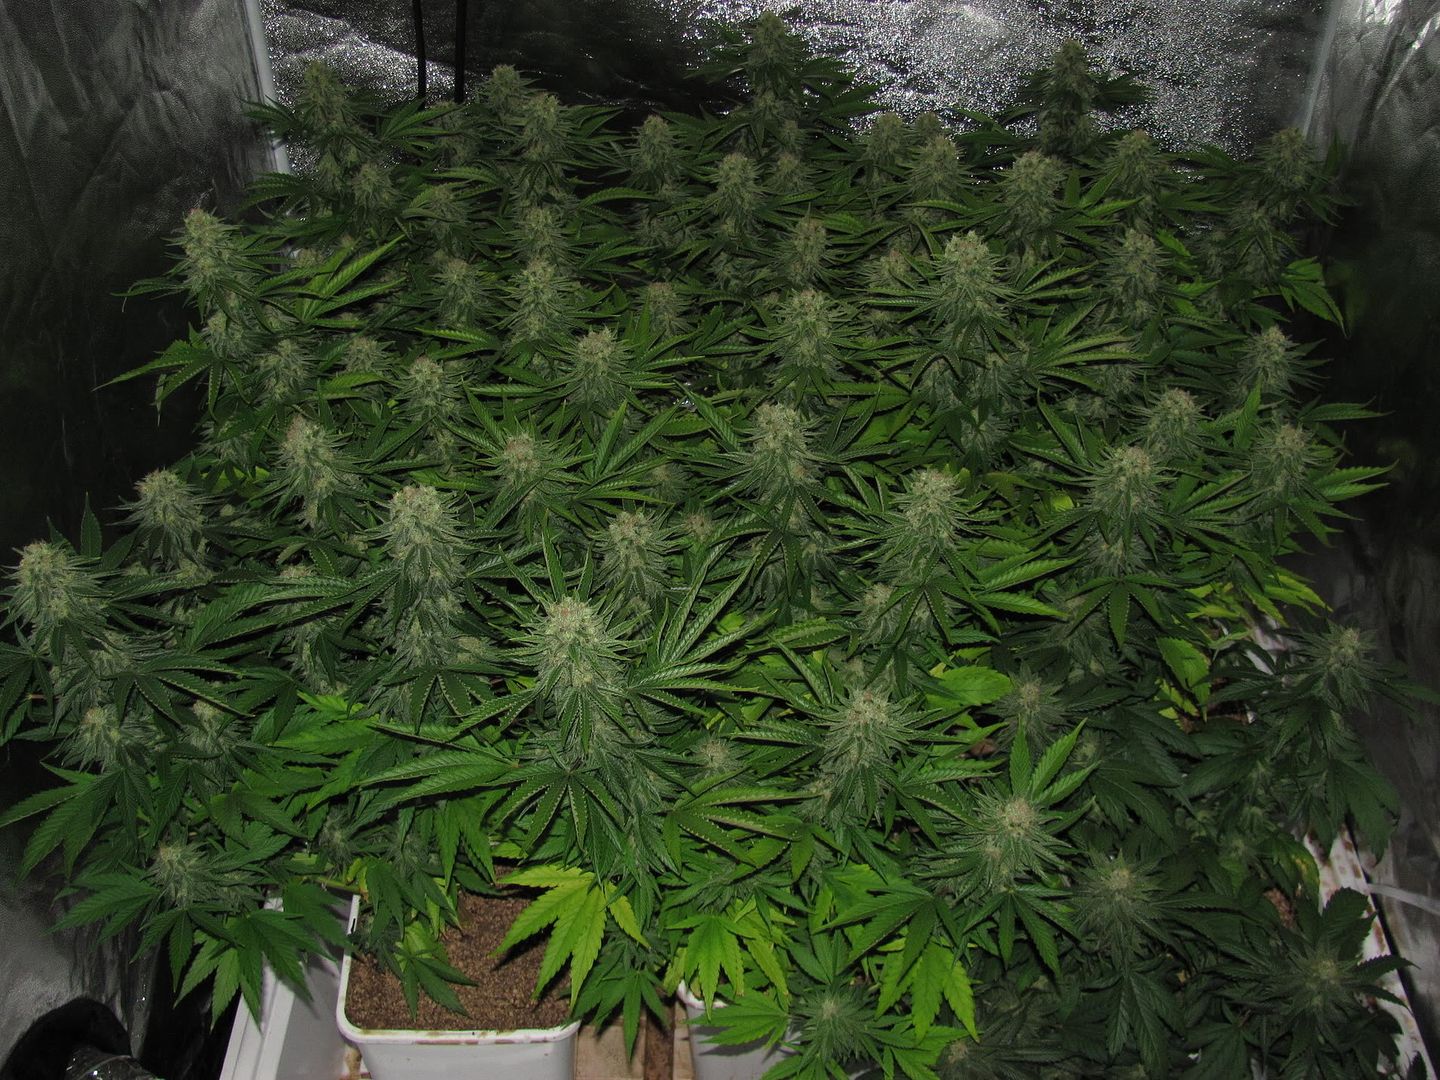
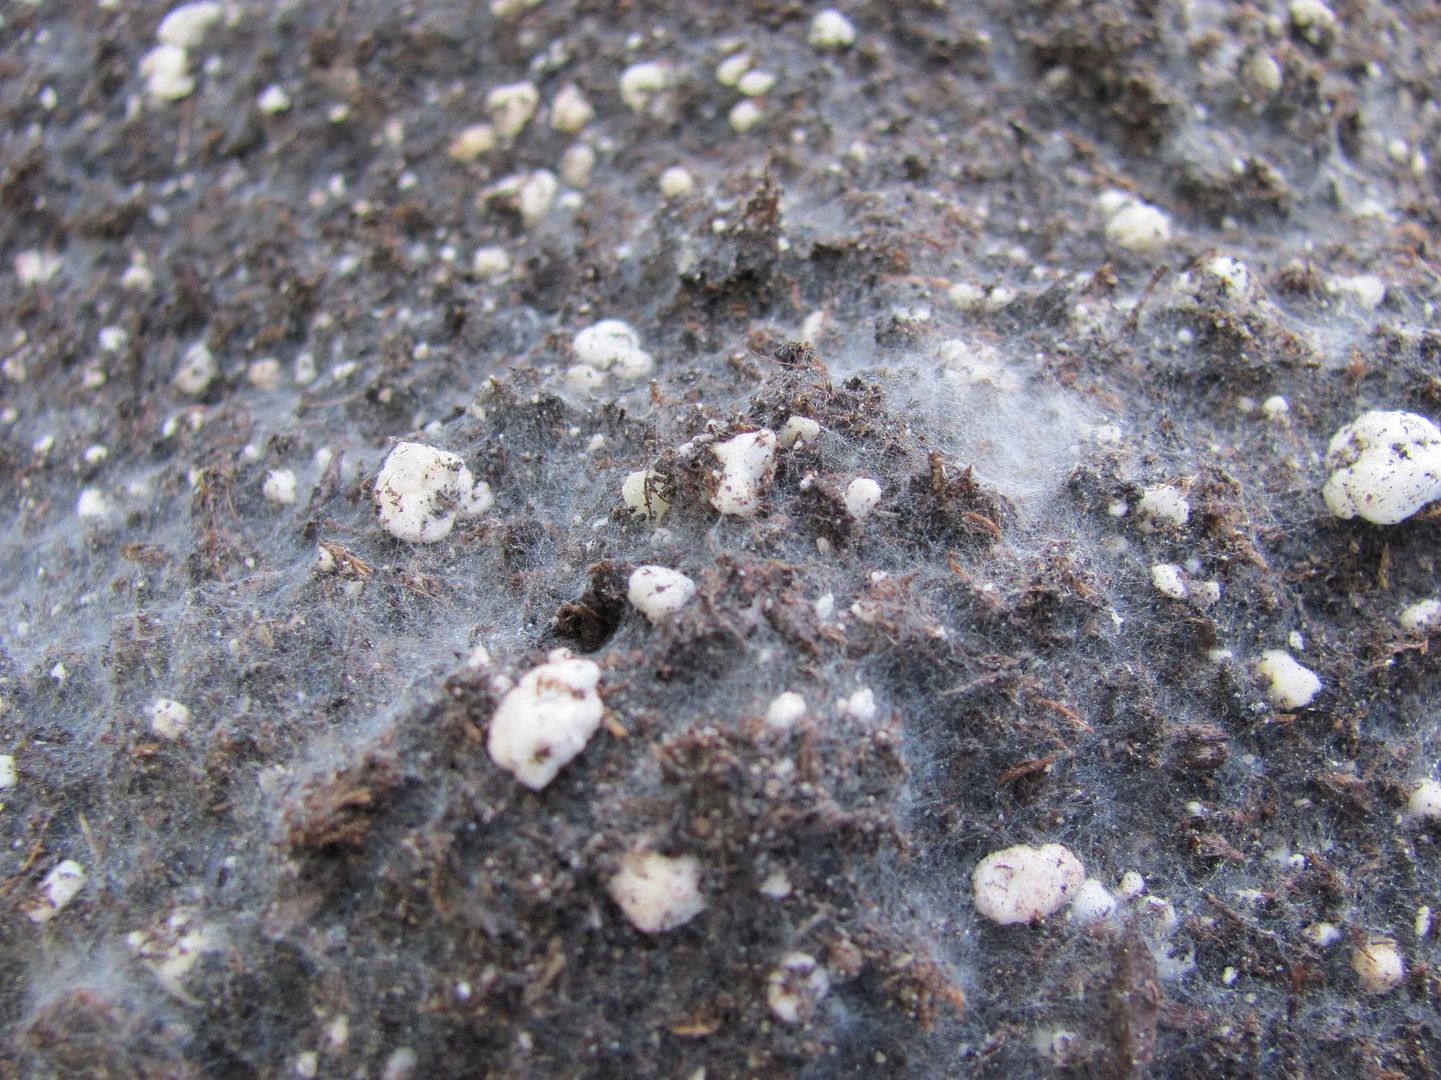
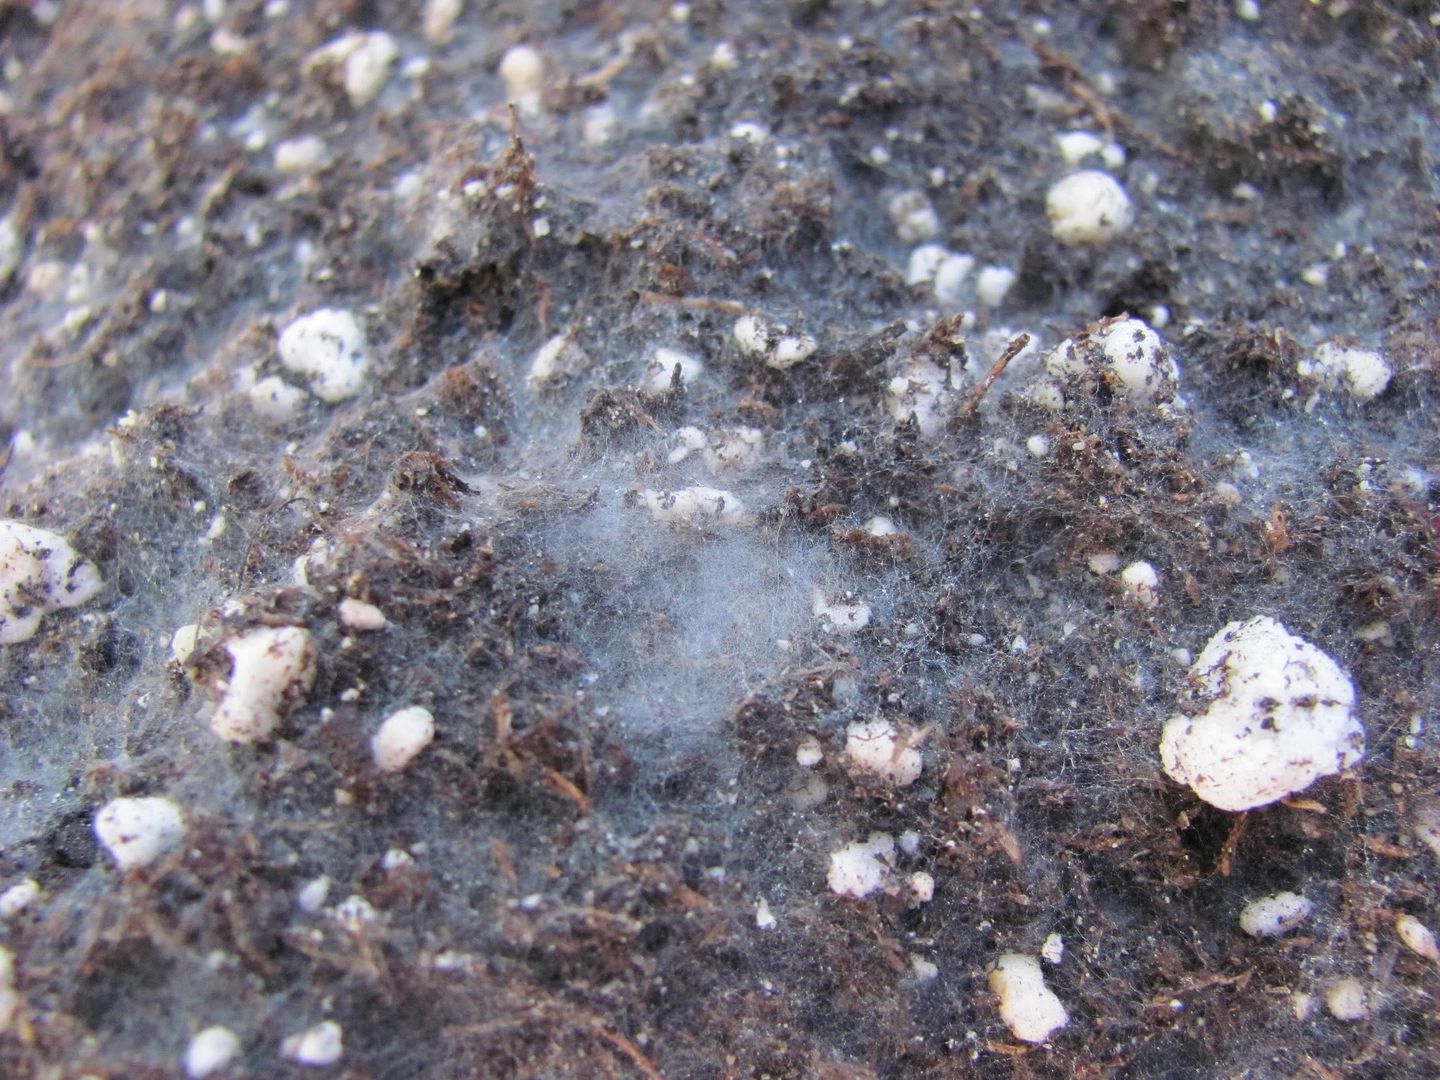
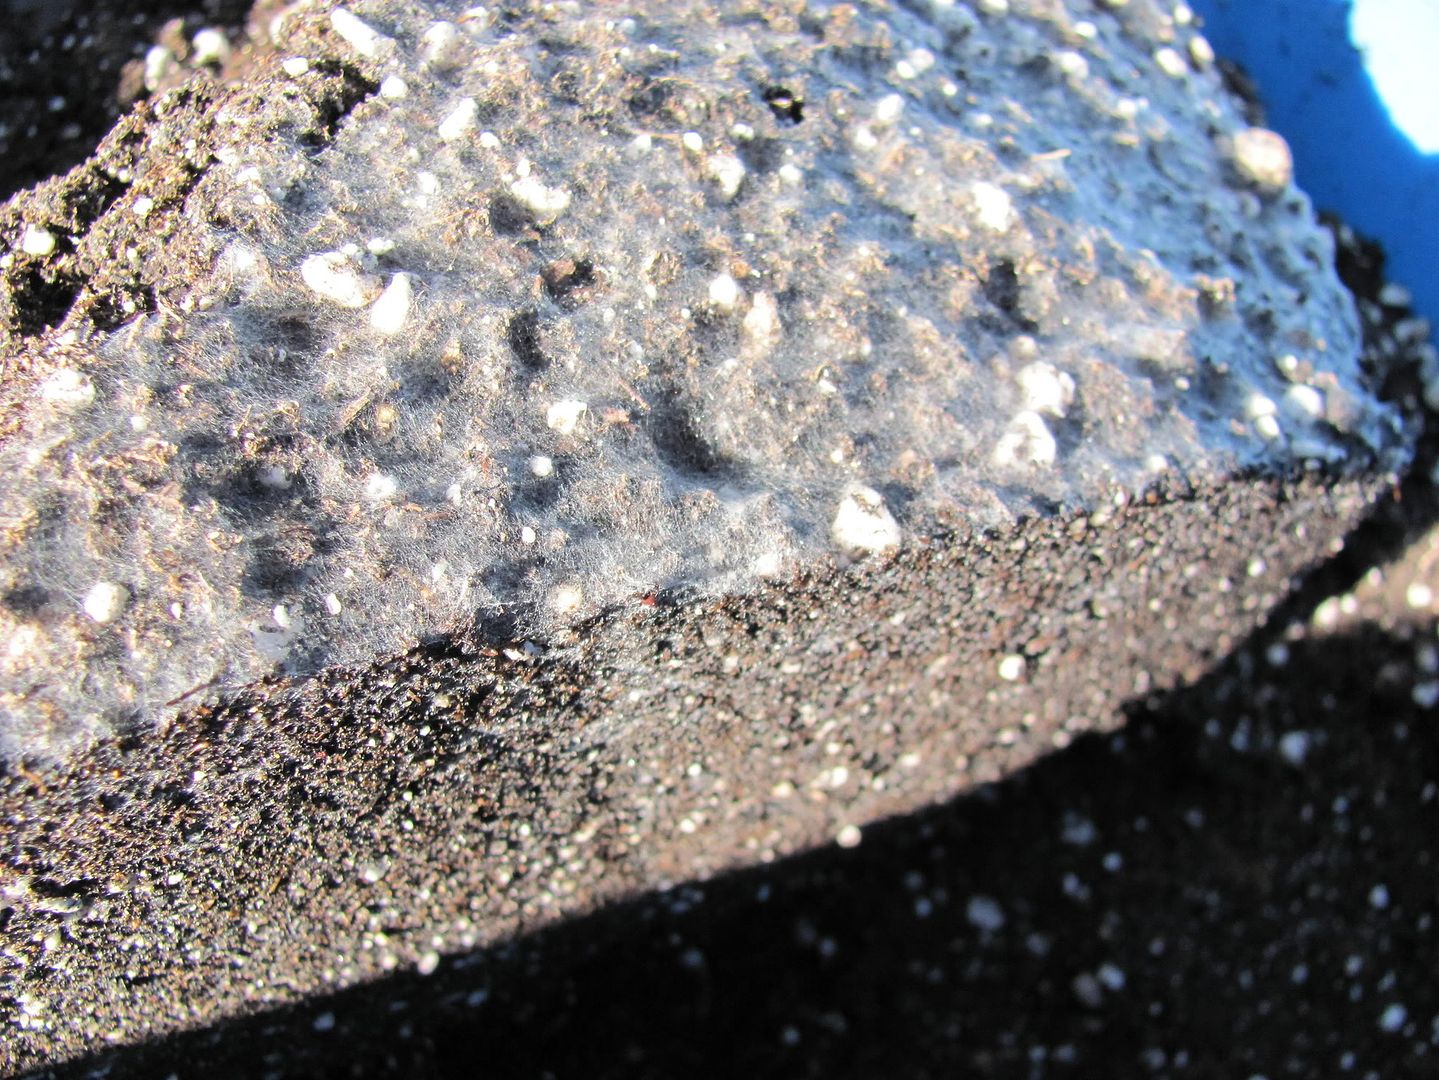
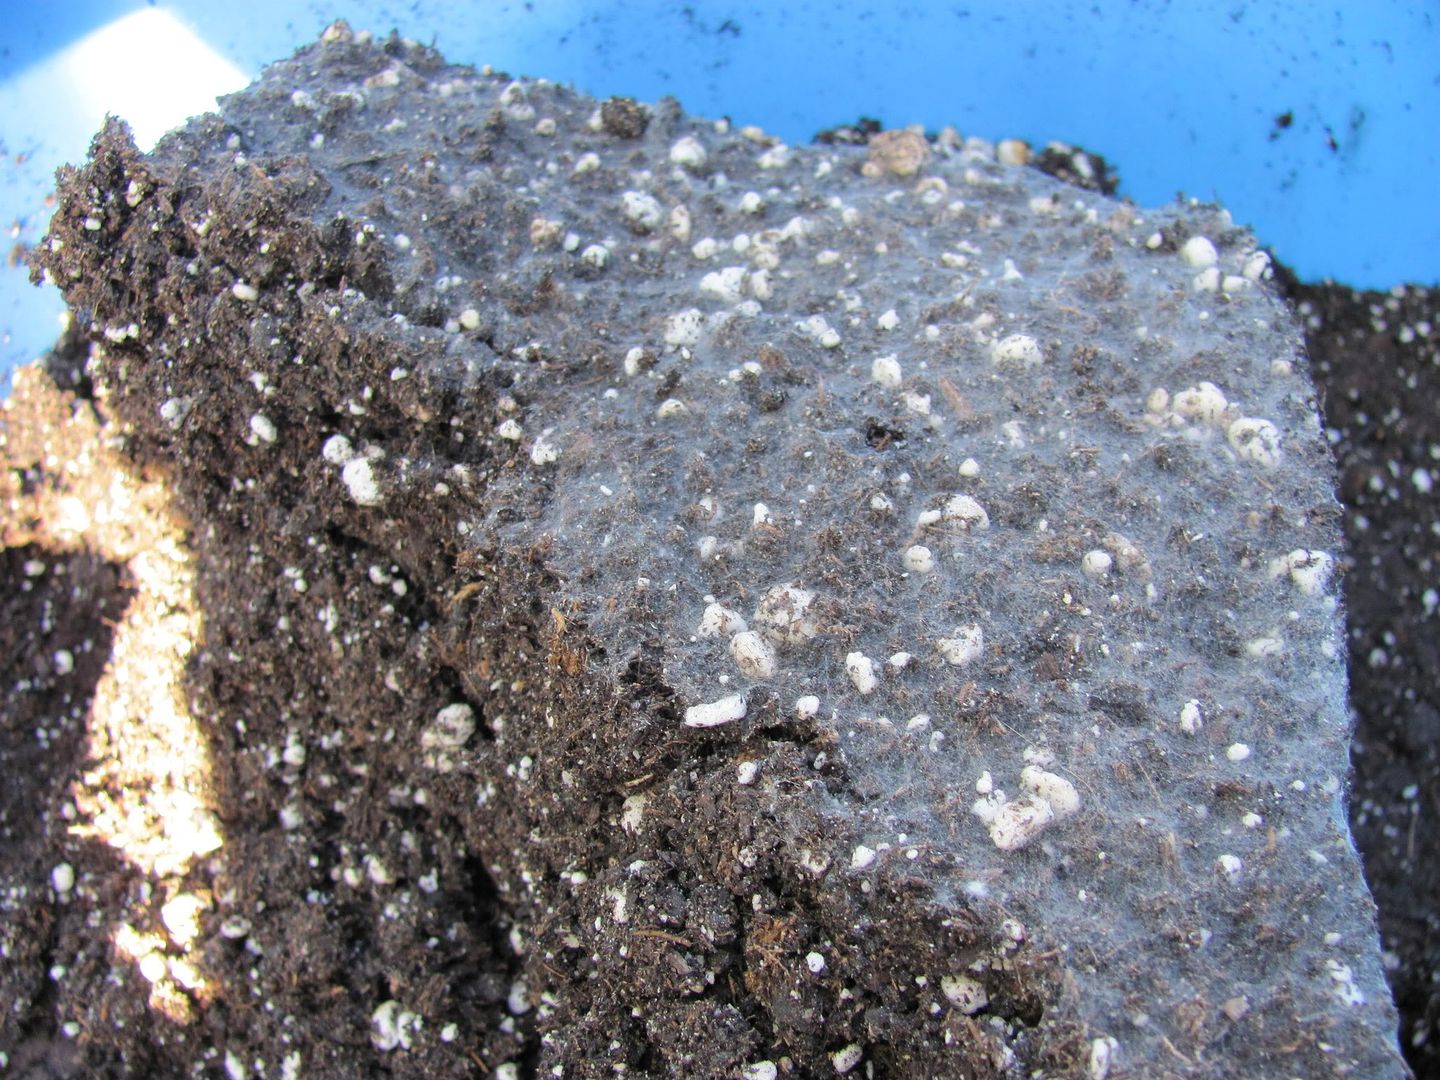
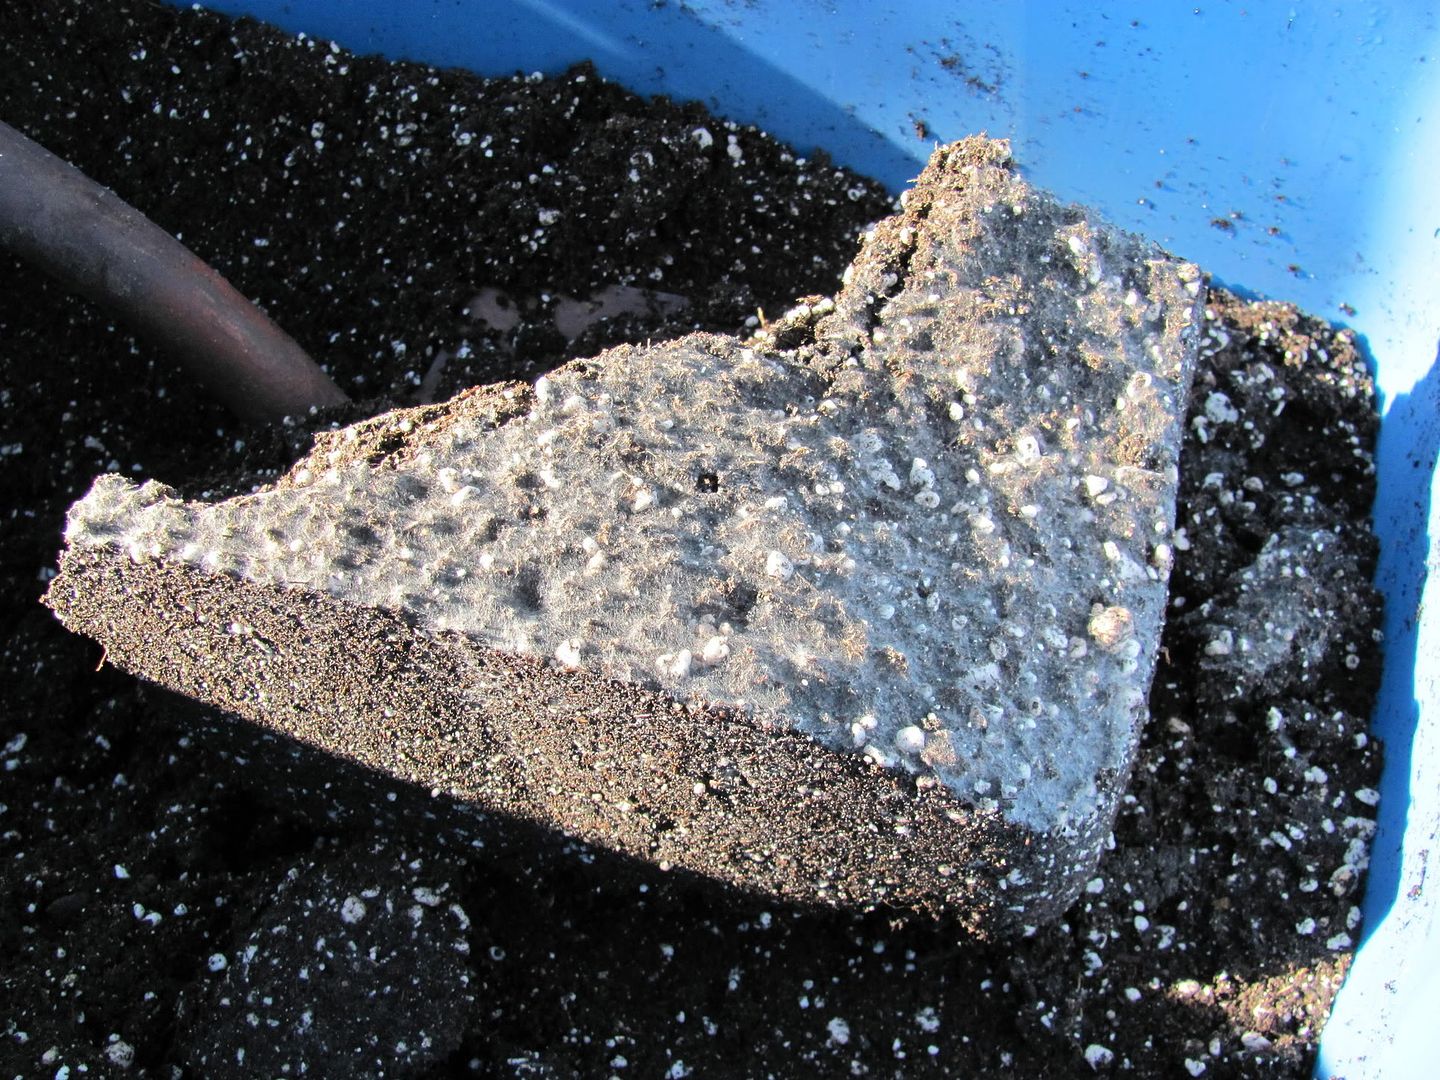
Those pics of the super soil micro organisms is what I like to call some top notch mycelium porn. Your babies are gonna luv those micro beneficials. My friends are kicking themselves in the ass for not following my advice on the super soil. I gave them the recipe but they did nothing with it... I guess you can lead a horse to a water source but can't make em drink it. My plants look like they are @ least a couple of weeks more mature in growth as they are @ least a foot taller than my friend's babies. Are you planning to use that whole nutrient line in combination with your super soil? Up to this point all I have tried is super soil with atami's bloombastic PK booster.


 Maybe it's the new nutrient line you are using...
my friend is having great success in supporting a bulky/tall strain that can't support it's own weight by using the lollipop technique. I'm sure you heard of this technique where you clip the bottom branches that will typically become little insignificant popcorn nugs that are the very antonym of what we consider "bag appeal". The strain is TGA's JTR (JACK THE RIPPER) which is an 8 week flowering sativa dominant haze strain that grows very tall. He'll veg a little over a month in soil in 1-2 gallon pots and the JTR will typically grow about 2-3'. He'll trim about a foot of the bottom branches off the main stem and replant into a bigger pot. In doing so, he will submerge the de-branched 1' part of the stem in soil and switch to a flowering cycle. The first two week stretch during flowering should compensate for the loss of vertical stature from burying the lollipoped portion of the lady. In a side by side comparison of a lollipop/burried vs a lollipoped plant from the same mother showed that the lollipop/burried plant had more structural integrity as it had a lower center of gravity. I have seen how tall this strain can get and he keeps it under 3.5' by using this method. The result is a prime cola warhead on a short bushy plant that is genetically suppose to be tall and lenky.
If you are trying to avoid SCROG... I have been reading a lot about this technique called defoliation. You are suppose to start in veg but I didn't have the privilage of reading this article until flower. My babies were healthy enough to afford a haircut IMO so I did it and I really like the results. It goes against everything I read because you defoliate fan leaves (the factory/warehouse of plant energy). I wish I had a digital camera to show and not tell you b/c my bottom branches are reaching towards the light in a fashion that I have never seen before. It looks like this technique will increase yield if your not too chicken shit to take a risk of trying something new. Here is the article if your interested. https://www.icmag.com/ic/showthread.php?t=174163
And about those brown roots... liquid karma has a tendency to stain roots but you stopped using that a long time ago. I'm curious to know if that stain ever washes out of your roots if you stop using LK for an extended amount of time like you did...
I guess we will find out once you pull your HS.