
This will be an ongoing journey exploring different styles to achieve the same goal that we all seek.
To start things off I will share the techniques I like to use for organic soil as well as coco coir. I need to look through some of the pictures I have been taking but until then here are a few to enjoy. The next post will include more detail. I like to keep things as simple and affordable as possible without sacrificing quality.
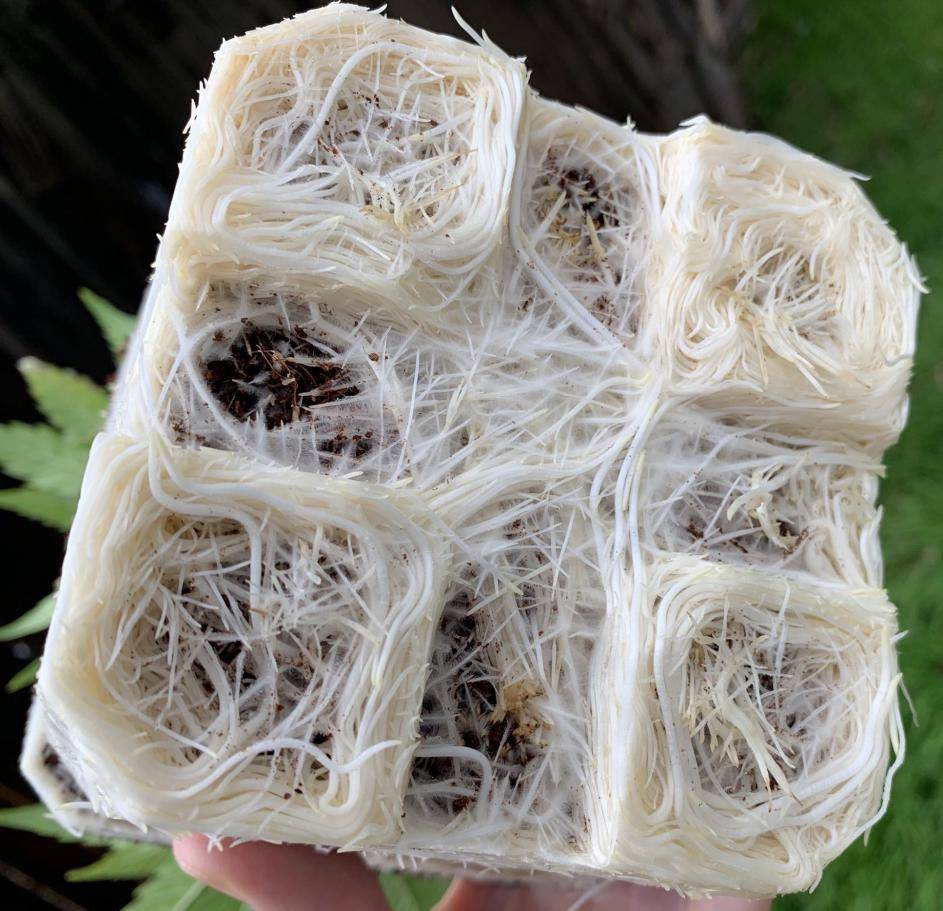
Coco Coir
Coco Coir
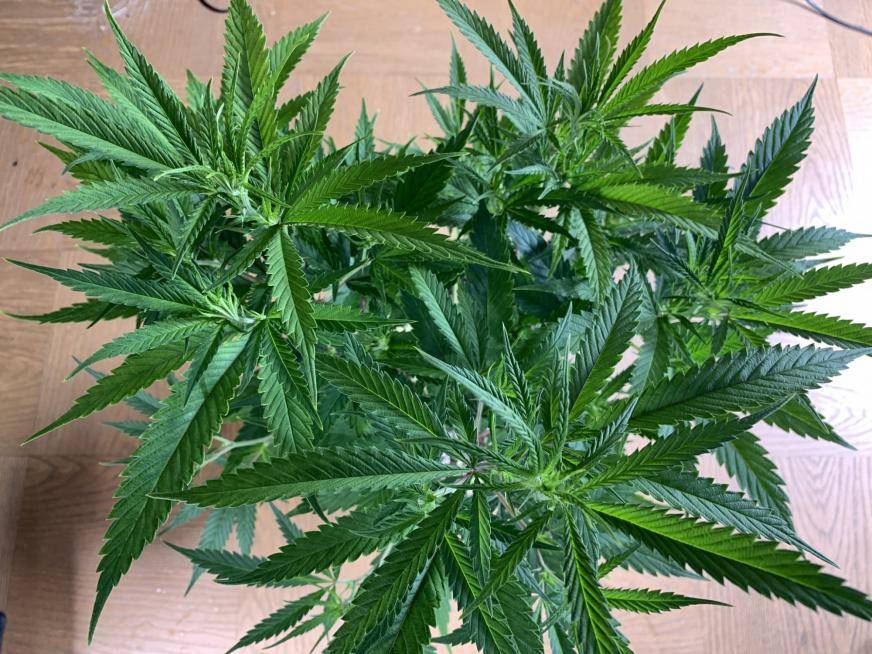
Soil
To start things off I will share the techniques I like to use for organic soil as well as coco coir. I need to look through some of the pictures I have been taking but until then here are a few to enjoy. The next post will include more detail. I like to keep things as simple and affordable as possible without sacrificing quality.
Coco Coir
Coco Coir
Soil
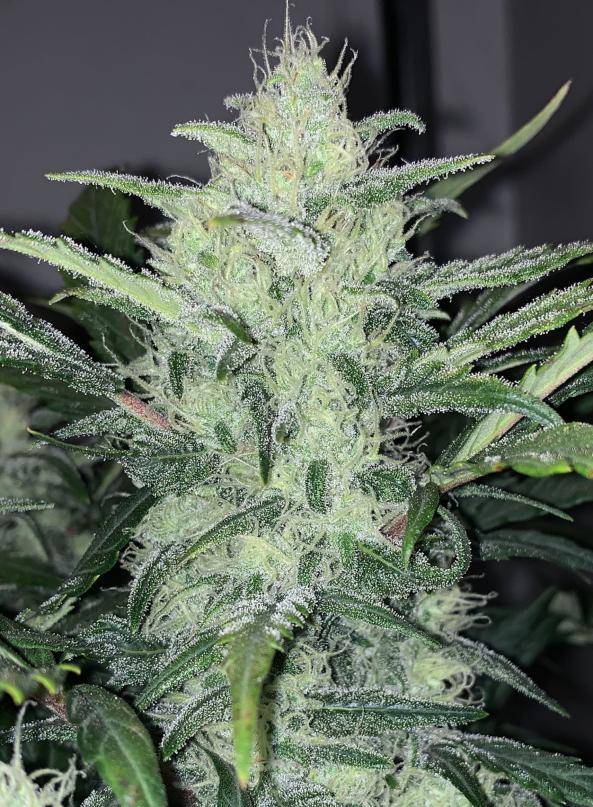
 When growing organic I like to stick purely to dry amendments as a nutrient source. It is simple and very easy. When using dry amendments you shouldn't have to use anything else except for plain water.

 harvesting your own kelp and making compost is a good way to start
")
 Thank you!

