
-
Hello ICmag-Community!
Today i wanna show you my
DoItYourself Aero-System
The system mentioned in this thread is dimensioned for a grow-area that is illuminated by a 600 watt bulb.
Depending which strains you are intending to grow you can change the lids of the system to provide different space-needs of different genetics.
-
Furthermore this system can be easily converted into 4 single independent-supplied mono-runs with 4 pumps for genetic-specified nutrition.
just to be mentioned:
This system is NOt a "true-aero" system;
what means this one is working with low-pressure misters.
---------------------------------------------------------------------------------------
Okay let´s start, basically it is very easy:
l
l
l
l
V
Hello ICmag-Community!
Today i wanna show you my
DoItYourself Aero-System
The system mentioned in this thread is dimensioned for a grow-area that is illuminated by a 600 watt bulb.
Depending which strains you are intending to grow you can change the lids of the system to provide different space-needs of different genetics.
-
Furthermore this system can be easily converted into 4 single independent-supplied mono-runs with 4 pumps for genetic-specified nutrition.
just to be mentioned:
This system is NOt a "true-aero" system;
what means this one is working with low-pressure misters.
---------------------------------------------------------------------------------------
Okay let´s start, basically it is very easy:
so, what you need for such a system:
Required components:
Required components:
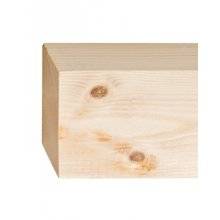
- Wooden beams
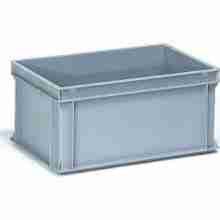
- 4 Plasticboxes
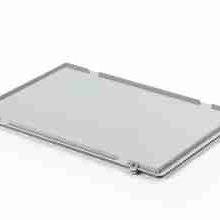
- 4 lids
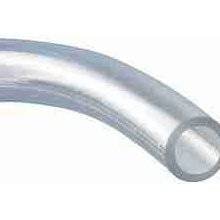
- transparent hose
l
l
l
l
V
Last edited:
")

