
singularity
Member
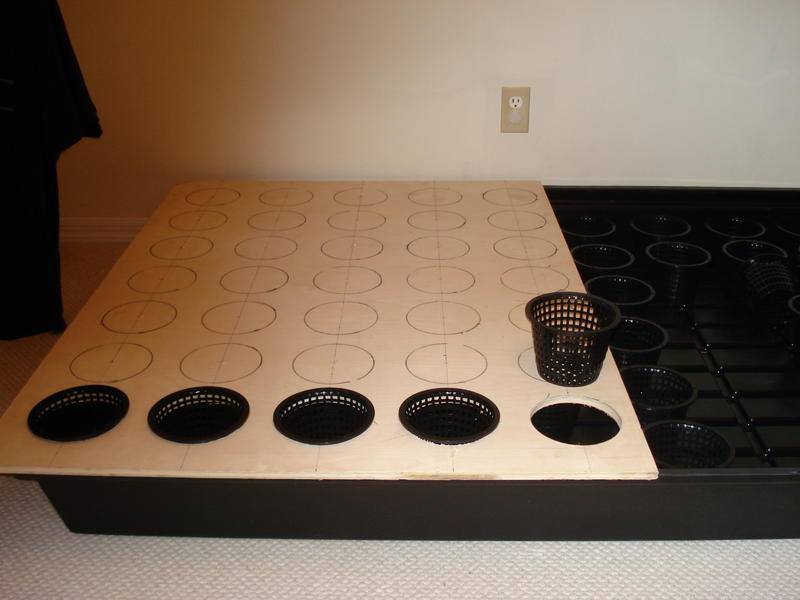
been working on the these tubs for a while. hardest part was finding something non toxic to waterproof the lids i fabricated out of 1/2'' birch. after numerous venues, a 2-part epoxy properly cured works marvelously, and should last almost a lifetime.
i cut the 4x8' sheet in half for 2 4x4' sections that would have 16 5.5'' sites per piece. these lids would then sit over a shallow hydro tub with a 1-2'' gap from the bottom of the net pots to the tub. i wanted these system to be as versatile as dwc is in regards to allowed temps(70f-90f) and the efficiency of a rdwc system without root rot issues running multiple sites. using a 1k hps per 4x4' swc tub for a total of 4k in the flower room. decided on 16 sites; figure at least 1 ounce per site, the worst i could do is 1lb per light, even though im sure final weight will be much better.
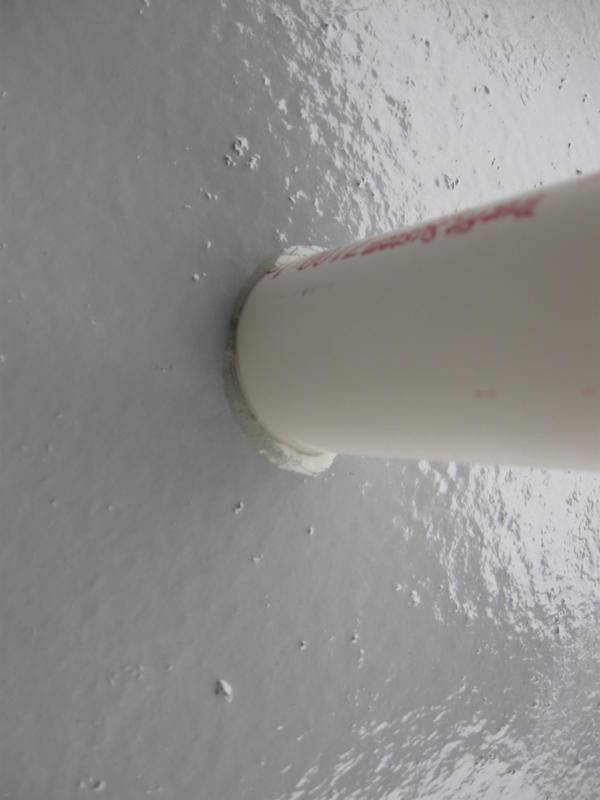
after drilling the holes in each section, i sanded the cuts baby smooth, as this would be a point of contact that any water intrusion would ruin the lid. painted first couple of coats with latex acrylic, both sides, then for the wet side down i used 2 coats of the epoxy. then i braced the lid with pvc pipe accordingly. all too familiar with buckling with big plants. wanted this system to be as simple and pain free as possible.
each tub holds around 50-60 gallons, and will be heated by a 200w heater and 2 60g air pumps. water temps will be a constant 78f. running kali mist, white russian, ELE(ak47 pheno), serious 4 & serious 6, and double dutch.
here are 2 lids finished.
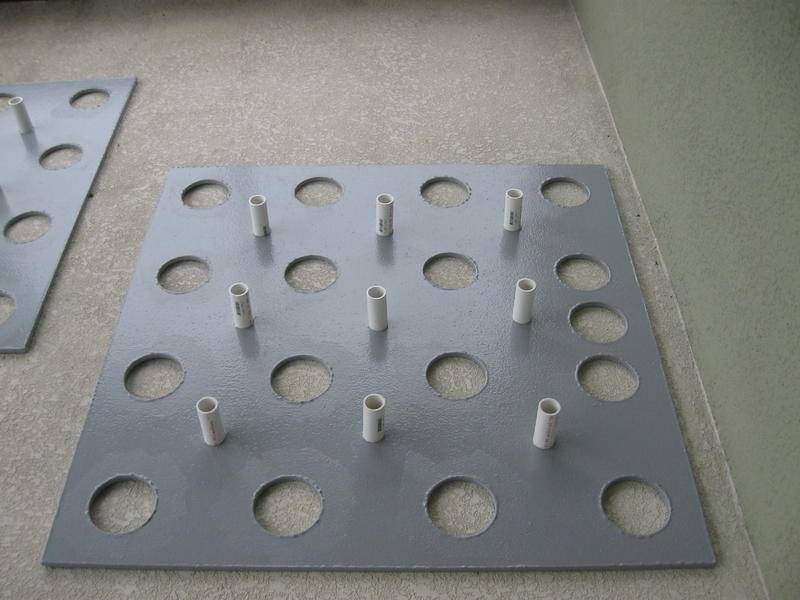
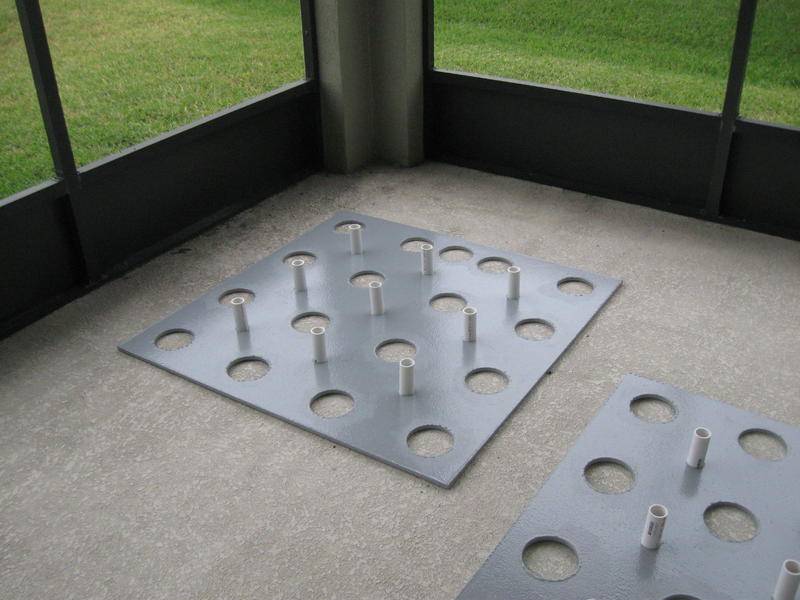
used epoxy glue for the braces. strong stuff, i can pick up the entire lid by a piece of brace and trying to shake it off- it doesnt even budge.
i cut the 4x8' sheet in half for 2 4x4' sections that would have 16 5.5'' sites per piece. these lids would then sit over a shallow hydro tub with a 1-2'' gap from the bottom of the net pots to the tub. i wanted these system to be as versatile as dwc is in regards to allowed temps(70f-90f) and the efficiency of a rdwc system without root rot issues running multiple sites. using a 1k hps per 4x4' swc tub for a total of 4k in the flower room. decided on 16 sites; figure at least 1 ounce per site, the worst i could do is 1lb per light, even though im sure final weight will be much better.
after drilling the holes in each section, i sanded the cuts baby smooth, as this would be a point of contact that any water intrusion would ruin the lid. painted first couple of coats with latex acrylic, both sides, then for the wet side down i used 2 coats of the epoxy. then i braced the lid with pvc pipe accordingly. all too familiar with buckling with big plants. wanted this system to be as simple and pain free as possible.
each tub holds around 50-60 gallons, and will be heated by a 200w heater and 2 60g air pumps. water temps will be a constant 78f. running kali mist, white russian, ELE(ak47 pheno), serious 4 & serious 6, and double dutch.
here are 2 lids finished.
used epoxy glue for the braces. strong stuff, i can pick up the entire lid by a piece of brace and trying to shake it off- it doesnt even budge.

 But I have only thought about it, you actually did Work!
 ") I just hate having to do work twice...
I just hate having to do work twice... 

 love the idea of using the trays i was thinking about doing the same myself but im thinkin rswc might be a better way to go love ur lids mate might look into the same thing not really a fan of the plastic lids had more then enuff netpots fall through when they have weight
