let's see where to begin - it was the best of times, it was the worst of times....
no not a story of two cities but a story of two cabinets that then were three and then back again to two and soon will be none... ashes to ashes, dust to dust, seed to bud, and bud to lung..
so enough of the b.s. let's get down to business... I am starting this thread to document my cabinets and techniques for other growers as I get asked questions often...
a bit over 2 years ago I began building my first grow cabinet since 94 when I tried to build one with a 70 watt hps and a $10 bathroom fan growing bag seed that never worked out....
u2
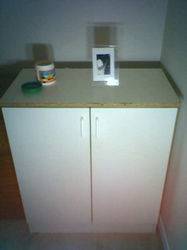
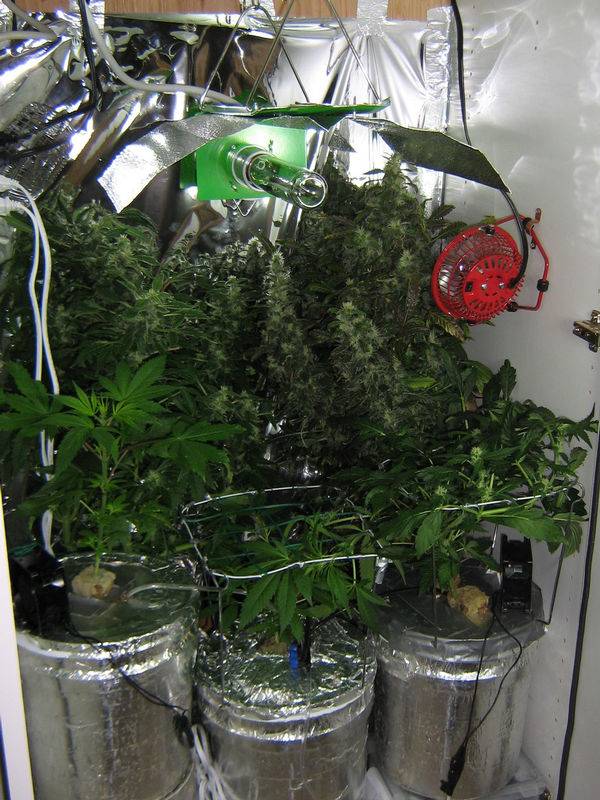
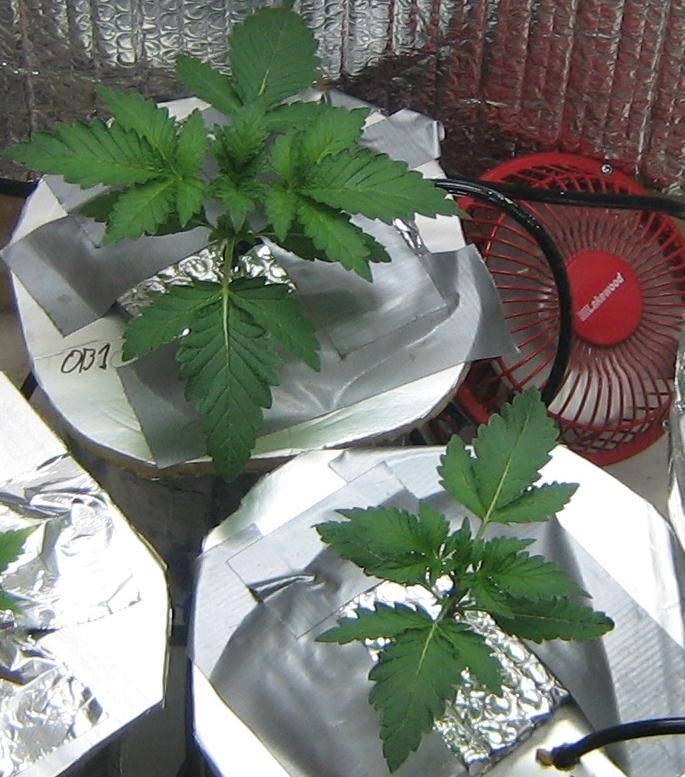
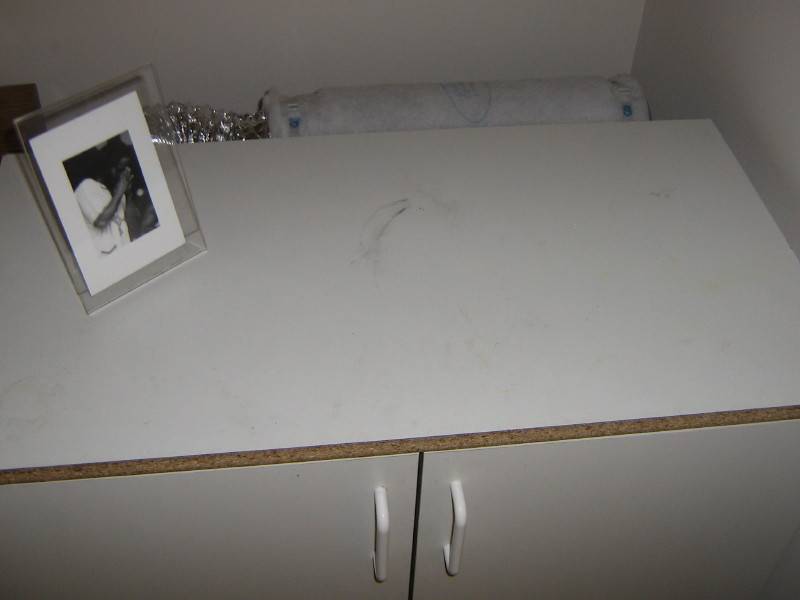
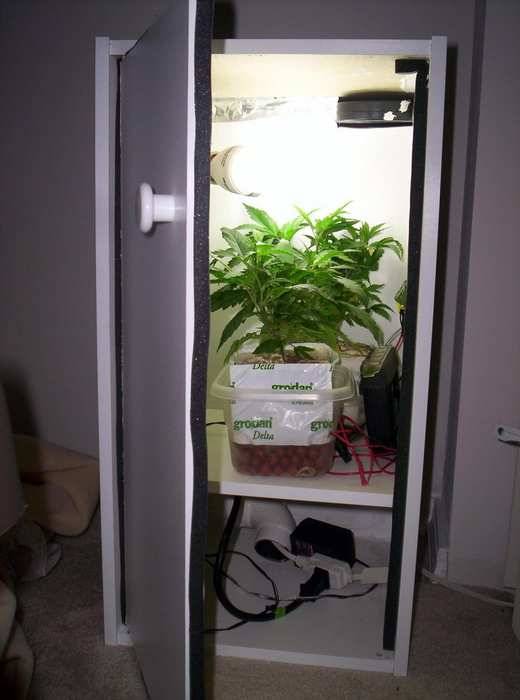
so I started with the millspride u2 cabinet. It is counter height (42") and has two doors. It is your basic double door base cabinet. The interior dimensions are 29" high by 29" wide by 14.5" deep. This is the space for growing and stuff. There is a space under the interior floor (toe kick area) about 6" that is used for intake vents.
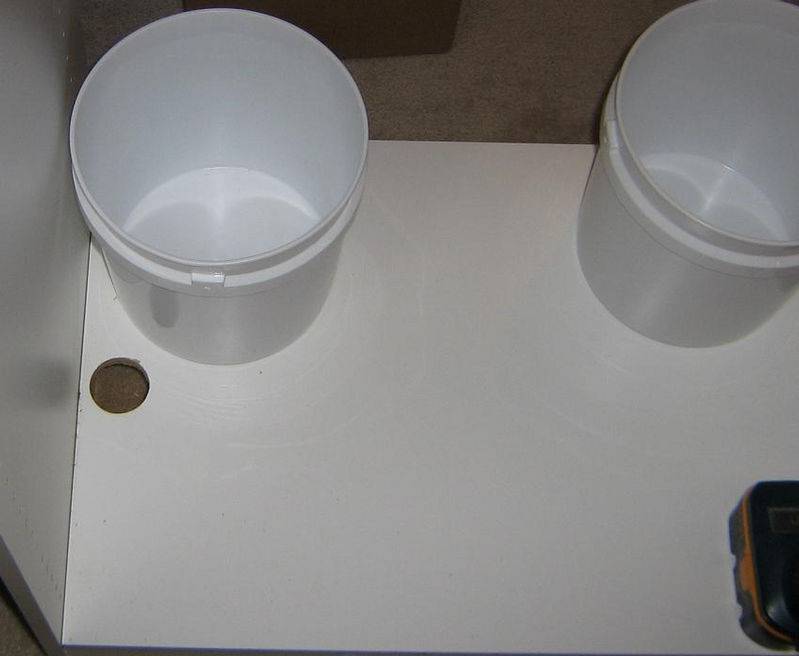
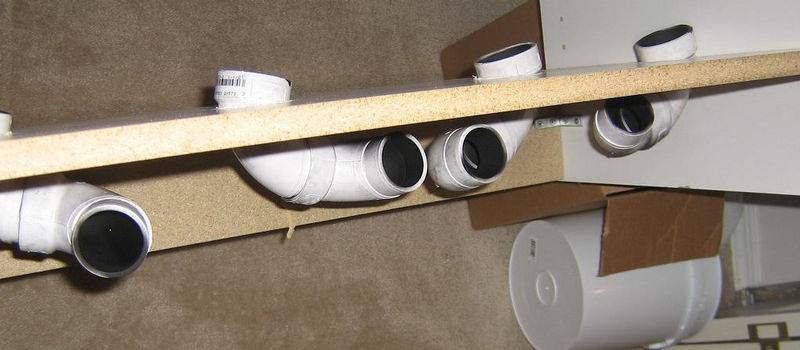
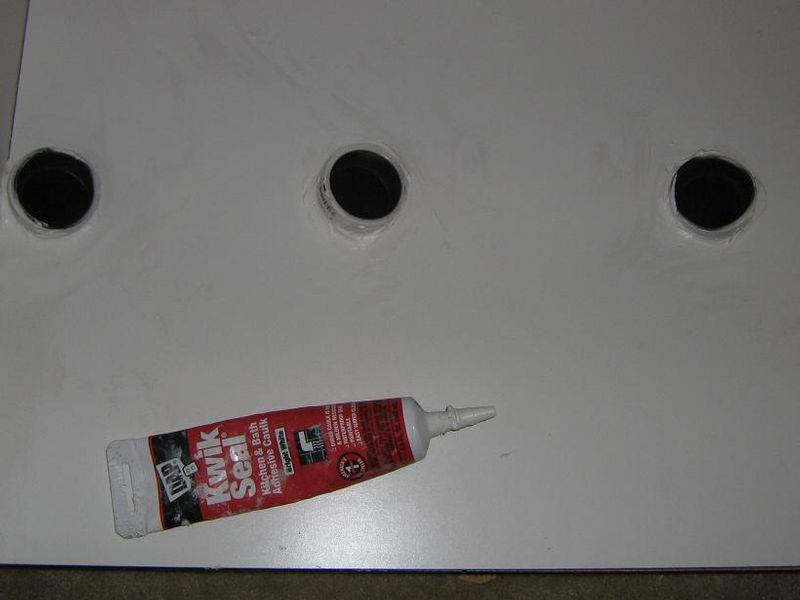
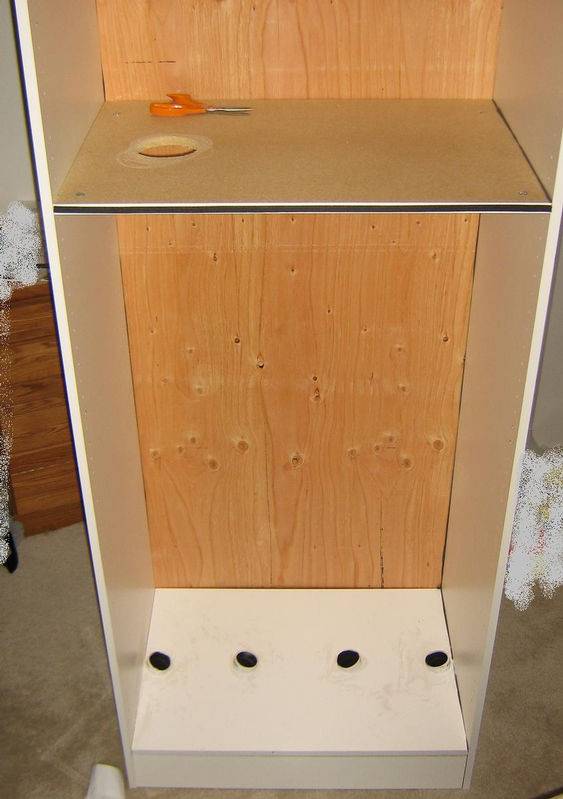
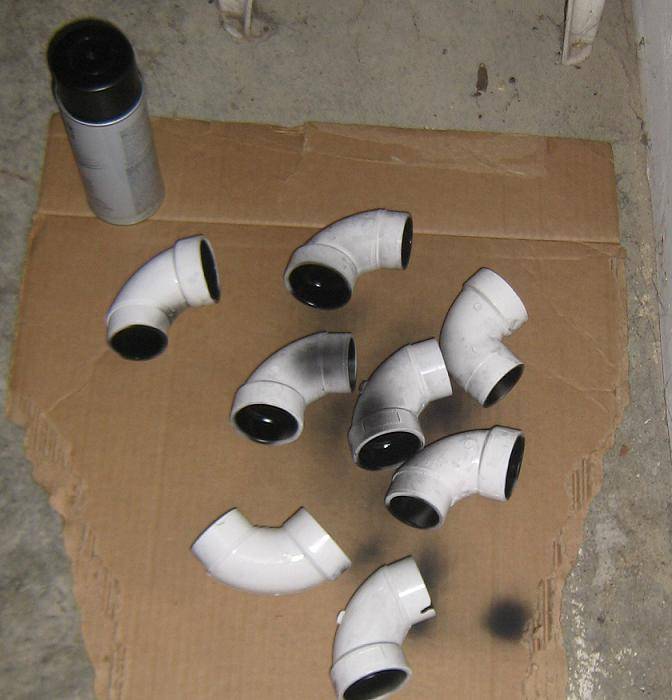
So I used a 2" hole saw to cut three 2" holes in the interior floor of the cabinet, two on the right side and one on the left side. Into the hole I slid a 2" OD 90 degree pvc elbow the interior of which was painted black. Underneath the cabinet a second pvc elbow also painted black inside was inserted into the end of the other pvc elbow. The result as can be seen in the pictures is a light trap but still very free flowing. I originally had air filter material in there but found it unnecassary as the cabinet is in my bedroom and there isn't much concern of junk getting in there. In order to be sure light did not get in there I also cut the piece for the back so that it went down half into the space underneath (see pics). So that is the intakes.

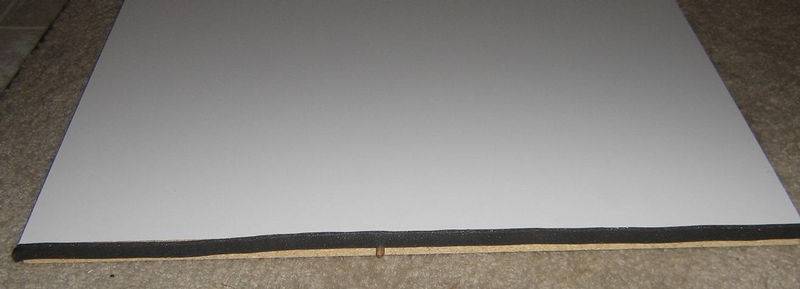
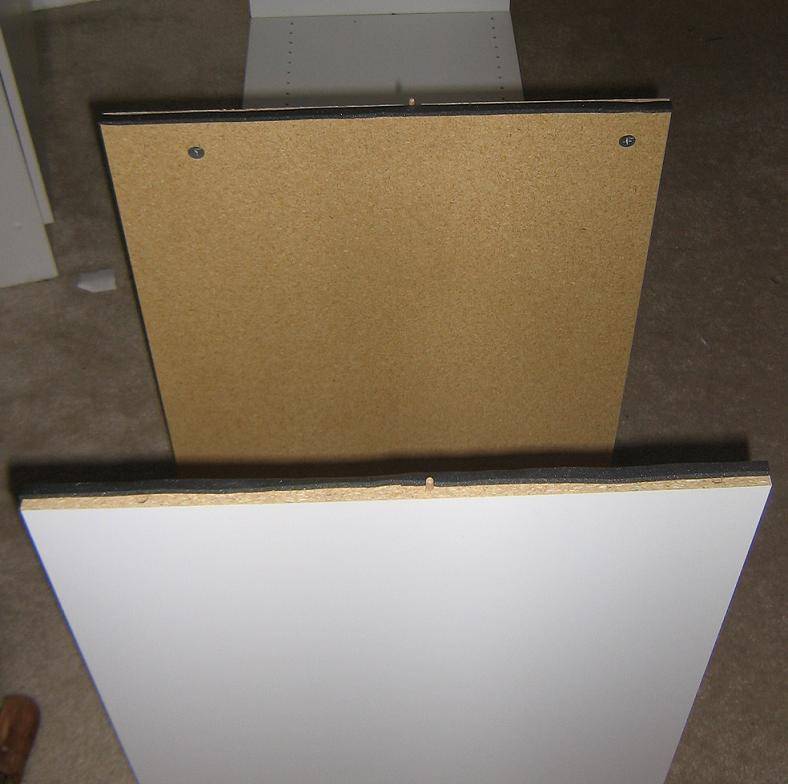
The back is made out of a piece of 1/2" plywood that I had cut at homedepot since they have the big saws capable of doing this. It is a good idea to build the cabinet first and then measure the size of the piece you will need. When attaching always line it up on either side and start at the top in the middle and then one top corner then the other - then down each side alternating from one side to the other as you tighten the screws. Always predrill your holes or else you will split the melamine side of the cabinet when attaching the back. Use 3/4" or 1" number 8 wood screws.
I then sealed around the back with latex caulk and aluminum foil tape where light was leaking...
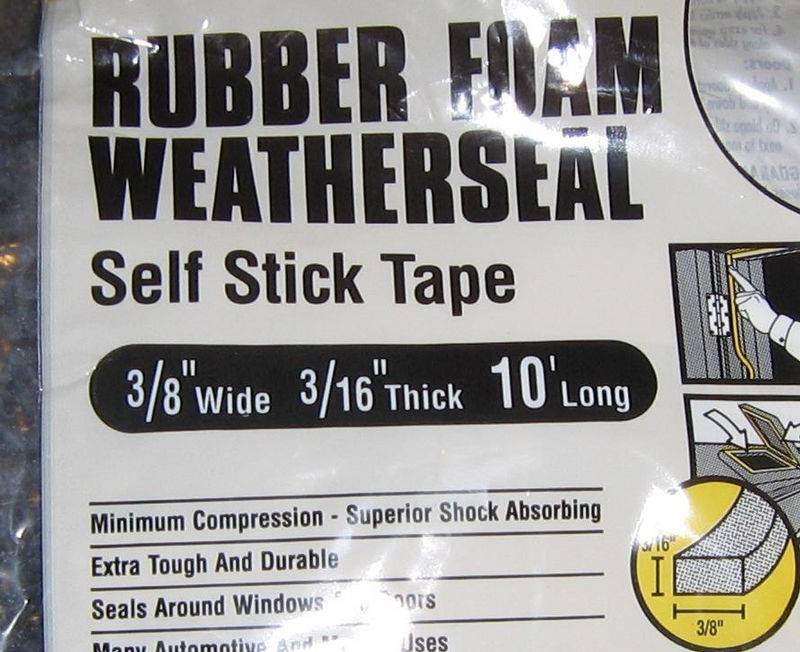
I later learned that it was easiest to use weather stripping between the pieces during assembly. It compressess as you tighten the piece and forms a light/air tight barrior in between the pieces.
The top was a piece of melamine again cut at home depot to fit. It is held on by L brackets and screws through the cross brace of the cabinet.
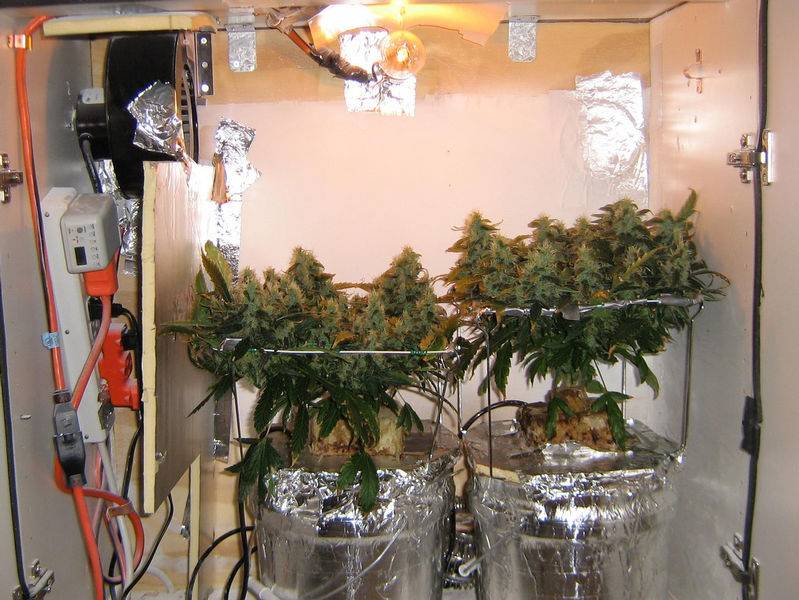
Before I put the top on I cut the hole for the exhaust - it is on the left side of my cabinet and basically is a rectangular hole cut into the top edge of the back. I held the fan up and figured out the position and marked it to cut. Then I mounted the fan. The exhaust fan I used is a 134cfm dayton I got it at graingers for less than $50 usd and it has been running constantly for two years w/o problem. It is the higher rpm model (they have two 134cfm models).
Noise is not too bad - I actually like the white noise it makes - helps me sleep.
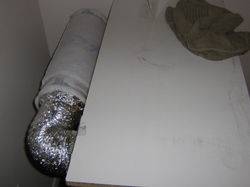
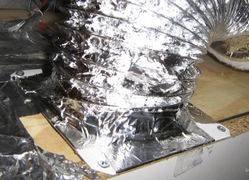
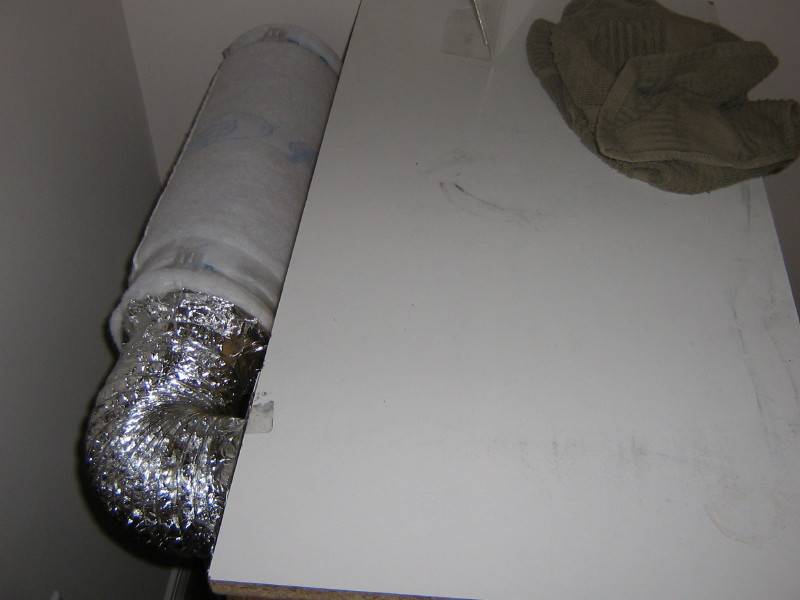
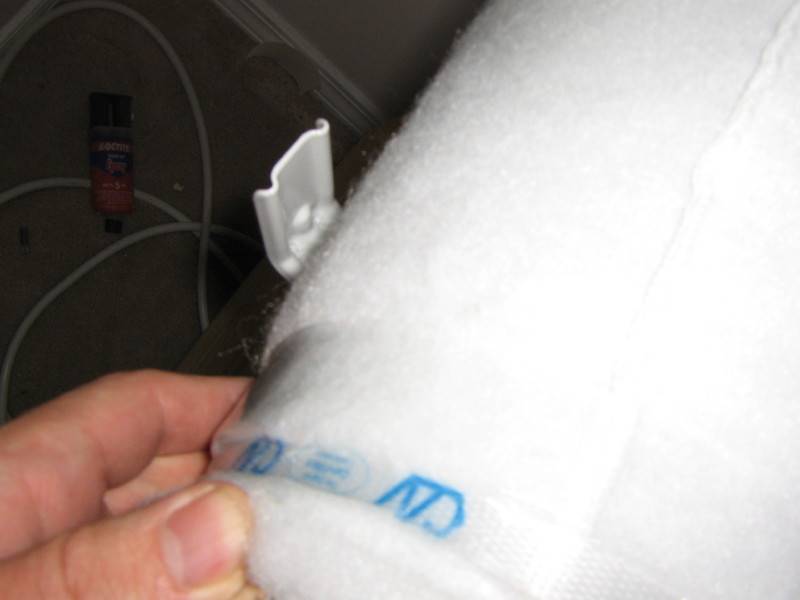
So the fan got mounted and it just pulls air out of the grow space - wide open intake - and blows it out the back. On the back I have a can filter 2600 - which is rated for 94 cfm or something like that. I got it at a hydro store for $59 or so and it has been worth every penny. It is still controlling stinky plant odor after 2 years of constant use. I tried building my own and just found this to be so much better in terms of ease of use, air flow, and odor control. A 4" flange made the attachment to the exhaust hole in the back of the cabinet possible. Standard dryer venting was used which was a mistake as this stuff can leak light - so I ended up covering it with aluminum duct tape - I recommend getting the more expensive stuff which is light proof. The filter is held up by garage bike hooks on the back of the cabinet. Pushing through the filter has worked well for me and it really deadens the fan noise as well. Also for me there wasn't room for the filter inside.


The doors are lined with 3/16" weather stripping so that they seal air tight. When everything is air tight the doors kinda suction together when you close them - this is a good thing - it means the pressure inside is negative and therefore any gap will not leak odor but instead pull air in to the cabinet and out through the filter on the back.
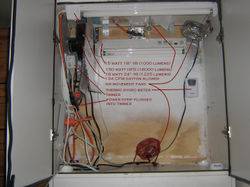
The main lamp is a regents 150 hps. I bought the lamp at Lowes where it is sold as a compact flood lamp. Dissassembly and remoting of the ballast was done using the DIY linked in my signature - back then it was in the OG FAQ and that is where I followed it from. The ballast is cramed inside a 4" square junction box from the electrical isle - and mounted to the back of the cabinet. The cords to the plug and to the lamp go through the back of the cabinet to the plug and the light fixture respectively.
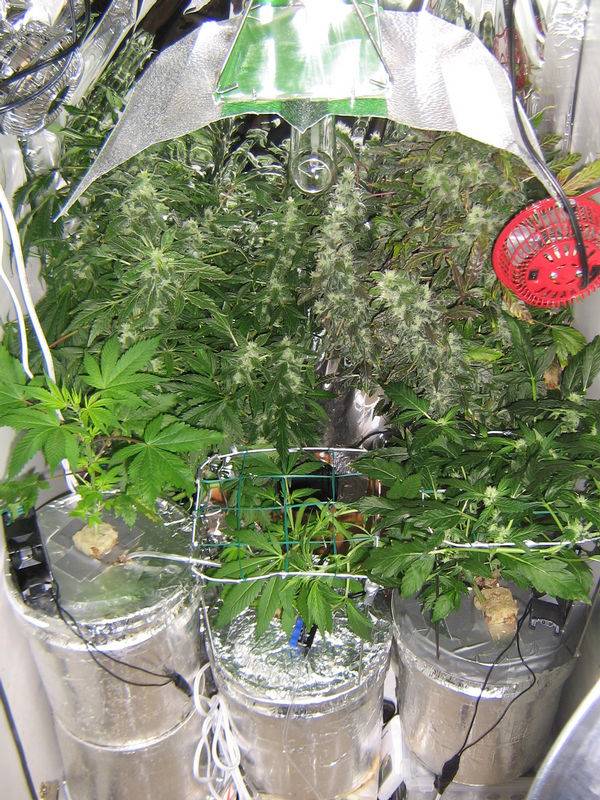
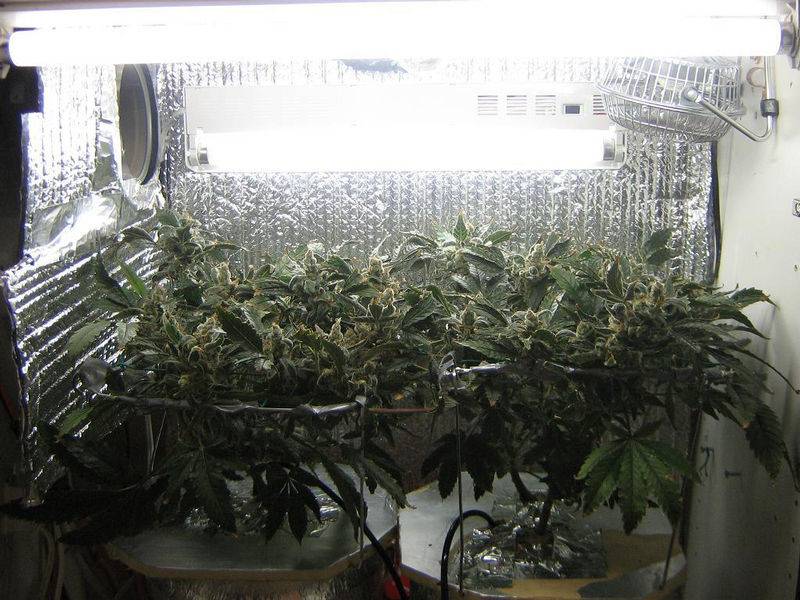
The socket (medium base) was secured to the cieling using a piece of metal from a pipehanger in the plumbing section (has all these holes in it that fit the two screws on the back of the socket). This thing was bent and also screwed to the cieling of the cabinet. A square piece of white aluminum was bent into a bat-wing reflector by hand and screwed into the cieling of the cabinet between the socket and the metal piece.
After much experimenting I found the space to the far left of the cabinet was not suitable for growing as the fan was there - so I positioned the bulb in the middle of the space that was left - which is about 24" - and the bulb stays there. The orientation is perpindicular to the length of the cabinet. This produces the best light distribution. I tried orientating parrallel to the lenght of the cabinet - and I also tried making it moveable up and down on chains - and I even did a cool tube at one point. In the end I found this to be the best and easiest safest solution. Just mounting it up there and leaving it there. If a plant is too far from the lamp I just put something under it to raise it.
I have two power strips in there. The main one has a 15' cord that is run out of the back of the cabinet and comes out from under neath the cabinet. This powers everything. Then I have a second power strip plugged into a digital timer - this powers the lights.
In addition to the 150 hps I have added two t-8 floro lamps that I got at walmart for very cheap. A total of 35 or so additional watts are T-8. I do this for two reasons - to light the darker sides of the cabinet and to help even out the spectrum.
So with this setup temps are pretty well under control and stay within 5 degrees Farhniehiet of the room temperatures. Average highs in the mid 70s and lows in the mid 60s. Luckily for me the room is climate controlled to 68 degrees or cooler year round.
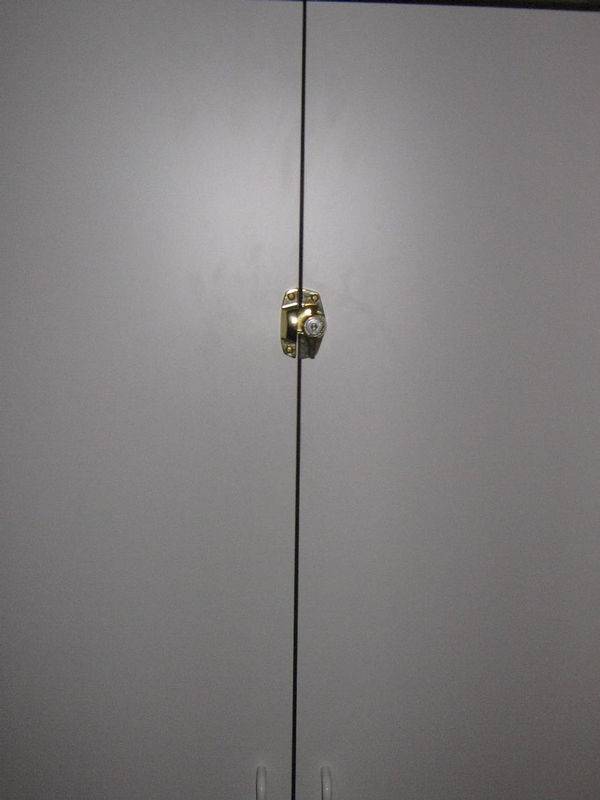
On the front of the cabinet I have placed a keyed window sash lock. More deterent than anything it is brass and doesn't look too out of place on there but does allow one to lock the doors - keeping unwanted eyes out. Well this probably won't prevent a thief intent on ripping your garden or a cop intent on busting you - it may stop a child or a visitor to your home from discovering what is inside which is priceless. (although I did have a thought about what if your landlord came in and saw the cabinet but couldn't open it - then called the cops - and then you got busted - would the warrant stand? I mean they really don't know what is inside since they can't open it ) anyways if you rent or have children it's proably a good idea to throw one of these on your cabinets.
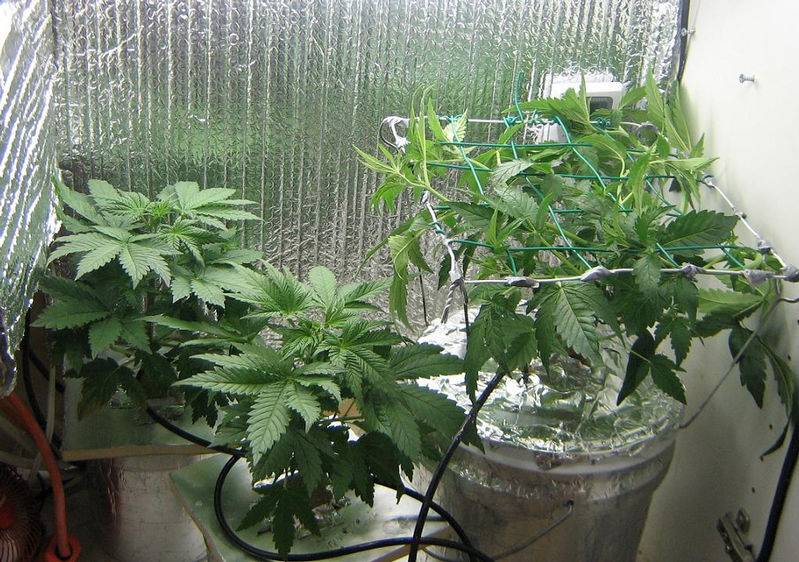
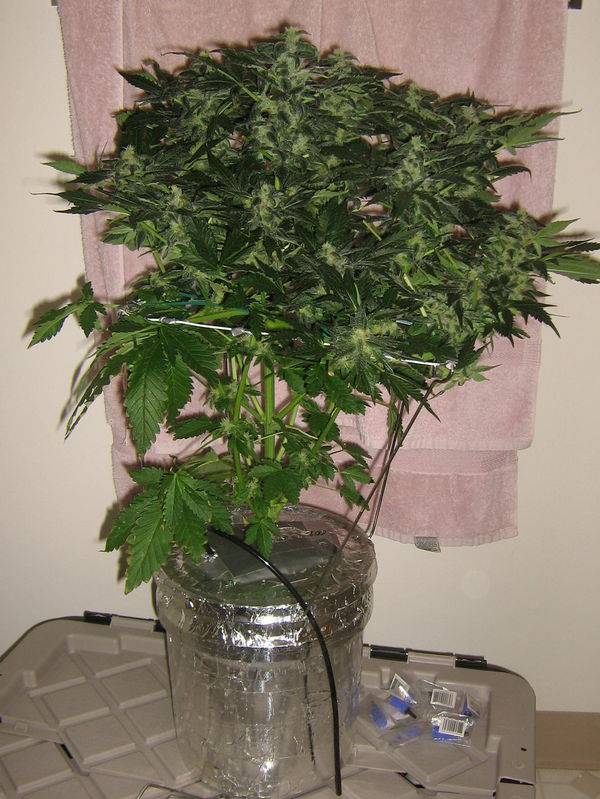
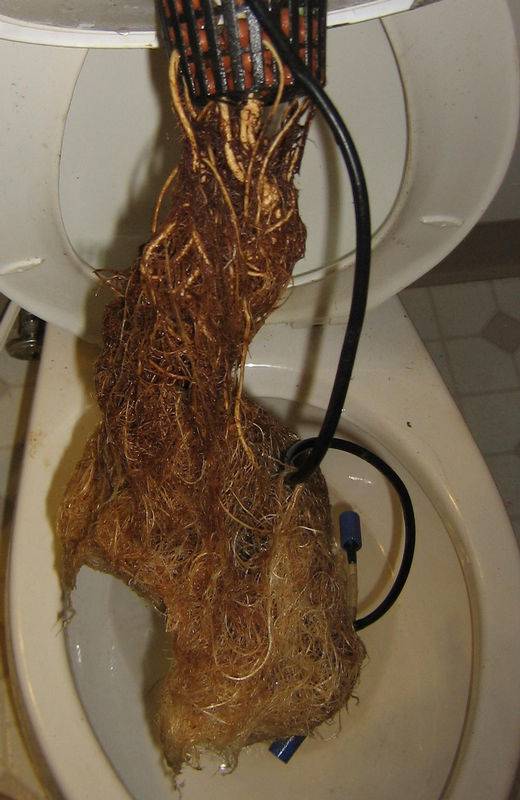
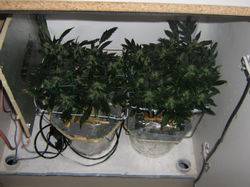
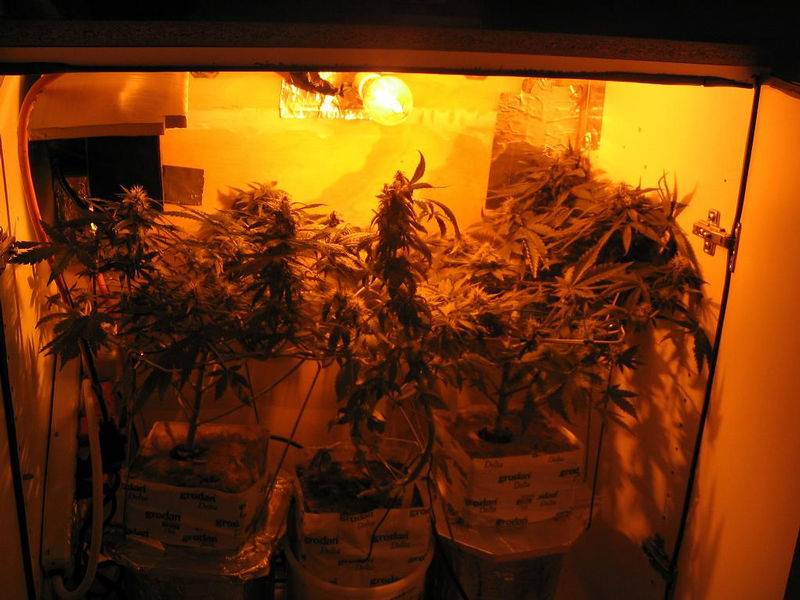
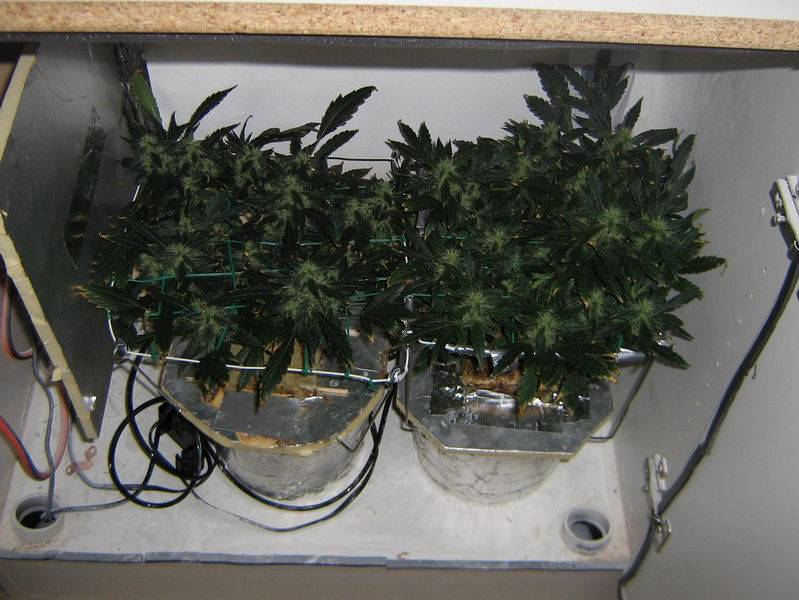
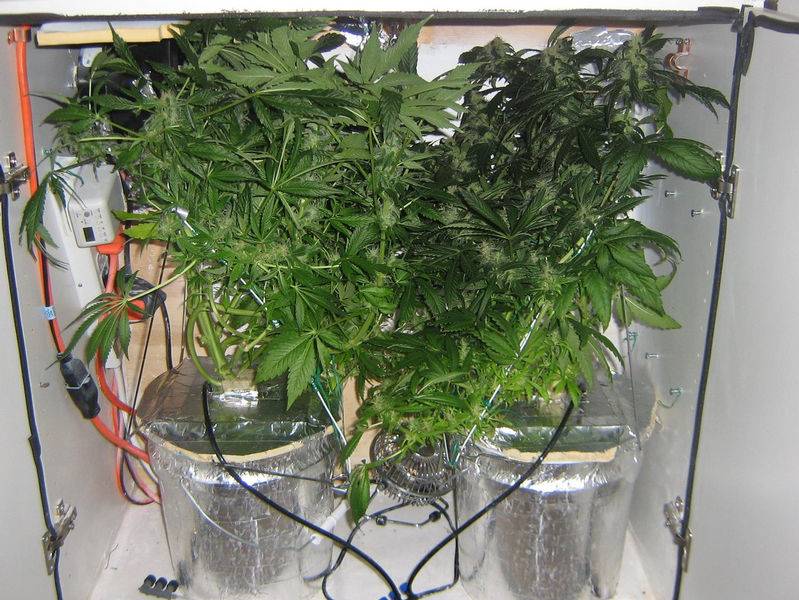
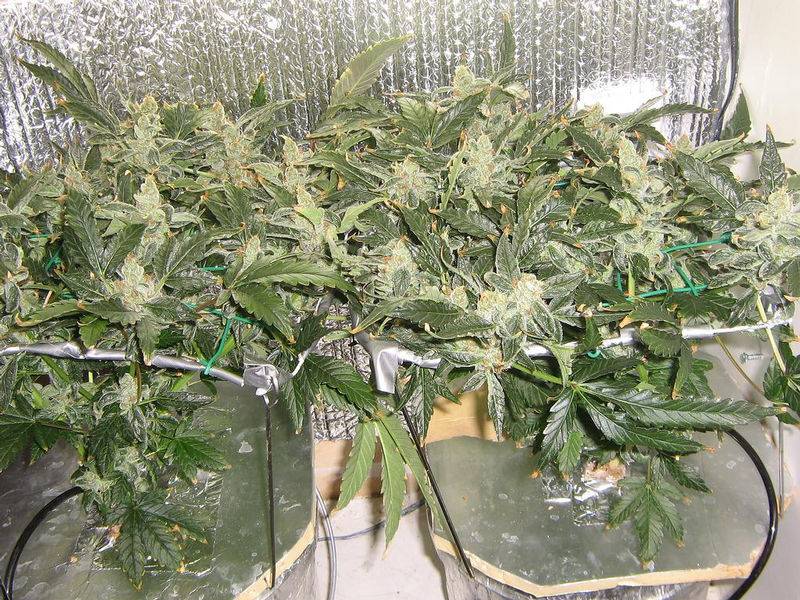
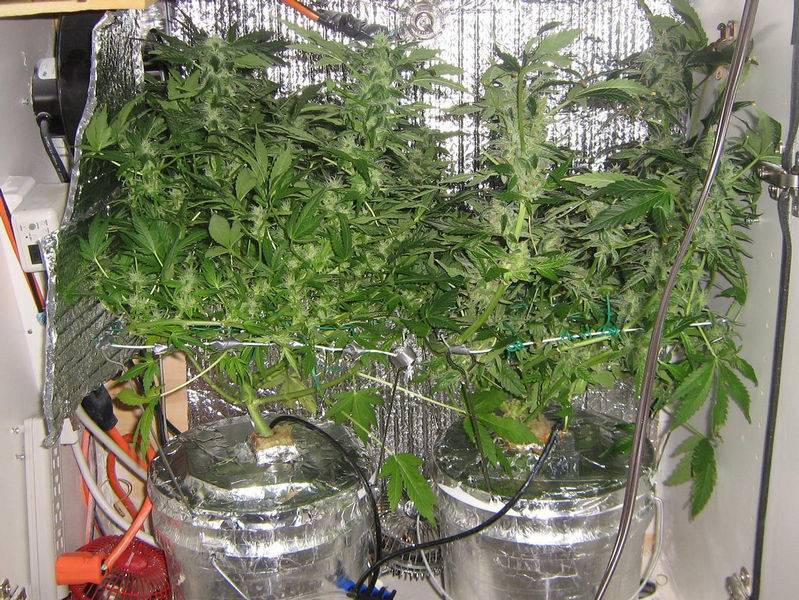
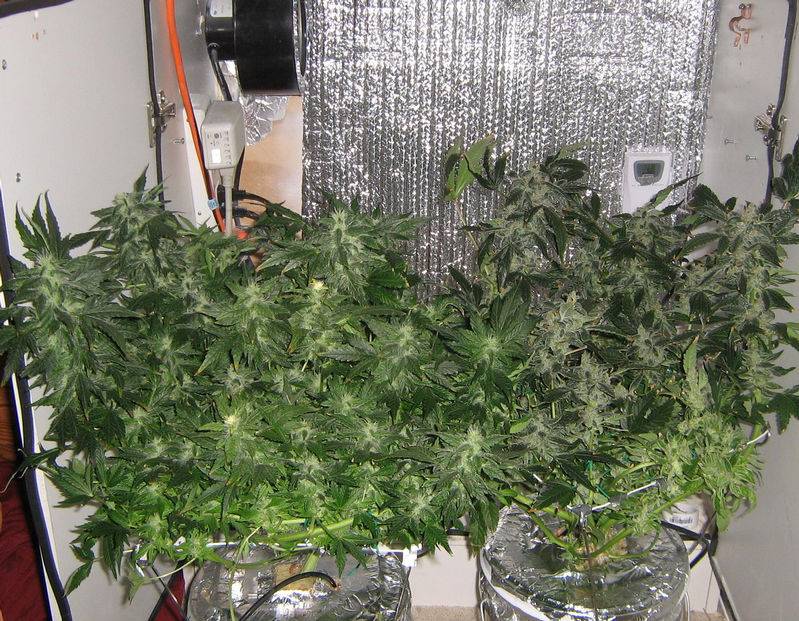
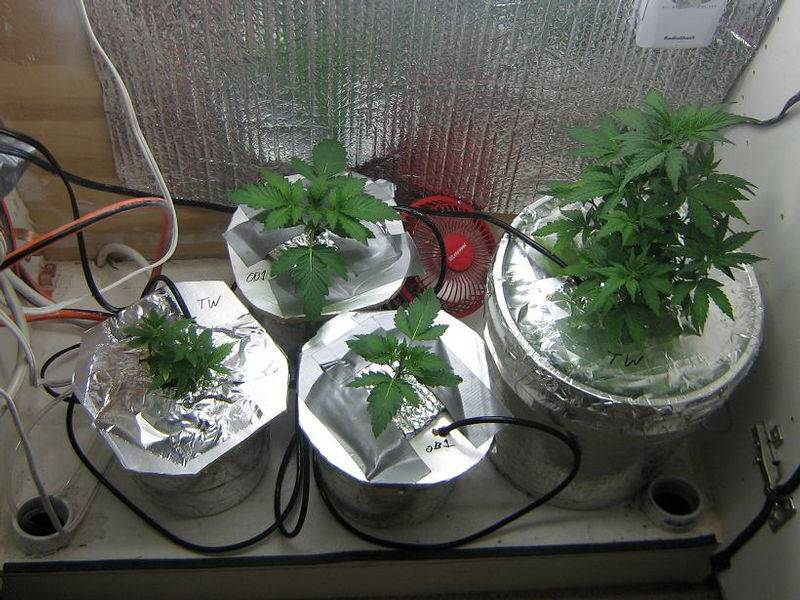
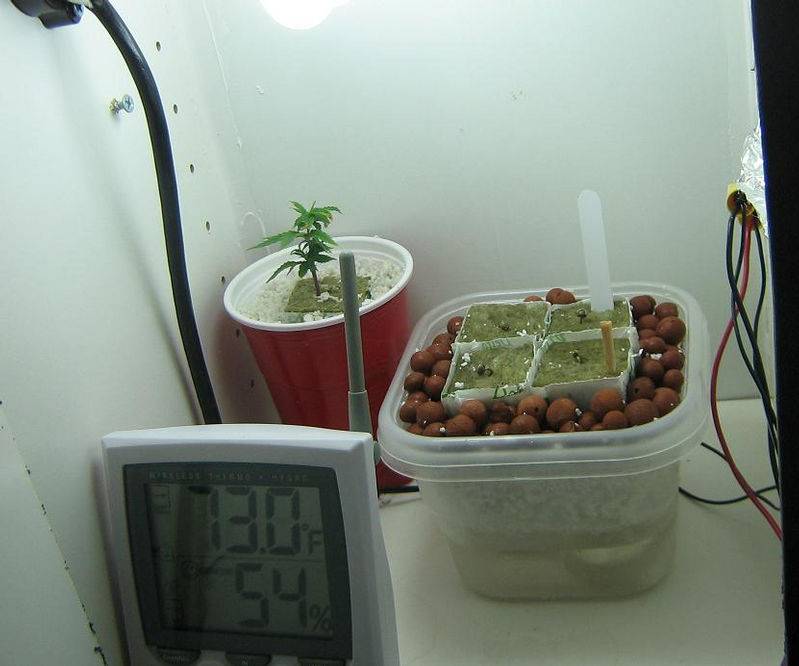
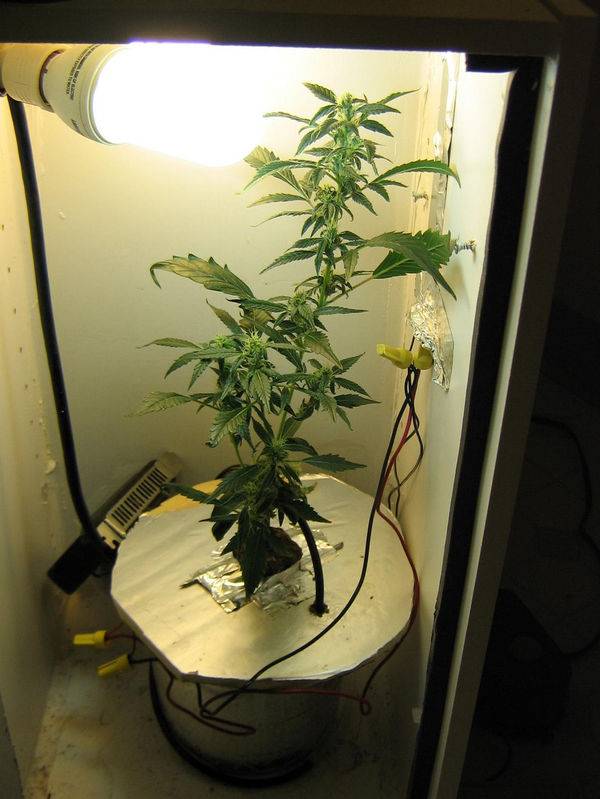
So what does one do with this cabinet. Well I grow DWC hydro. I found that two 2 gallon buckets fit well into the cabinet. Attaching super simple scrog screens I am able to keep the plants under control and have had many successful harvests growing this way. I have also tried a single larger sterilite (aprox 5 gallon) container with two clones and that worked well however was difficult if growing more than one strain at a time.
I like to grow lots of different strains as everything I grow is for my head. I often start new seeds. So I needed a way to fit more plants in there during veg and the first part of flower (until females are known) I found I could do this by using smaller 2.5 quart buckets. This way I can fit 5-6 plants in the cabinet. I can flower them and when I have selected the two females I wish to finish I move them into the 2 gallon bucket and add the scrog. I will go more into detail of how I do this without any transplant stress.
I wanted to note that i keep my air pump outside the cabinet. I like the whisper series of pumps by tetra. I use a single 60 gallon rated one to bubble two big buckets or 5-6 small ones as described above with excellent results. The air line from the pump goes into the cabinet through the intakes and then a manifold in there allows me to connect and disconnect multiple buckets.
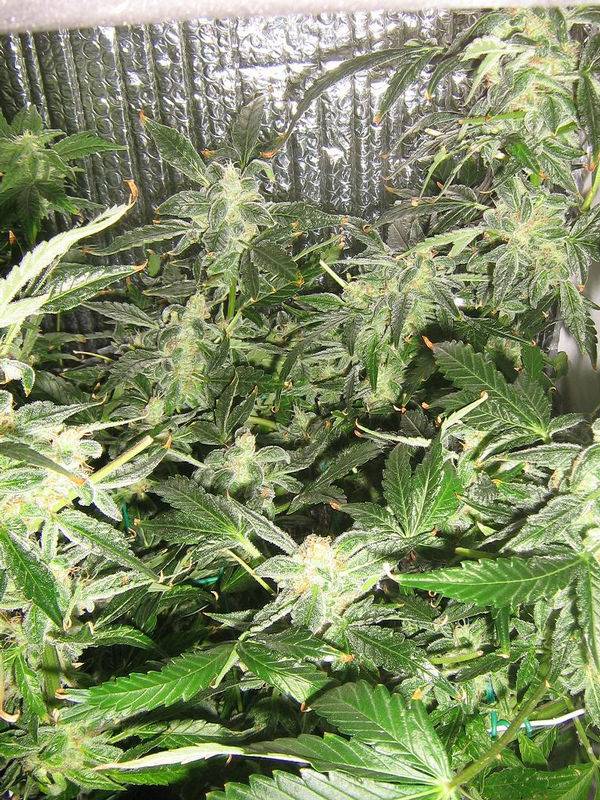
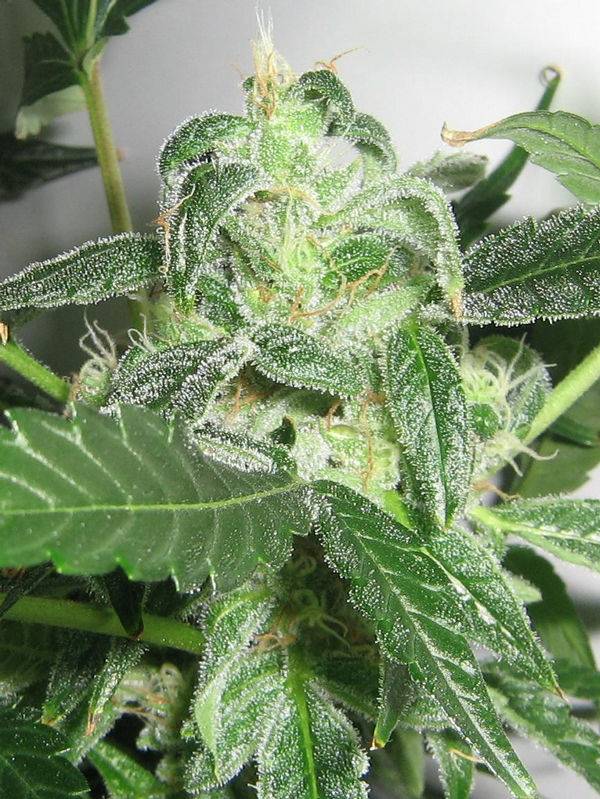
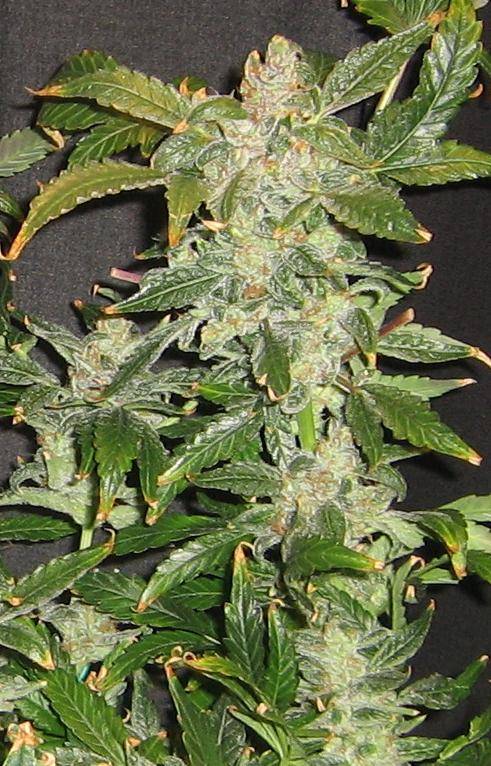
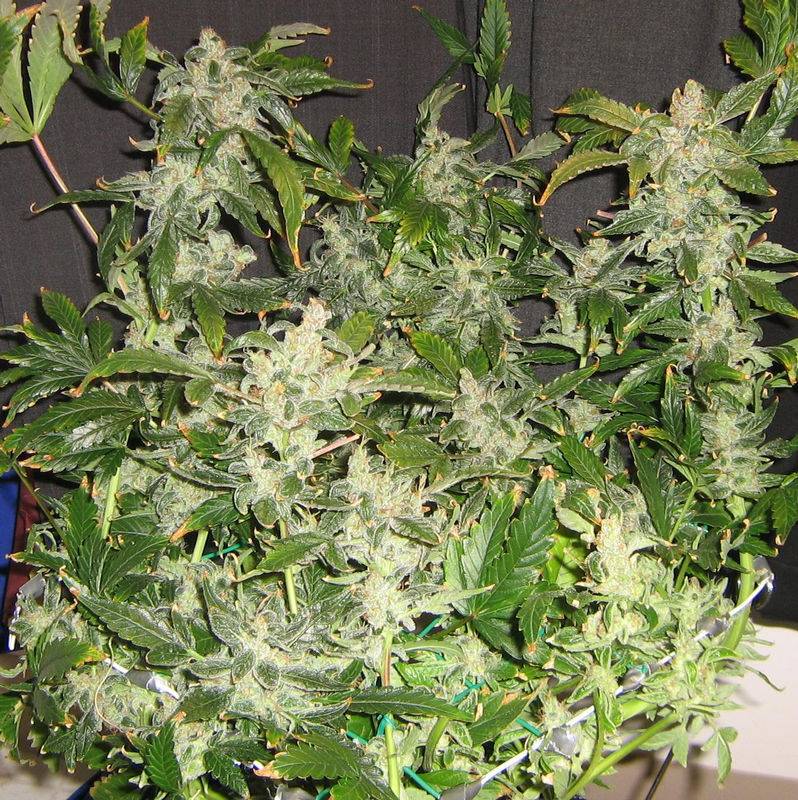
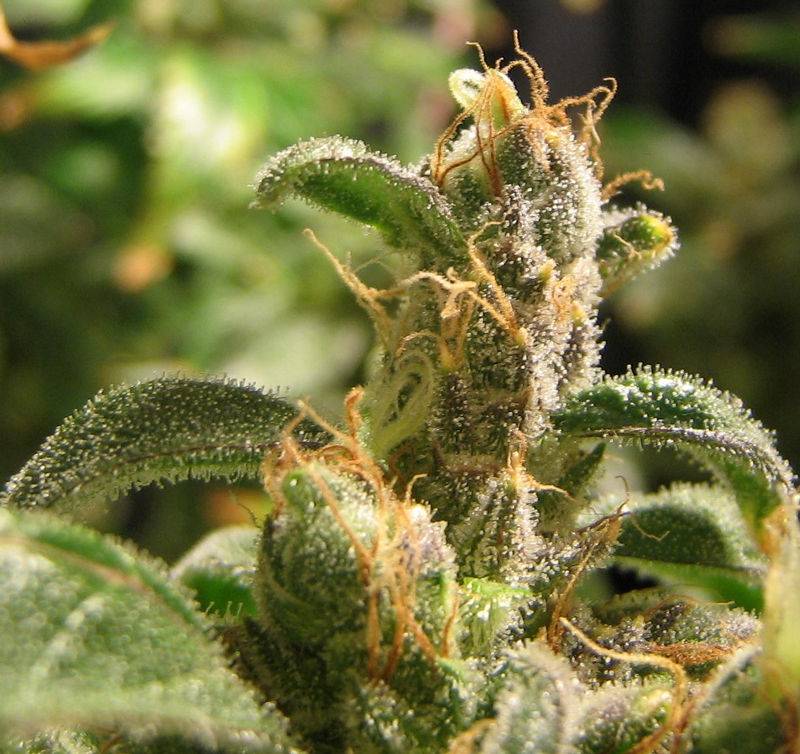
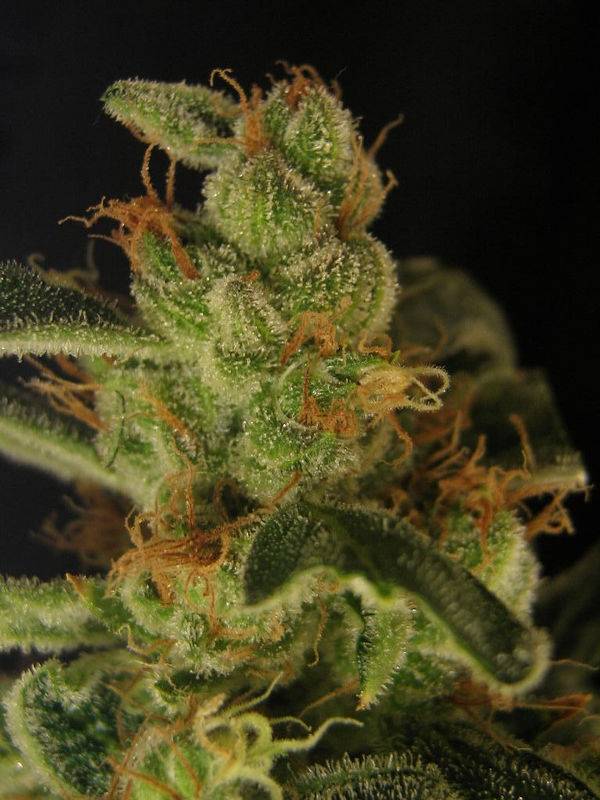
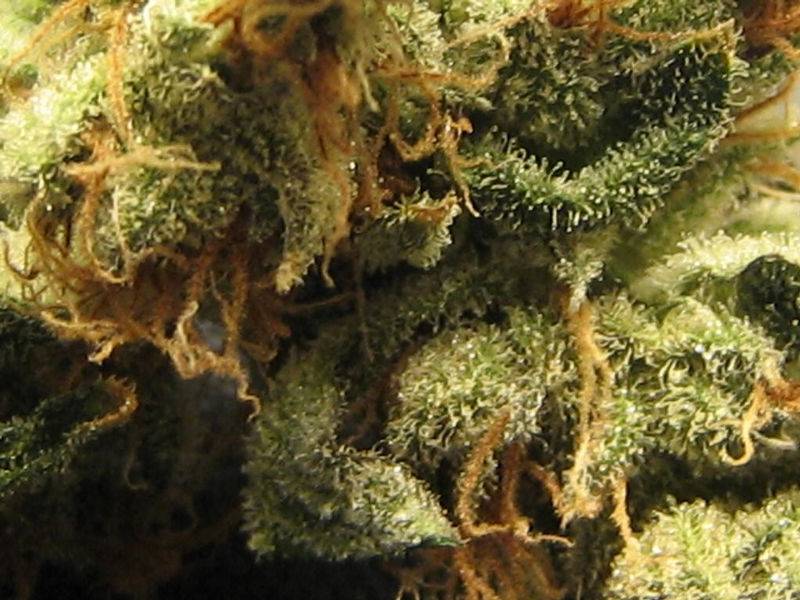
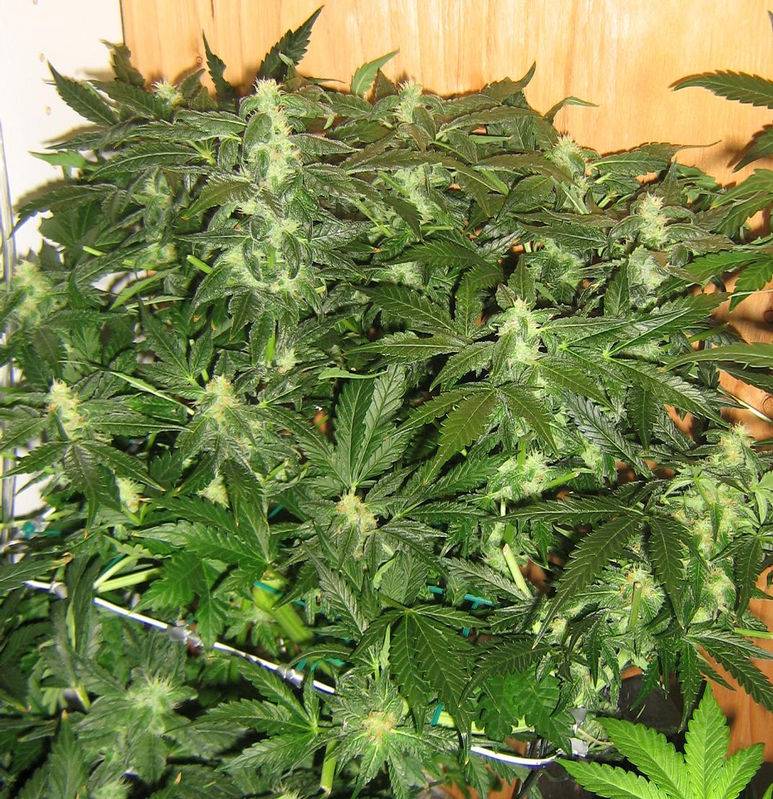
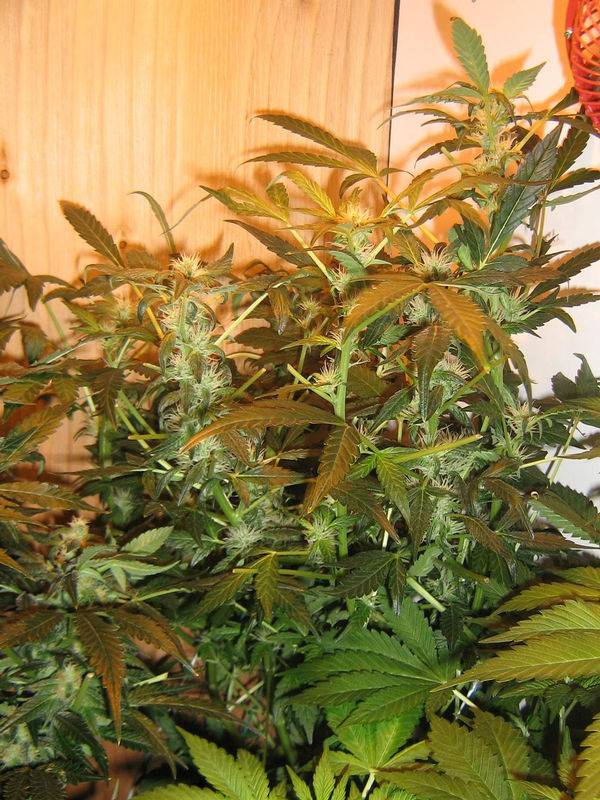
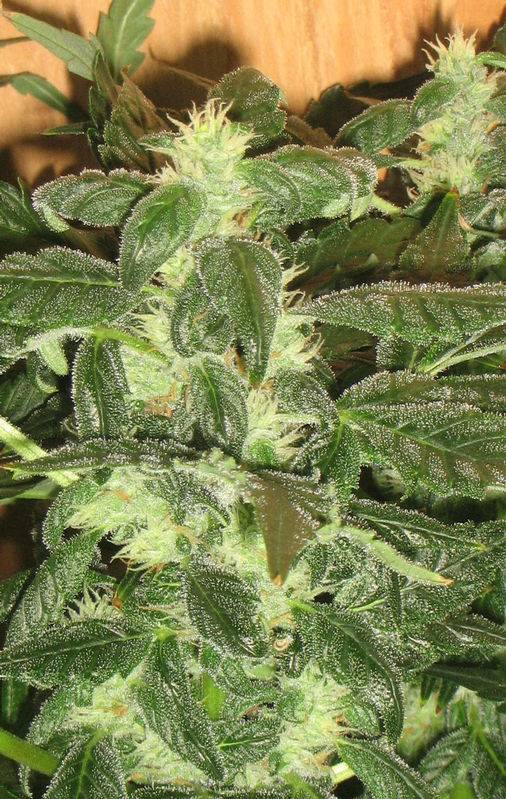
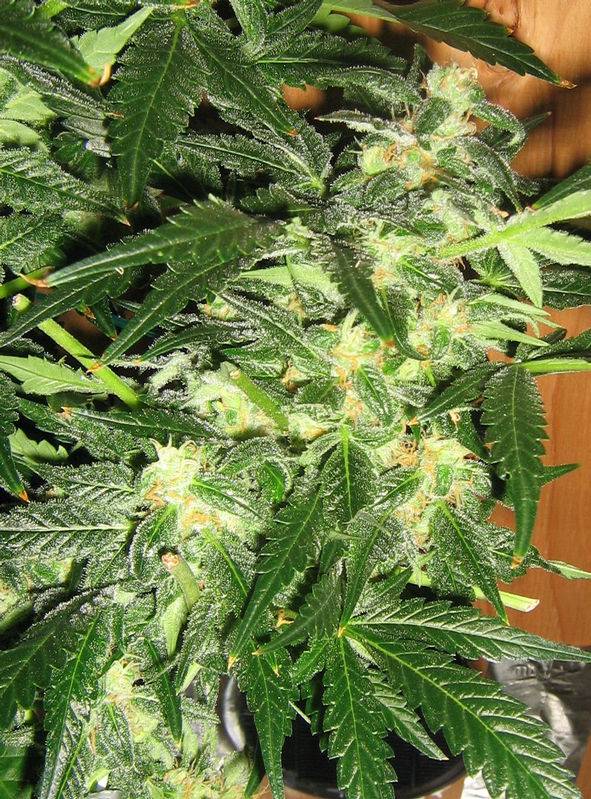
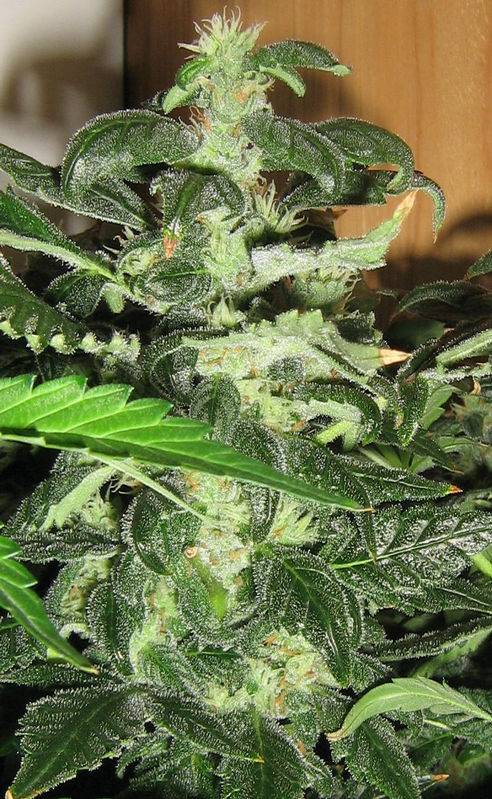
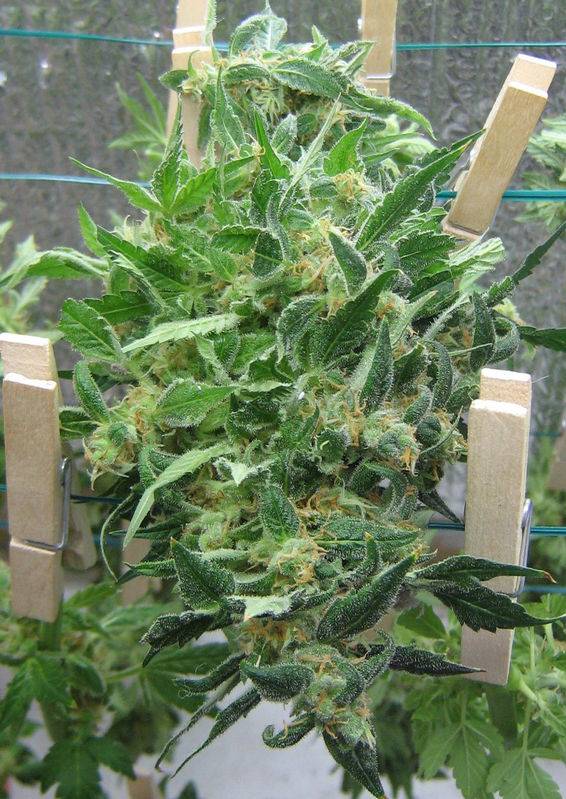
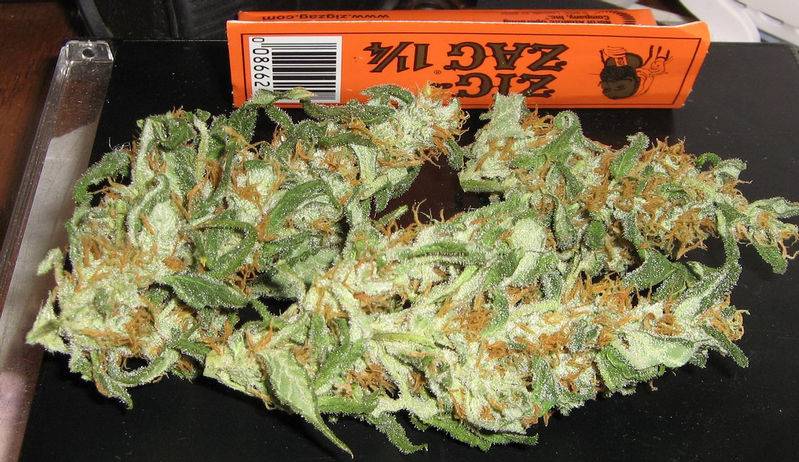
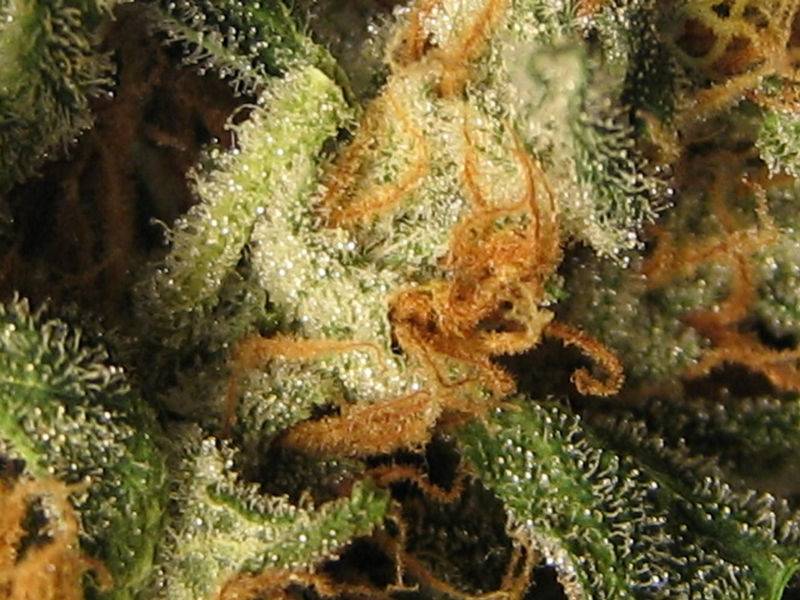
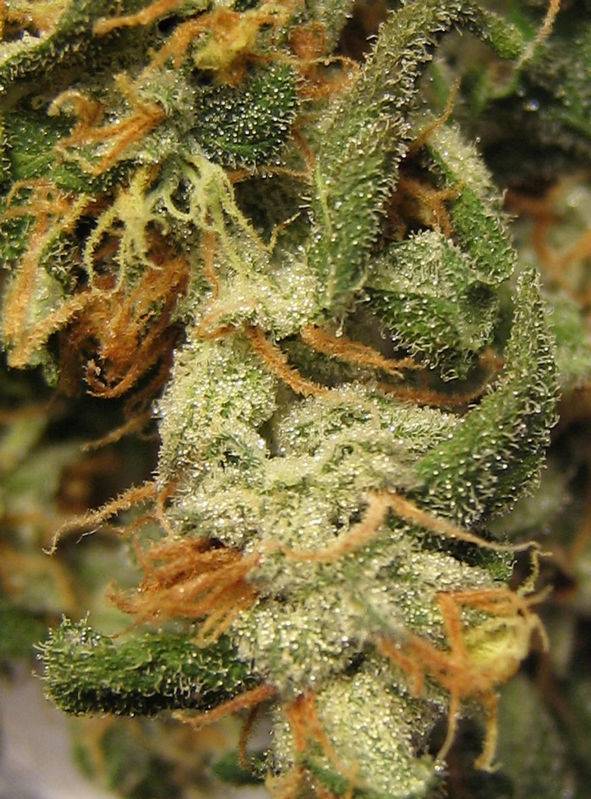
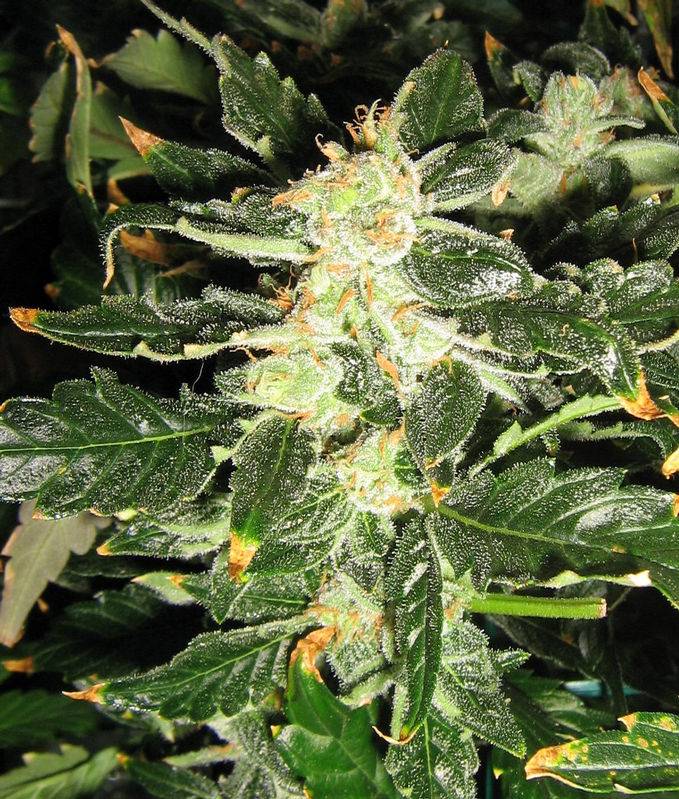
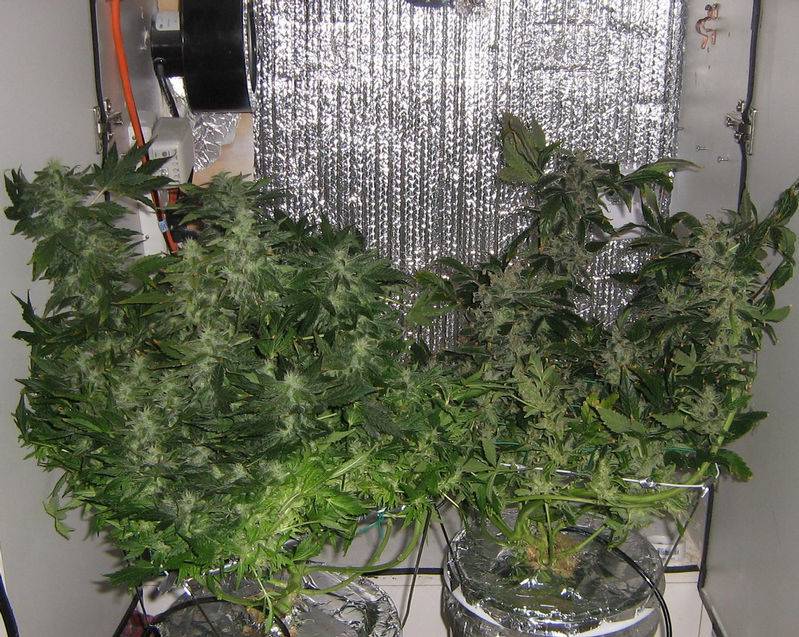
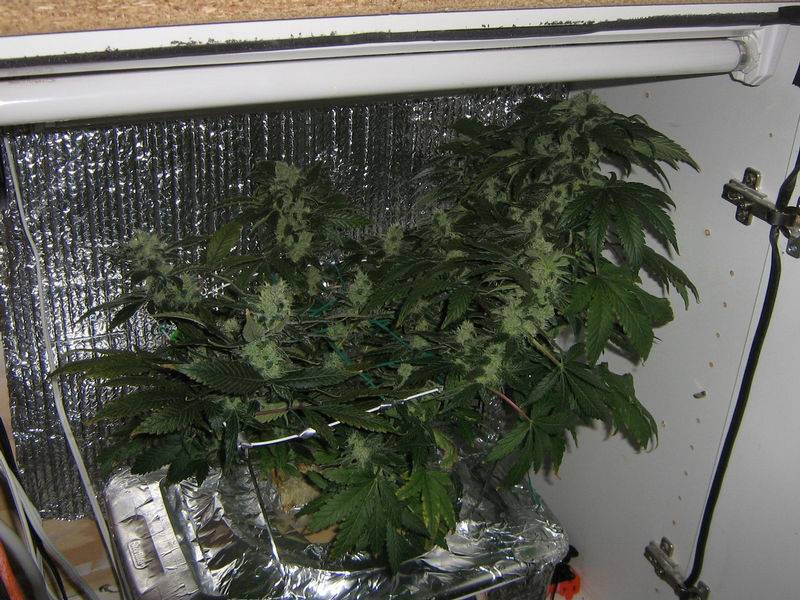
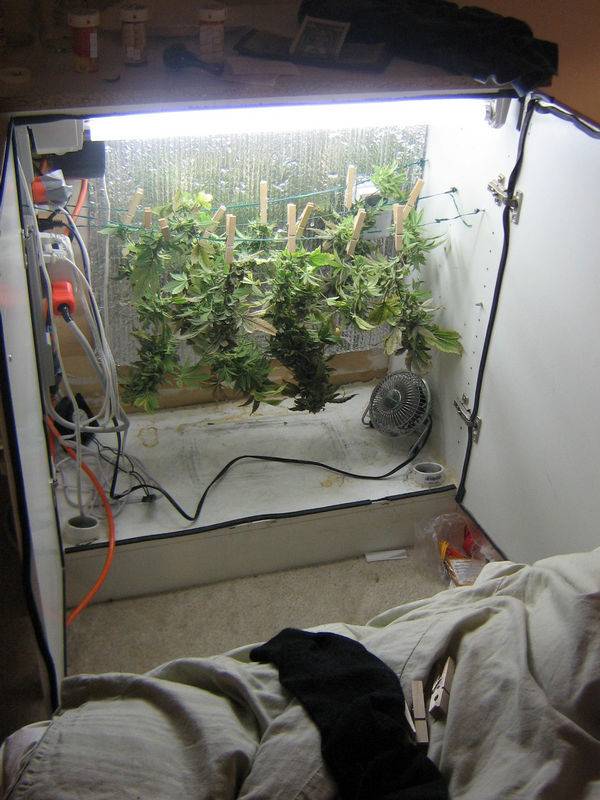
So average harvests have been around 3 oz or more.... I only lost one grow and it was my second when I had to go away for a week.... so let's see the following grows were completed in this cabinet...
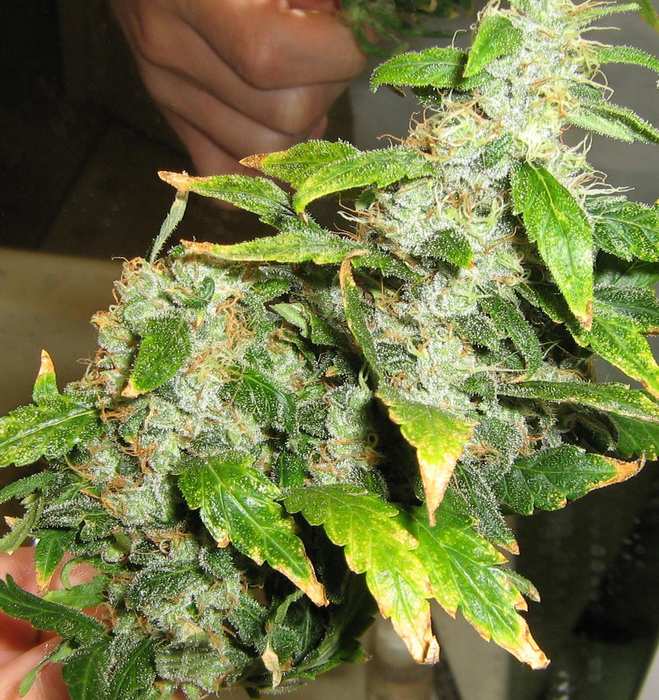
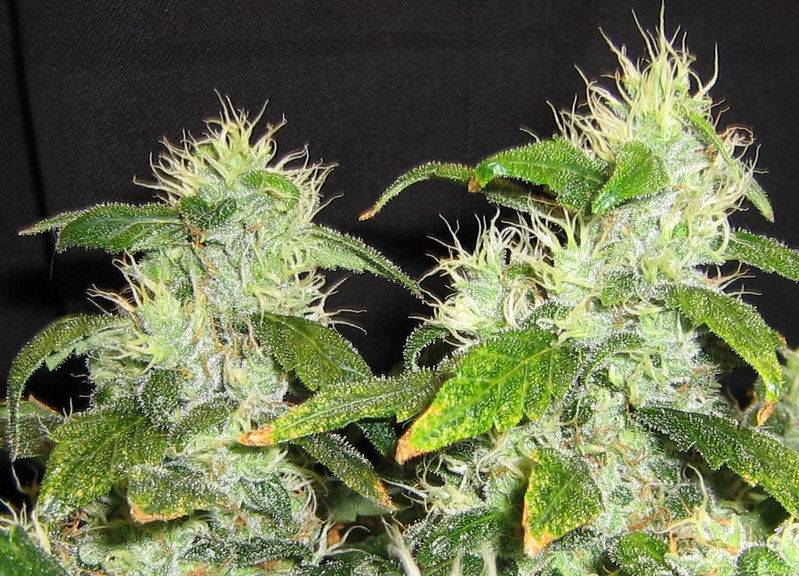
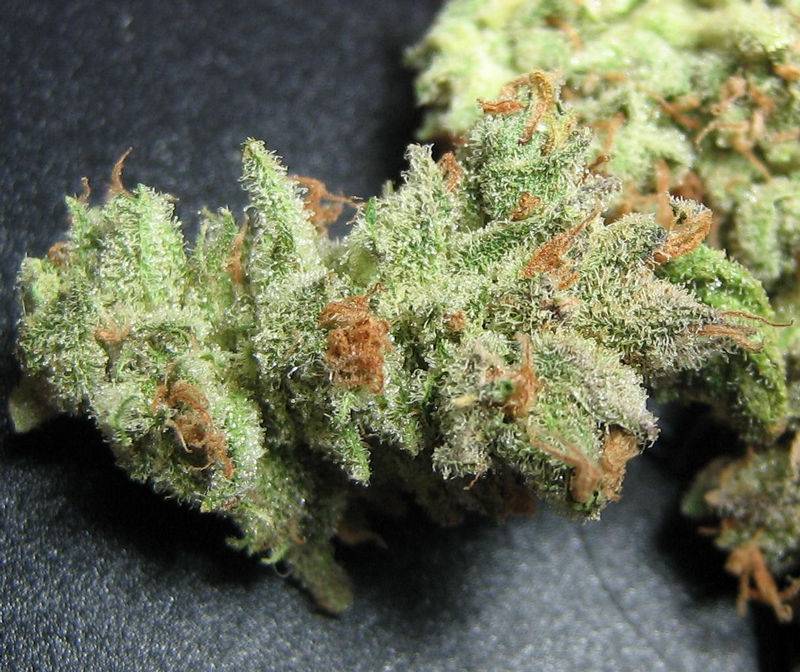
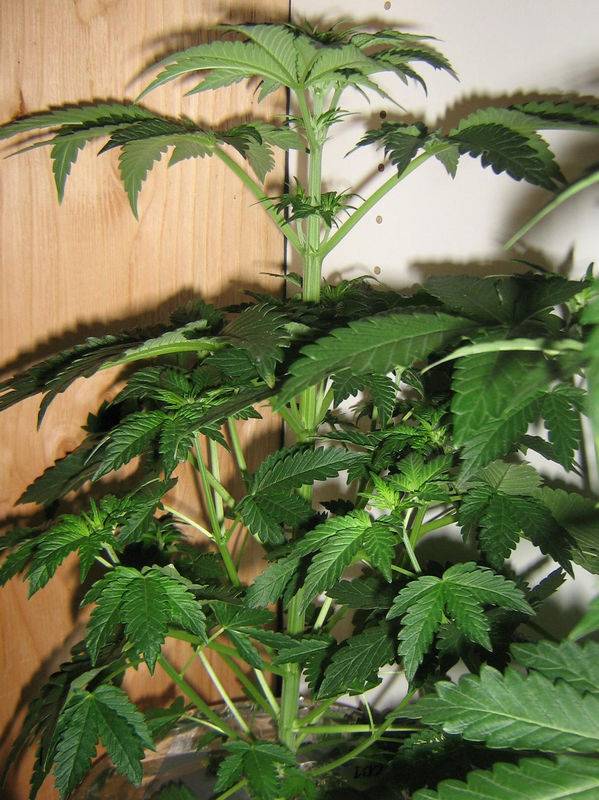
burmese and nl x c99 (first grow)

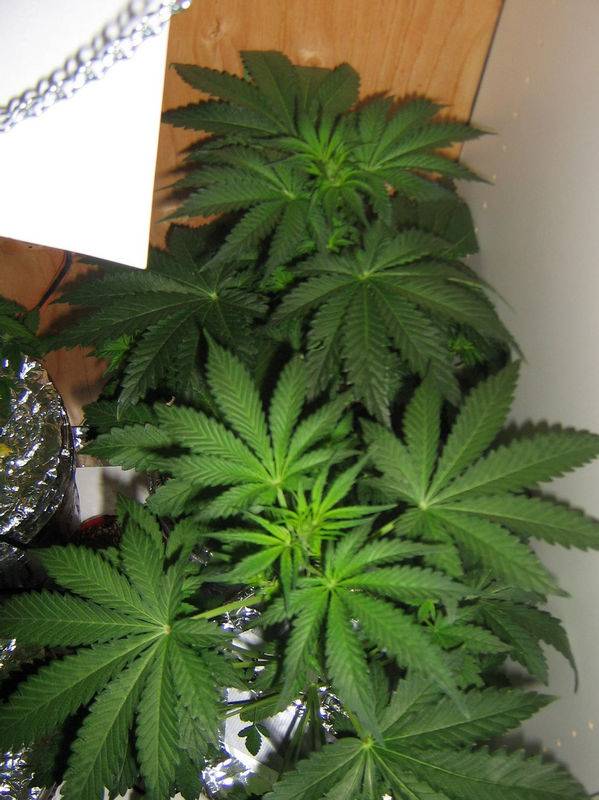
burmese and nl x c99 (third grow)

cont'd below
no not a story of two cities but a story of two cabinets that then were three and then back again to two and soon will be none... ashes to ashes, dust to dust, seed to bud, and bud to lung..
so enough of the b.s. let's get down to business... I am starting this thread to document my cabinets and techniques for other growers as I get asked questions often...
a bit over 2 years ago I began building my first grow cabinet since 94 when I tried to build one with a 70 watt hps and a $10 bathroom fan growing bag seed that never worked out....
u2
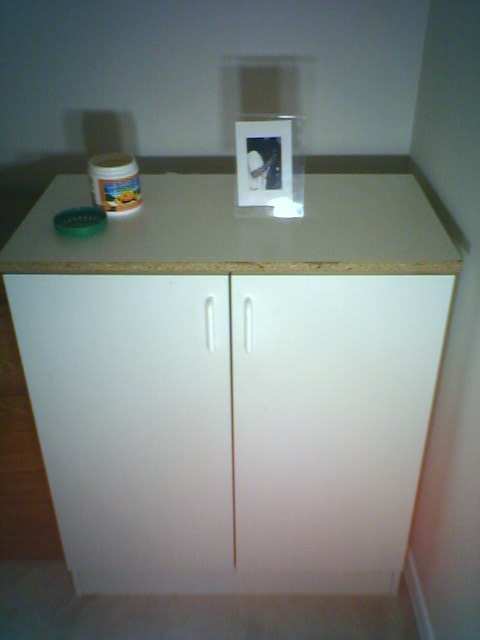
so I started with the millspride u2 cabinet. It is counter height (42") and has two doors. It is your basic double door base cabinet. The interior dimensions are 29" high by 29" wide by 14.5" deep. This is the space for growing and stuff. There is a space under the interior floor (toe kick area) about 6" that is used for intake vents.
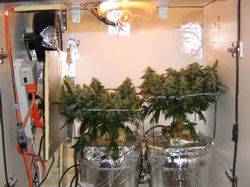
So I used a 2" hole saw to cut three 2" holes in the interior floor of the cabinet, two on the right side and one on the left side. Into the hole I slid a 2" OD 90 degree pvc elbow the interior of which was painted black. Underneath the cabinet a second pvc elbow also painted black inside was inserted into the end of the other pvc elbow. The result as can be seen in the pictures is a light trap but still very free flowing. I originally had air filter material in there but found it unnecassary as the cabinet is in my bedroom and there isn't much concern of junk getting in there. In order to be sure light did not get in there I also cut the piece for the back so that it went down half into the space underneath (see pics). So that is the intakes.
The back is made out of a piece of 1/2" plywood that I had cut at homedepot since they have the big saws capable of doing this. It is a good idea to build the cabinet first and then measure the size of the piece you will need. When attaching always line it up on either side and start at the top in the middle and then one top corner then the other - then down each side alternating from one side to the other as you tighten the screws. Always predrill your holes or else you will split the melamine side of the cabinet when attaching the back. Use 3/4" or 1" number 8 wood screws.
I then sealed around the back with latex caulk and aluminum foil tape where light was leaking...
I later learned that it was easiest to use weather stripping between the pieces during assembly. It compressess as you tighten the piece and forms a light/air tight barrior in between the pieces.
The top was a piece of melamine again cut at home depot to fit. It is held on by L brackets and screws through the cross brace of the cabinet.
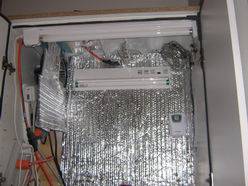
Before I put the top on I cut the hole for the exhaust - it is on the left side of my cabinet and basically is a rectangular hole cut into the top edge of the back. I held the fan up and figured out the position and marked it to cut. Then I mounted the fan. The exhaust fan I used is a 134cfm dayton I got it at graingers for less than $50 usd and it has been running constantly for two years w/o problem. It is the higher rpm model (they have two 134cfm models).
Noise is not too bad - I actually like the white noise it makes - helps me sleep.
So the fan got mounted and it just pulls air out of the grow space - wide open intake - and blows it out the back. On the back I have a can filter 2600 - which is rated for 94 cfm or something like that. I got it at a hydro store for $59 or so and it has been worth every penny. It is still controlling stinky plant odor after 2 years of constant use. I tried building my own and just found this to be so much better in terms of ease of use, air flow, and odor control. A 4" flange made the attachment to the exhaust hole in the back of the cabinet possible. Standard dryer venting was used which was a mistake as this stuff can leak light - so I ended up covering it with aluminum duct tape - I recommend getting the more expensive stuff which is light proof. The filter is held up by garage bike hooks on the back of the cabinet. Pushing through the filter has worked well for me and it really deadens the fan noise as well. Also for me there wasn't room for the filter inside.

The doors are lined with 3/16" weather stripping so that they seal air tight. When everything is air tight the doors kinda suction together when you close them - this is a good thing - it means the pressure inside is negative and therefore any gap will not leak odor but instead pull air in to the cabinet and out through the filter on the back.
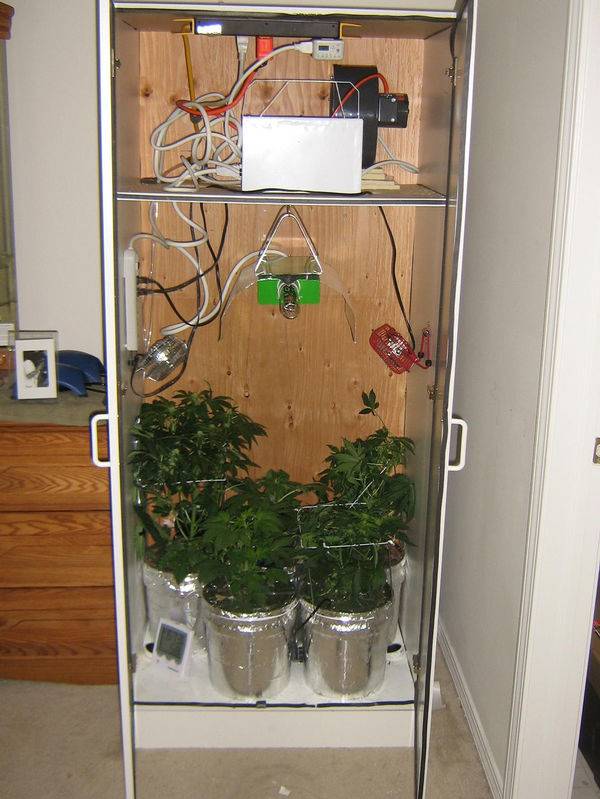
The main lamp is a regents 150 hps. I bought the lamp at Lowes where it is sold as a compact flood lamp. Dissassembly and remoting of the ballast was done using the DIY linked in my signature - back then it was in the OG FAQ and that is where I followed it from. The ballast is cramed inside a 4" square junction box from the electrical isle - and mounted to the back of the cabinet. The cords to the plug and to the lamp go through the back of the cabinet to the plug and the light fixture respectively.
The socket (medium base) was secured to the cieling using a piece of metal from a pipehanger in the plumbing section (has all these holes in it that fit the two screws on the back of the socket). This thing was bent and also screwed to the cieling of the cabinet. A square piece of white aluminum was bent into a bat-wing reflector by hand and screwed into the cieling of the cabinet between the socket and the metal piece.
After much experimenting I found the space to the far left of the cabinet was not suitable for growing as the fan was there - so I positioned the bulb in the middle of the space that was left - which is about 24" - and the bulb stays there. The orientation is perpindicular to the length of the cabinet. This produces the best light distribution. I tried orientating parrallel to the lenght of the cabinet - and I also tried making it moveable up and down on chains - and I even did a cool tube at one point. In the end I found this to be the best and easiest safest solution. Just mounting it up there and leaving it there. If a plant is too far from the lamp I just put something under it to raise it.
I have two power strips in there. The main one has a 15' cord that is run out of the back of the cabinet and comes out from under neath the cabinet. This powers everything. Then I have a second power strip plugged into a digital timer - this powers the lights.
In addition to the 150 hps I have added two t-8 floro lamps that I got at walmart for very cheap. A total of 35 or so additional watts are T-8. I do this for two reasons - to light the darker sides of the cabinet and to help even out the spectrum.
So with this setup temps are pretty well under control and stay within 5 degrees Farhniehiet of the room temperatures. Average highs in the mid 70s and lows in the mid 60s. Luckily for me the room is climate controlled to 68 degrees or cooler year round.
On the front of the cabinet I have placed a keyed window sash lock. More deterent than anything it is brass and doesn't look too out of place on there but does allow one to lock the doors - keeping unwanted eyes out. Well this probably won't prevent a thief intent on ripping your garden or a cop intent on busting you - it may stop a child or a visitor to your home from discovering what is inside which is priceless. (although I did have a thought about what if your landlord came in and saw the cabinet but couldn't open it - then called the cops - and then you got busted - would the warrant stand? I mean they really don't know what is inside since they can't open it
) anyways if you rent or have children it's proably a good idea to throw one of these on your cabinets.So what does one do with this cabinet. Well I grow DWC hydro. I found that two 2 gallon buckets fit well into the cabinet. Attaching super simple scrog screens I am able to keep the plants under control and have had many successful harvests growing this way. I have also tried a single larger sterilite (aprox 5 gallon) container with two clones and that worked well however was difficult if growing more than one strain at a time.
I like to grow lots of different strains as everything I grow is for my head. I often start new seeds. So I needed a way to fit more plants in there during veg and the first part of flower (until females are known) I found I could do this by using smaller 2.5 quart buckets. This way I can fit 5-6 plants in the cabinet. I can flower them and when I have selected the two females I wish to finish I move them into the 2 gallon bucket and add the scrog. I will go more into detail of how I do this without any transplant stress.
I wanted to note that i keep my air pump outside the cabinet. I like the whisper series of pumps by tetra. I use a single 60 gallon rated one to bubble two big buckets or 5-6 small ones as described above with excellent results. The air line from the pump goes into the cabinet through the intakes and then a manifold in there allows me to connect and disconnect multiple buckets.
So average harvests have been around 3 oz or more.... I only lost one grow and it was my second when I had to go away for a week.... so let's see the following grows were completed in this cabinet...
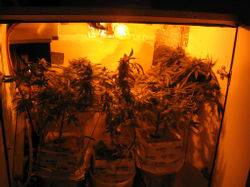
burmese and nl x c99 (first grow)

burmese and nl x c99 (third grow)

cont'd below
Last edited:


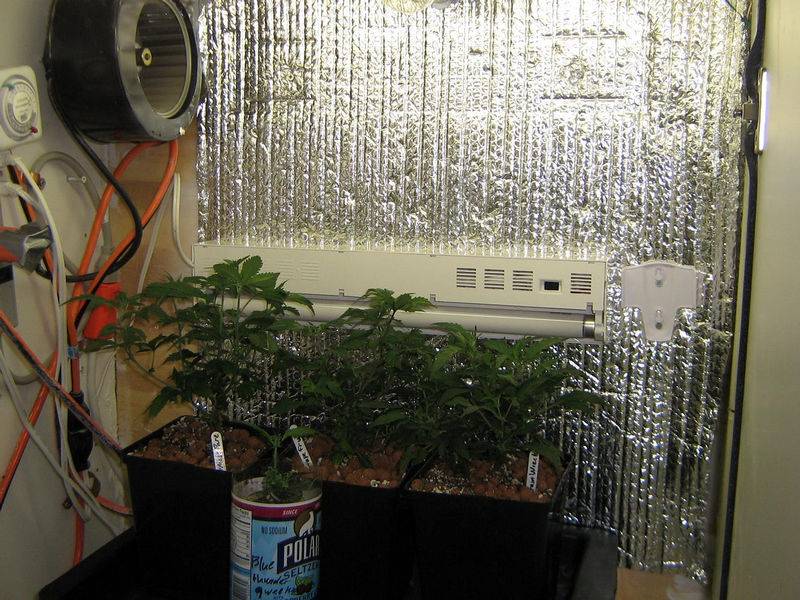


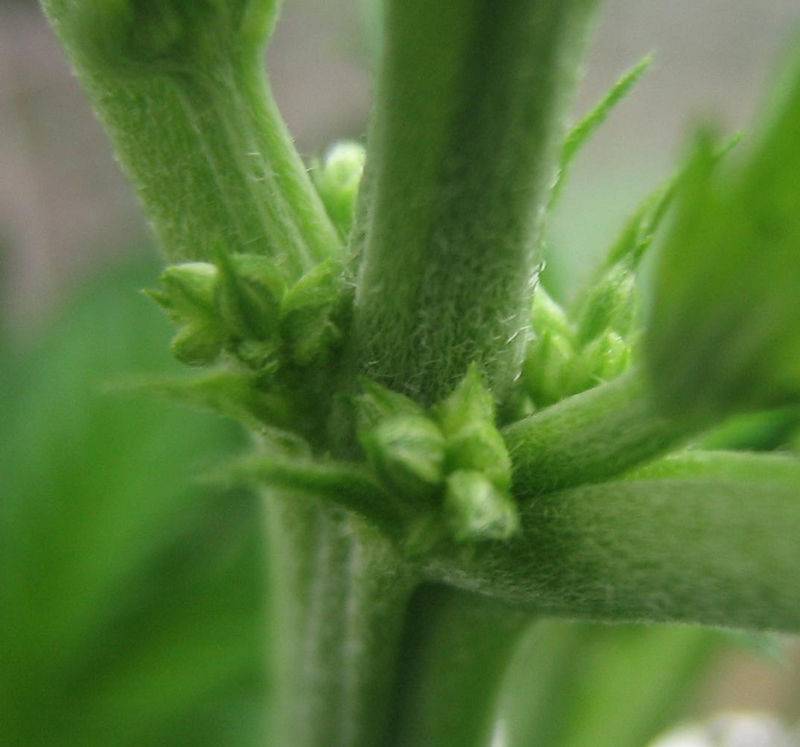
 i won't be seeing bud for 2 months...here's my stonehedge clone, today is day 6 and she'll be joined by some other clones in a week or so