gregor_mendel
Active member
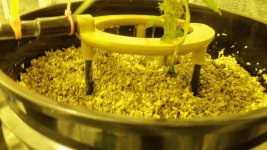
I think I can!
I think I can!
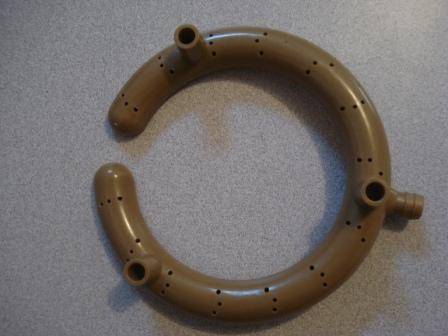
Stock halos:


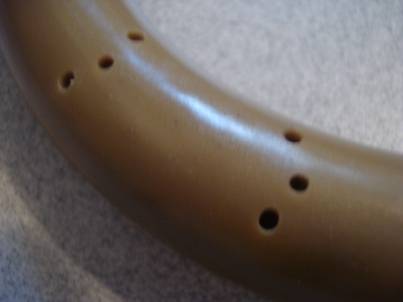
Drilled halos:
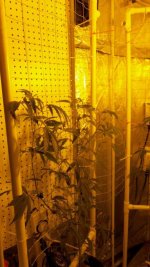
I think I can!
Stock halos:
Drilled halos:
Anything for a weird life, eh?I eat things from cow manure
and
I like it.
\Maybe your album is set to "private"??
I think I have it now.
Anyone see my pics?
Anything for a weird life, eh?
I can't make out the zip tie tech at the bottom of the media wick. Care to elaborate?
PPKs are so easy, they make me stupid.