What's new

BAGADA BIO BUCKETS

bagada

Member
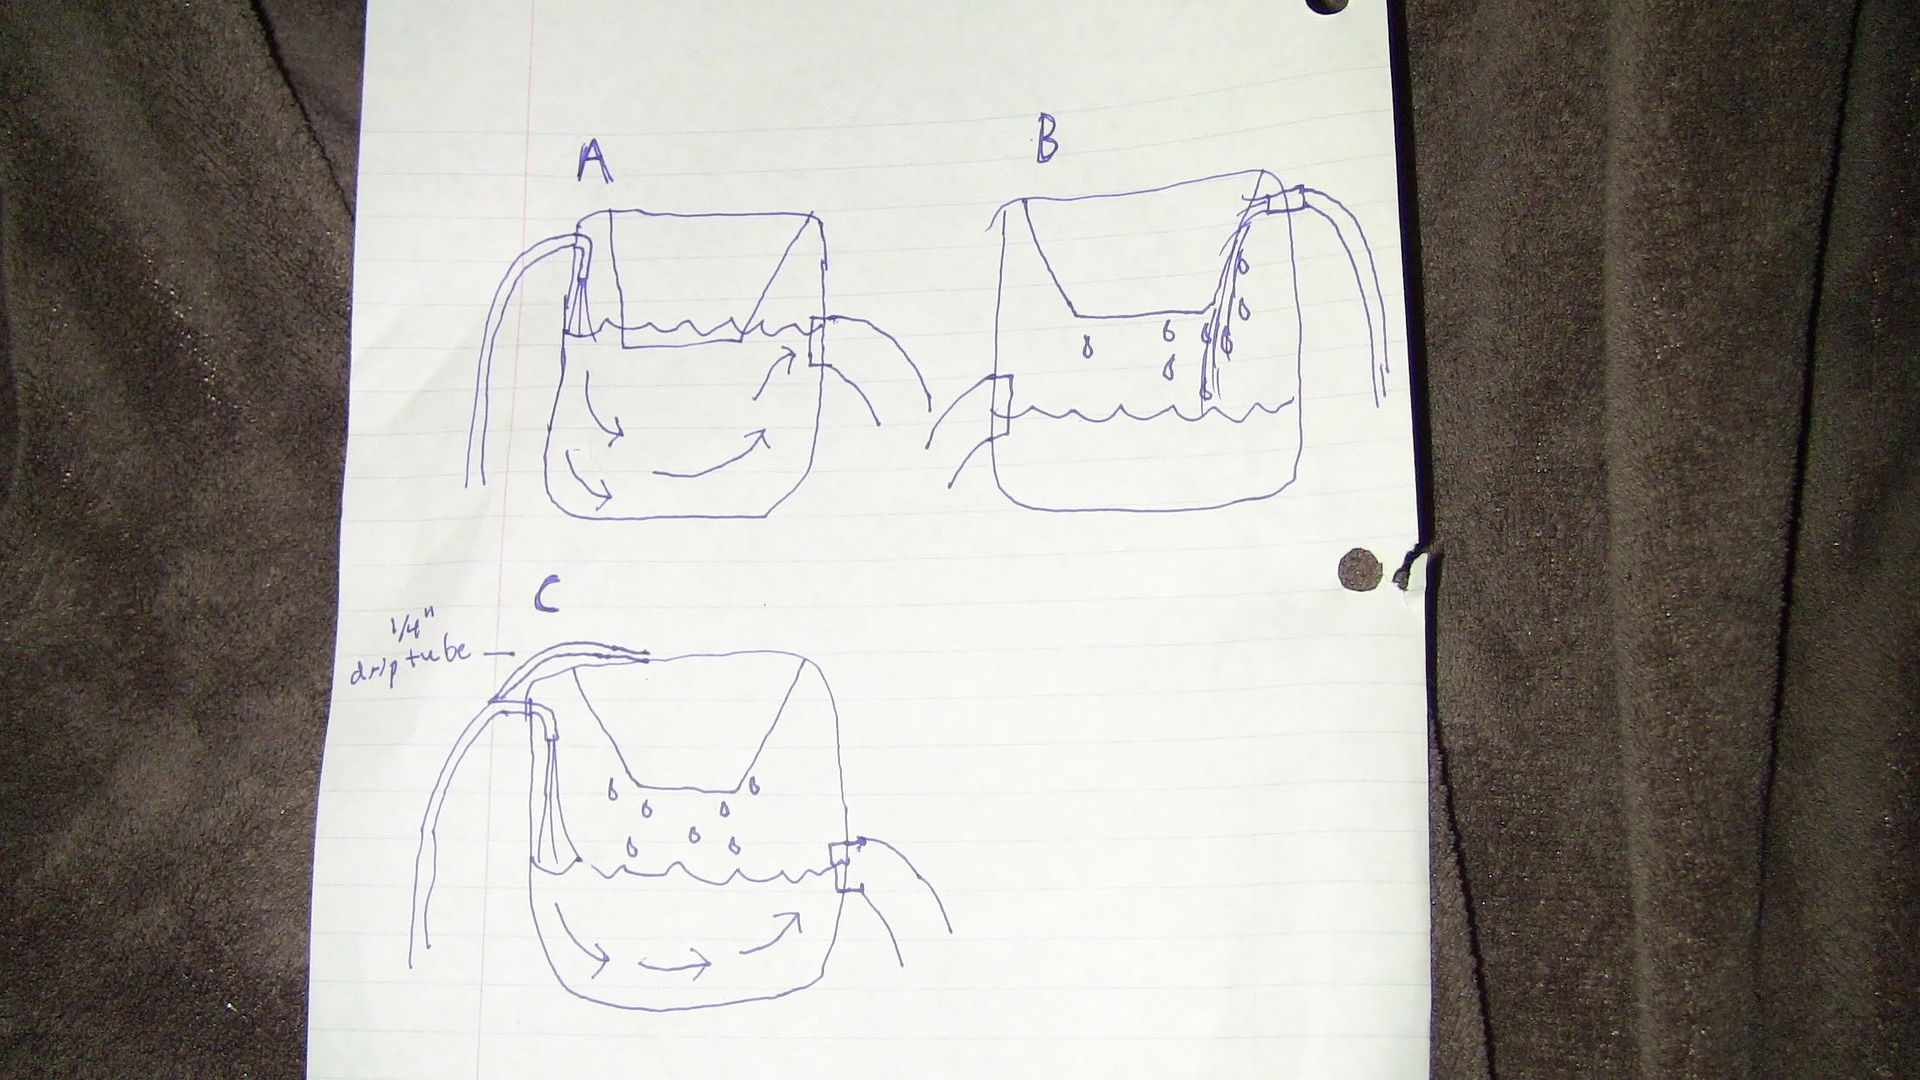
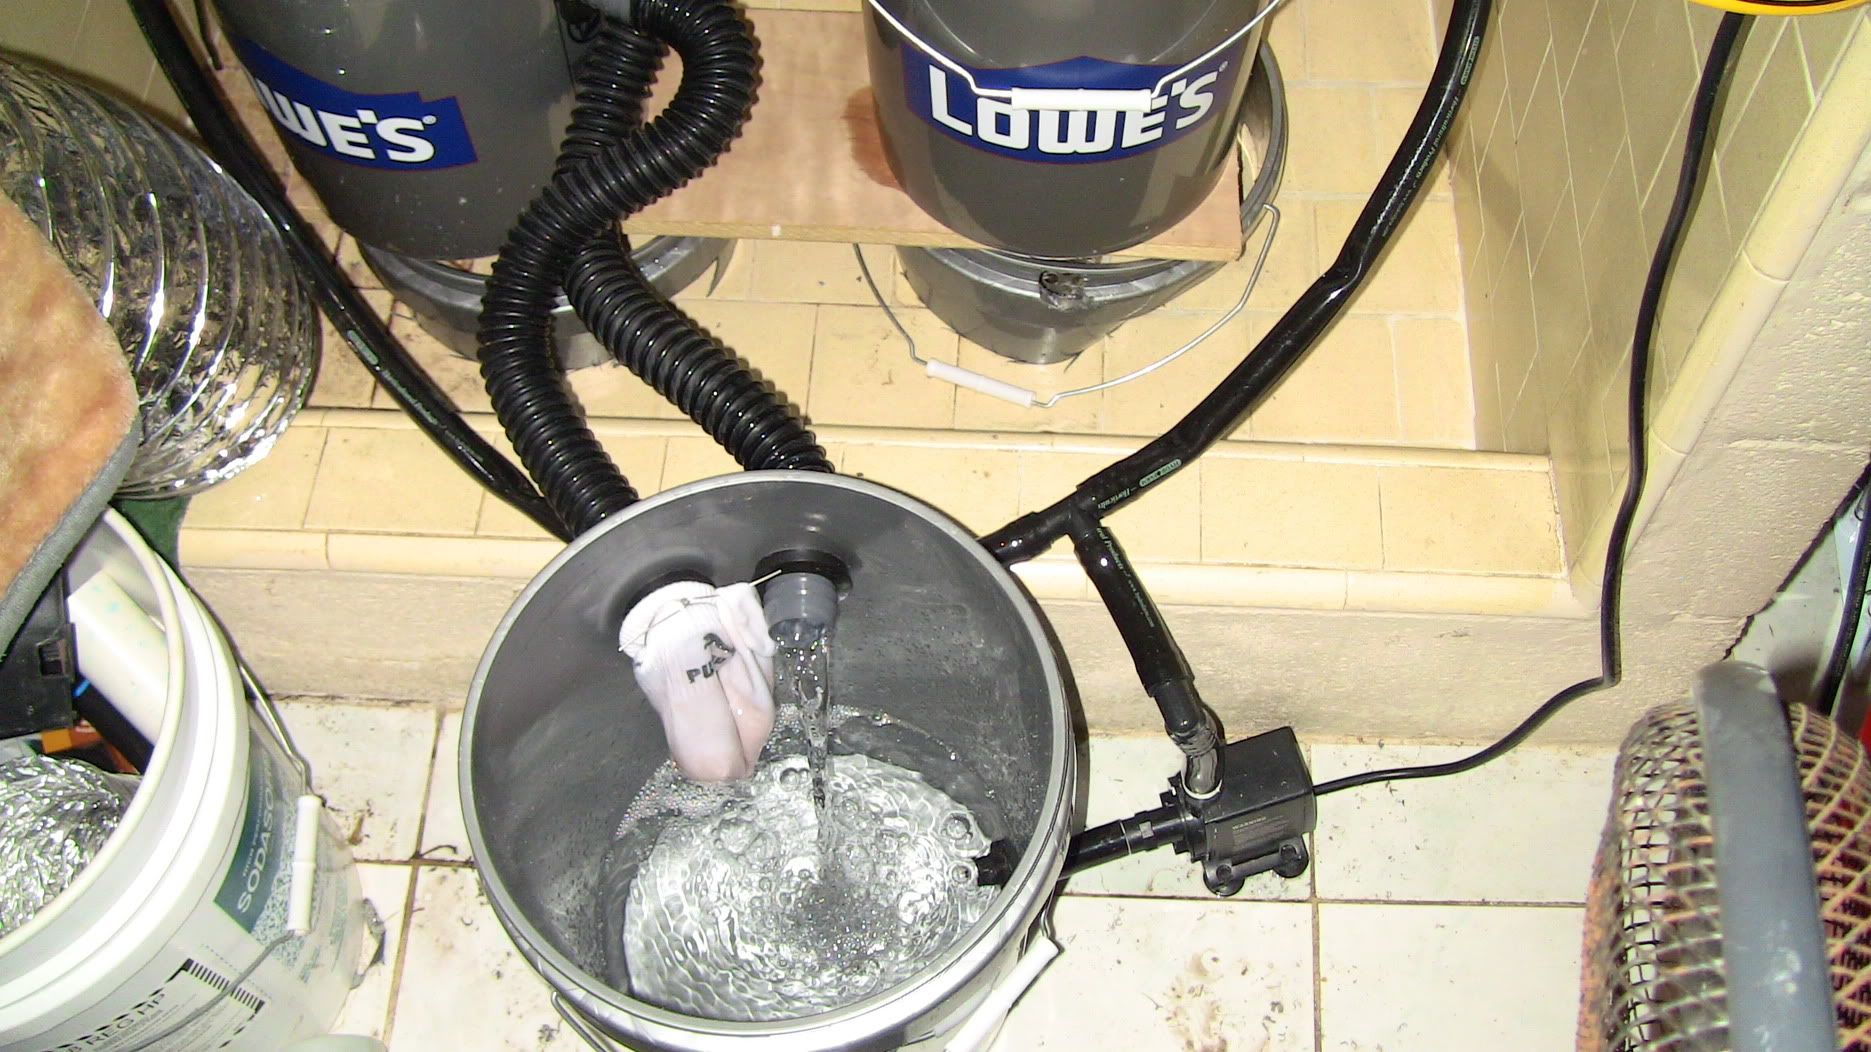
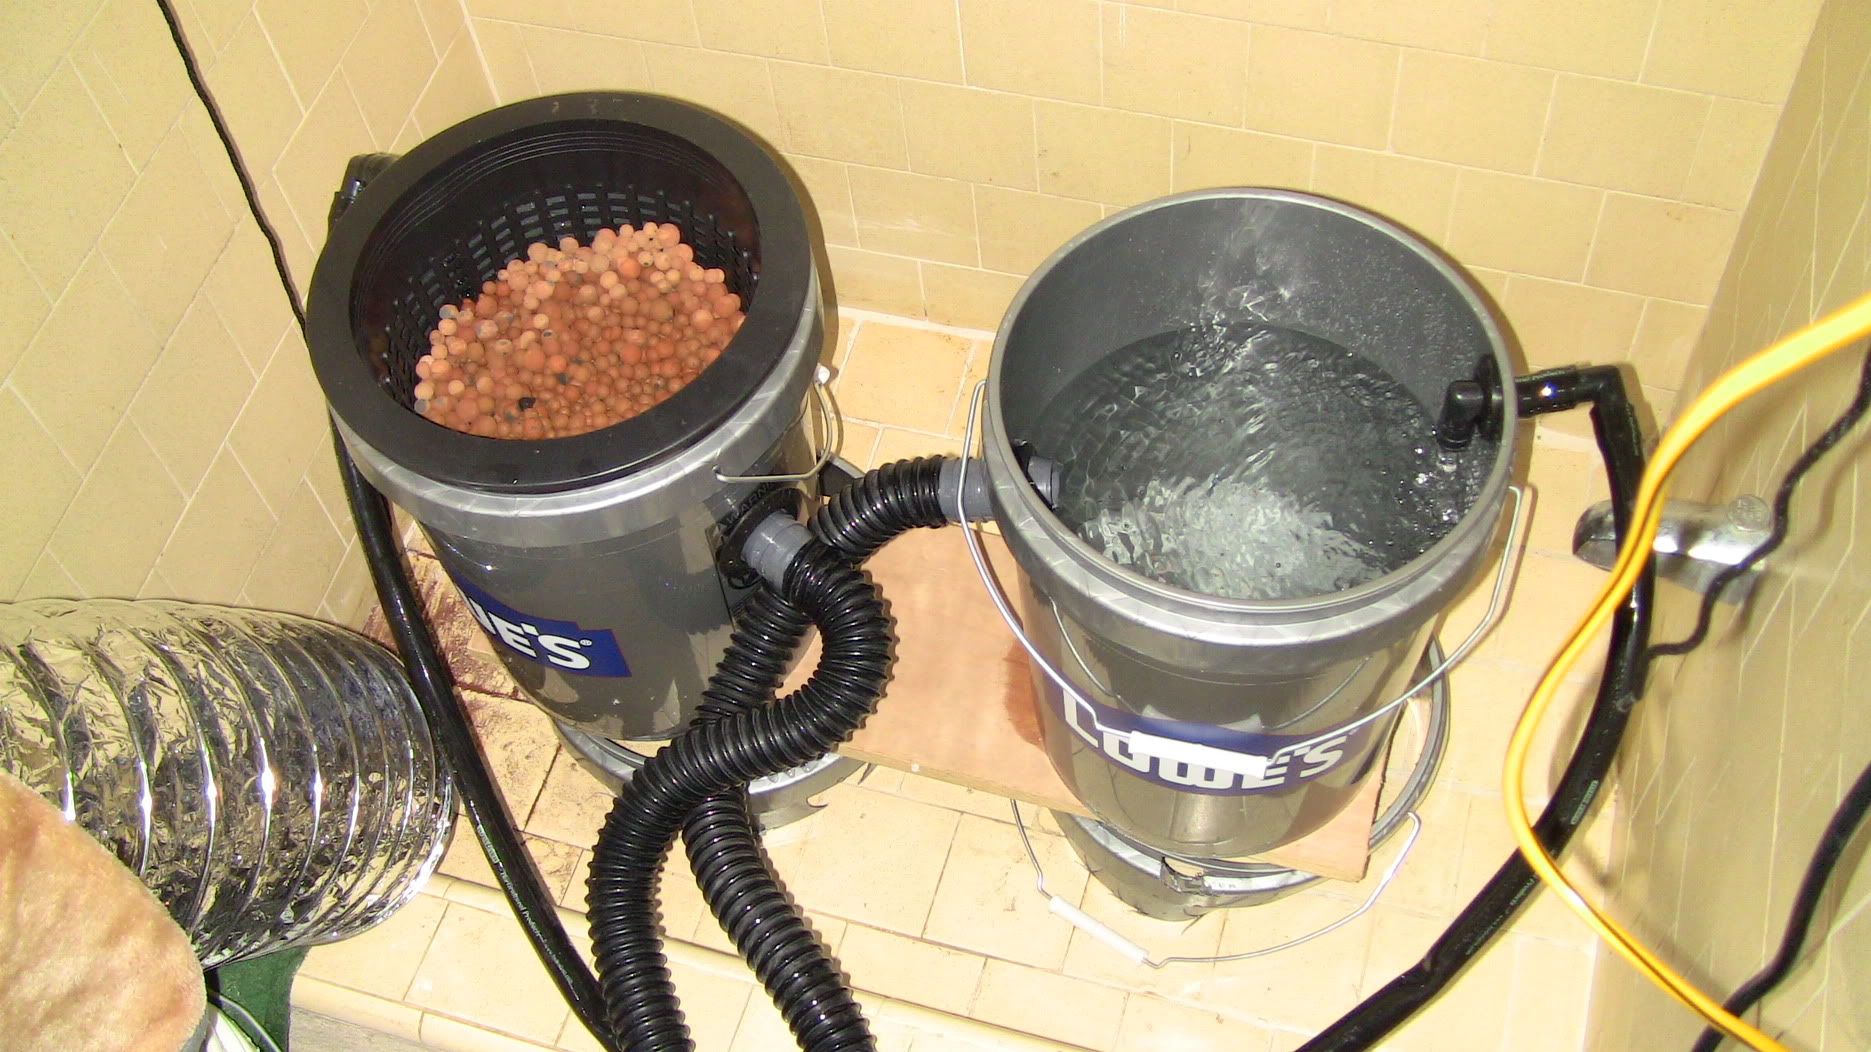
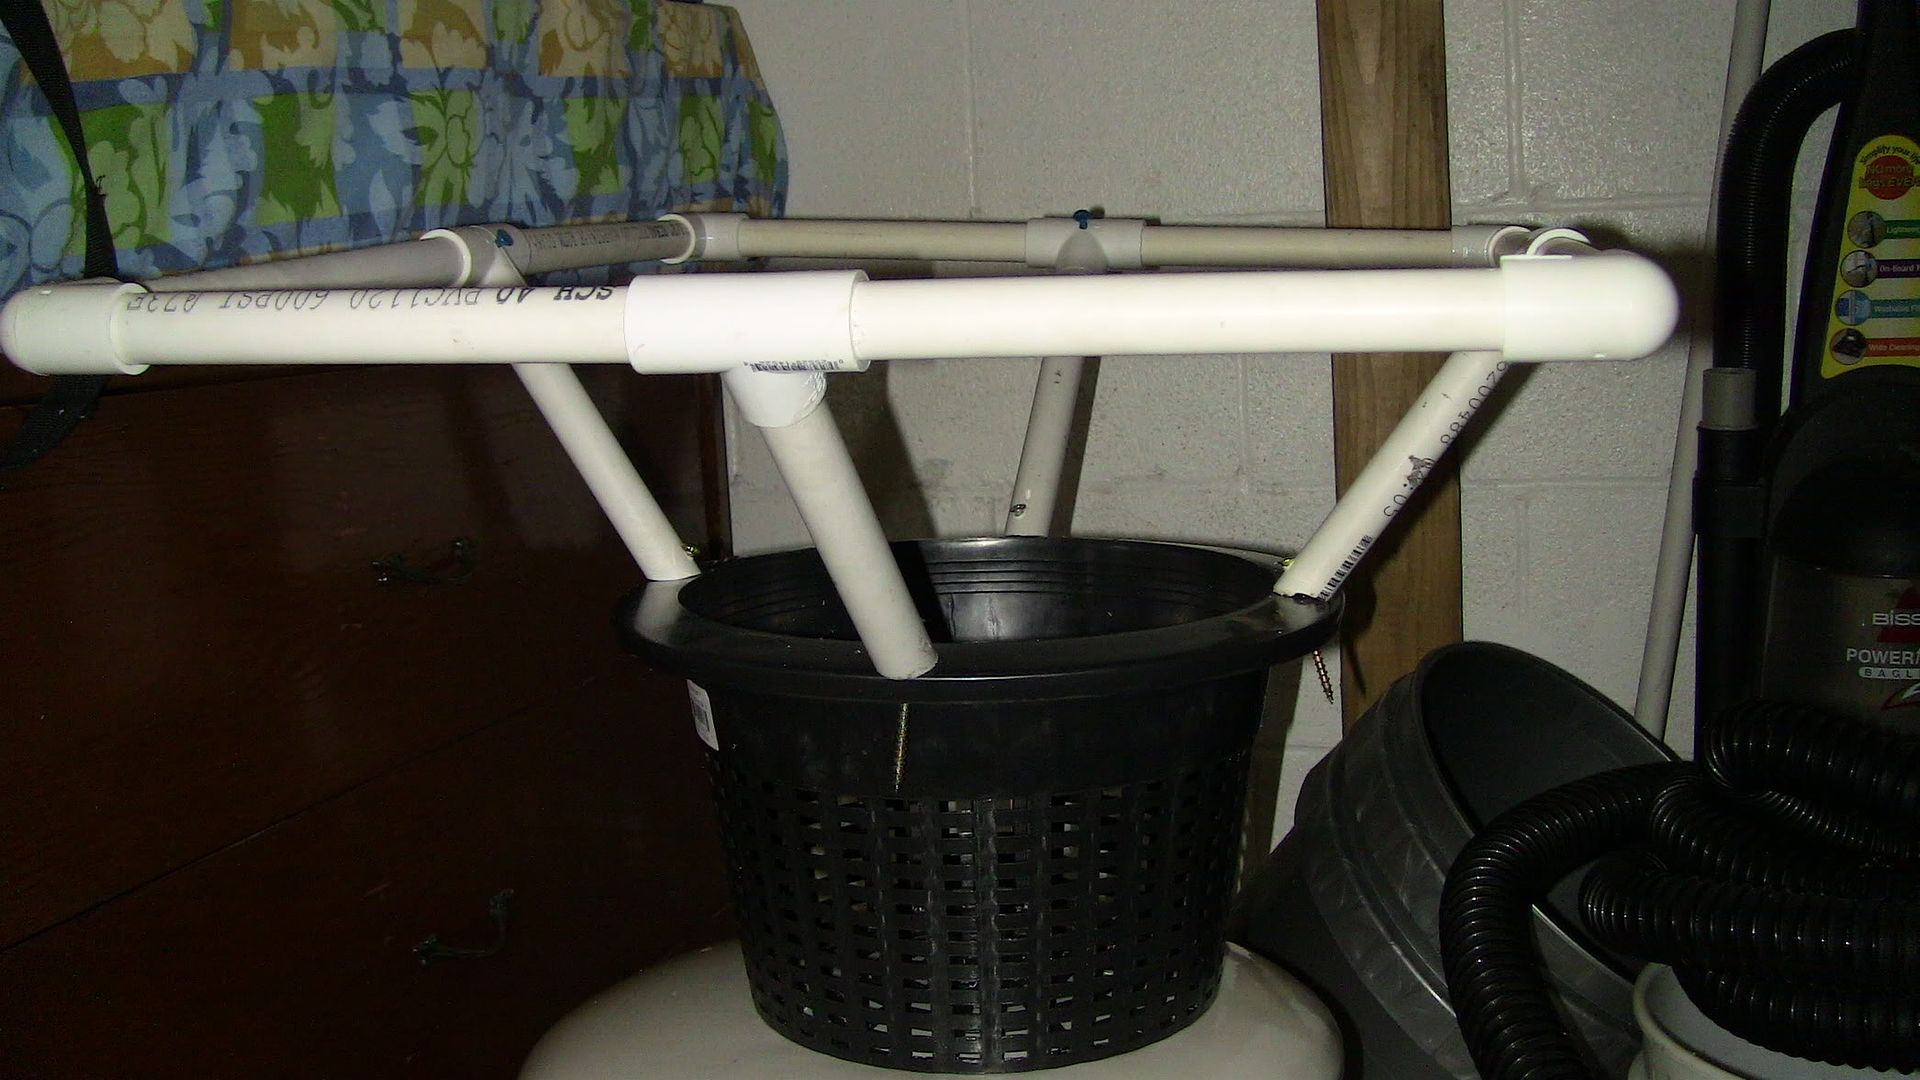
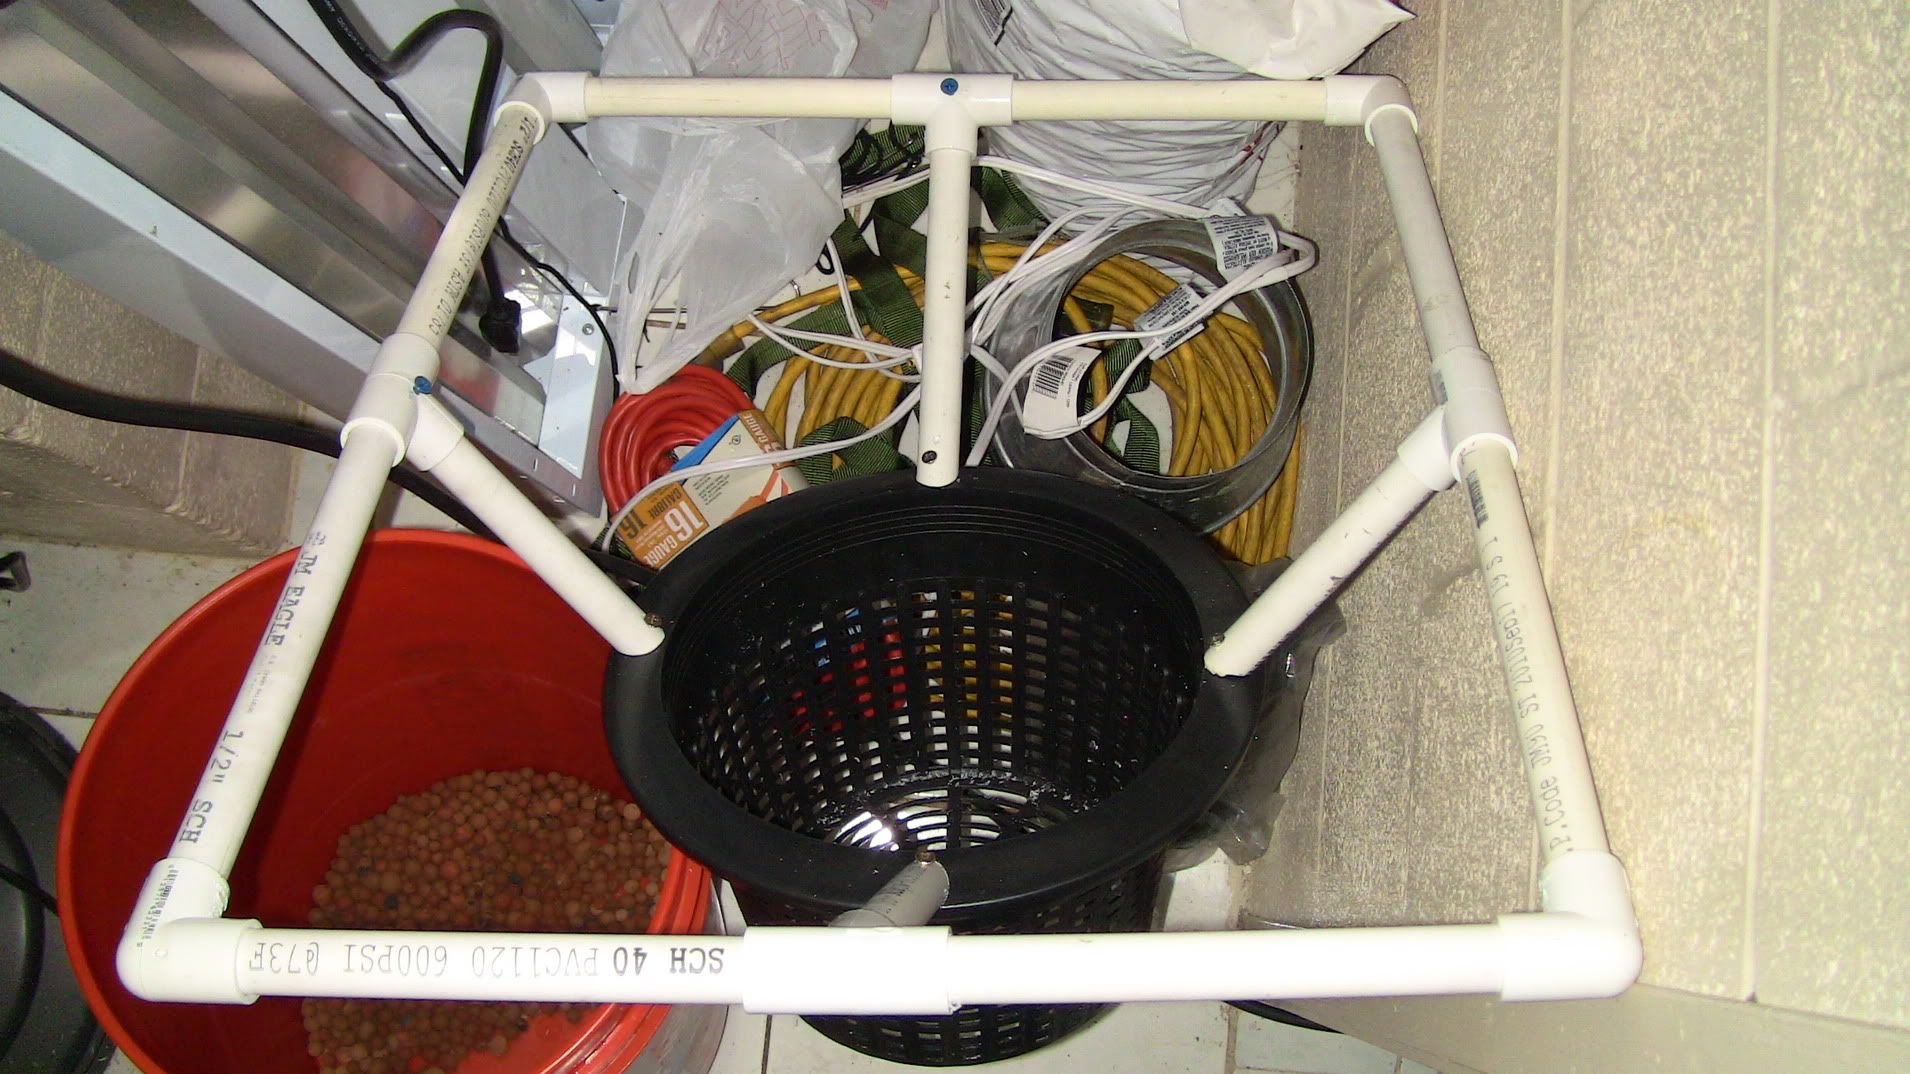
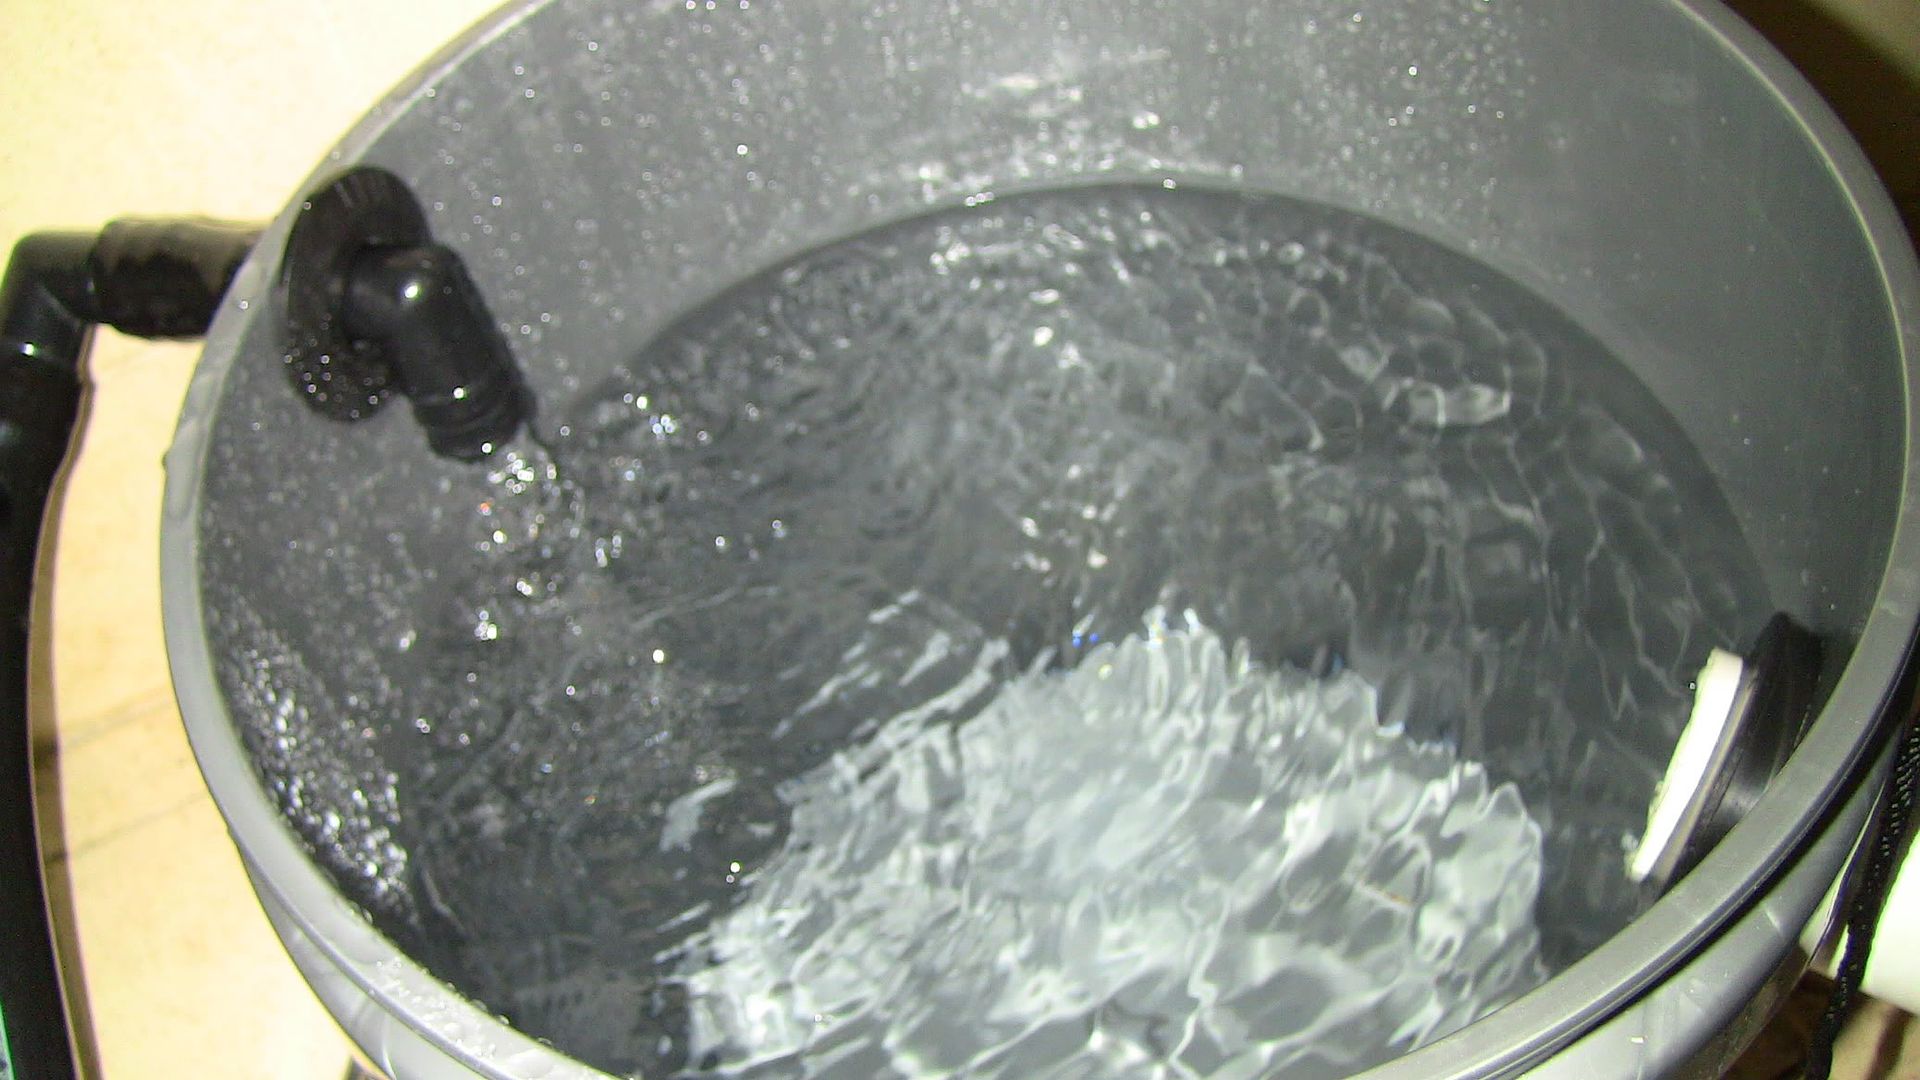
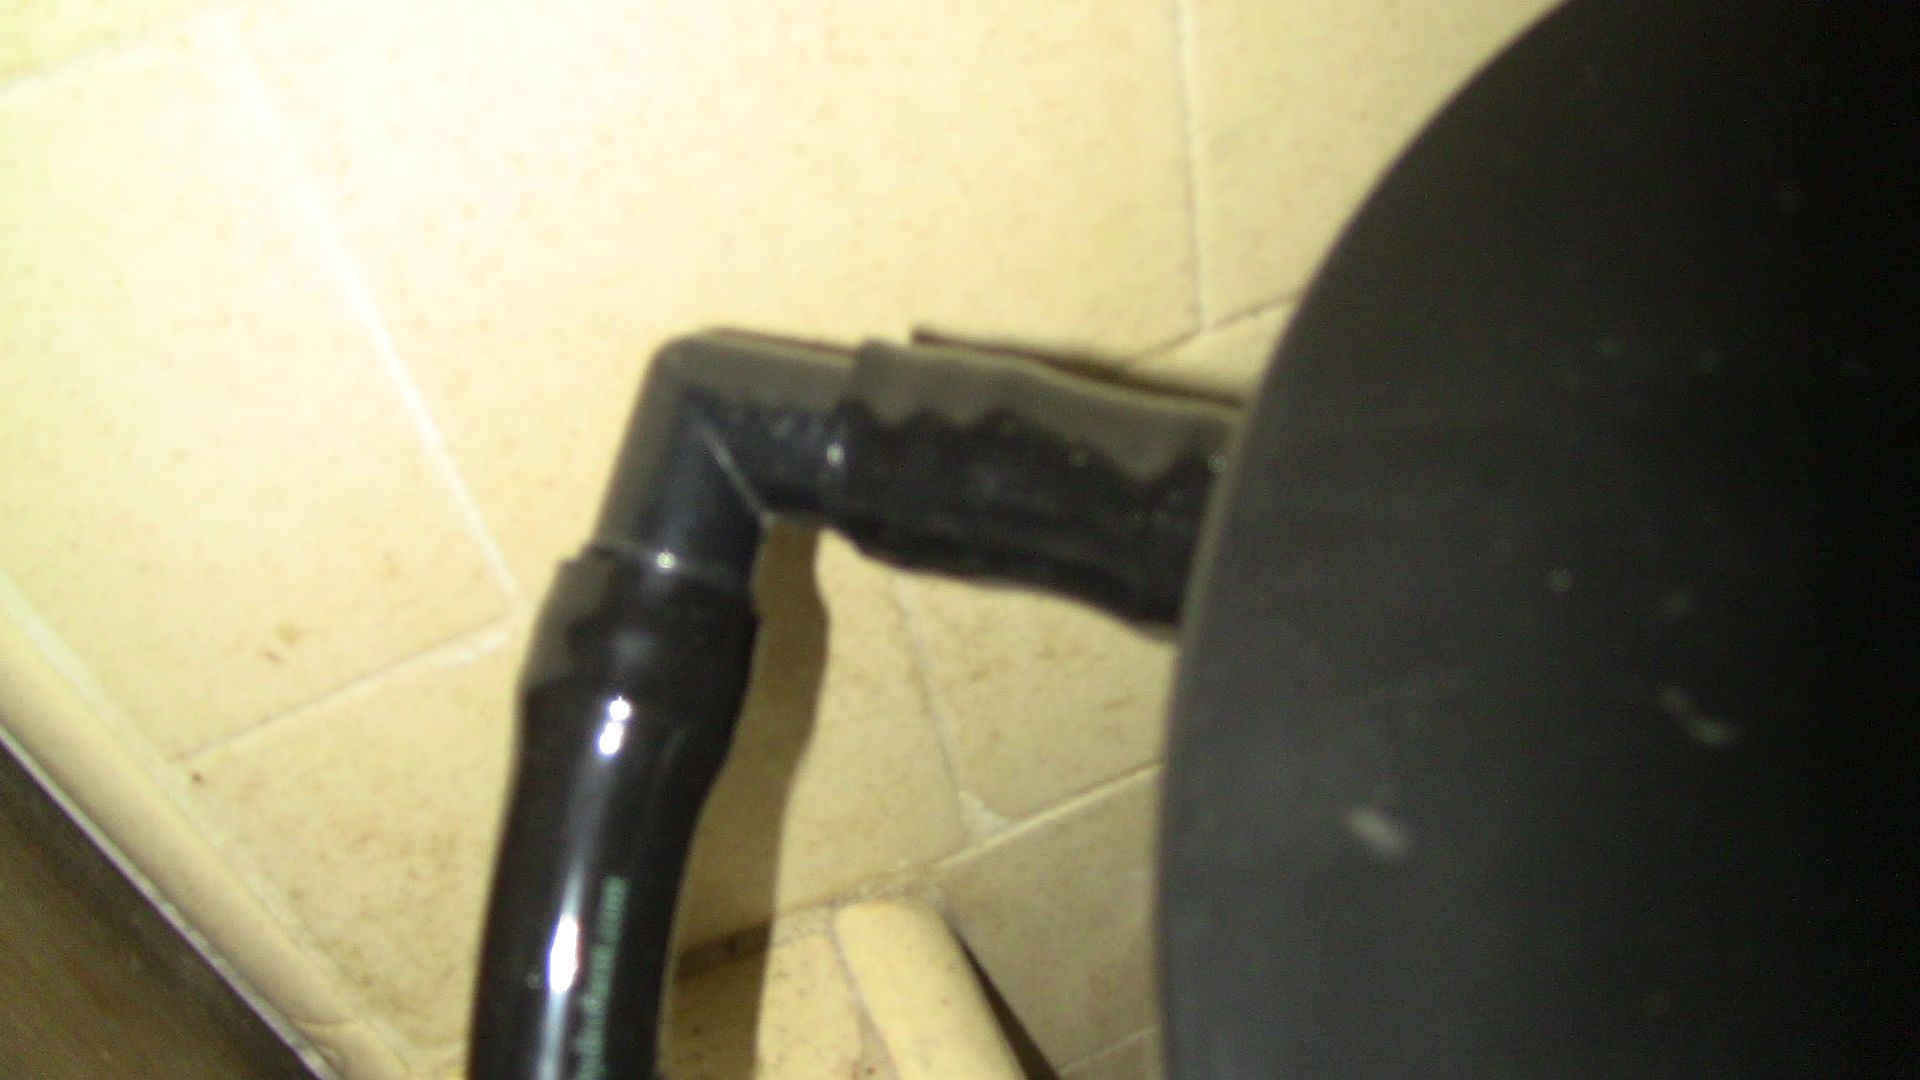
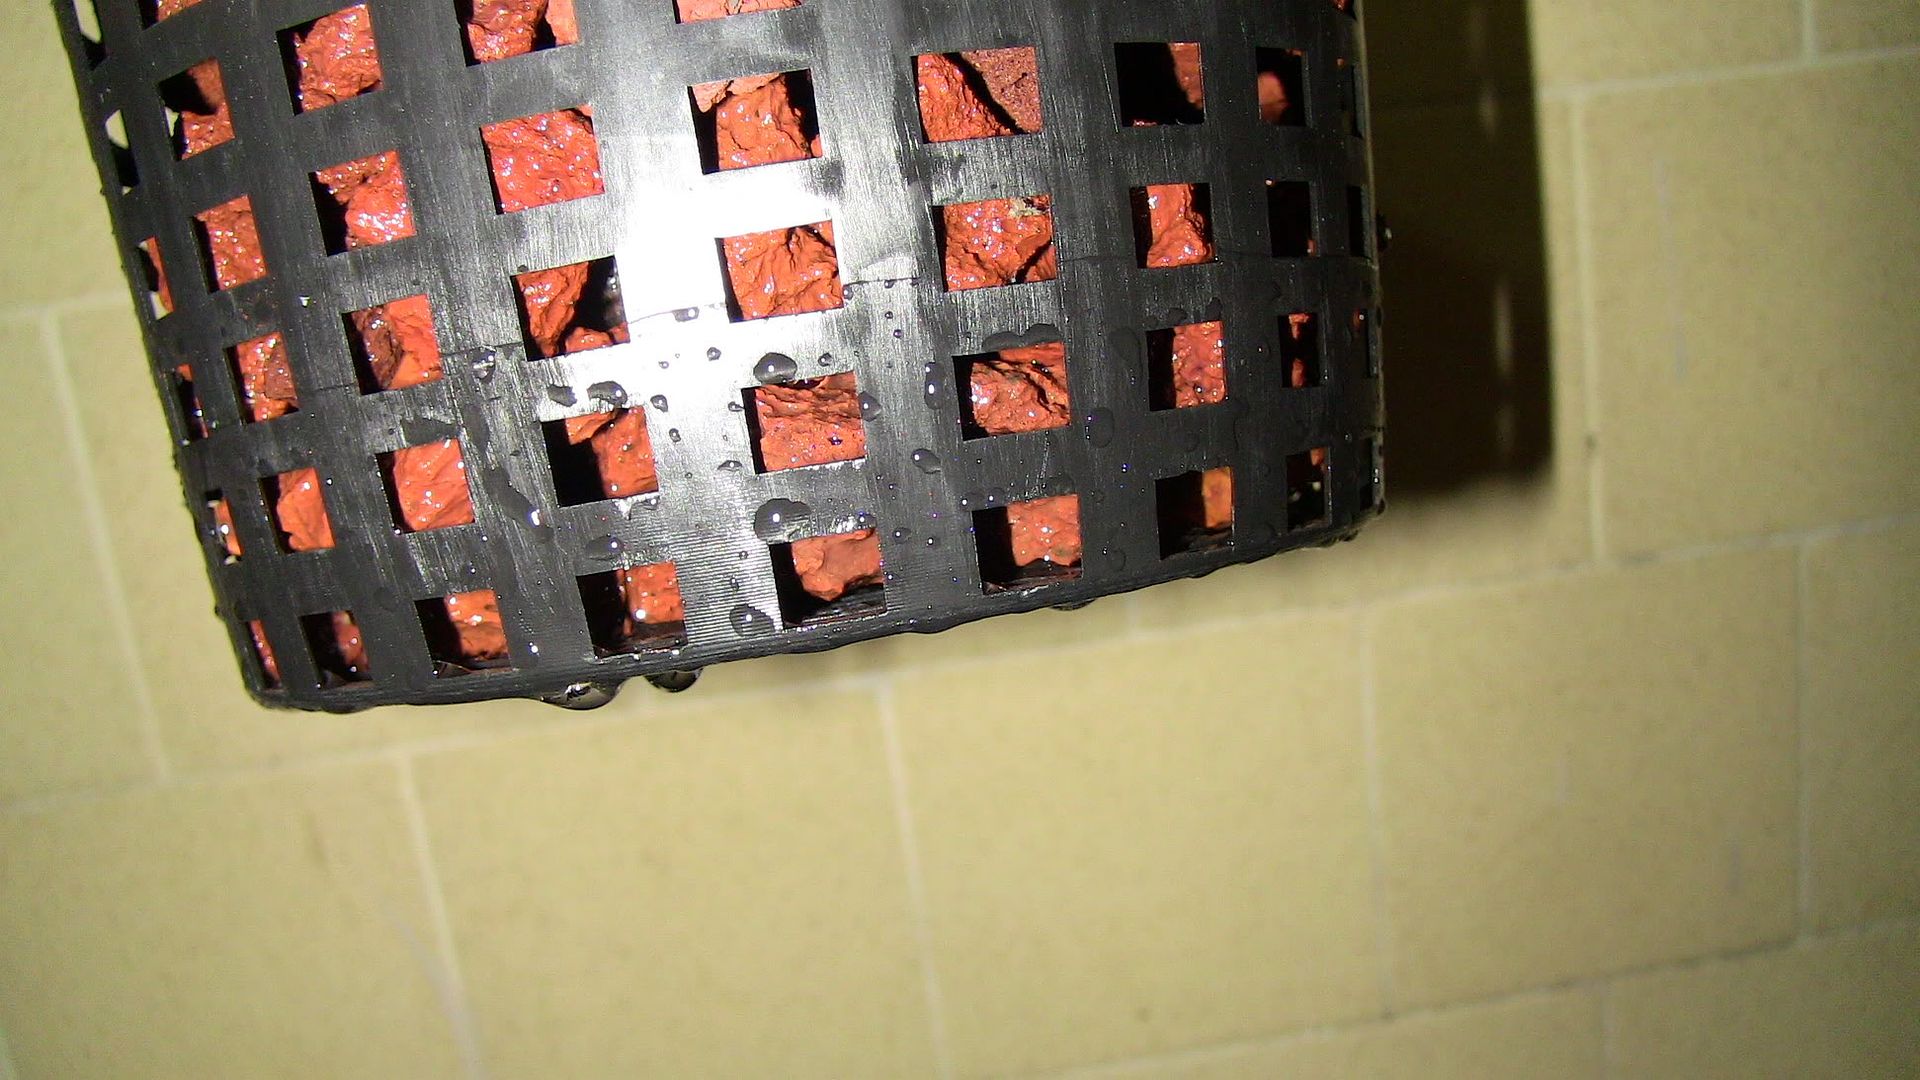
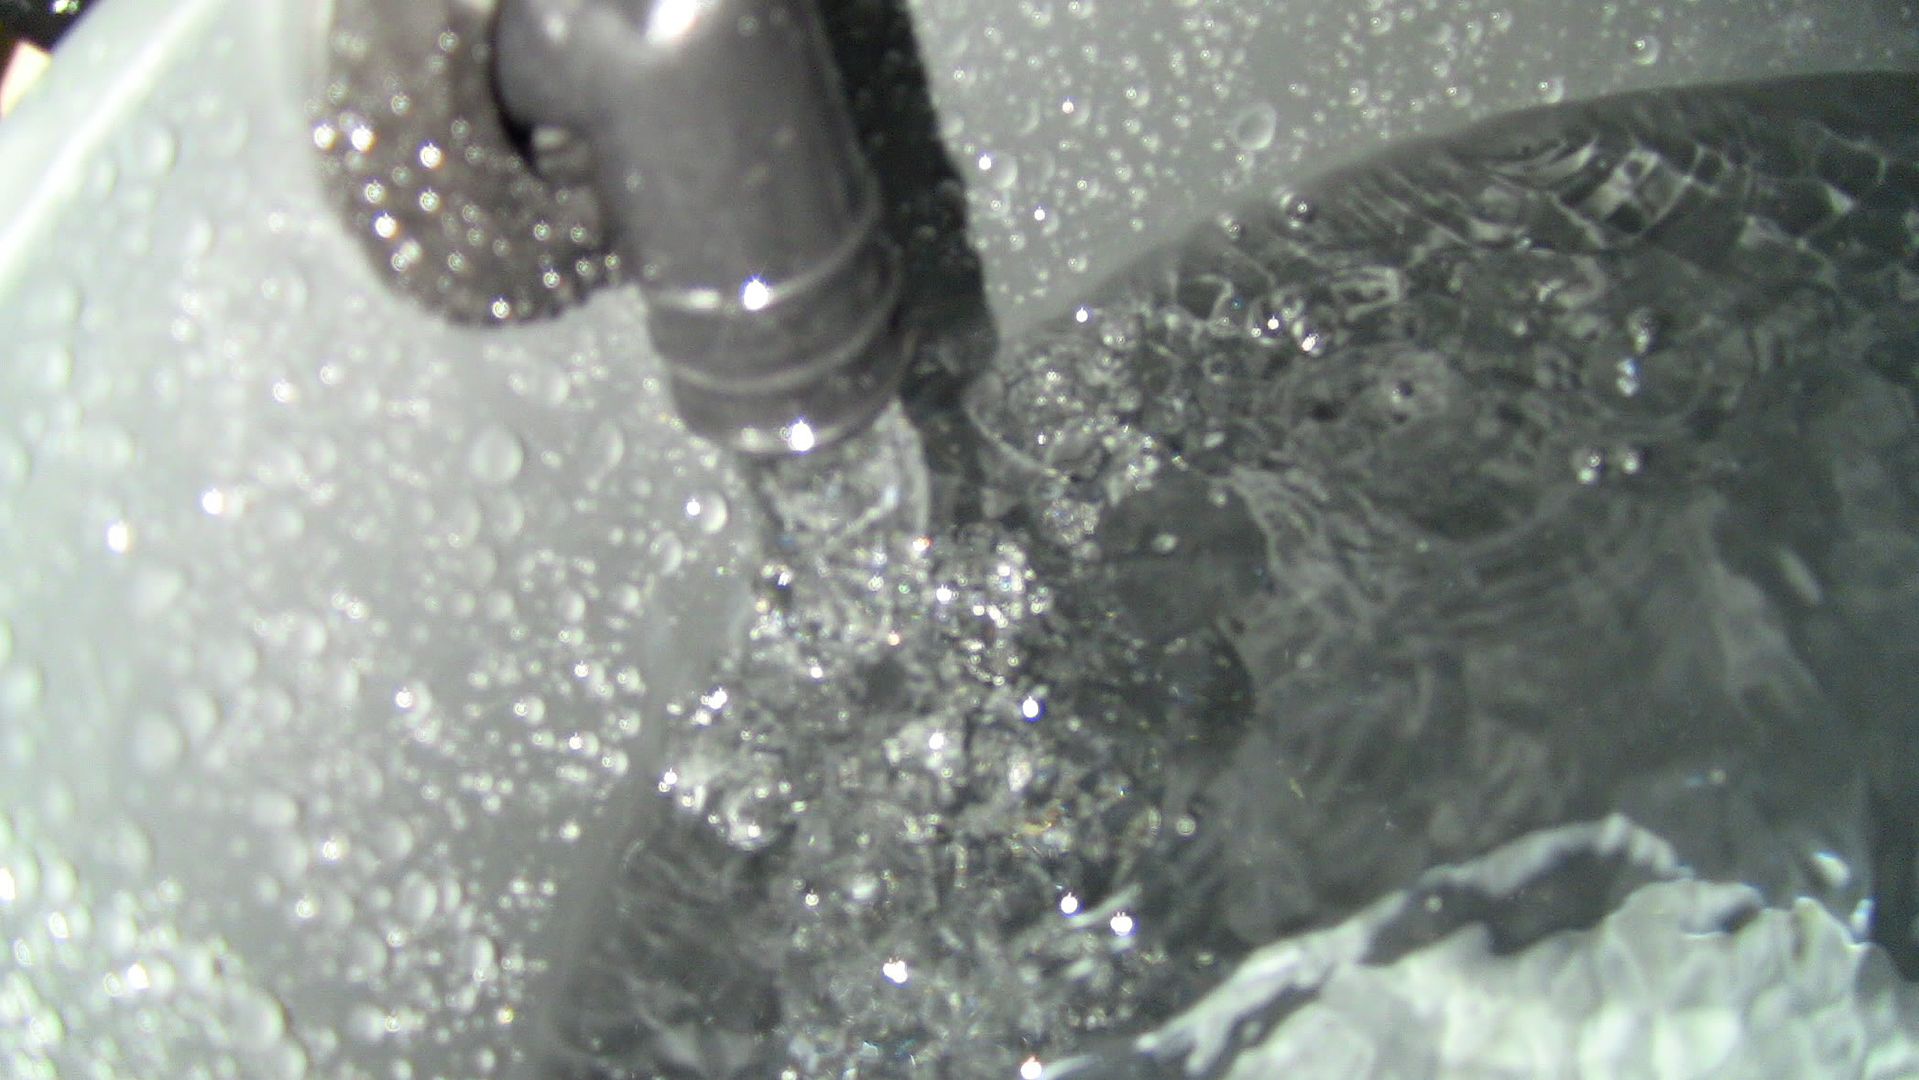
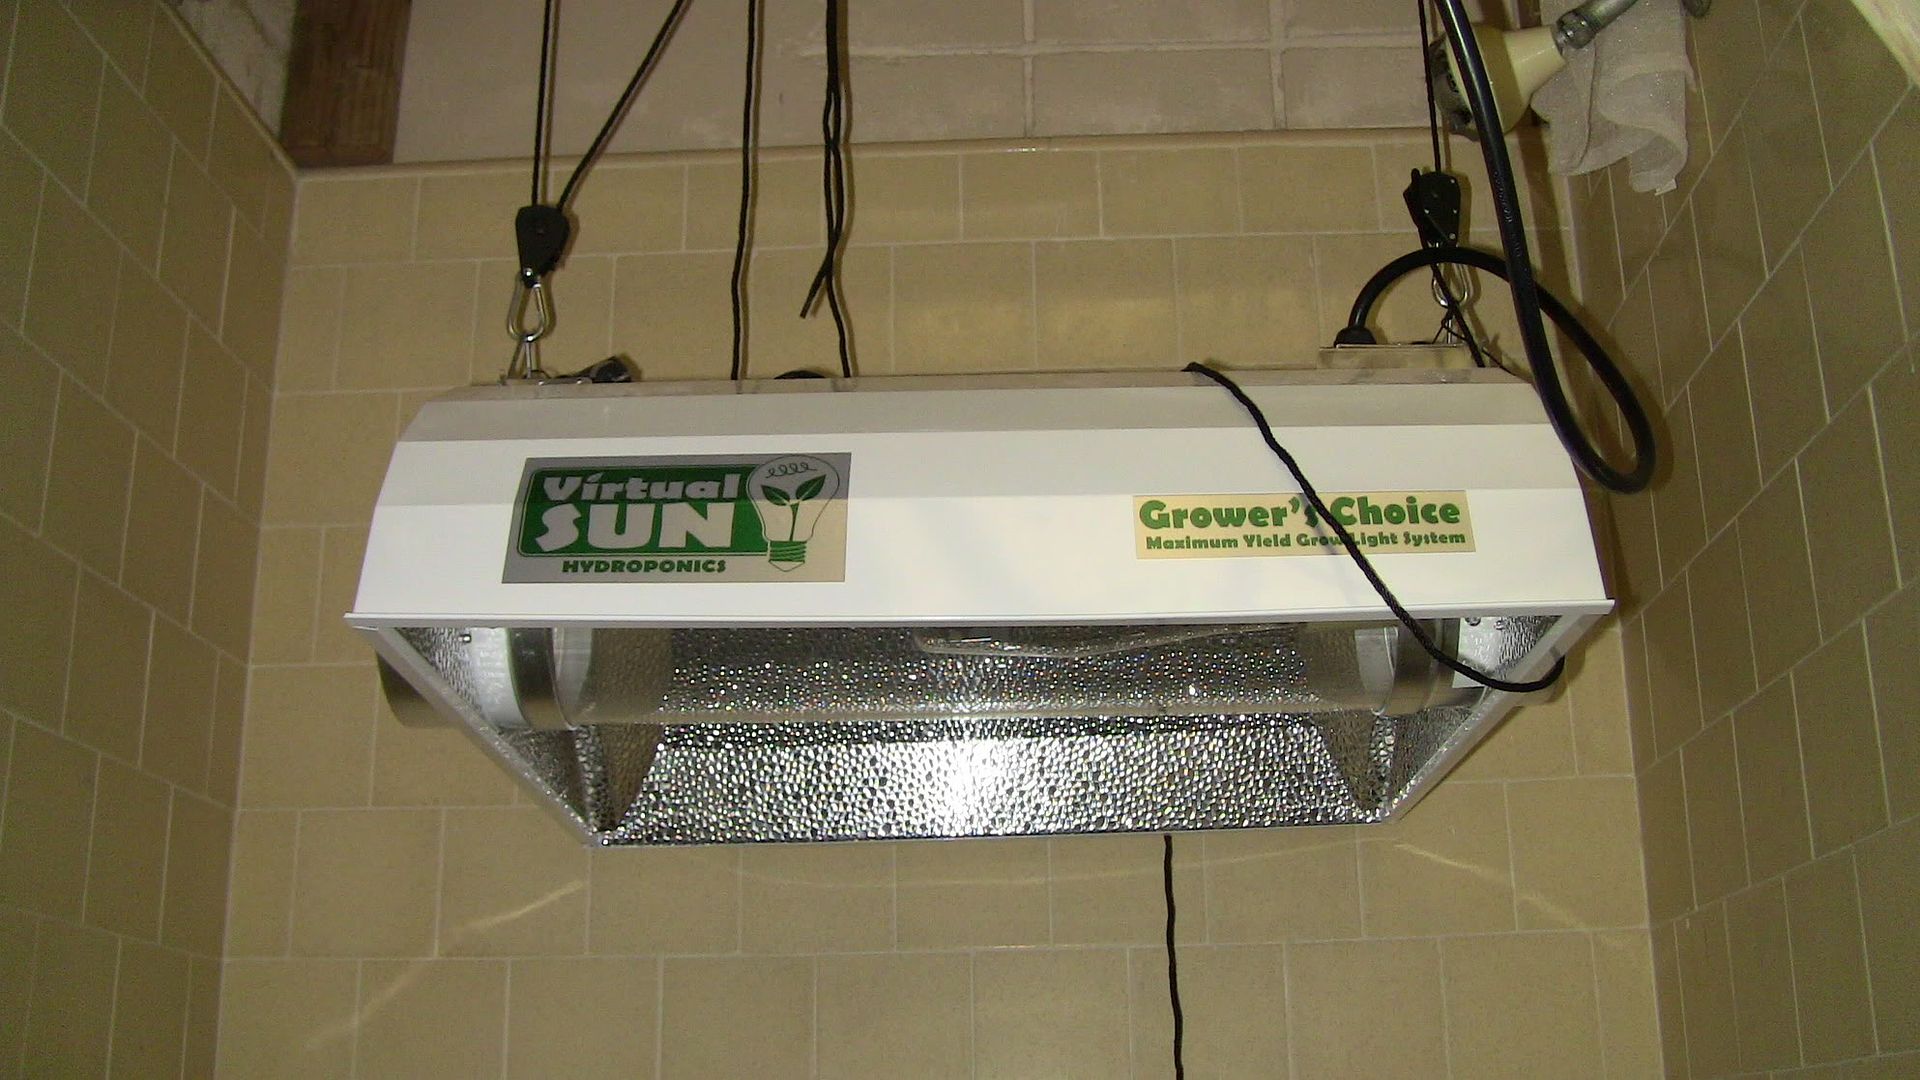
First hydro grow. Testing out the bio buckets before building a bigger system.
dmd8hs.jpg

e5l1cg.jpg

IMG_0134.jpg

IMG_0135.jpg

IMG_0136.jpg

IMG_0137.jpg


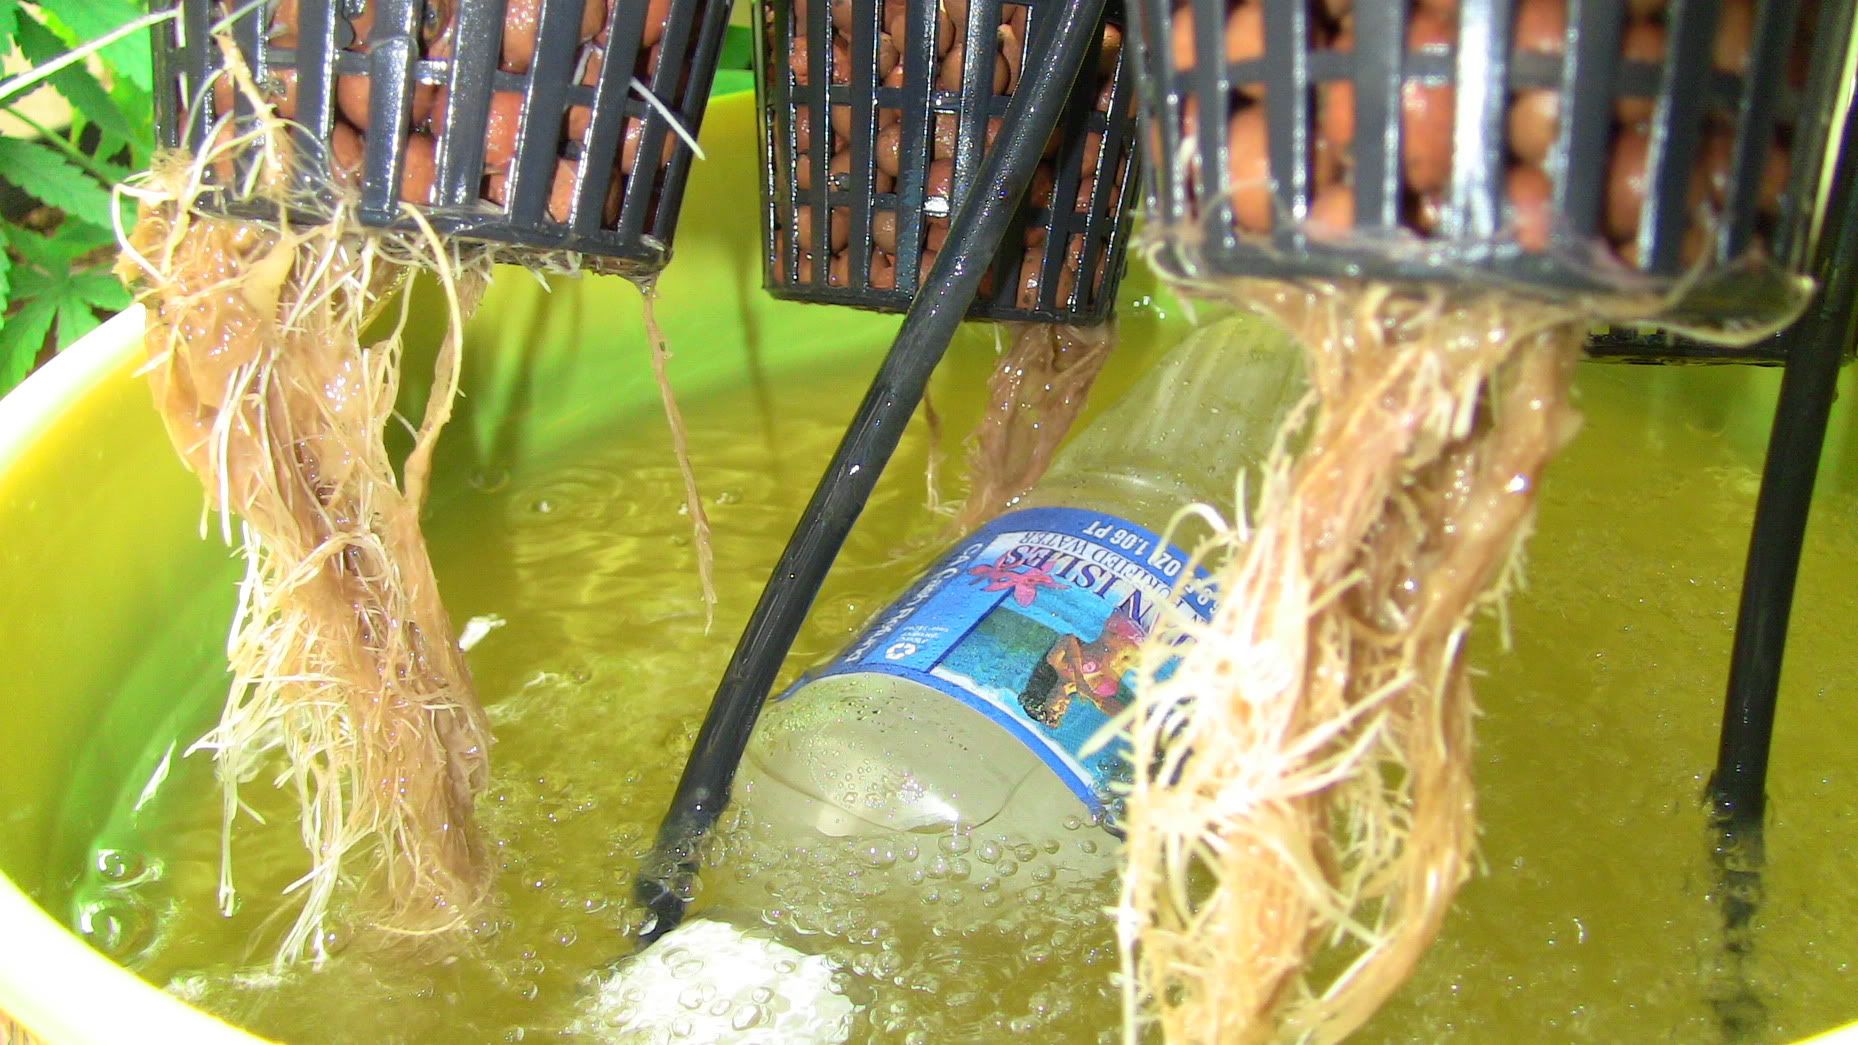
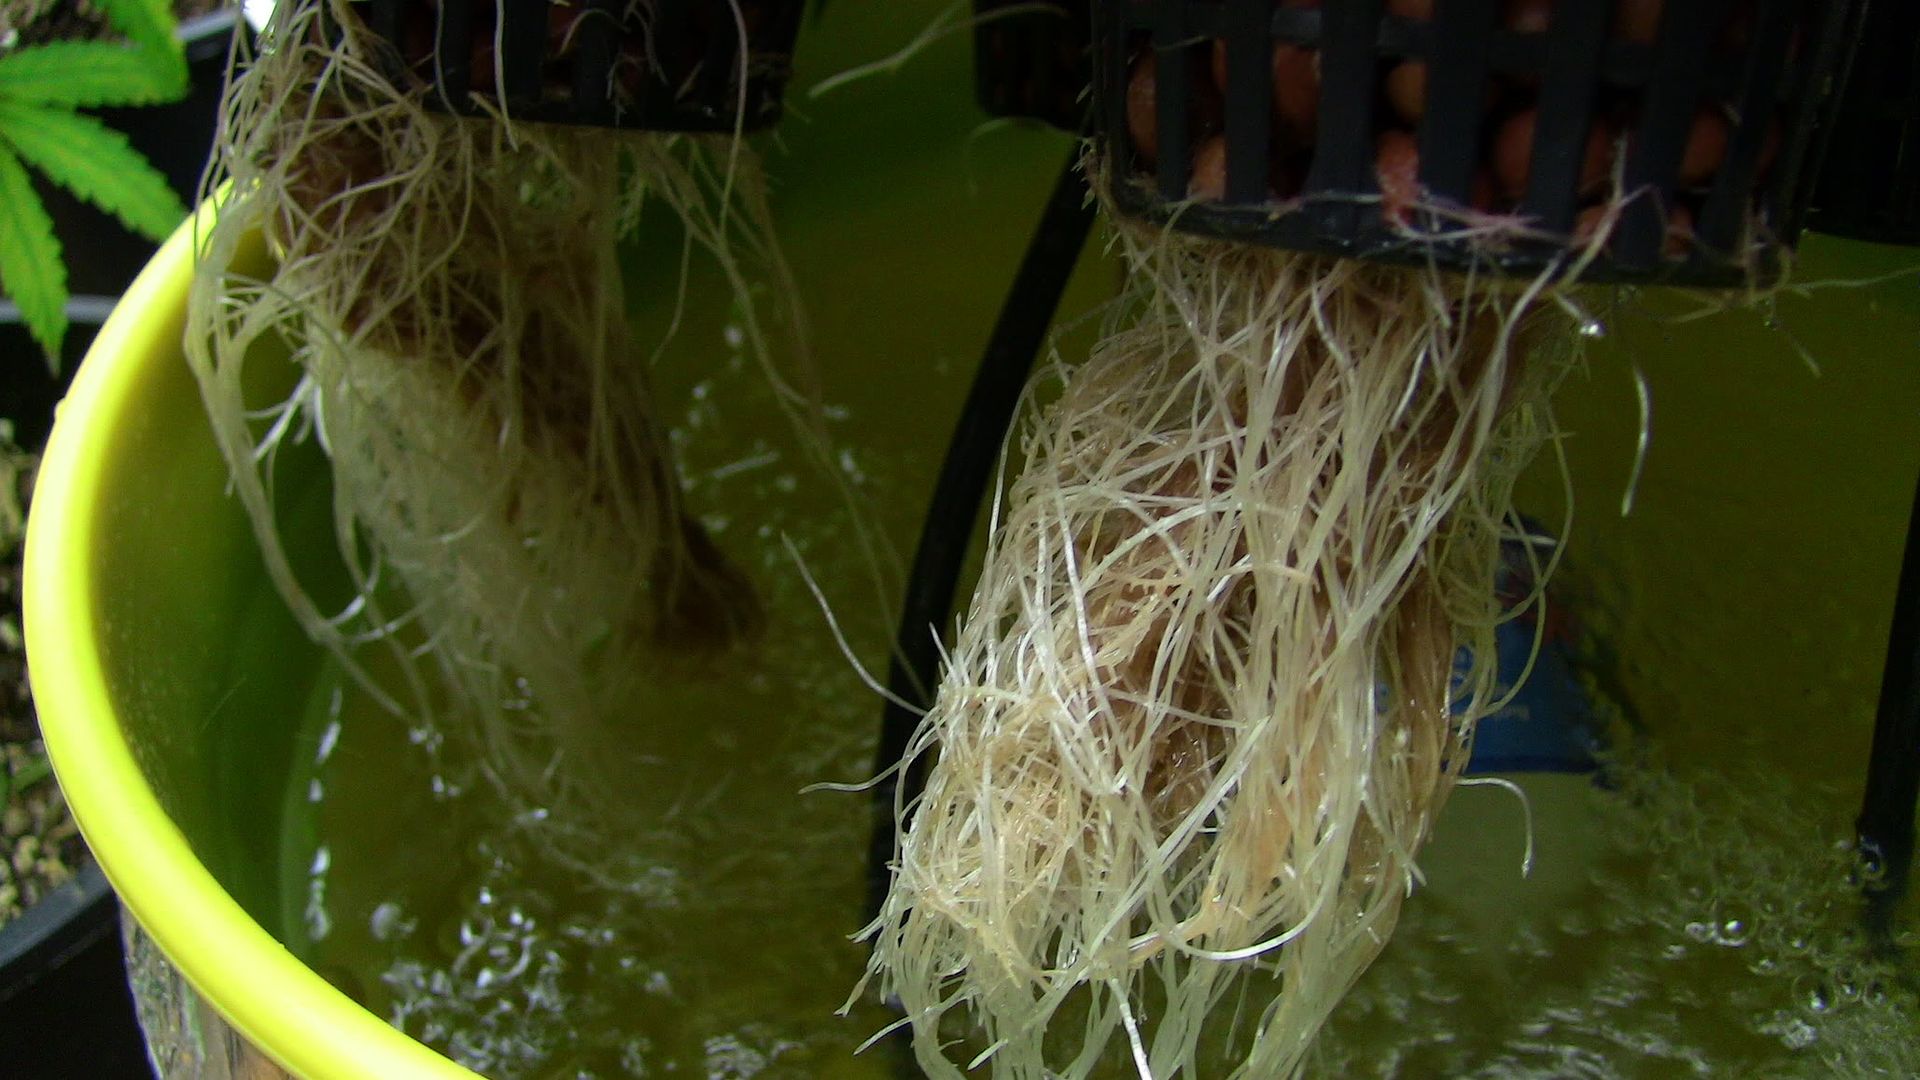
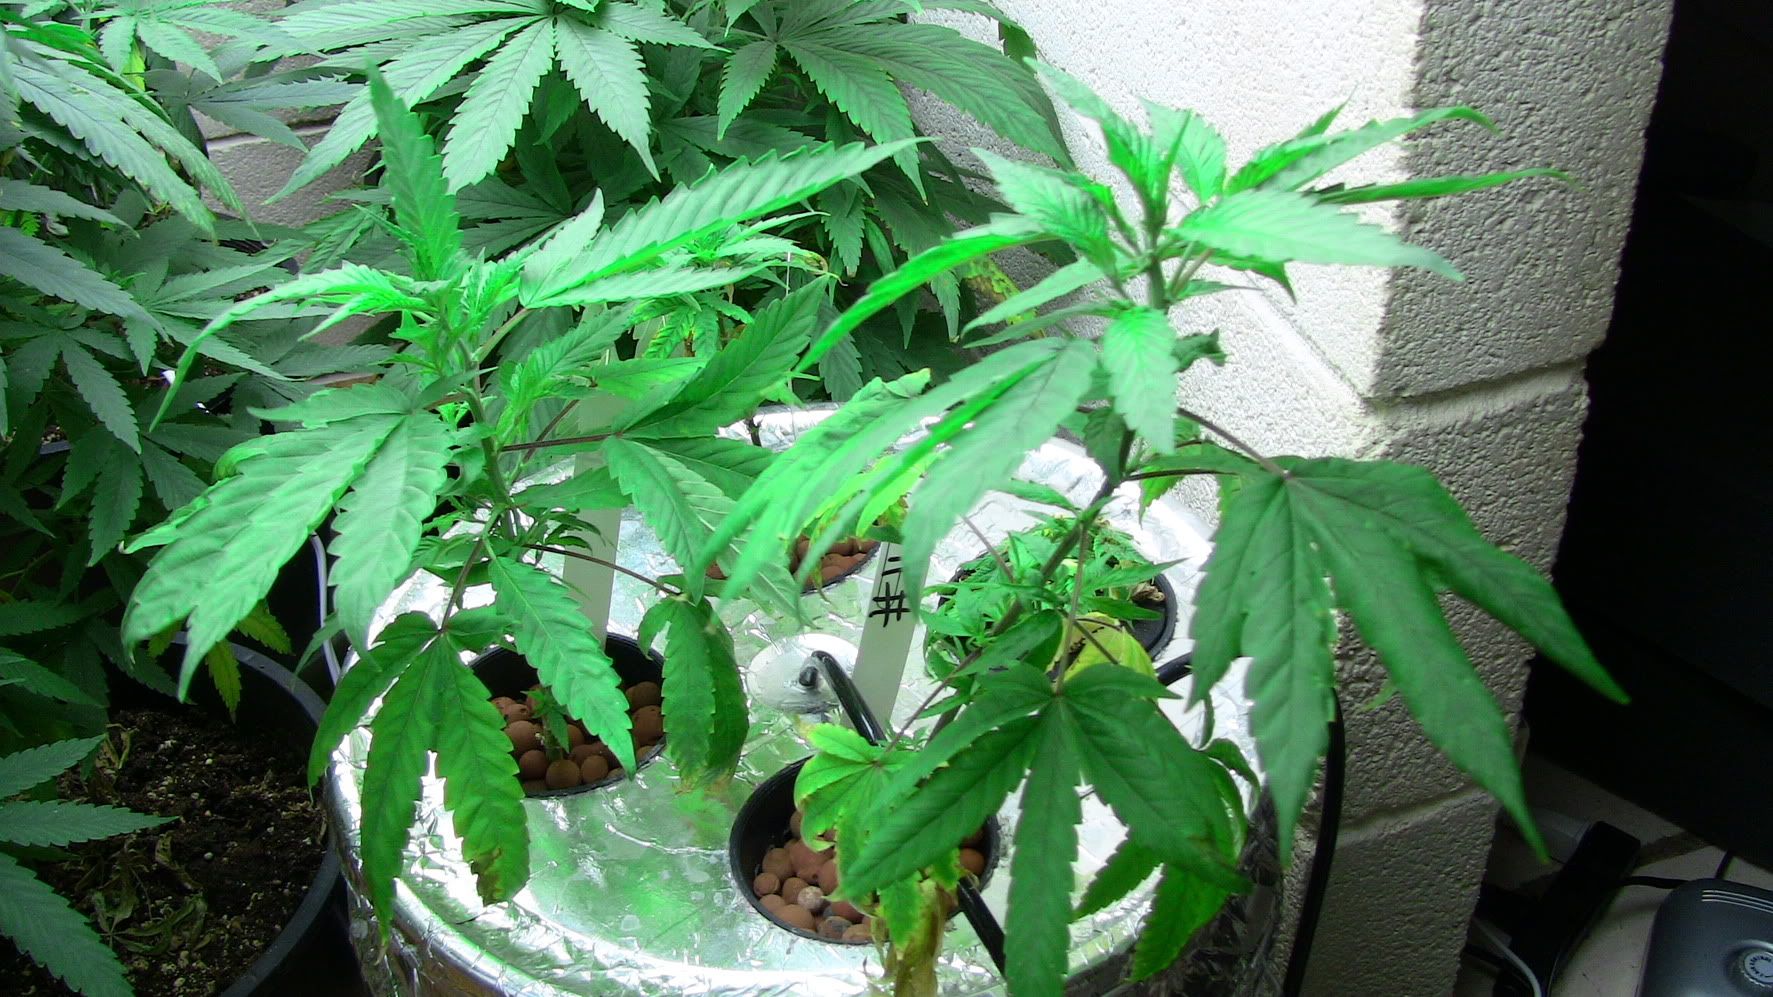
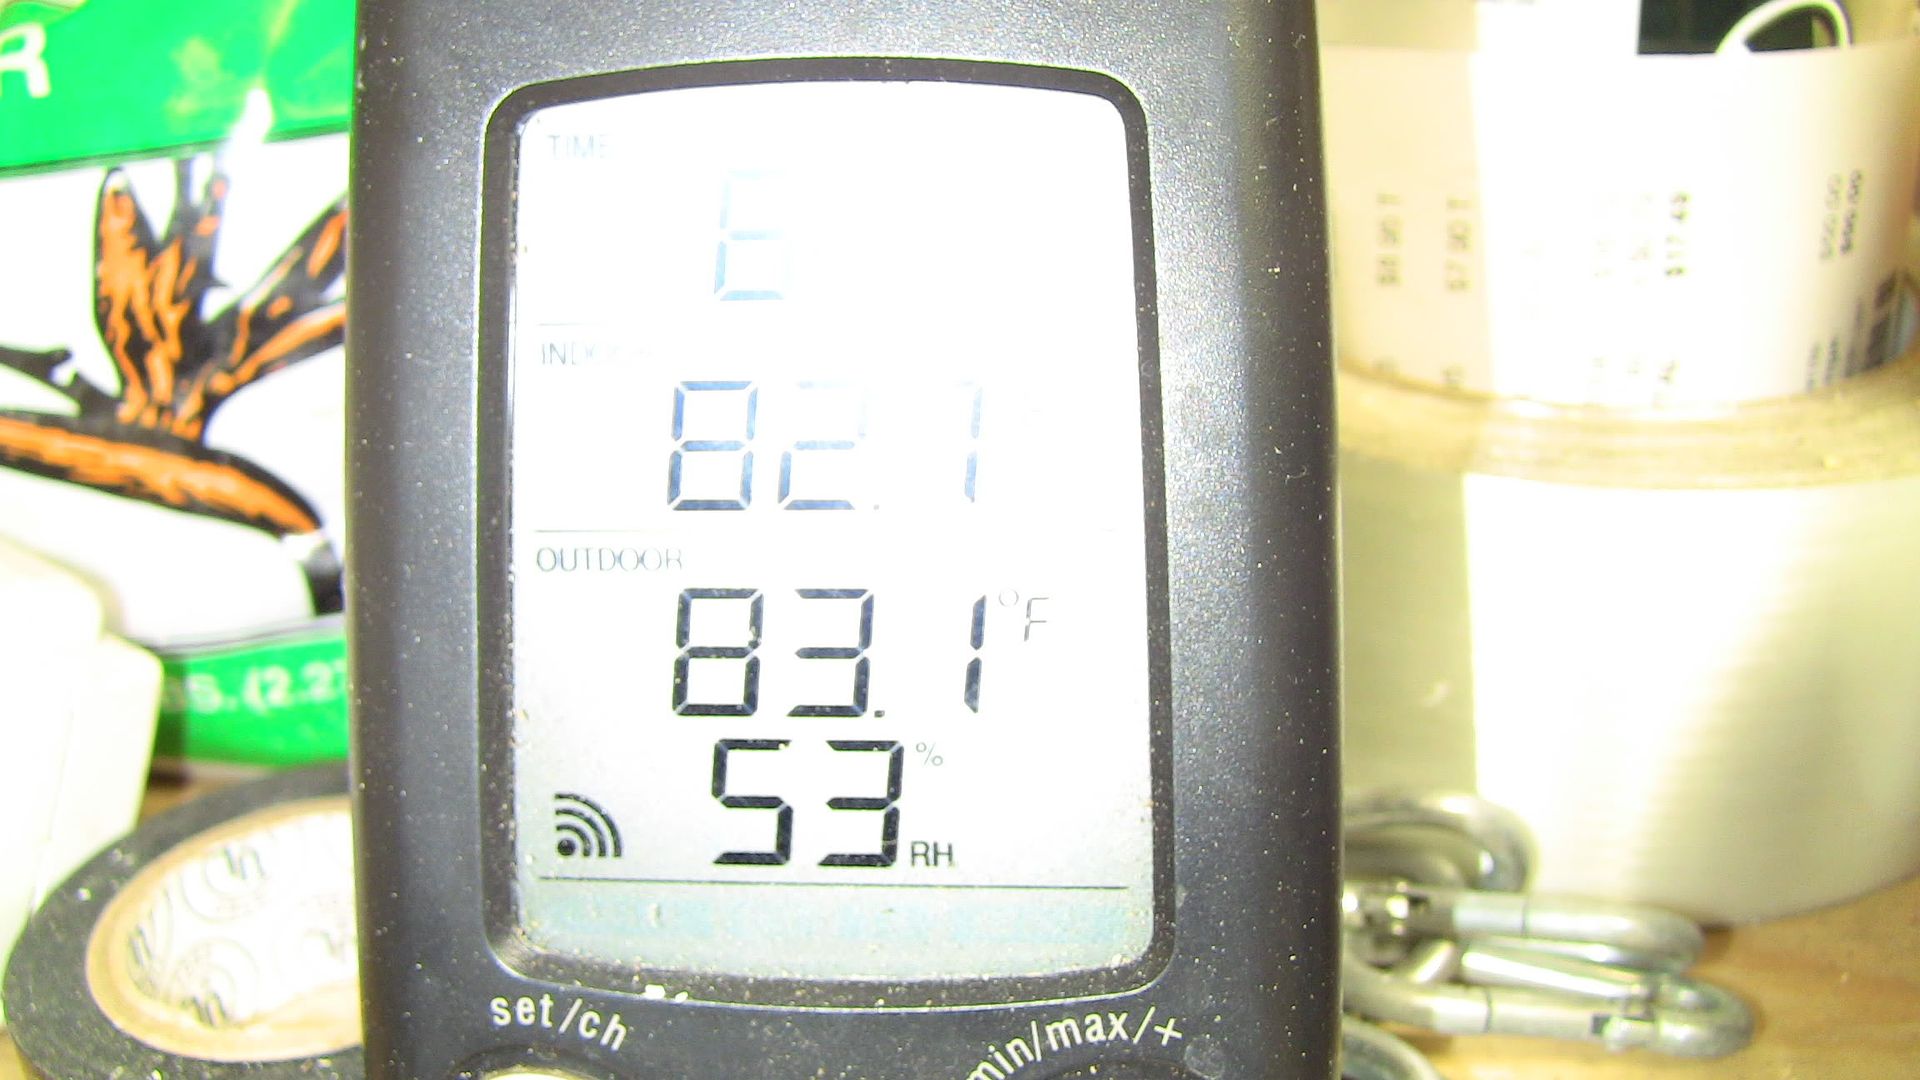
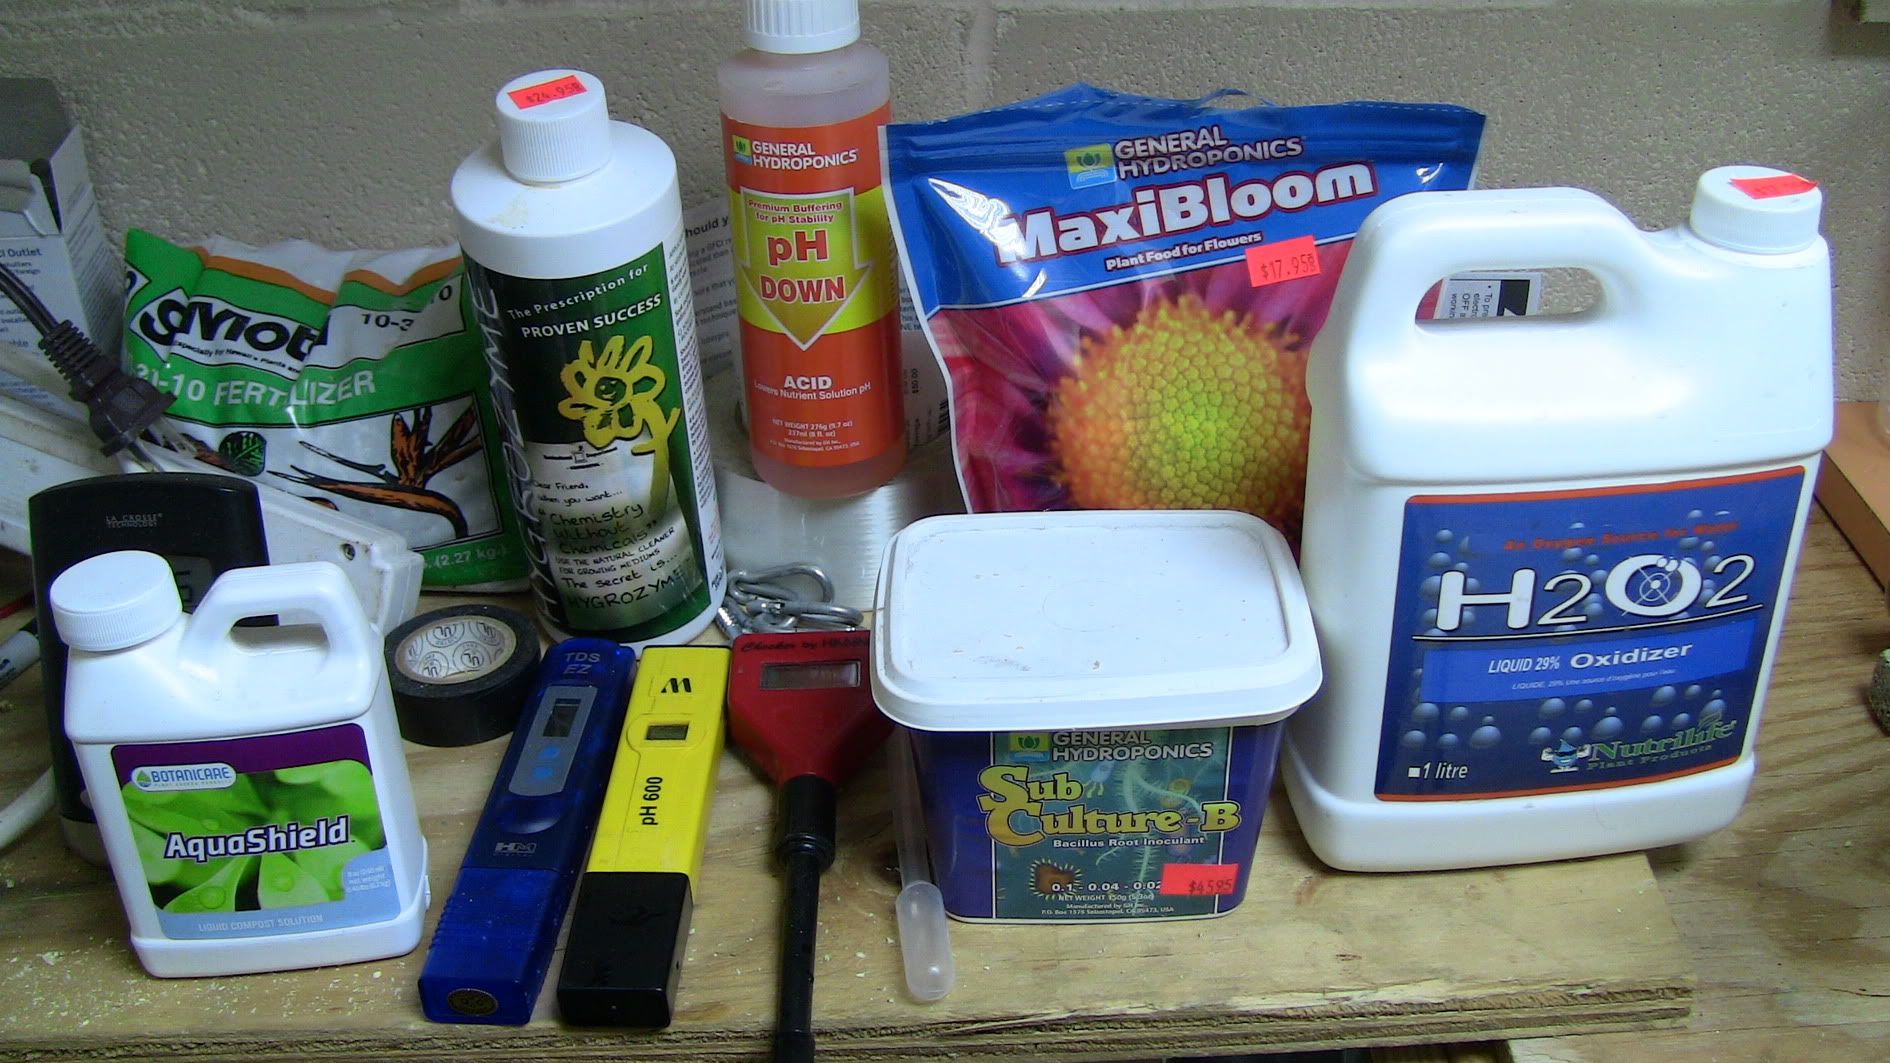
My future mother plants suffering from root rot caused by high temps. Currently being cured thanks to beneficials(subculture b and aquashield) and also using frozen water bottles
IMG_0138.jpg

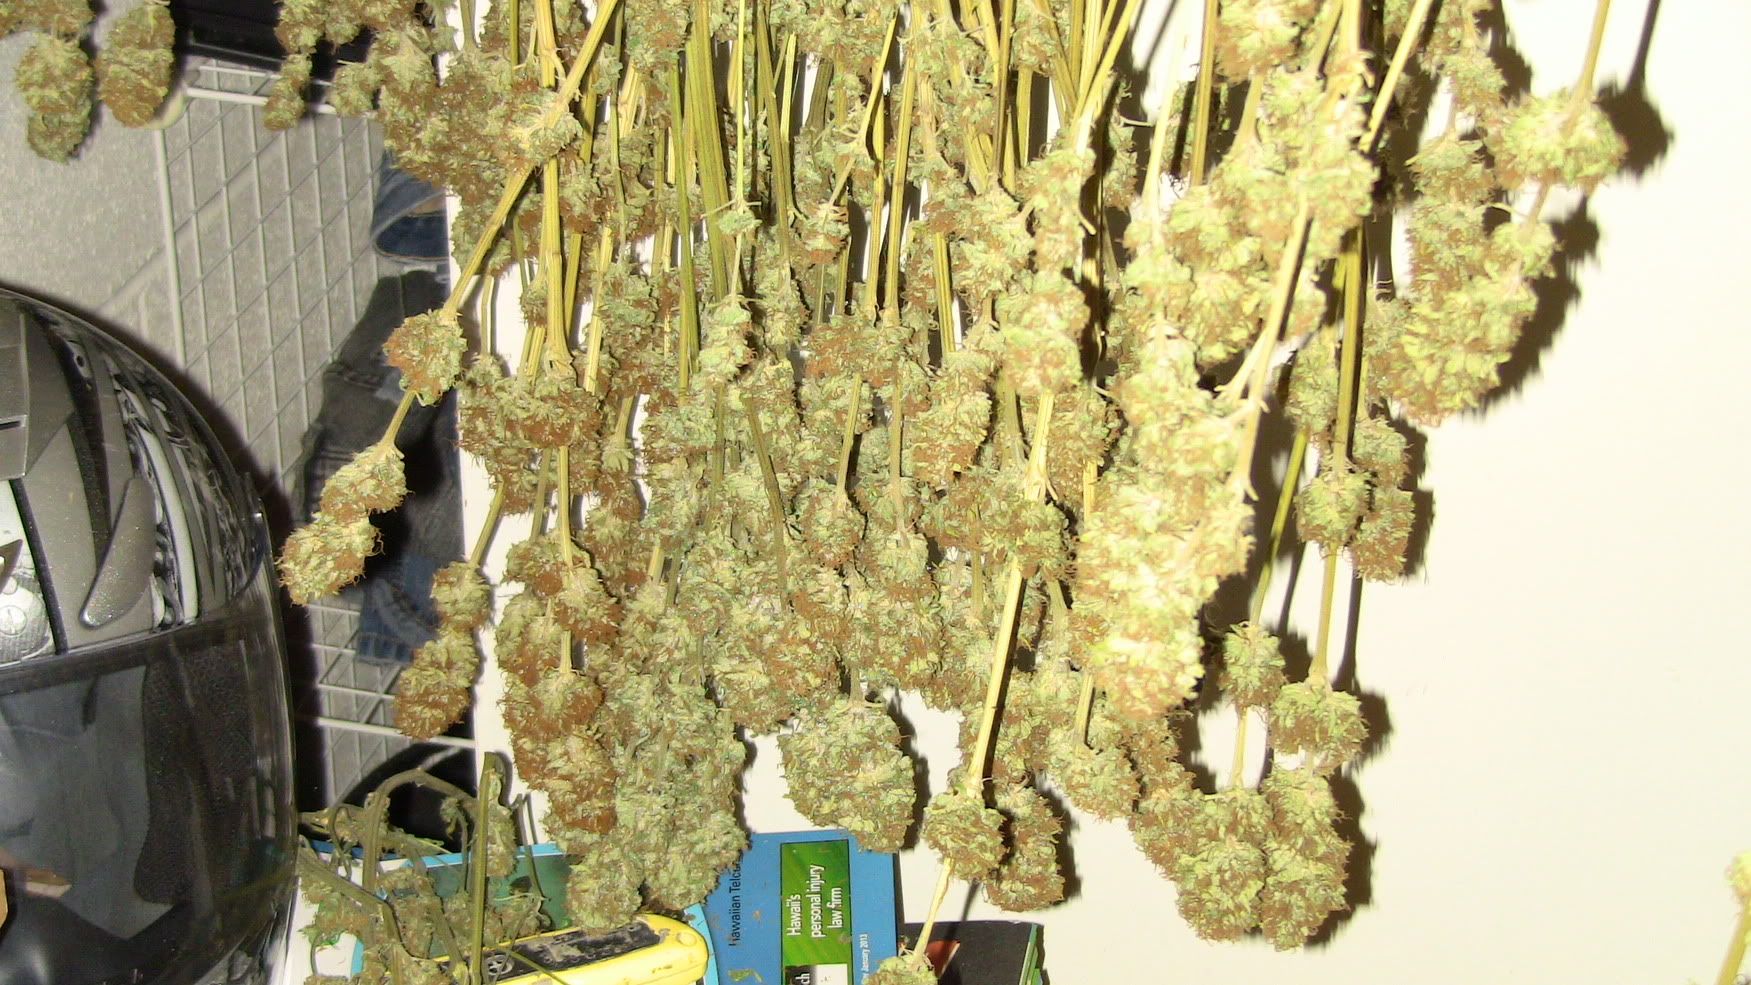
some of last harvest. Soil grow
IMG_0140.jpg
 

bagada

Member
ROOTS BEFORE:
IMG_0138.jpg

ROOTS AFTER
IMG_0142.jpg

IMG_0141.jpg

AIR TEMPS and HUMIDITY
IMG_0143.jpg


KISS as possible:

IMG_0144.jpg


600w HPS

IMG_0145.jpg

IMG_0146.jpg


In the future i will be using this 1-1/2" flexible tube for the return lines instead of PVC to give me more room to move around the buckets

IMG_0147.jpg

IMG_0148.jpg
 

petemoss

Active member
Nice build, badaga! Two classic bio-buckets, top drain and feed with a res bucket in the middle. Even though it's your first hydro grow, I'm sure you'll do well. The only problem I see is your water temps, seeing that your bathroom is 83F and RH is over 50%. It's going to be a struggle to keep the temps down.
 

socialist

Seed Killer No More
ICMag Donor
The frozen water bottle has saved me more than once. The roots look way better. It's seems you got your shit in order.
 

bagada

Member
im looking into getting an AC and also insulation for my buckets. The temps are reading from the veg room which is located just above the shower in a DIY "attic". I believe the flowering room is at a cooler temp, plus i dont have my ventilation 100% set up yet. If i cant get my temps below 80 then im running the AC. Im also gonna check the water temps tomorrow.
 

bagada

Member
100% of the time....i wouldn't see a reason to run it on a timer.24/7 for more D Oxy. Stay tuned for upcoming 4 bucket system for mother, clones, and veg plants
 

bagada

Member
no problem...the real credit goes to peatmoss and bigtoke. I honestly was gonna buy a $3000 UC RDWC until i found these. Im drawn to this system over anything for some reason.
 

bagada

Member
Ive been thinking of ways to extend my waterfall in my buckets since its only a couple inches(shown below). The problem lies in keeping the bottom 2 inches of the netpot submerged as this gives a place for bennies to live. Ive also decided to switch to 10 inch netpots since they are taller thus allowing me to drop my water level and gain more oxygen exposure. Is it necessary for the lava rocks to be submerged? or do they just have to stay wet? IF they just have to stay wet then I have sketched a couple ways to lower my water levels thus increasing waterfall height thus increasing Dissolved oxygen.
IMG_0137.jpg


My Ideas
Figure A is the original design and also my current setup. Notice arrows indicating there are no "dead spots".
Figure B is the same as A, just no elbow....so the water stream shoots directly at the pot causing alot of splashing and keeping the medium wet. There may be issues with deadspots as there is nothing to circulate the water.
Figure C is probably the best. It has a top feed skinny tube as well as an elbow to shoot the stream down and around.
IMG_0152.jpg


Which Design do you think I should stick with? Peatmoss?
 

petemoss

Active member
Hi bagada,
A bio-bucket must have some of the lava rocks submerged with water movement through the rocks. There is no air gap where cord type roots can form. Only your setup A has submerged rocks. But I would add a top drip (with an open-ended tube) to keep the rocks moist.

For the inner pot, I'd prefer to use a solid sided pot with holes drilled in the bottom only. That way, you can create a humid environment in the inner pot where air roots will grow. The upper humid chamber should be as large as possible and deep enough to allow equal space for air roots in the inner pot and water roots in the bottom pot.

Later you can experiment with different types of top feeding so that you can get even moisture throughout the inner pot. That may involve a drip ring, a larger top feed tube, or pulse feeding - whatever will produce air roots filling the entire top pot.
 

bagada

Member
thanks very much....so im scrapping the plans. how about maybe using lava rocks only at the base of the pot and hydroton the rest of the way. I believe hydroton can wick the moisture from the bottom of the inner pot and transfer it to the top via capillary action. would this create enough humidity/moisture?

Also where did you purchase your modular screens?
thanks in advance
 

steken

New member
Looking great im doing my own Biobuckets soon but i will probably mix it with some undercurrent DWC
 

bagada

Member
I ditched the old setup and built this new setup with flexible tubing and modular screens. also hooked up an AC to lower air and water temps.
IMG_0159.jpg

REZ
IMG_0158.jpg

IMG_0157.jpg

DIY MODULAR SCROG
IMG_0156.jpg

IMG_0155.jpg
 

petemoss

Active member
Hi bagada,
Excellent mods you made! The AC will help you keep water temps under 70F and fixes a major weakness in your original setup. The larger netpot will also improve root growth above the water line. A suggestion about the netpot: use some panda film to block off the holes in the upper half of the netpot. You can put the plastic on the inside of the netpot. That should keep the air roots moist and improve the air exchange. What you should aim for is to have the roots spread out in the upper part of the netpot instead of growing straight down to the water. lava rocks at the bottom and hydroton above the water line will work well. The lava rocks have more pores for the beneficial bacteria to grow and the hydroton has more air spaces to help the roots spread out. Your lava rocks look pretty big. The rocks made for barbarques need to be smashed up to grape-sized pieces and rinsed out. HD used to have smaller lava rocks for gardens. Very nice PVC scrog frames!
PS Now that I think about it, a cloth lining may work better than plastic since cloth will wick better and also help with evaporative cooling.
 

thinkin

Member
hydrogen perioxide + Bio buckets?

hydrogen perioxide + Bio buckets?

Dont add h202 unless you want to run "dead rez"
or kill all bacteria in order to add back just the benies.

Good or bad bacteria cant survive h202.

I am struggling to find info on environment limits of VAM.
But very sure you dont want to add h202 to bio buckets.
 

cravin morehead

Active member
Veteran
liking your set-up! nice job, but, may i suggest, putting hose clamps on all of your hose connections. i've seen many times that the hoses eventually stretch and come loose, either on their own or from the pump pressure. its a cheap fix that will save you some heartache... otherwise nice job, looking forward to your successful grow...

cm
 

bagada

Member
cravin....will do thanks for the advice
I only use the h2o2 for steralizing things in between growing. For example i had a bunch of hydroton that was infected with slime and mold. I threw it in a bucket with a splash of h2o2 and the rest water and let it sit for a couple days. the h2o2 turns into water by then. I should have more pics of my veg room setup soon.

hey, peatmoss...how can i get my hoses to give off the same amount of water? 2 of the buckets are getting way less water that the other 2.
 

petemoss

Active member
...
hey, peatmoss...how can i get my hoses to give off the same amount of water? 2 of the buckets are getting way less water that the other 2.

First, are you pumping into a loop? Try that first. See pic below to see what I mean by a feed loop, which is a circular feed. If you still get unequal flow, you can equalize the flow by restricting the flow at the elbow of the faster flowing buckets. You can do that by adding valves or by putting tubes on the elbow as in the pic below. What's the size of your feed elbow? If you are using 3/4" elbows, you can go down to 1/2" elbows.

The galleries are down for maintenance, so I'll add pics later.

This is what I mean by pumping into a loop. The pump outlet goes into a Tee and then a circular loop:
picture.php


OR you can restrict the output from the feed elbow by putting a section of tubing inside a larger tube like this:
picture.php


If you are using a 3/4" elbow, a 1/2" tube fits inside a 3/4" tube.
 
Top