
Bunz
Active member
I've been a lifelong r/w user for cloning purposes, but after reading Rez's method for cloning in coco, I decided to give it a shot. HOLY SHEEPSHIT!!! Far & away the easiest and fasted clones I've ever seen. I was able to put my last run of clones in my veg chamber under a 400 MH in just 13 days after cutting. I've tweaked his method a bit and would like to share my method.
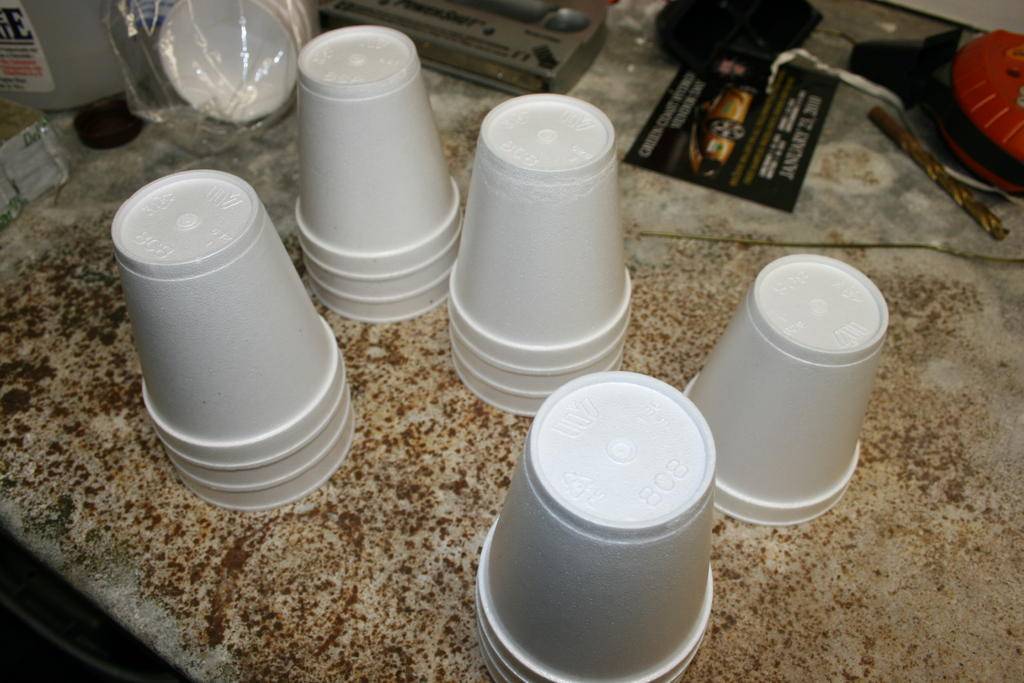
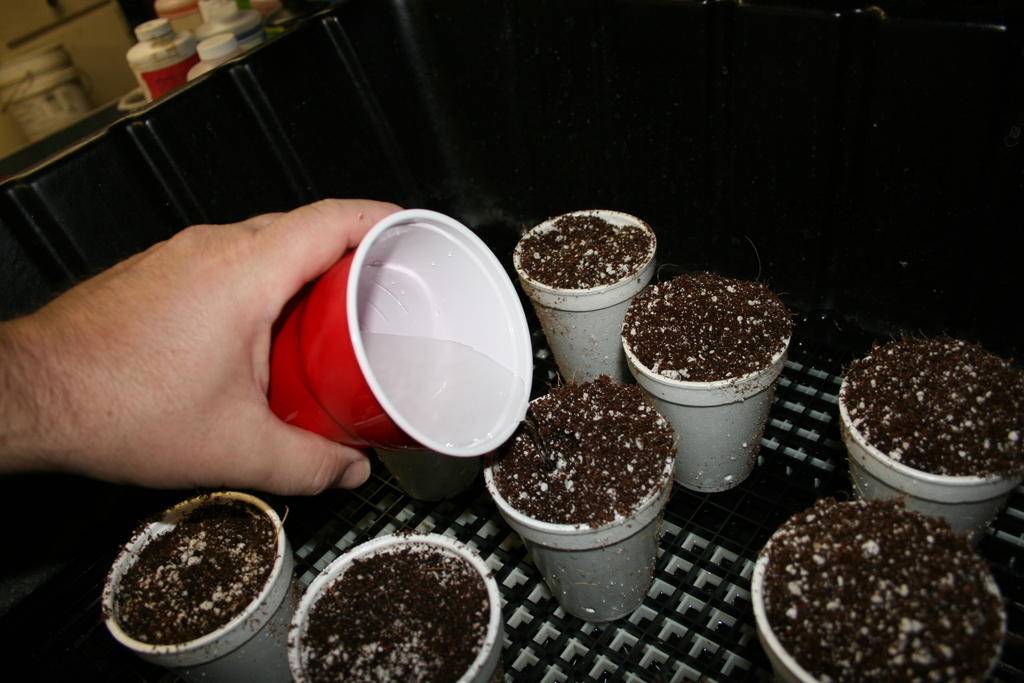
I use 8 oz stryofoam cups (for all the treehuggers, I reuse the cups too ).
).
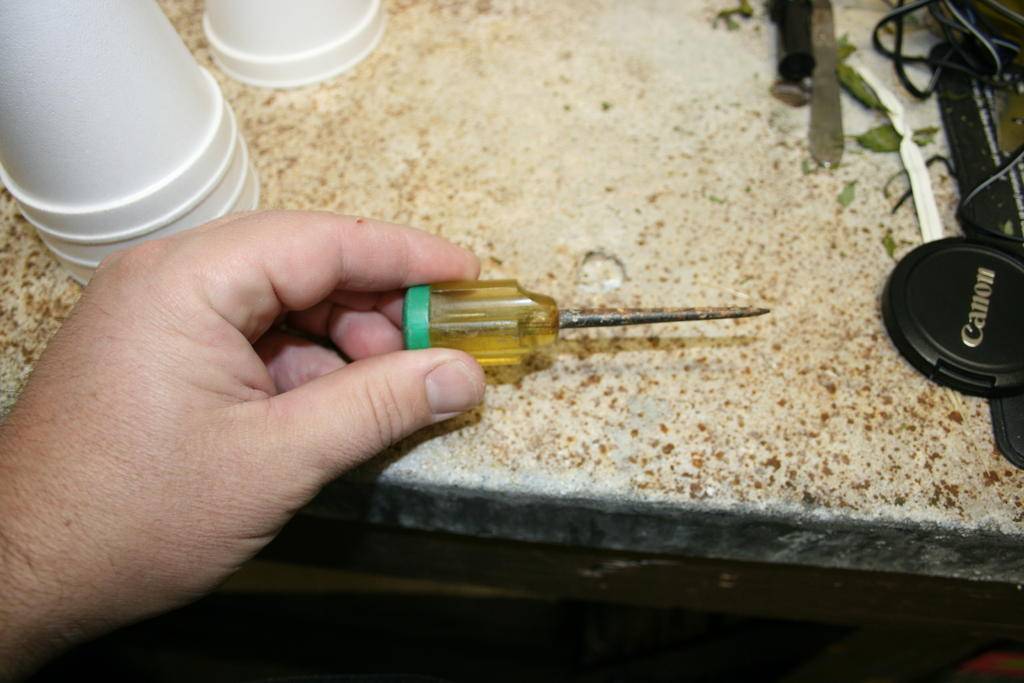
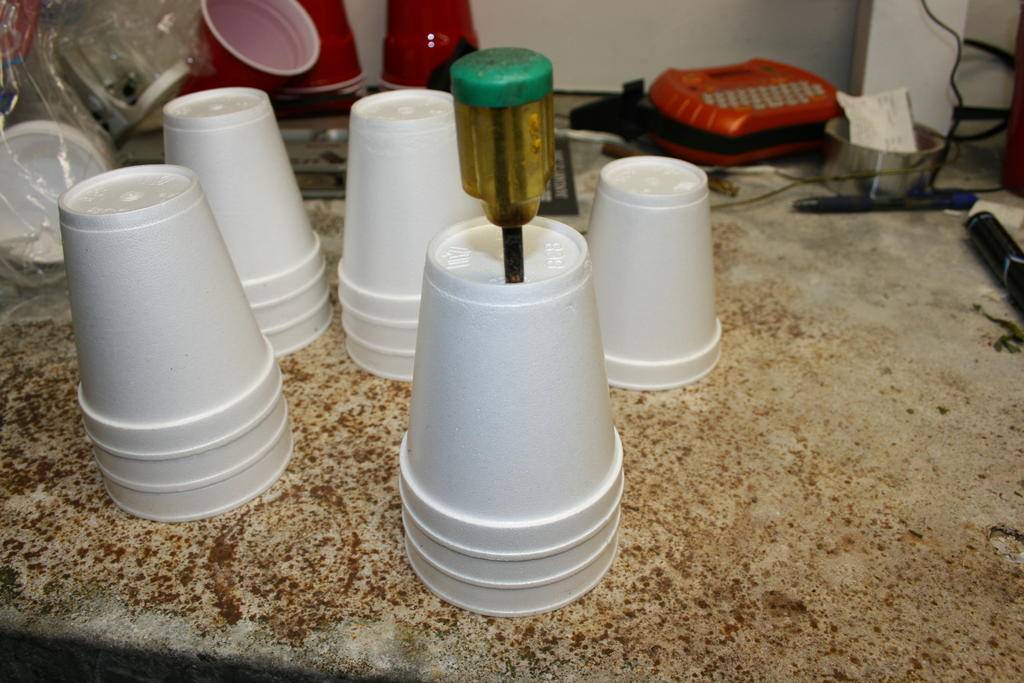
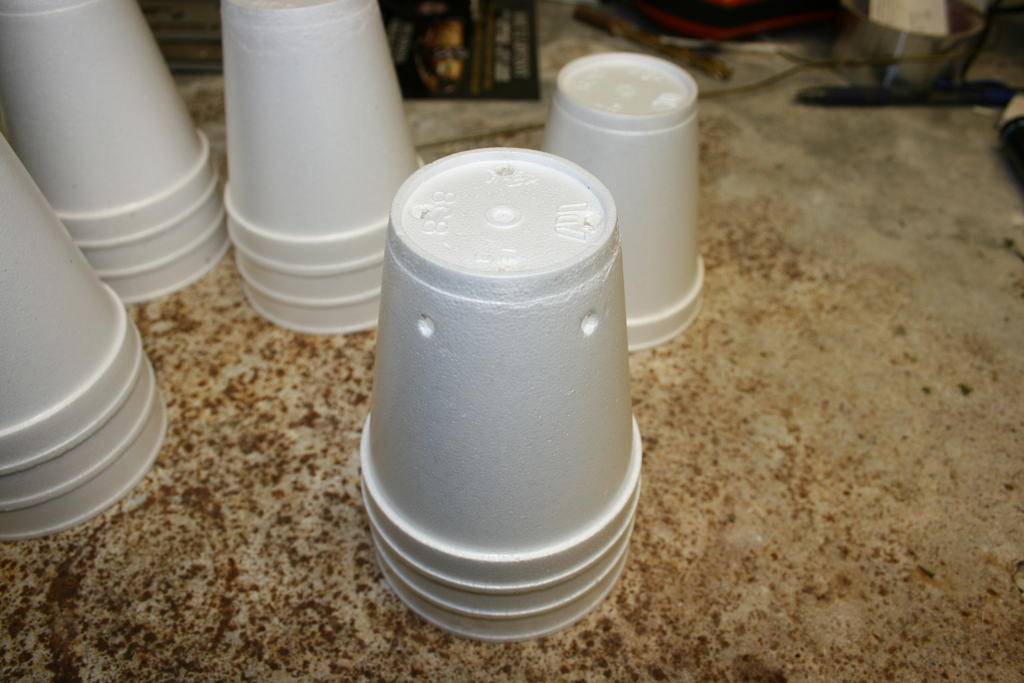
Using a scratch awl, I poke holes in the cup for drainage.

Next I fill the cups with my medium. I use Canna Coco mixed with 25% perlite.
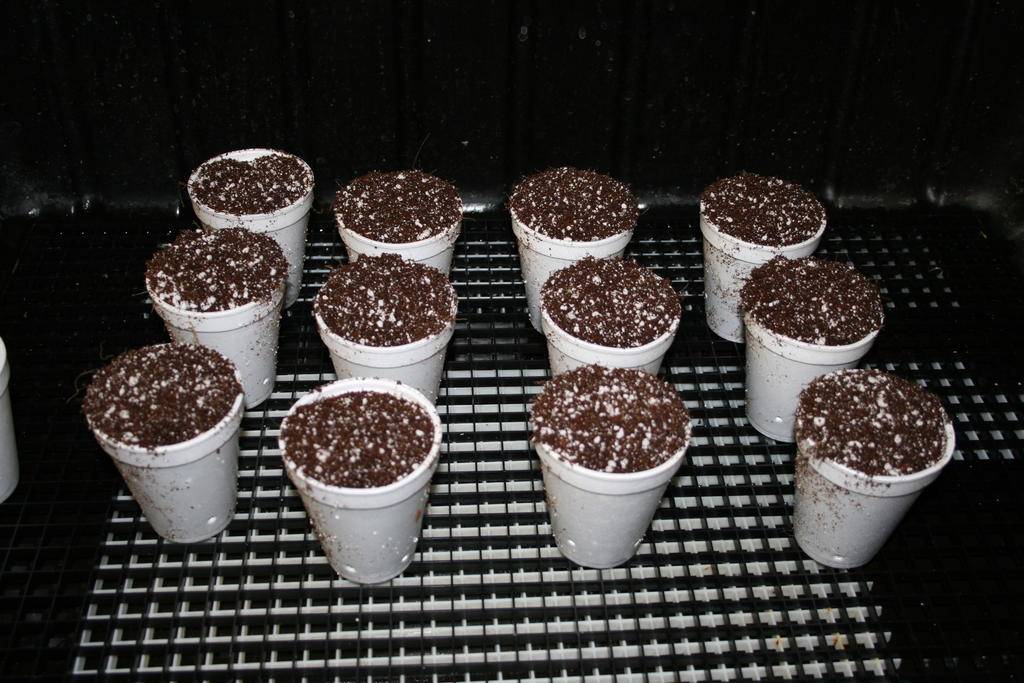
I water the coco w/ nutes consisting of 4 ml each canna coco a&b, 2.5 ml cal-mag plus and 2 ml GO bio root per gallon of water. Adjust PH to 5.8. PPM should be in the 450 range. Do not tamp down or compact your coco yet!
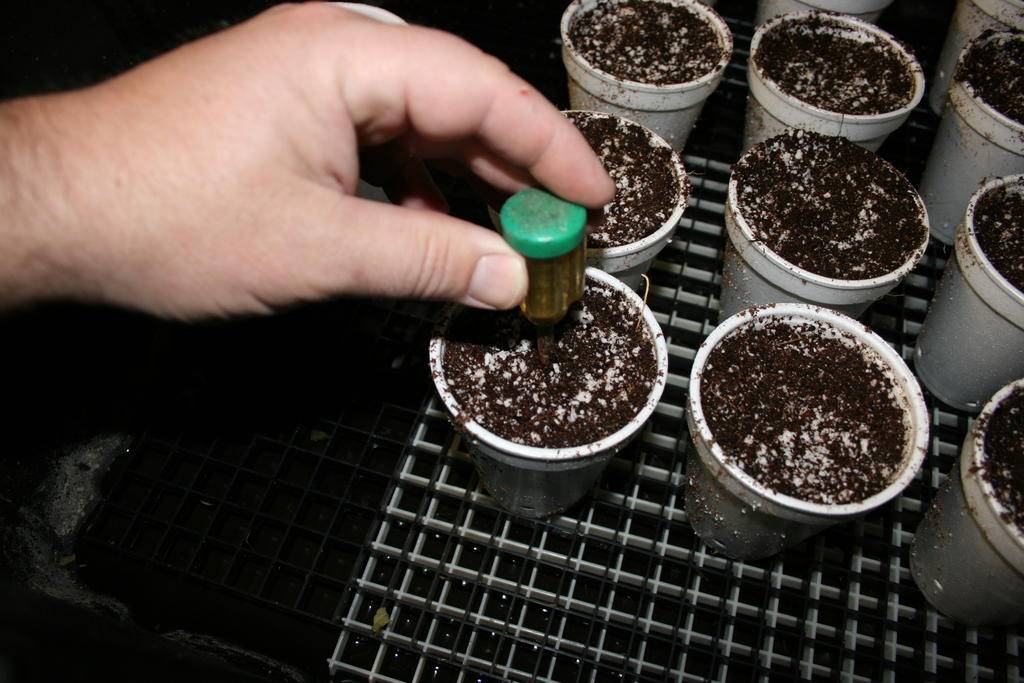
Next using your scratch awl again, poke a hole in the coco.
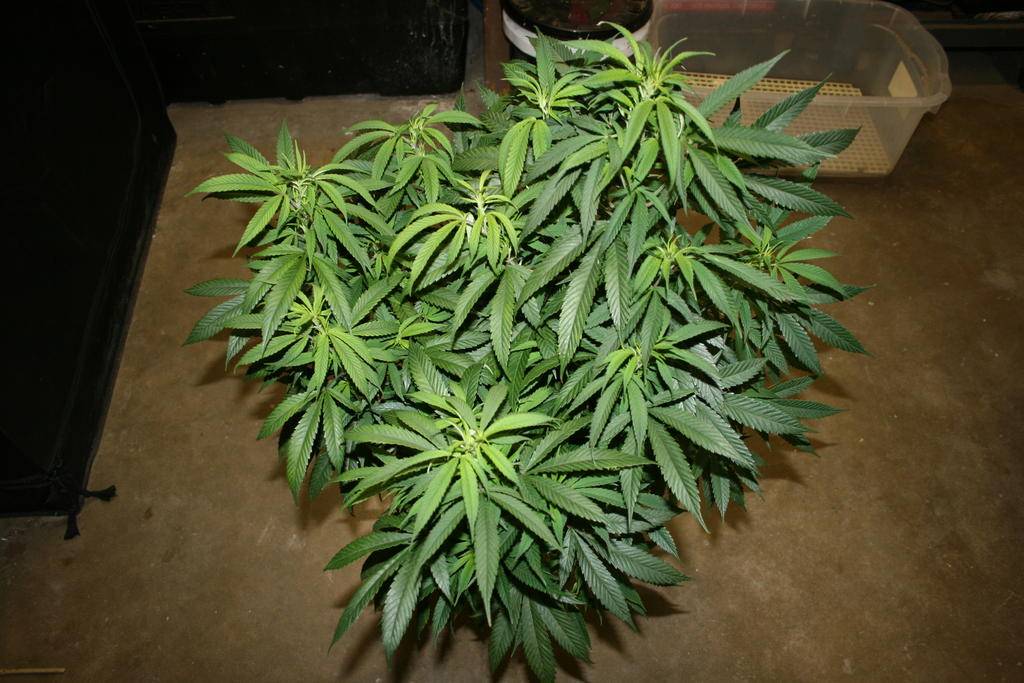
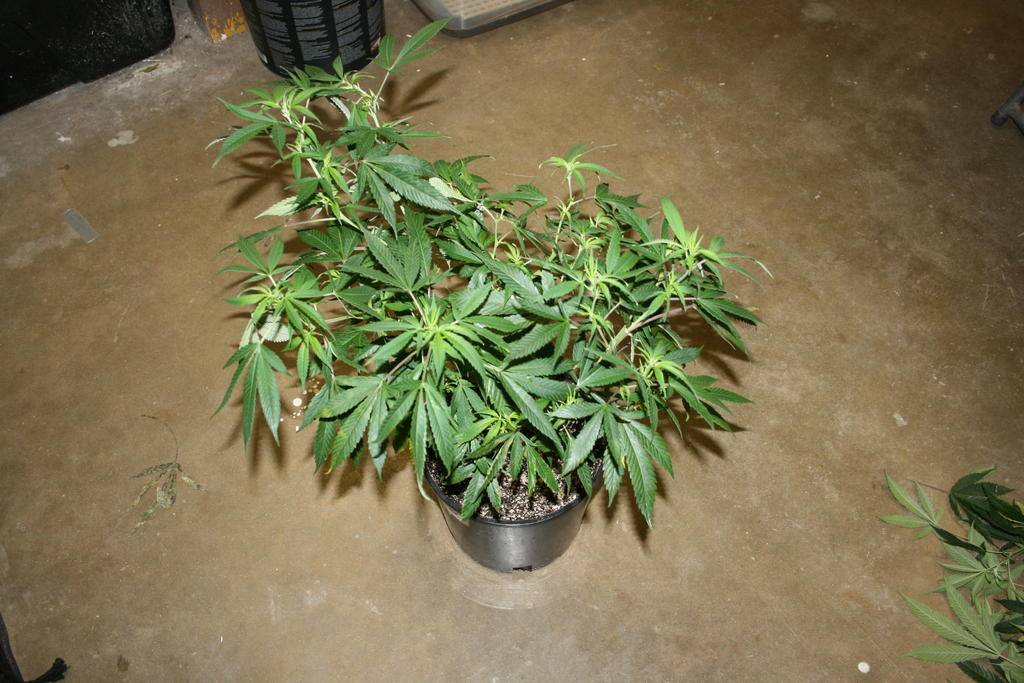
We have our donor mother plant.................Green Crack. She's been weened off nitrogen the last week or so to prepare for cloning.
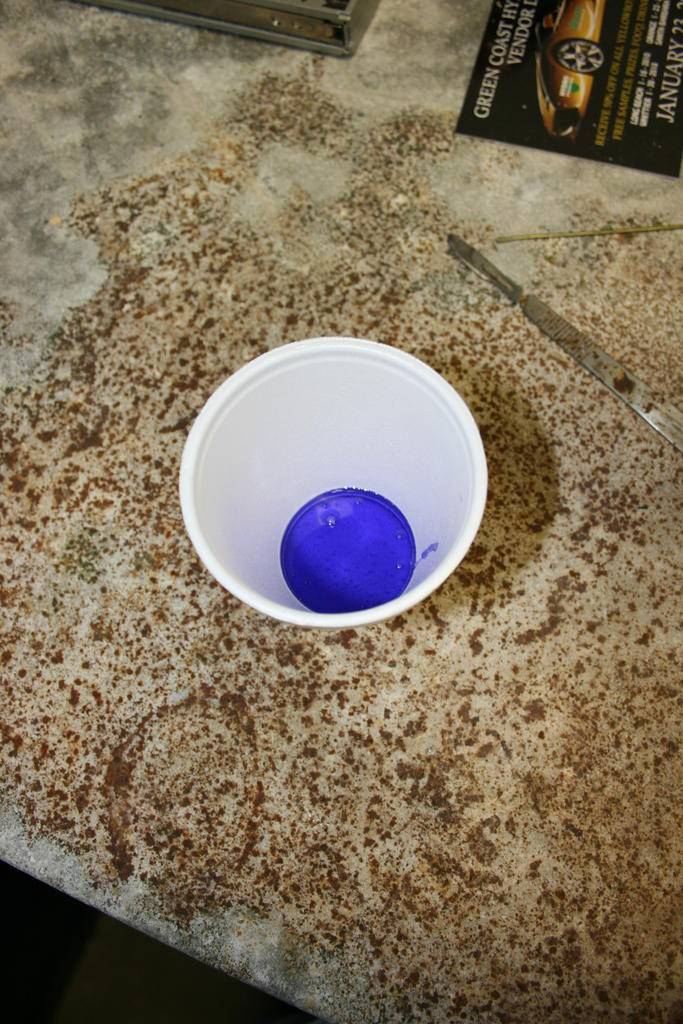
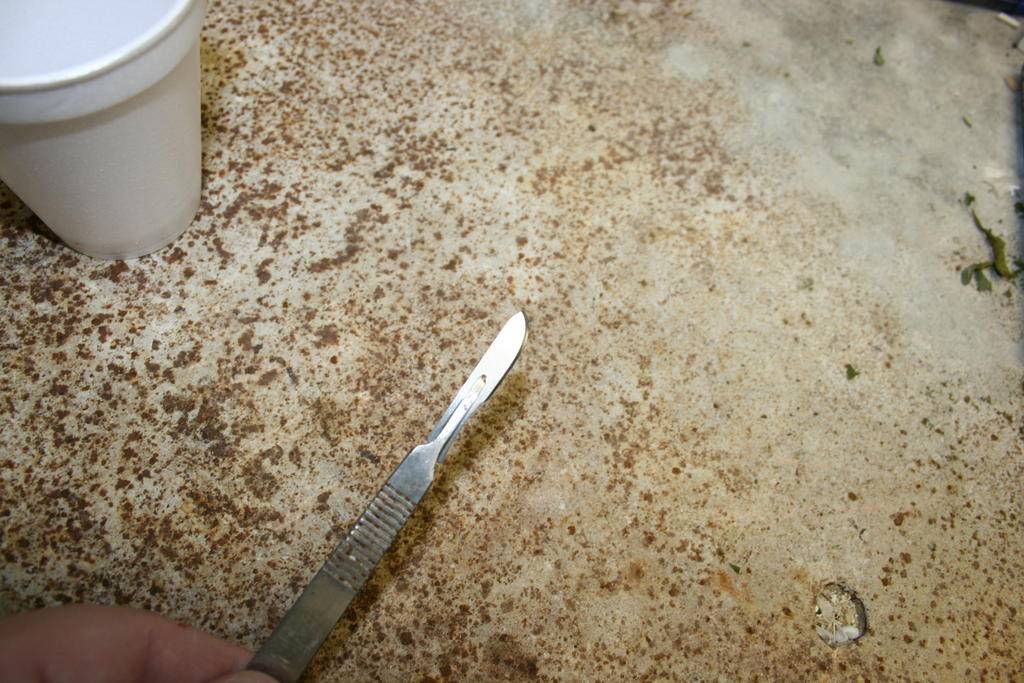
Next we prepare our cloning supplies.............about 1/4 oz of clonex in a 8 oz cup & a fresh scapel.
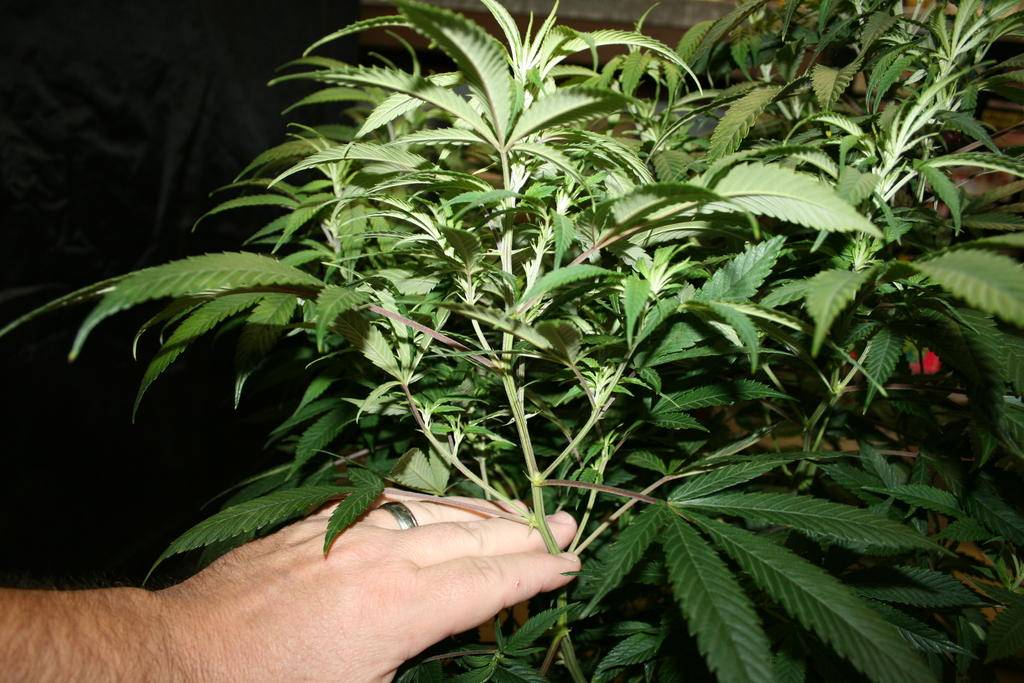
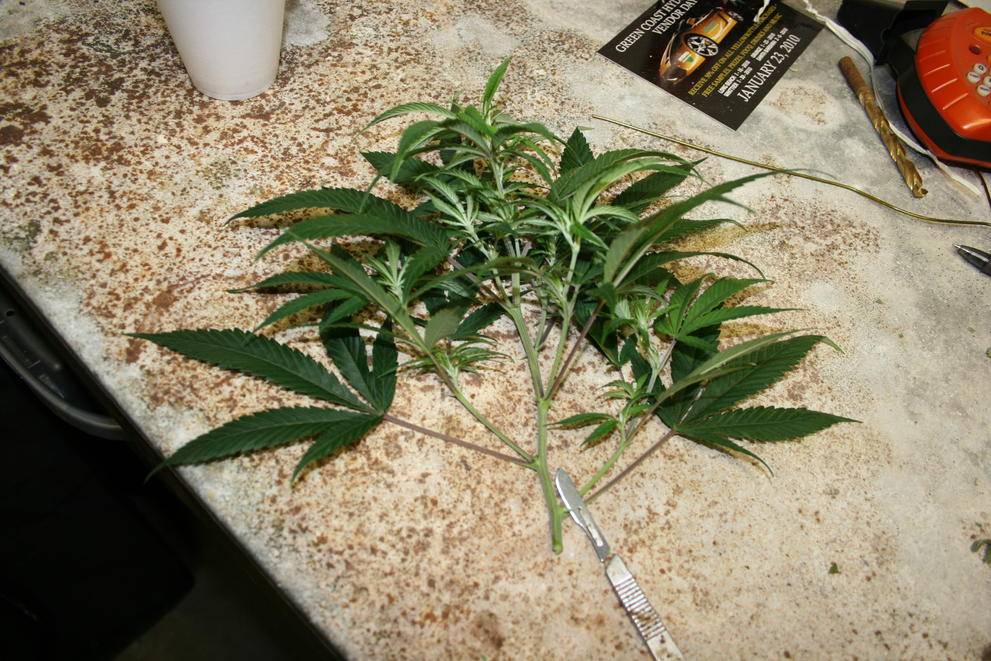
Next comes the important part. Clone cutting. I get best results when cutting HUGE clones & burying them as deep as possible in the medium. The more of the stem in the medium, the less evaporation happens & the clone has a lots more area for roots to grow from. My index finger shows where I will cut the clone at.
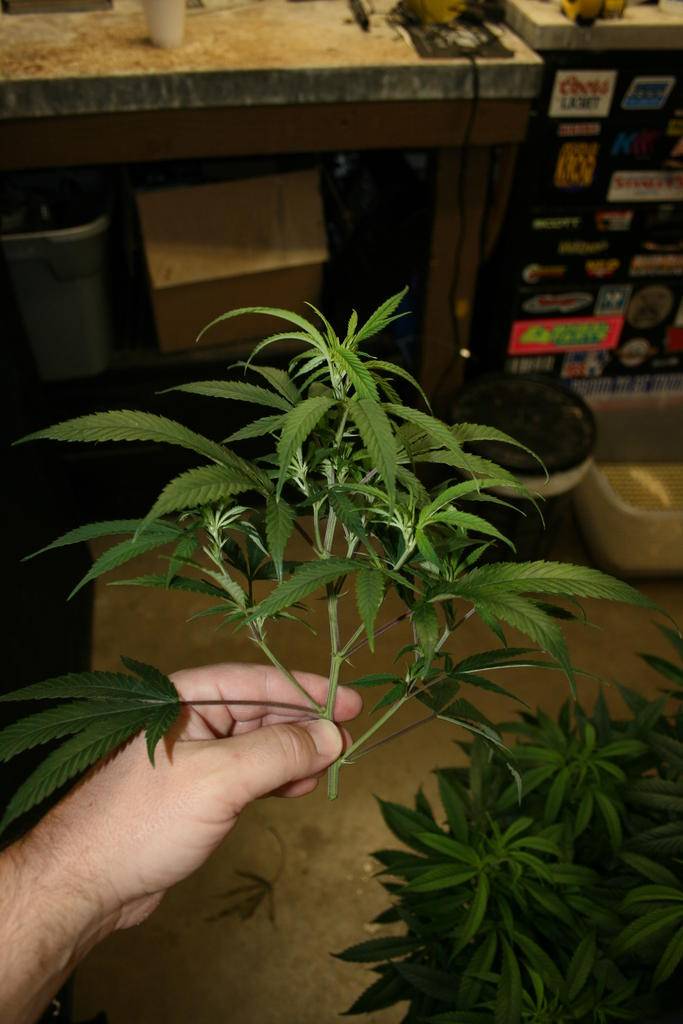
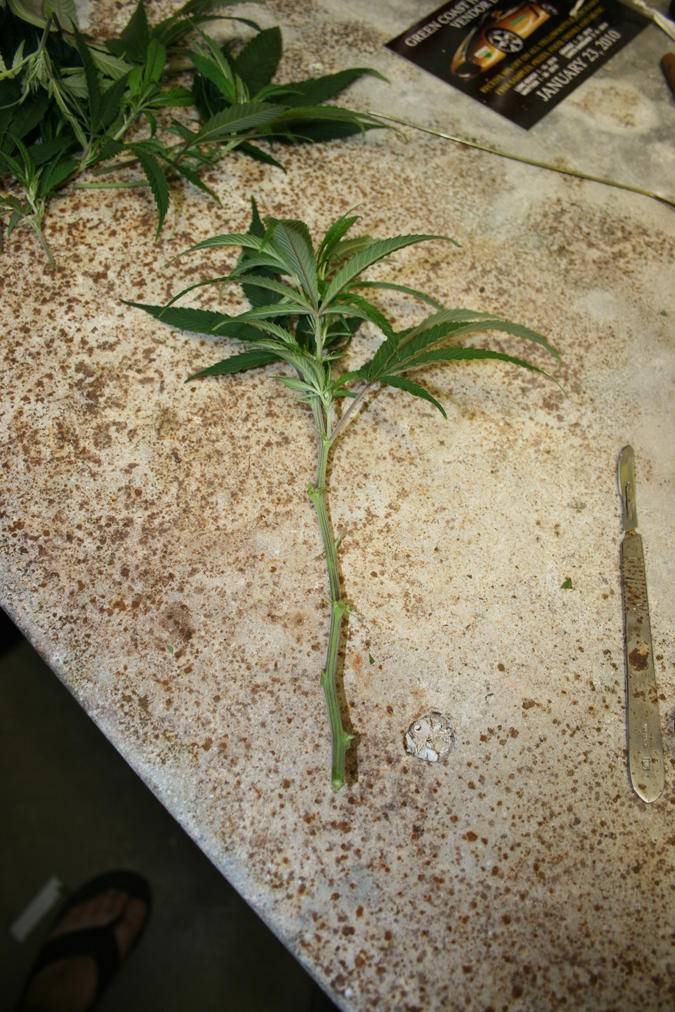
Here is the clone after cutting.
Lay the clone down and remove all grow nodes and fan leaves except for the top few.
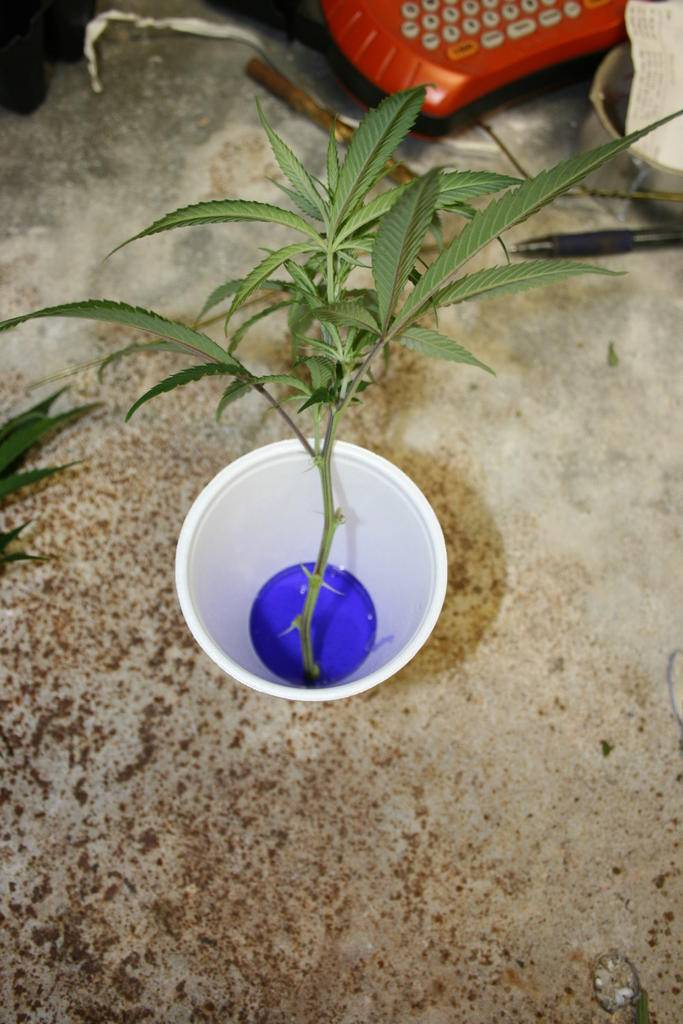
Soak the freshly cut clone in clonex for 2-3 minutes.
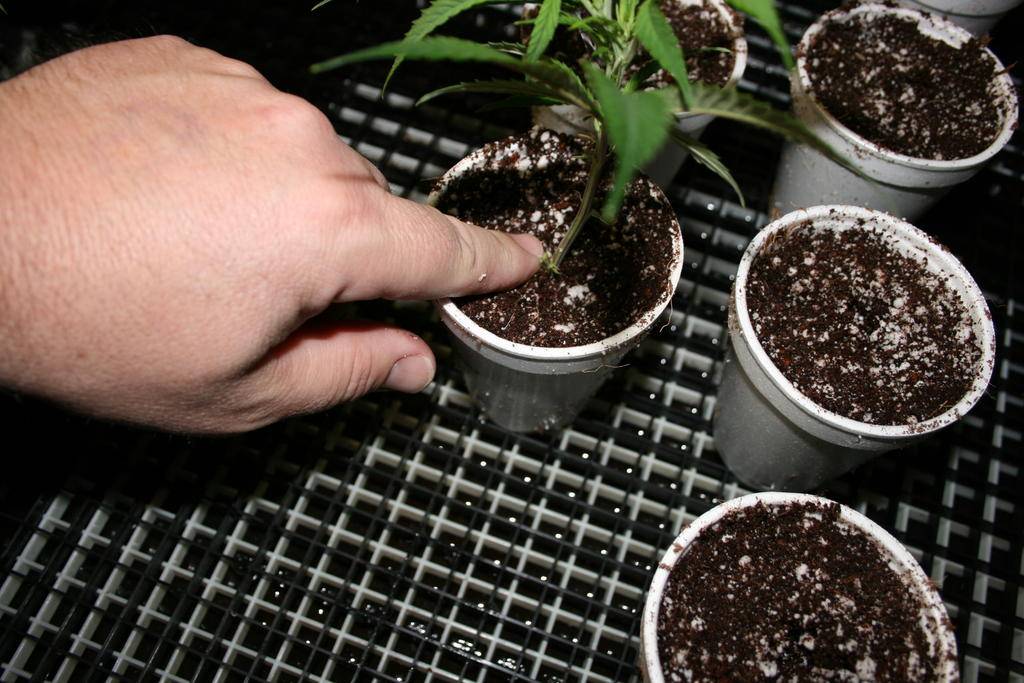
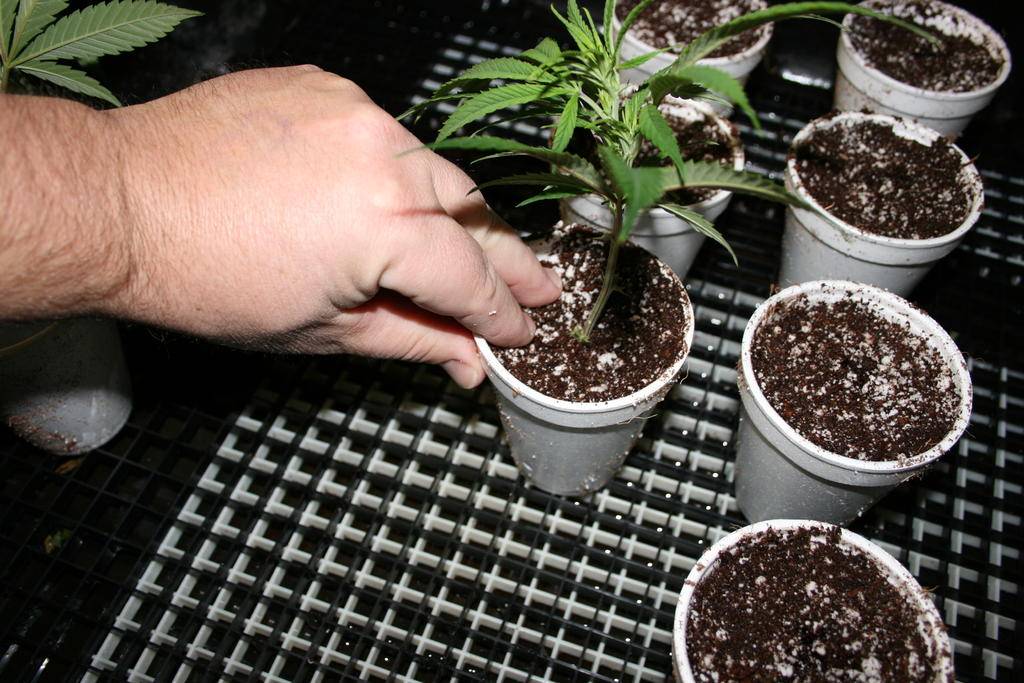
Place the clone in the hole you made earlier in the coco. Tamp down on the coco, first around the clone and then the rest of the cup. IMO it is very important to do this step as it will pack the coco around the stem and not allow the stem to dry out.
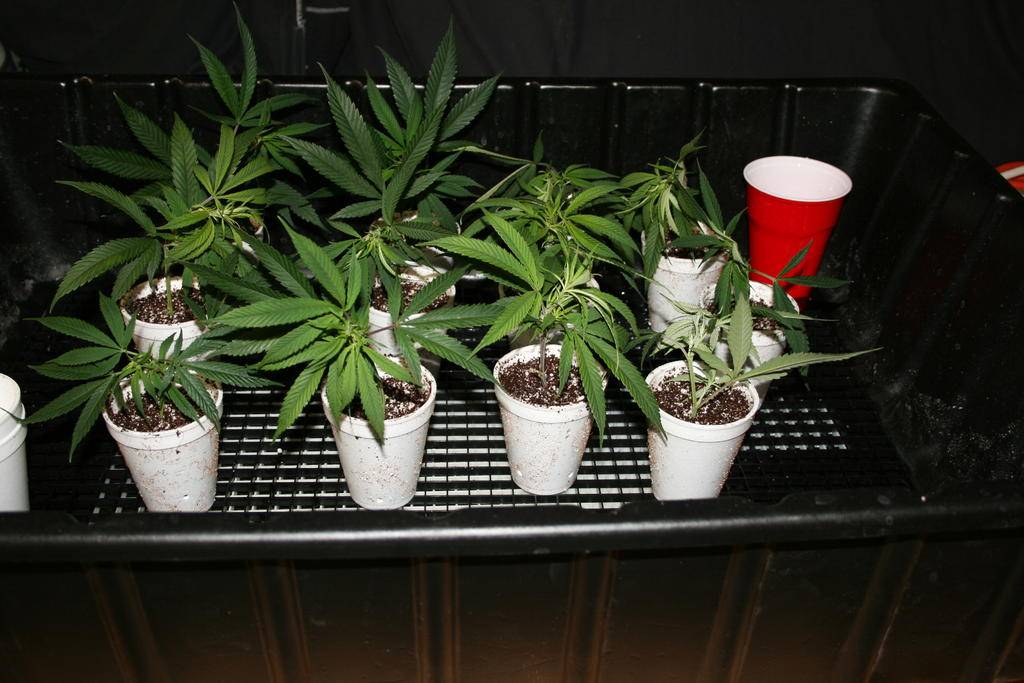
10 minutes later we have 12 freshly cut clones and a mom that has had a serious haircut!!
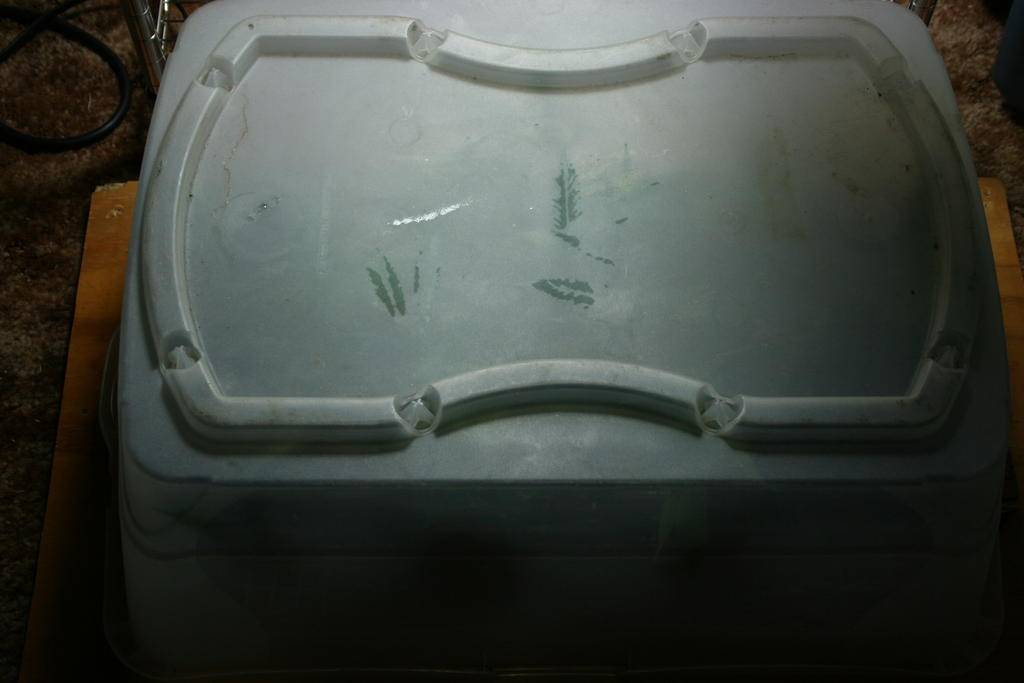
Another important step. Mist the clones heavily, once and only once. Put your tray on a heatmat and cover w/ a dome. Remove the dome after 24 hours and do not put back on. If the coco becomes dry, re water with the same nute mix above.
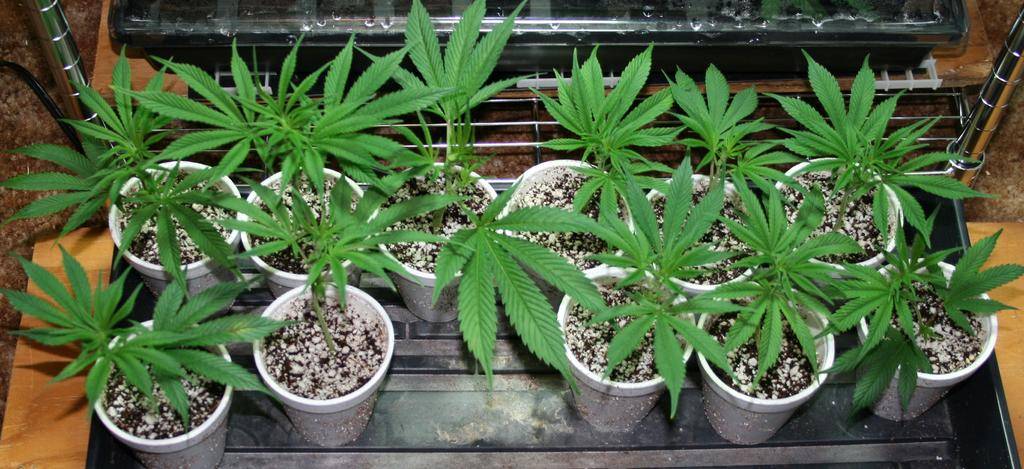
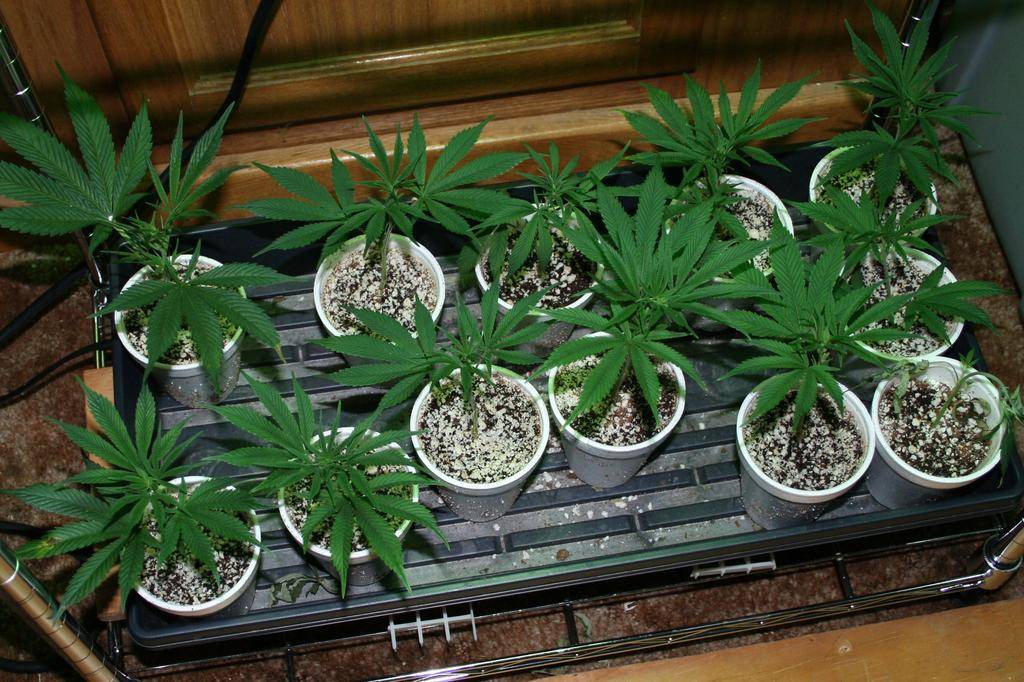
Follow these instructions & you too should have rooted clones in 10 days or so. Last run was of SFV OG, which are notoriously slow rooters and I had a 100% success rate at 10 days. Here's a couple pics from the SFV OG. Pic 1 is the day I took the dome off. Pic 2 is 9 days later, all rooted.
Bunz
I use 8 oz stryofoam cups (for all the treehuggers, I reuse the cups too
).Using a scratch awl, I poke holes in the cup for drainage.
Next I fill the cups with my medium. I use Canna Coco mixed with 25% perlite.
I water the coco w/ nutes consisting of 4 ml each canna coco a&b, 2.5 ml cal-mag plus and 2 ml GO bio root per gallon of water. Adjust PH to 5.8. PPM should be in the 450 range. Do not tamp down or compact your coco yet!
Next using your scratch awl again, poke a hole in the coco.
We have our donor mother plant.................Green Crack. She's been weened off nitrogen the last week or so to prepare for cloning.
Next we prepare our cloning supplies.............about 1/4 oz of clonex in a 8 oz cup & a fresh scapel.
Next comes the important part. Clone cutting. I get best results when cutting HUGE clones & burying them as deep as possible in the medium. The more of the stem in the medium, the less evaporation happens & the clone has a lots more area for roots to grow from. My index finger shows where I will cut the clone at.
Here is the clone after cutting.
Lay the clone down and remove all grow nodes and fan leaves except for the top few.
Soak the freshly cut clone in clonex for 2-3 minutes.
Place the clone in the hole you made earlier in the coco. Tamp down on the coco, first around the clone and then the rest of the cup. IMO it is very important to do this step as it will pack the coco around the stem and not allow the stem to dry out.
10 minutes later we have 12 freshly cut clones and a mom that has had a serious haircut!!
Another important step. Mist the clones heavily, once and only once. Put your tray on a heatmat and cover w/ a dome. Remove the dome after 24 hours and do not put back on. If the coco becomes dry, re water with the same nute mix above.
Follow these instructions & you too should have rooted clones in 10 days or so. Last run was of SFV OG, which are notoriously slow rooters and I had a 100% success rate at 10 days. Here's a couple pics from the SFV OG. Pic 1 is the day I took the dome off. Pic 2 is 9 days later, all rooted.
Bunz


