
You are using an out of date browser. It may not display this or other websites correctly.
You should upgrade or use an alternative browser.
You should upgrade or use an alternative browser.
1400 Watt Perpetual Potent Green
- Thread starter PotentGreen
- Start date
smokesalot420
Member
tagged
SkunkyDemon
Member
Im in!
PotentGreen
Member
tagged
lol hey there smokesalot420, its an honor to have ya in my thread!!
Just so everyone knows, everything I know I learned from this guy!
Thanks for joining me everyone, I will try not to dissapoint

PotentGreen
Member
Whats good everyone
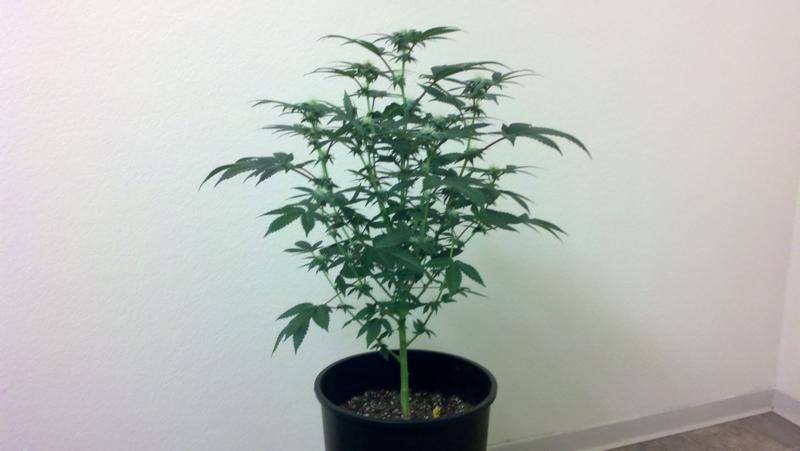
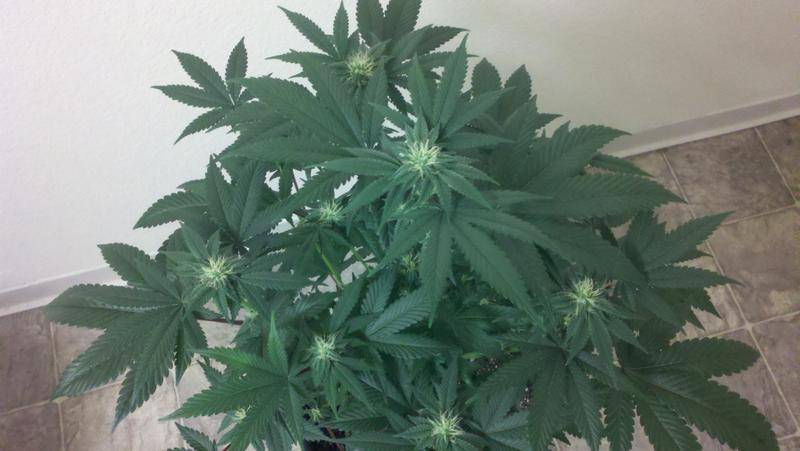
Brought my buddies' SuperSkunk, my Purple Kush, and my White Russian in for a very light trim and a little photo shoot. The Superskunk is at day 39, the other two are at day 24.

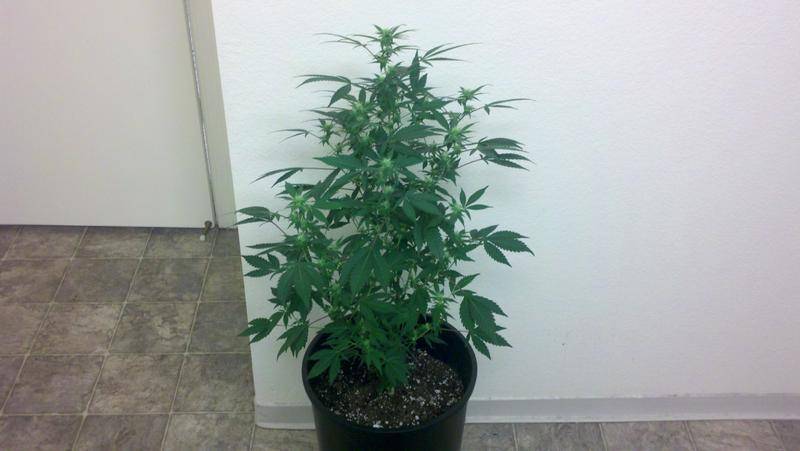
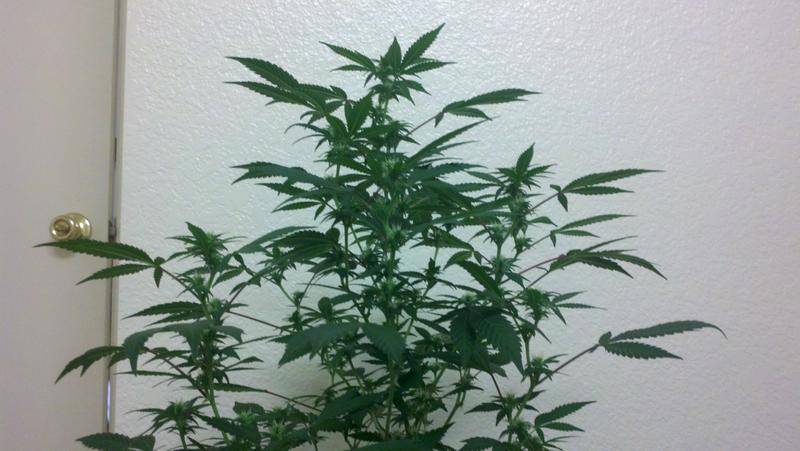
Brought my buddies' SuperSkunk, my Purple Kush, and my White Russian in for a very light trim and a little photo shoot. The Superskunk is at day 39, the other two are at day 24.
loooookin good ;o its lookin schnowy on them leaves
PotentGreen
Member
loooookin good ;o its lookin schnowy on them leaves
i love me some shnowyyyy bud hayou should see this sour bubble man.. trichs galore
ill snap some shots with my macro setting tommorow evening when the lights flip on. Mmm I should have my new chem d then too. lol no worries smokesalot420 i know you busy !
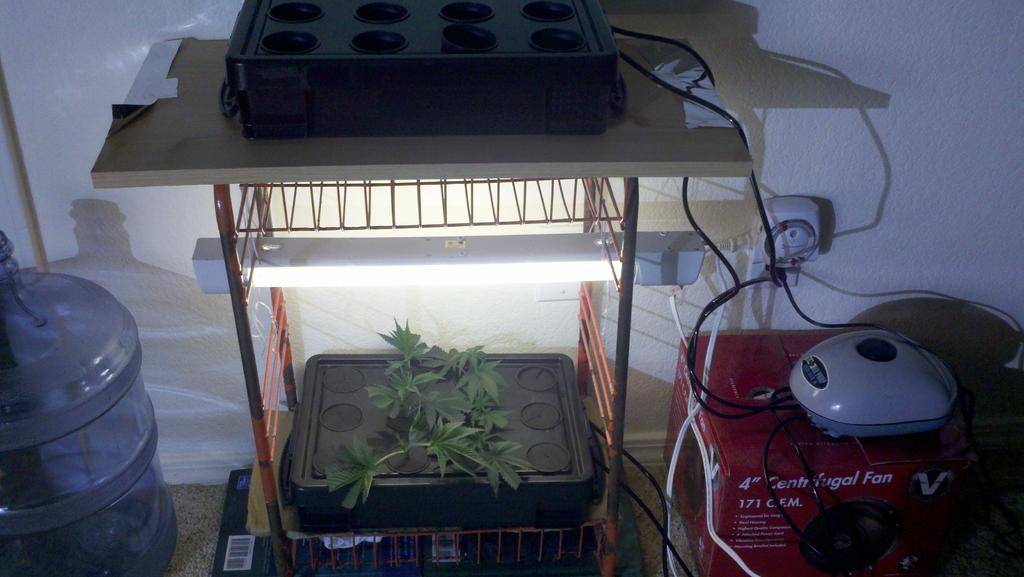
looks good, but if your ballast is sitting on a cardboard box then i would get a brick or something to use instead - fire hazard
PotentGreen
Member
Thanks so much Verdant. cardboard box is gone, I swear.. sometimes when I'm high things make sense then I look back at 'em and im like wow...really? hahalooks good, but if your ballast is sitting on a cardboard box then i would get a brick or something to use instead - fire hazard
PotentGreen
Member
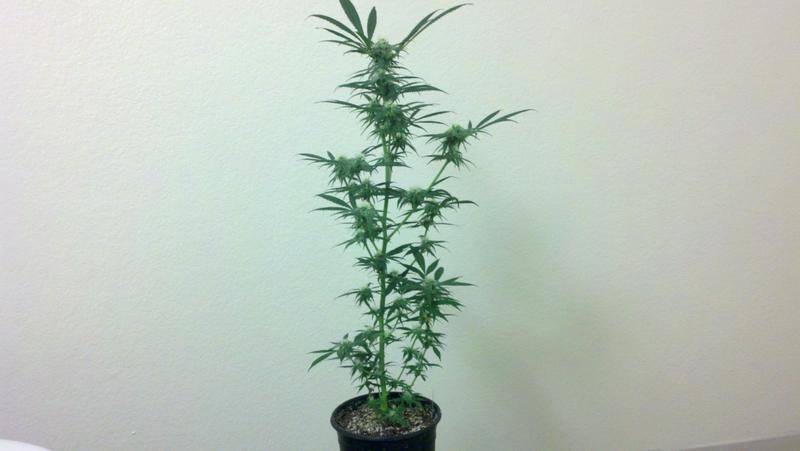
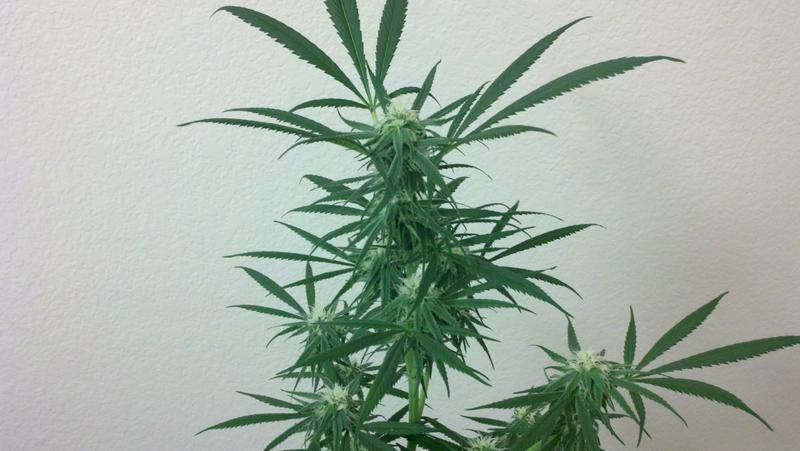
Hello hello everyone, snapped some shots and had some one on one time with my Sour Bubble, Durban Poison, Blue Dream, and Green Crack. Here are some pics for ya...
This Sour Bubble is at Day 29

Durban Poison at Day 38
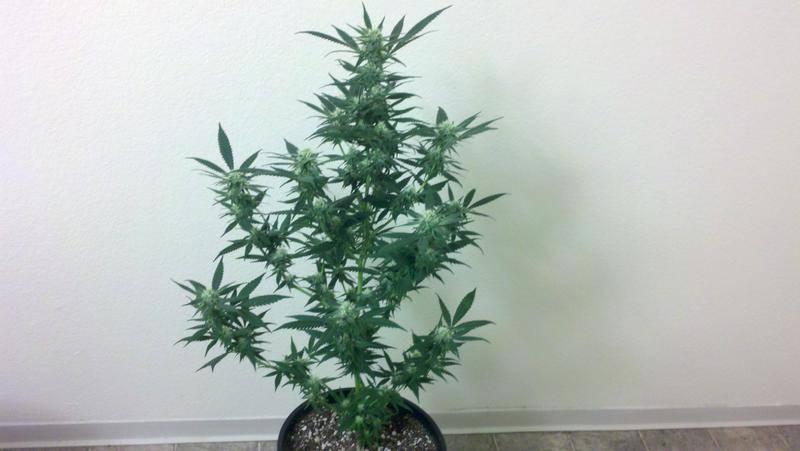
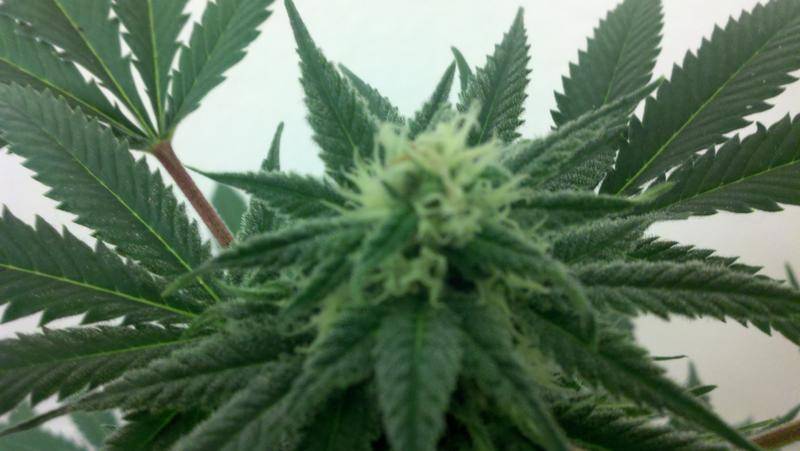
Green Crack at Day 36
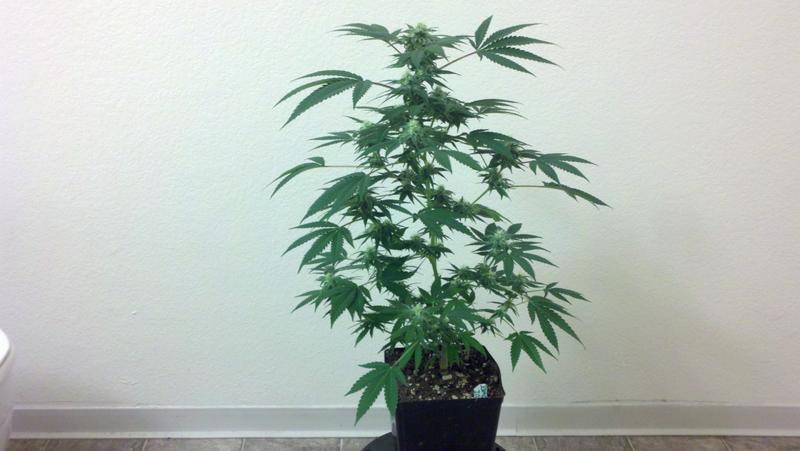
Blue Dream at Day 36
This Sour Bubble is at Day 29
Durban Poison at Day 38
Green Crack at Day 36
Blue Dream at Day 36
SkunkyDemon
Member
I see lots of trics forming! Looking swet.
Peace
Peace
GREENSMOKE
Member
Lookin Good Bro!
Getting frosty!!
Getting frosty!!
PotentGreen
Member
WHAT UP everybody?
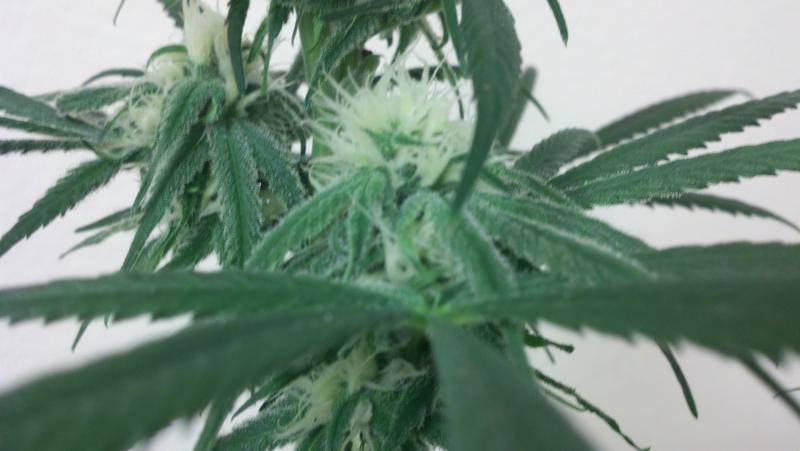
Yeah the trichs are really starting to form on those flowering plants! The green crack looks like some sticky gooey
Hydro store today, spent some money I didn't need to as well as got some necessities.
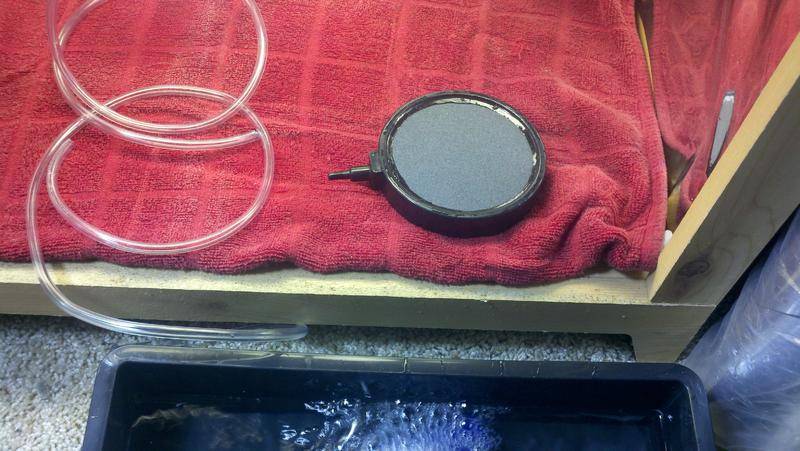
-4 inch active aqua air stone (looking into upgrading the cloner, need more bubbles!)
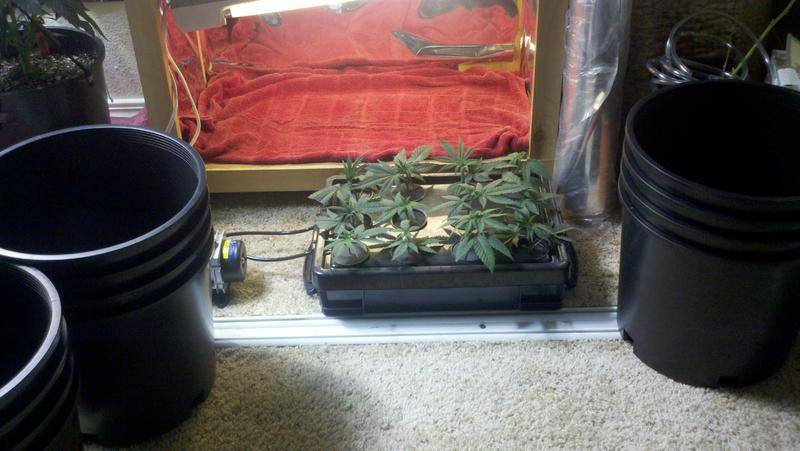
-12 3 gallon pots for the small Pre 98 army (and 2 nancy botwins). They will be transplanted into these right when they go into flowering, after a nice vegg
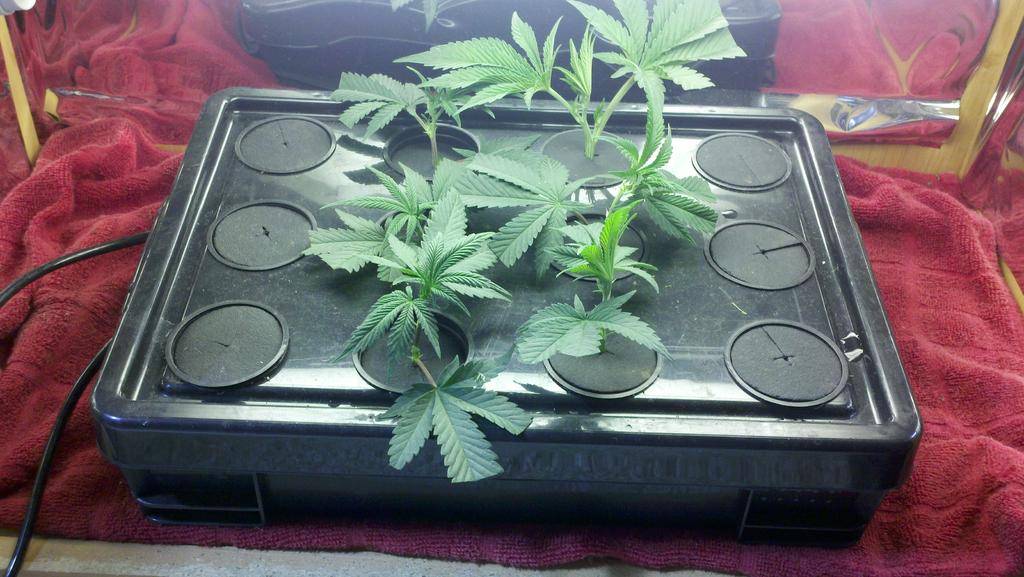
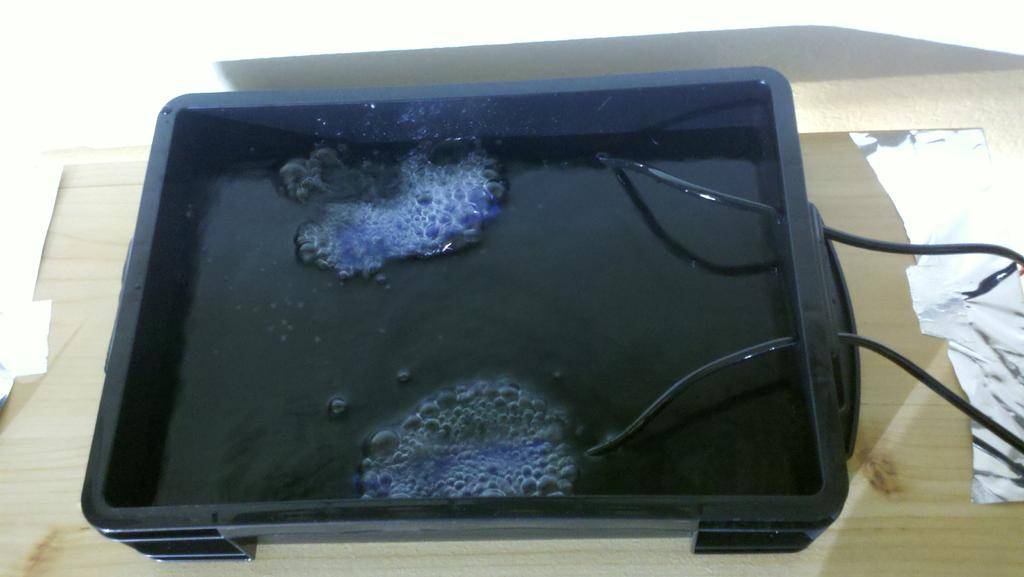
Anyways... So what I did was take the small pump that was aerating my cloner and put it away for later. Now I am using my big hydro air pump for my DWC and my cloner. It already seems to be working better and there are less cords and tangles!
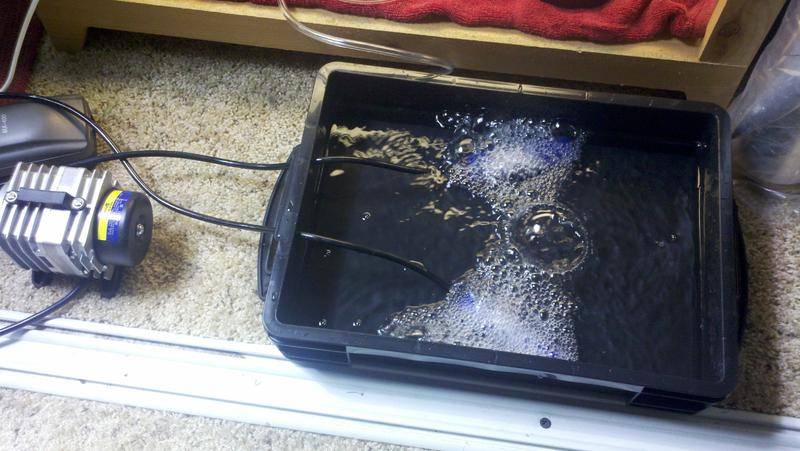
This airstone was not needed but will be used in the future...
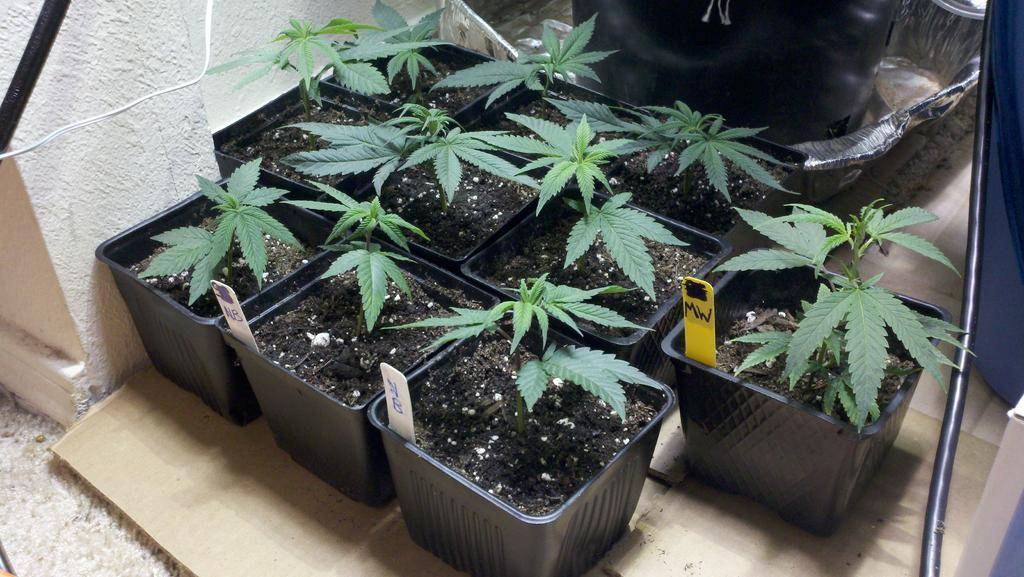
The clones hangout while I work on their happy enviroment

Ten days in the cloner and everything FOR THE MOST PART looks like this...

Happy group shot with their buckets lol
Yeah the trichs are really starting to form on those flowering plants! The green crack looks like some sticky gooey
Hydro store today, spent some money I didn't need to as well as got some necessities.
-4 inch active aqua air stone (looking into upgrading the cloner, need more bubbles!)
-12 3 gallon pots for the small Pre 98 army (and 2 nancy botwins). They will be transplanted into these right when they go into flowering, after a nice vegg
Anyways... So what I did was take the small pump that was aerating my cloner and put it away for later. Now I am using my big hydro air pump for my DWC and my cloner. It already seems to be working better and there are less cords and tangles!
This airstone was not needed but will be used in the future...
The clones hangout while I work on their happy enviroment
Ten days in the cloner and everything FOR THE MOST PART looks like this...
Happy group shot with their buckets
lolCloner looks Awesome! I love those airstones... especially cause they are heavy enough to hold themselves on the bottom.
I only hope they stay clean, if they keep working well I'm going to add them to the bottom of my GH buckets for DWC.
I'll be watching, I like your style.
Peace
I only hope they stay clean, if they keep working well I'm going to add them to the bottom of my GH buckets for DWC.
I'll be watching, I like your style.
Peace
PotentGreen
Member
Cloner looks Awesome! I love those airstones... especially cause they are heavy enough to hold themselves on the bottom.
I only hope they stay clean, if they keep working well I'm going to add them to the bottom of my GH buckets for DWC.
I'll be watching, I like your style.
Peace
Great to have you here MileHighGuy. Yeah, I'm using a few different types of airstones throughout my DWC and cloner. Seeing which I like the best. They all do their job it seems, it's the pump that matters I feel..
So my DIY carbon filter was made today, and BOY did it it take awhile. This is simply because it required some small handywork and we were very stoned over here at the spot
And I'm a bit of a perfectionist..So I took pictures throughout the whole process so others who have an issue with odors escaping to neighbors/family can make their own carbon filters for their set ups, without dropping 100 + $ at the hydro store or whatever. Those things are EXPENSIVE, and once they're old... you've gotta get a new one! This DIY filter can be reused over and over again. The carbon is changed out every 2 runs or so..
So the materials needed in the process are...
-4 to 6 inch reducer
-6 inch cap
-2 different kinds of wire mesh (big-little)
-clamp
-100 % polyester with antibacterial fiber
-good amount of activated carbon
-power drill or something to get screws in, through the metal reducer/cap
-screws
-plant ties or small wire for securing and tying
-mesh gym shorts
First the larger wire mesh was cut to an appropriate size to roll up and fit the outside edge of the 4 to 6 inch reducer
Next, more of the larger wire mesh is cut to and appropriate size for the inside edge of the reducer..
Just to get some perspective....(we were just shoving polyester in there to see if there was enough room all the way around
Screws are drilled through the base of the reducer and through the outer wire mesh or both layers of wire mesh when you're ready to secure it...
The smaller mesh, with finer holes is now cut to appropriate size to fit around the outside of the filter. Providing more...filter
Then, a piece the same size as the last is cut out of your basic mesh gym shorts...
Lookin good...
After our inner wire is wrapped in mesh gym shorts, we refill our filter with 100 % polyester w/antibacterial fiber. This is for the bottom of the filter so no carbon dumps out and now air escapes...all odor gets scrubbed
Take it outside to funnel the carbon in (i used a magazine as a funnel). Some of the little finer chunks will get blown away as they are pretty much like dust. We are counting on the bigger chunks of carbon to do the job. I'd suggest wearing sunglasses and gloves while doing this and perhaps a mask. Carbon dust cant be too great down your throat..
Secure the 6 inch cap on the end of your filter.. this took some adjusting but we got it. Then clamp that sucker in place until you need to replace the carbon
I put a hook in the roof and hung 'er up with some wire. Very sturdy. Duct taped to the MAX
And that's it everyone.. Time consuming but simple, and it beats spending 100 or more bucks. The best thing is you an make these things ANY SIZE YOU WANT. Meaning you could make a mini one for a drying tent, or a MASSIVE one for big operations. I did this size because it was appropriate for my flowering room.. I hope this helped
OH, and I'd recommend turning your exhaust fan off while you attach the filter and secure the hooks. And then when you turn it on get the hell out of there for a few hours or throw a towel over it because all the small carbon dust will get blown through the filter by the fan. I did NOT turn my fan off and was getting sprayed with black dust the whole time we put it on the outtake.
Hey PG,
lookin great man! i can't wait until next fall when im in the new spot so i can play with DWC & aero ;-) once i get that full basement space im going nuts! haha. dude! that DIY scrubber is AWESOME! if no one has done it by next fall, ill make a DIY of your technique but with a water heater sized scrubber its going to save me some serious $$, can't thank you enough for posting that.. my buddy is gunna be so happy lol!
lookin great man! i can't wait until next fall when im in the new spot so i can play with DWC & aero ;-) once i get that full basement space im going nuts! haha. dude! that DIY scrubber is AWESOME! if no one has done it by next fall, ill make a DIY of your technique but with a water heater sized scrubber
its going to save me some serious $$, can't thank you enough for posting that.. my buddy is gunna be so happy lol!PotentGreen
Member
Hey PG,
lookin great man! i can't wait until next fall when im in the new spot so i can play with DWC & aero ;-) once i get that full basement space im going nuts! haha. dude! that DIY scrubber is AWESOME! if no one has done it by next fall, ill make a DIY of your technique but with a water heater sized scrubber
What up TB!
DWC is ridiculous bro, the growth is out of control. I'm going to flower them before expected due to lack of room! Need to free up space under the 400 MH for the pre 98 army!
I'd say experiment with everything you can. I'm doing a little of this, a little of that. By the time I'm dead I want to have the experience of a grandmaster grower! And I'd say DO IT with your big DIY scrubber idea. This thing works man, the bigger you make it, the more odor is scrubbed. So yeah bro you can honestly make them huge, like I said I'm going to have a little mini one for my drying tent..

Alright so heres an update on my grow everyone. I built a drip system for my DWC that pumps water from the res (to top feed plants automatically), there's a four way splitter, and each tube w/ 1 gal per hour dripper is taped or staked in place over hydroton. This means I no longer have to spray the top of the hydroton to prevent the roots within from drying out. So now even the roots that are NOT in deep water and nutrient solution stay moist and well fed ALLLL DAAYYYY.
So that all was incorporated into.....
And heres a little group vegg shot

I'm diggin hydro. Keeping the ph in check is the only struggle. My advice to anyone that a hydro first timer...
If using hydroton soak in ph balanced water and rinse until most of the grimey, clay looking water is washed away. I was lazy and didnt wash my hydroton for long enough. I've realized that now, from the top feeding, the clay/grimeyness get picked up by the water and rides down the roots. At first I thought I had root rot or slime, OH NO! Freaked out and did some spraying of the roots with ph balanced water and the grime washed right off into the res. This seemed to have no ill effect for awhile, now I understand that this hydroton "water" has a VERY high ph. My res goes from 6.0 to above 8 in a day. Since I have a lot of time I simply add lemon juice as needed and check the ph very regularly. See, this all could've been avoided had I taken the appropriate steps to cleansing my hydroton. Damn I'm rambling, well it's off to the hydro store for me. Later
GREENSMOKE
Member
That Scrubber looks sweet!!
Great job dude gonna have to look into making one for myself.
Great job dude gonna have to look into making one for myself.
PotentGreen
Member
Last night was exciting...
7 rooted pre 98 cuttings were transplanted from cloner to small containers w/ Happy Frog soil
2 rooted nancy botwin clones were also transplanted
Since room freed up in the cloner, I took advantage. Got a cutting of the most vigorous Sour Bubble in DWC since the bubbles will be next to flower and I NEED to keep that stuff around. I love me some bubble
I took two more pre 98 cuttings, and also left three laggers from last round in the cloner so their roots can get more established...
PotentGreen
Member
Hi Everybody
I've recently taken on a new job, cloning, and I might start a new thread to share with everyone how I clone and possibly help others improve their methods. Not to say the method I use is better but so far I've only had one cutting not pull through and I've taken more than a few..
Anyways, so I got another 12 site cloner (Can take 24 clones now), as well as two more airstones and an Eco Air pump 4 from a very good friend of mine (thanks brother...) The Eco Air pump will DEFINITELY provide my two cloners with enough aeration and bubbles! I think my lack of bubbles right now is because of the small air stones I'm using. Going to get another 4 inch ActiveAqua disk air stone...
Last 12 cuttings took 8 days to root (some took a day longer, some a day early)
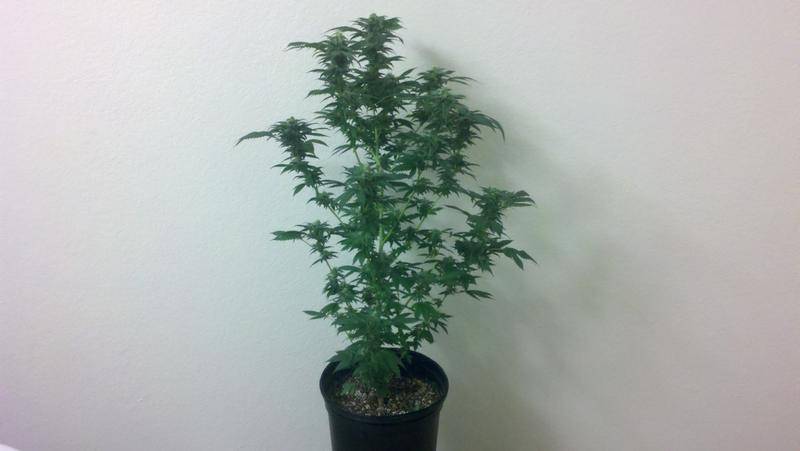
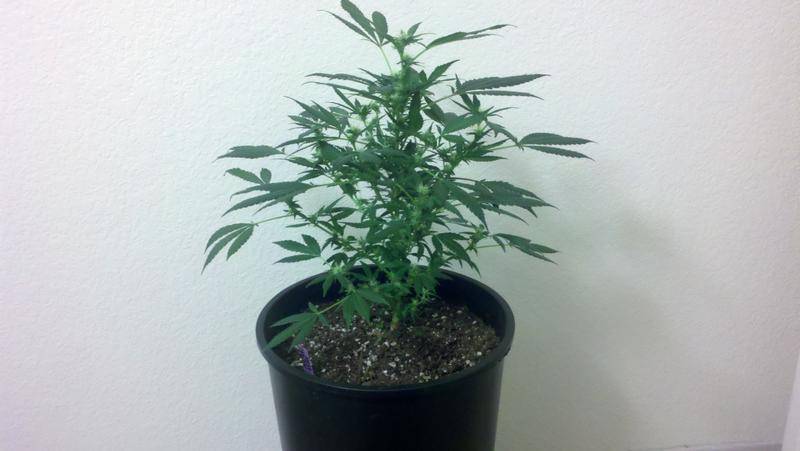
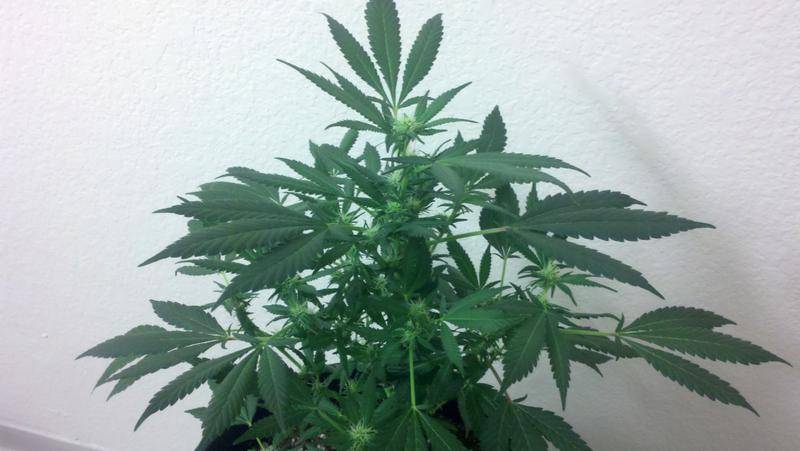
For the past 10 days or so I've been preparing my Pre 98 mom for a nice batch of cuttings. I inspect her daily as she has filled
out noticeably under the 400 watt since my last little cloning sesh... She is so healthy, I love my momma So later today I will have a photo shoot with her, then take 12 cuttings and photo the whole process so you can see my beautiful momma do her thing.
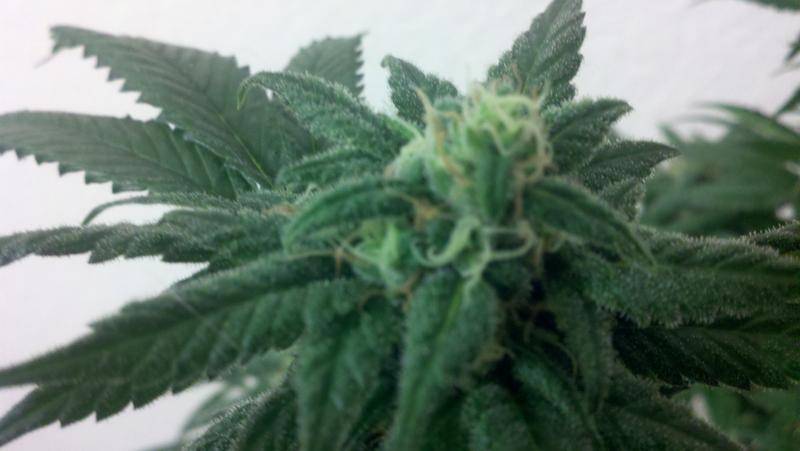
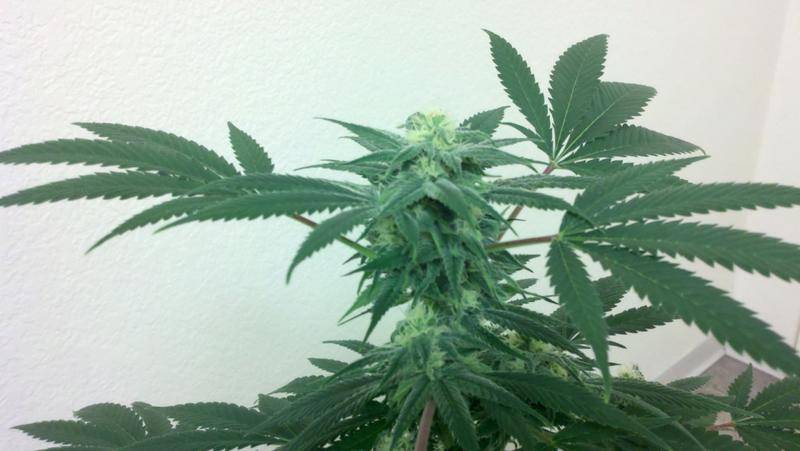
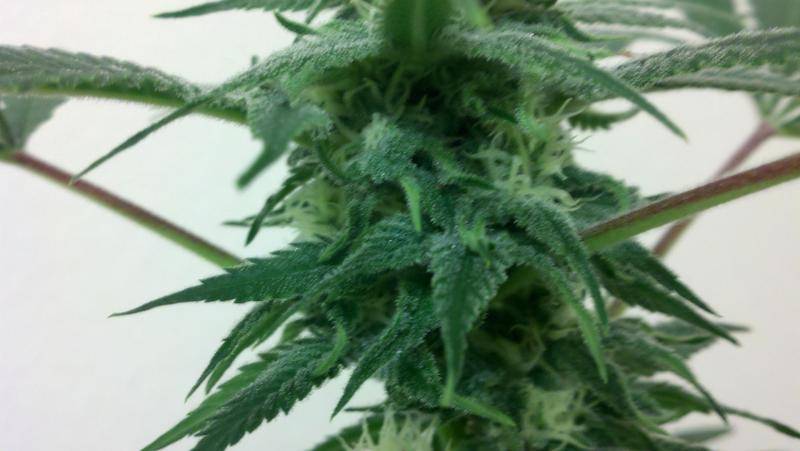
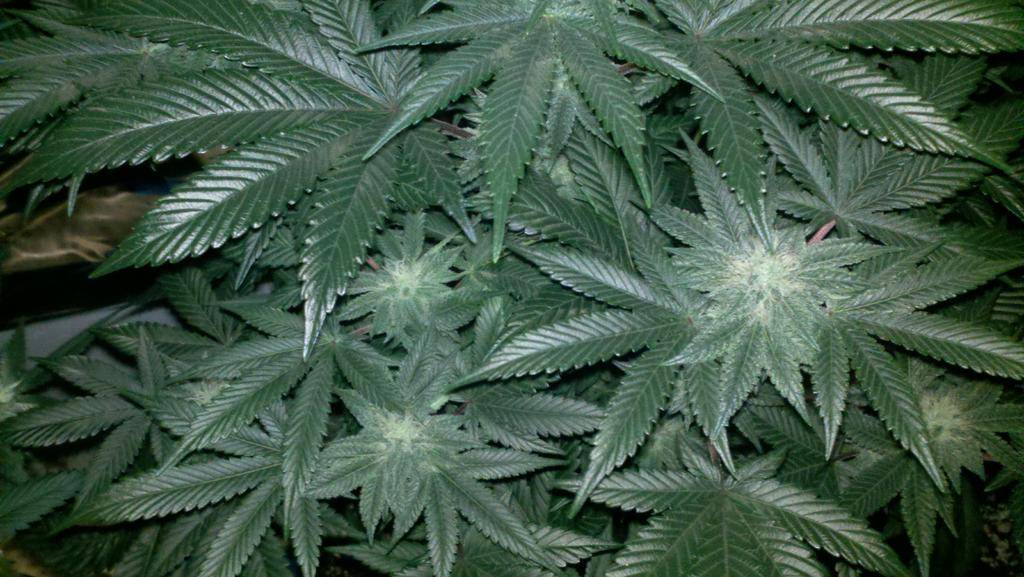
Another thing I have to do is build a small SCROG for my hydro Sour Bubbles... I'll snap some shots of that when its done. Oh! I almost forgot, I took a pic of my first Sour Bubble mom (day 33 flower). She is getting SOOOO frosty, BOG is still around these forums... right?
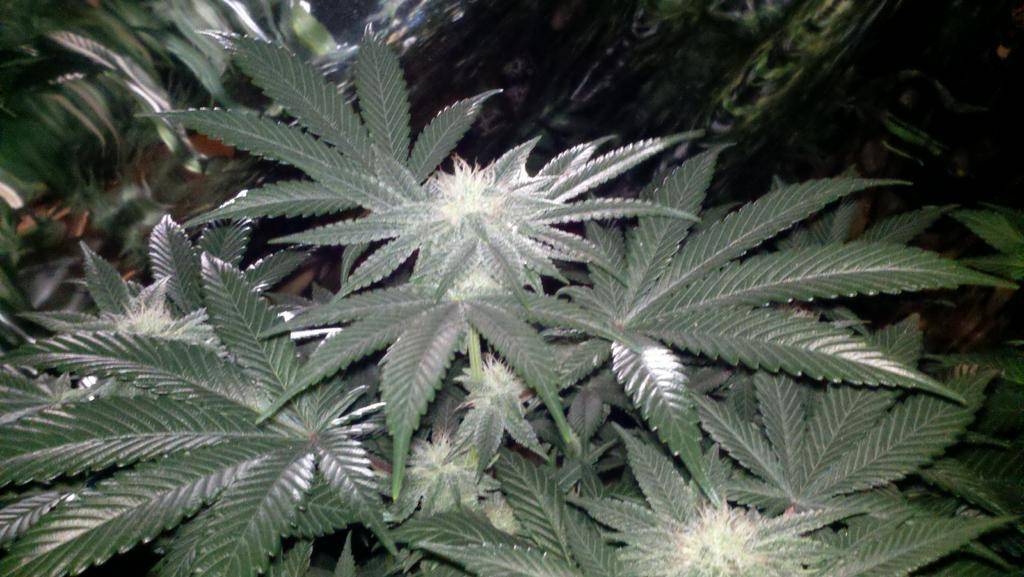
Bottom buds looking just as frosty
Alright I've got work to do..
Be back later
I've recently taken on a new job, cloning, and I might start a new thread to share with everyone how I clone and possibly help others improve their methods. Not to say the method I use is better but so far I've only had one cutting not pull through and I've taken more than a few..
Anyways, so I got another 12 site cloner (Can take 24 clones now
), as well as two more airstones and an Eco Air pump 4 from a very good friend of mine (thanks brother...) The Eco Air pump will DEFINITELY provide my two cloners with enough aeration and bubbles! I think my lack of bubbles right now is because of the small air stones I'm using. Going to get another 4 inch ActiveAqua disk air stone...Last 12 cuttings took 8 days to root (some took a day longer, some a day early)
For the past 10 days or so I've been preparing my Pre 98 mom for a nice batch of cuttings. I inspect her daily as she has filled
out noticeably under the 400 watt since my last little cloning sesh... She is so healthy, I love my momma
So later today I will have a photo shoot with her, then take 12 cuttings and photo the whole process so you can see my beautiful momma do her thing.Another thing I have to do is build a small SCROG for my hydro Sour Bubbles... I'll snap some shots of that when its done. Oh! I almost forgot, I took a pic of my first Sour Bubble mom (day 33 flower). She is getting SOOOO frosty, BOG is still around these forums... right?
Bottom buds looking just as frosty
Alright I've got work to do..
Be back later
