What would you do with this space?
Ive given it some thought and here's my top two proposals, input appreciated.
Eventually my goal is to be either weekly/biweekly perpetual, or monthly staggered dual flowering rooms.
My biggest limitation is (of course) heat and power - I won't run 2k at once, if that's the solution 1k and dual flowering sections would work.
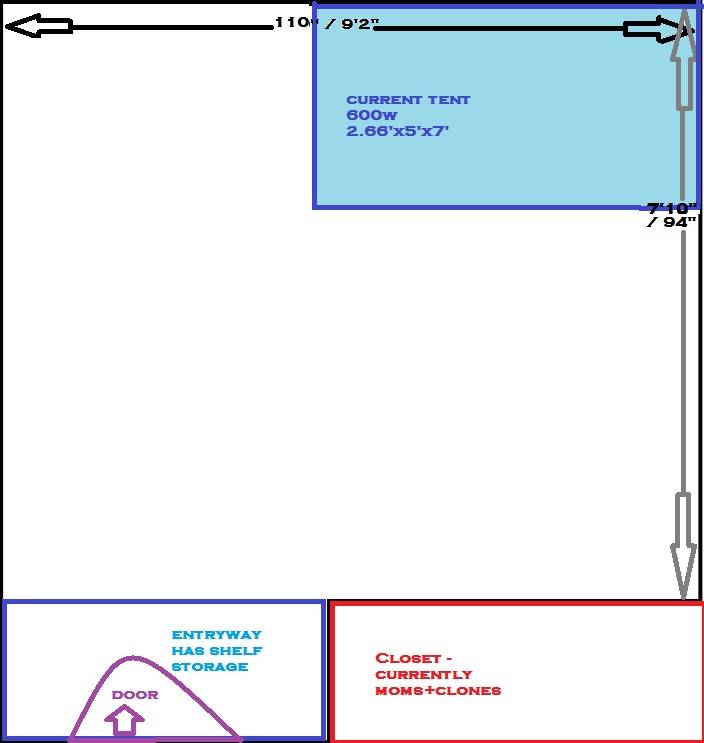
Currently using a Galaxy 1000w Select A Watt ballast - have a 400CMH that i'll be putting in the current flowering room for my future veg/mom/clones.
base room
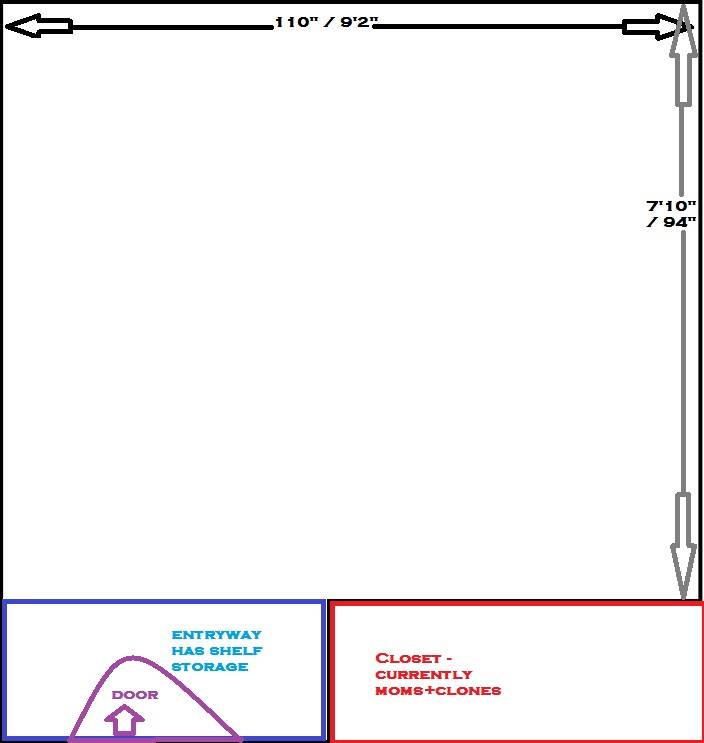
current setup
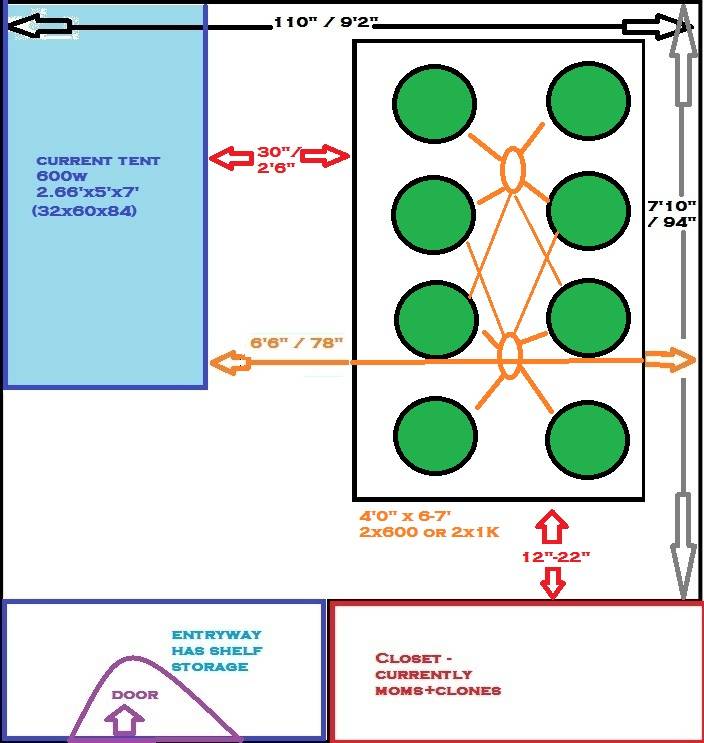
3 lights, most efficient

3 lights, no stagger, big single runs

perpetualized flowering, dual light
^- this one could have flowering split in half (as a 1k - dual 600w could stay) and use two ballasts or a flip flop and a monthly stagger, lost is the tiny bit of side lighting between the two 4-packs
I'm interested in any suggestions, planning on growing in 3-10gal buckets of coco, my current flowering goes to veg, closet goes to dust.
[UPDATE]
mm sadly another alternate, its attractiveness is that i can just hang black/white poly to make it for the most part, just allowing for some in and out ducting.. 10' ceilings though
so would make it 5x9 for flower, 2'10"x5' for veg, and the closet for clones and moms (1.5x5')

Ive given it some thought and here's my top two proposals, input appreciated.
Eventually my goal is to be either weekly/biweekly perpetual, or monthly staggered dual flowering rooms.
My biggest limitation is (of course) heat and power - I won't run 2k at once, if that's the solution 1k and dual flowering sections would work.
Currently using a Galaxy 1000w Select A Watt ballast - have a 400CMH that i'll be putting in the current flowering room for my future veg/mom/clones.
base room
current setup
3 lights, most efficient
3 lights, no stagger, big single runs
perpetualized flowering, dual light
^- this one could have flowering split in half (as a 1k - dual 600w could stay) and use two ballasts or a flip flop and a monthly stagger, lost is the tiny bit of side lighting between the two 4-packs
I'm interested in any suggestions, planning on growing in 3-10gal buckets of coco, my current flowering goes to veg, closet goes to dust.
[UPDATE]
mm sadly another alternate, its attractiveness is that i can just hang black/white poly to make it for the most part, just allowing for some in and out ducting.. 10' ceilings though
so would make it 5x9 for flower, 2'10"x5' for veg, and the closet for clones and moms (1.5x5')

")