lurkmaster
New member
First off I would like to say a few things... The beauty of this design is in its simplicity and efficiency. It has a limited number of parts that are readily available almost everywhere, and this is incredibly easy to make and use, yet maintains a very modular shape and has great potential for larger scale, but the specific model that I have written this guide for is budget oriented more than anything.
With the exceptions of net pots and net pot lids ALL of these items can be purchased from REGULAR department stores. I was able to get everything I needed from 3 stores, petco for the water pump, target for the tubs and home depot for the irrigation stuff.
I have spent alot of time perfecting this design and trying to optimize performance as best as I could, so here you are....
----------------------
Two Tub Aeroponic Kit
Required Tools
Power Drill
¼”, 1-1/4” and 2” drill bits
Components
200-250 GPH submersible water pump (petco)
Orbit 360 degree shrub head (home depot)
Pump/Sprayer attachment (home depot)
Medium ITSO tub (target)
Large ITSO tub ( target)
ITSO tub lid (4 included with 2 tubs)
Now lets get started!
Step 1
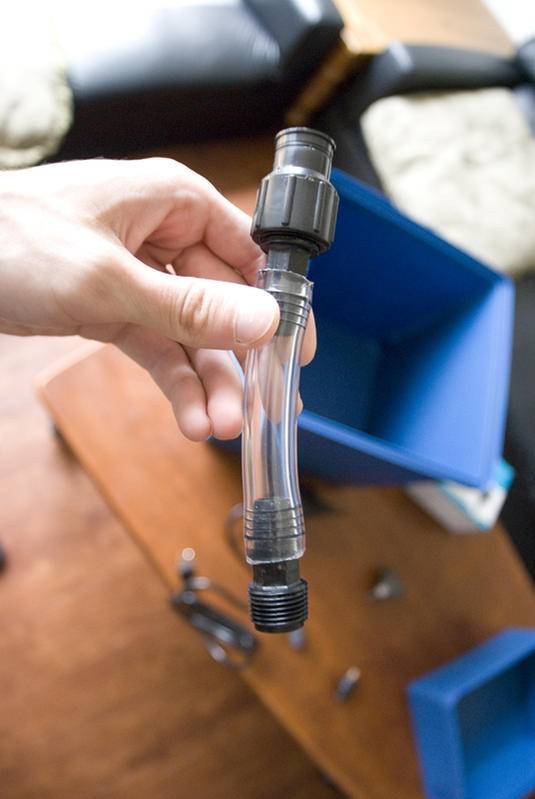
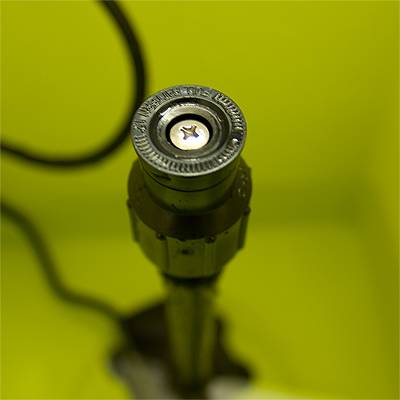
Build your pump/sprayer attachment. The 250GPH petco pump that I am using has a threaded female end so my assembly has a male part on the bottom, just make sure you check what your pump attachment looks like before hand and make sure you can get a water tight seal with some kind of threading or tubing.
Step 2
Drill drainage holes and center hole for sprayer head. You want to put drainage holes where water collects in the tub, so the corners are where the majority of them should be concentrated.
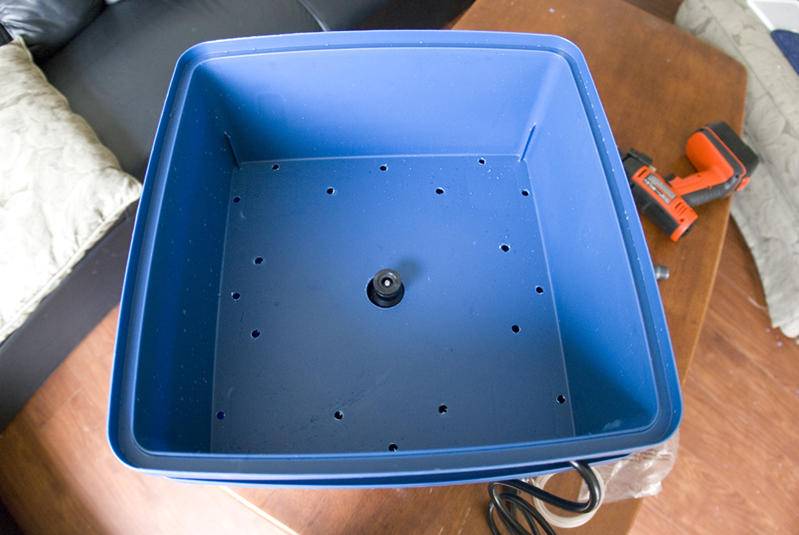
Step 3
Center your sprayer head with the hole you just drilled then set the medium size tub on top of it inside the larger tub to make sure it all lines up properly angle and height wise, you want an even distribution of spray all over. Make adjustments as necessary.
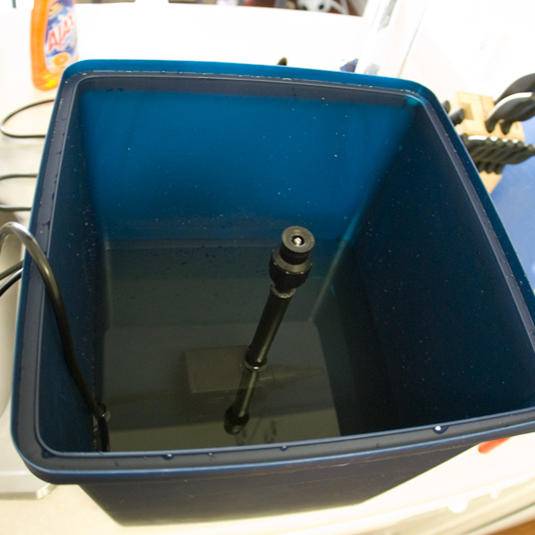
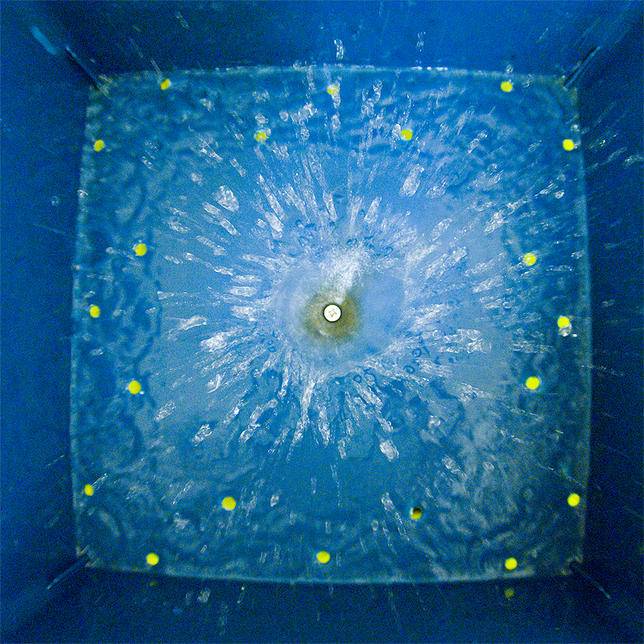
I spent a lot of time playing around with subtle changes with my sprayer attachments and finally came up with a design that delivers the shape of mist that I want. You have to take the sprayer head apart and flip the screw in the middle around so the head is on the top not the inside, this way it completely changes the exit route for the water in the sprayer head.
Here is the ideal amount of spray you should have in your tub, you want to make sure that your net pots are getting splashed with enough water but not so much that the tub starts leaking water all over. It takes some time and tweaking to get it just right. I have found the best place to test this is in a bathtub if you overshoot and it sprays all over a bathtub is no big deal")
Step 4
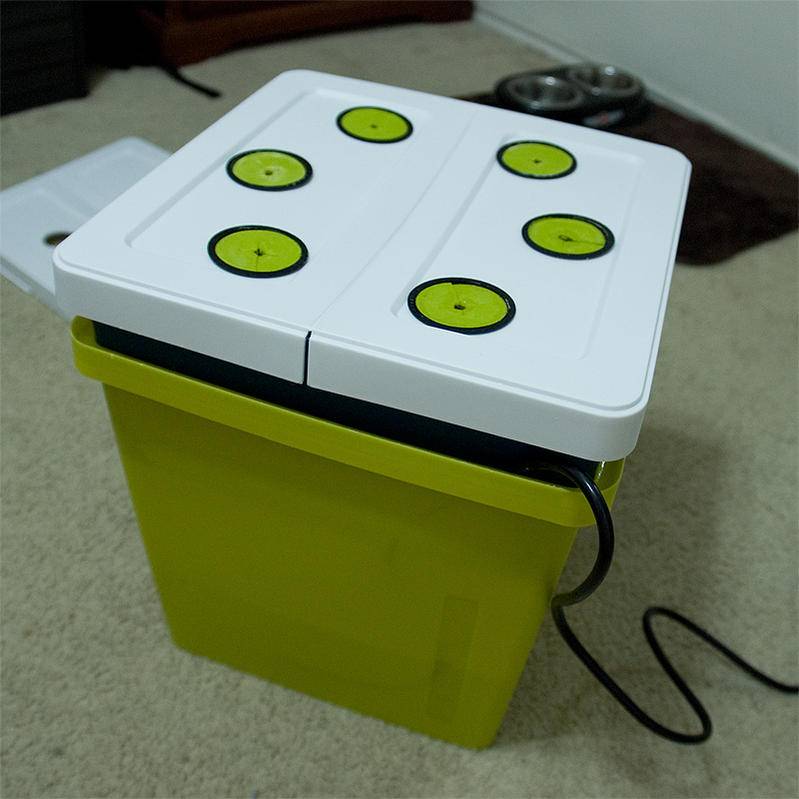
Drill holes for your net pots in the lids.
Here are a few configurations that I set up for my tub...
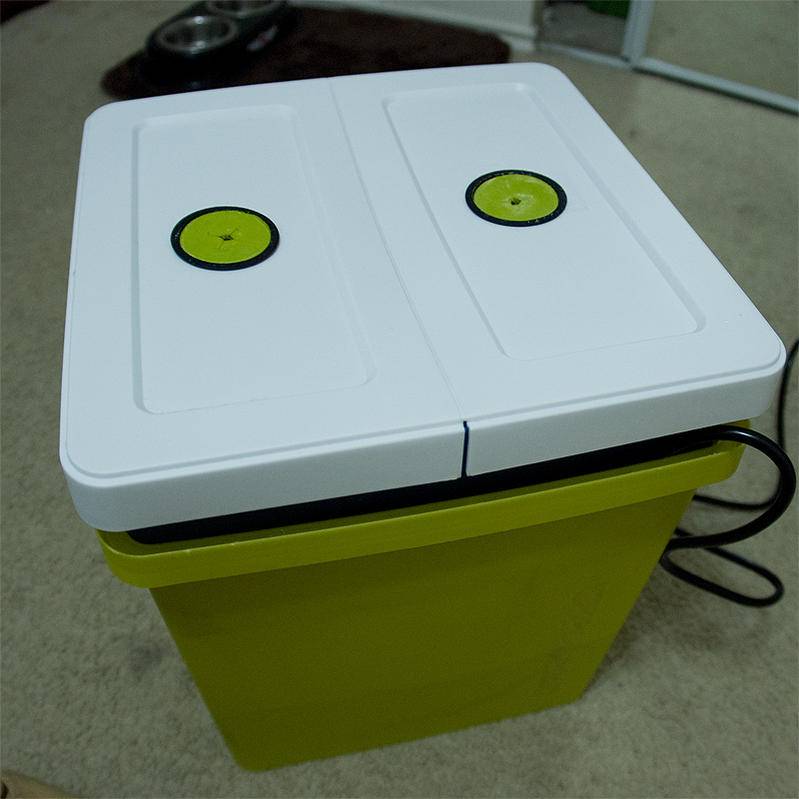
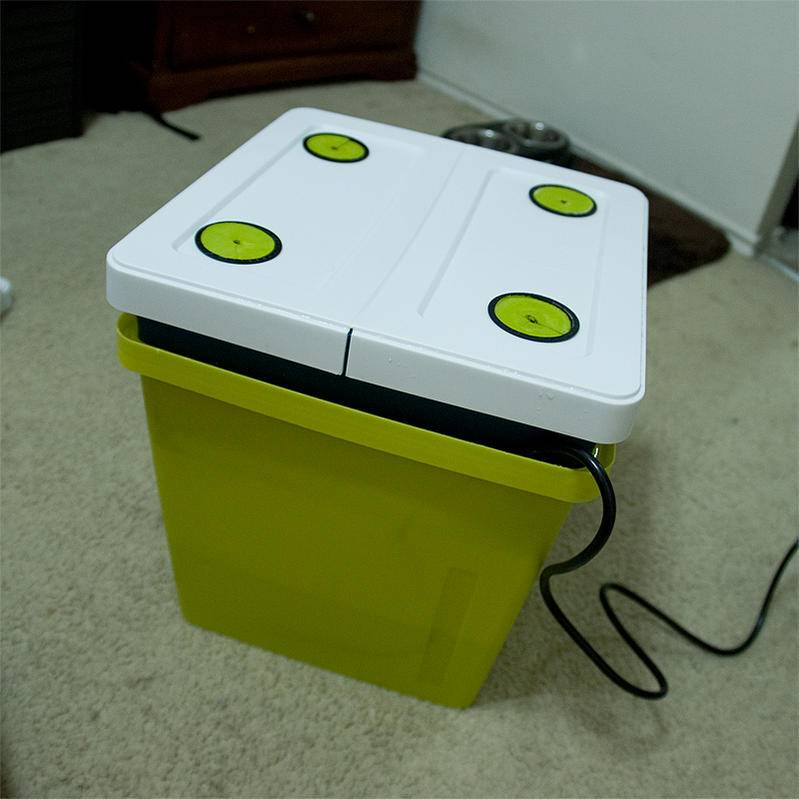
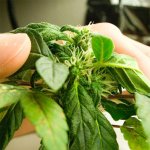
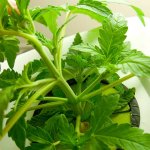
And you are ready to grow! This can be used solely as a cloner or you can take plants all the way through flowering if you wanted. In my experience with this cloner I have seen roots in 48 hours. These tubs are square, easy to make, manage and are relatively inexpensive. You can easily make a 2x2 grid of these for a 24 plant SOG setup. Or grow as little as 2 plants per tub. The ITSO tub setup holds about 4 gallons of water without seeping into the top tub. But can be used with as little as 2 gallons. Also, I might add, you want the small tub to be darker colored, but the bottom tub you want a lighter colored one like this pale green, you can see your water level without having to take the top tub out to check, which is really nice.
With the exceptions of net pots and net pot lids ALL of these items can be purchased from REGULAR department stores. I was able to get everything I needed from 3 stores, petco for the water pump, target for the tubs and home depot for the irrigation stuff.
I have spent alot of time perfecting this design and trying to optimize performance as best as I could, so here you are....
----------------------
Two Tub Aeroponic Kit
Required Tools
Power Drill
¼”, 1-1/4” and 2” drill bits
Components
200-250 GPH submersible water pump (petco)
Orbit 360 degree shrub head (home depot)
Pump/Sprayer attachment (home depot)
Medium ITSO tub (target)
Large ITSO tub ( target)
ITSO tub lid (4 included with 2 tubs)
Now lets get started!
Step 1
Build your pump/sprayer attachment. The 250GPH petco pump that I am using has a threaded female end so my assembly has a male part on the bottom, just make sure you check what your pump attachment looks like before hand and make sure you can get a water tight seal with some kind of threading or tubing.
Step 2
Drill drainage holes and center hole for sprayer head. You want to put drainage holes where water collects in the tub, so the corners are where the majority of them should be concentrated.
Step 3
Center your sprayer head with the hole you just drilled then set the medium size tub on top of it inside the larger tub to make sure it all lines up properly angle and height wise, you want an even distribution of spray all over. Make adjustments as necessary.
I spent a lot of time playing around with subtle changes with my sprayer attachments and finally came up with a design that delivers the shape of mist that I want. You have to take the sprayer head apart and flip the screw in the middle around so the head is on the top not the inside, this way it completely changes the exit route for the water in the sprayer head.
Here is the ideal amount of spray you should have in your tub, you want to make sure that your net pots are getting splashed with enough water but not so much that the tub starts leaking water all over. It takes some time and tweaking to get it just right. I have found the best place to test this is in a bathtub if you overshoot and it sprays all over a bathtub is no big deal
Step 4
Drill holes for your net pots in the lids.
Here are a few configurations that I set up for my tub...
And you are ready to grow! This can be used solely as a cloner or you can take plants all the way through flowering if you wanted. In my experience with this cloner I have seen roots in 48 hours. These tubs are square, easy to make, manage and are relatively inexpensive. You can easily make a 2x2 grid of these for a 24 plant SOG setup. Or grow as little as 2 plants per tub. The ITSO tub setup holds about 4 gallons of water without seeping into the top tub. But can be used with as little as 2 gallons. Also, I might add, you want the small tub to be darker colored, but the bottom tub you want a lighter colored one like this pale green, you can see your water level without having to take the top tub out to check, which is really nice.